2019 MERCEDES-BENZ GLE COUPE four wheel drive
[x] Cancel search: four wheel drivePage 6 of 370
1, 2, 3 ...
4ETS (Electronic Traction System) see ETS/4ETS (Electronic Trac-
tion System)
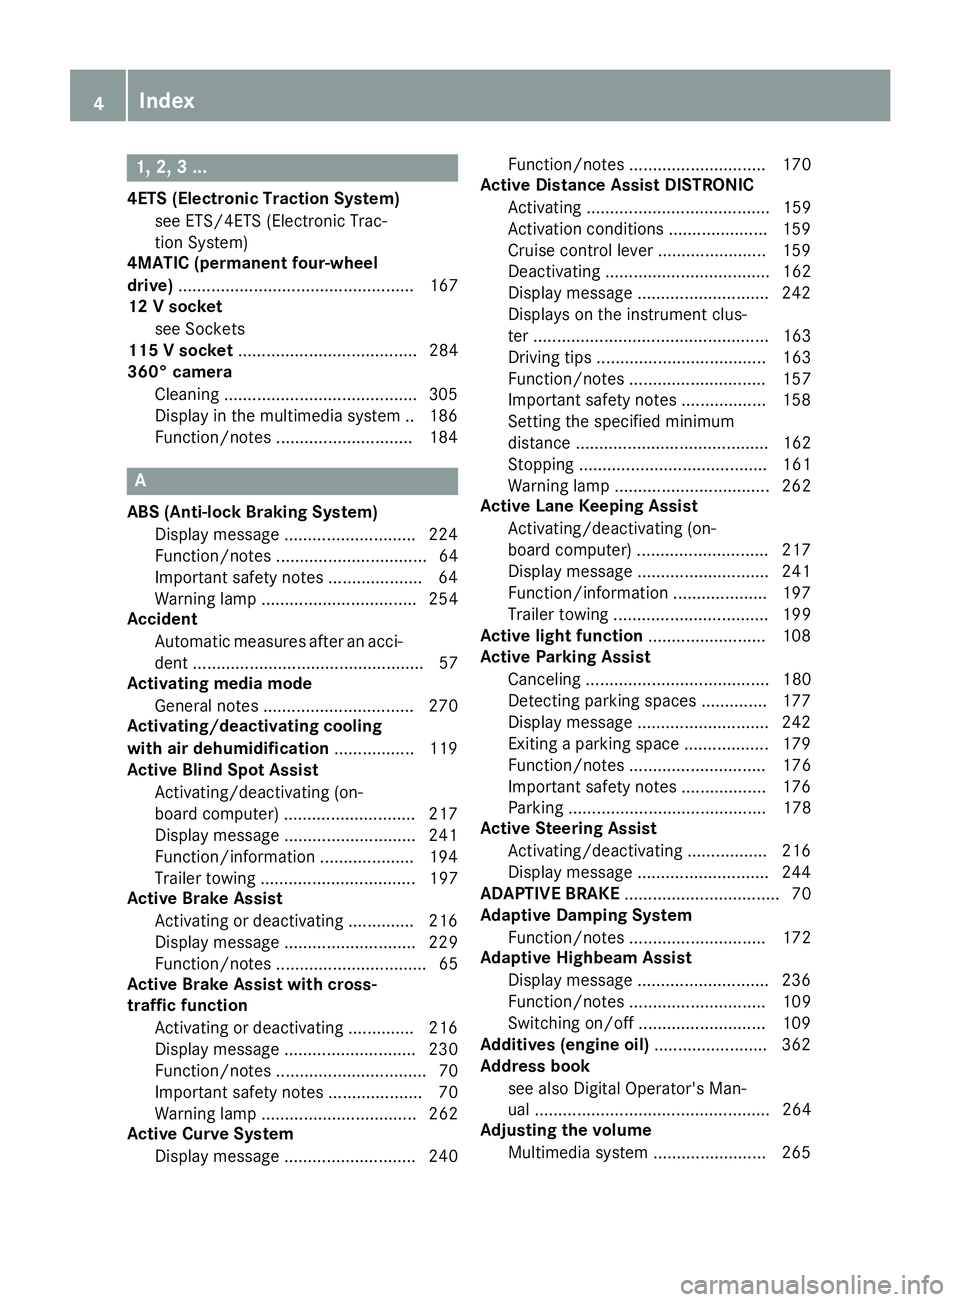
4MATIC (permanent four-wheel
drive) .................................................. 167
12 V socket
see Sockets
115 V socket ...................................... 284
360° camera
Cleaning .........................................3 05
Display in the multimedia system .. 186
Function/notes ............................ .184 A
ABS (Anti-lock Braking System) Display message ............................ 224
Function/notes ................................ 64
Important safety notes .................... 64
Warning lamp ................................. 254
Accident
Automatic measures after an acci-
dent ................................................. 57
Activating media mode
General notes ................................ 270
Activating/deactivating cooling
with air dehumidification ................. 119
Active Blind Spot Assist
Activating/deactivating (on-
board computer) ............................ 217
Display message ............................ 241
Function/informatio n.................... 194
Trailer towing ................................. 197
Active Brake Assist
Activating or deactivating .............. 216
Display message ............................ 229
Function/note s................................ 65
Active Brake Assist with cross-
traffic function
Activating or deactivating .............. 216
Display message ............................ 230
Function/note s................................ 70
Important safety notes .................... 70
Warning lamp ................................. 262
Active Curve System
Display message ............................ 240 Function/note
s............................. 170
Active Distance Assist DISTRONIC
Activating ....................................... 159
Activation conditions ..................... 159
Cruise control lever ....................... 159
Deactivating ................................... 162
Display message ............................ 242
Displays on the instrument clus-
ter .................................................. 163
Driving tips .................................... 163
Function/note s............................. 157
Important safety notes .................. 158
Setting the specified minimum
distance ......................................... 162
Stopping ........................................ 161
Warning lamp ................................. 262
Active Lane Keeping Assist
Activating/deactivating (on-
board computer) ............................ 217
Display message ............................ 241
Function/information .................... 197
Trailer towing ................................. 199
Active light function ......................... 108
Active Parking Assist
Canceling ....................................... 180
Detecting parking spaces .............. 177
Display message ............................ 242
Exiting a parking space .................. 179
Function/note s............................. 176
Important safety notes .................. 176
Parking .......................................... 178
Active Steering Assist
Activating/deactivating ................. 216
Display message ............................ 244
ADAPTIVE BRAKE ................................. 70
Adaptive Damping System
Function/note s............................. 172
Adaptive Highbeam Assist
Display message ............................ 236
Function/note s............................. 109
Switching on/of f........................... 109
Additives (engine oil) ........................ 362
Address book
see also Digital Operator's Man-
ual .................................................. 264
Adjusting the volume
Multimedia system ........................ 265 4
Index
Page 169 of 370
The electric parking brake secures the vehicle
automatically if the HOLD function is activated
when the vehicle is stationary and:
R a system malfunction occurs
R the power supply is insufficient
On steep uphill or downhill gradients or if there
is a malfunction, the transmission may also be
automatically shifted to position 005D.4MATIC
4MATIC ensures that all four wheels are perma-
nently driven. Together with ESP ®
and 4ETS, it
improves the traction of your vehicle whenever
a drive wheel spins due to insufficient grip.
If you fail to adapt your driving style, 4MATIC can
neither reduce the risk of accident nor override the laws of physics. 4MATIC cannot take
account of road, weather and traffic conditions.
4MATIC is only an aid. You are responsible for
the distance to the vehicle in front, for vehicle
speed, for braking in good time and for staying in
your lane.
! Never tow the vehicle with one axle raised.
This may damage the transfer case. Damage
of this sort is not covered by the Mercedes-
Benz Limited Warranty. All wheels must
remain either on the ground or be fully raised.
Observe the instructions for towing the vehi-
cle with all wheels in full contact with the
ground.
! A function or performance test should only
be carried out on a two-axle dynamometer.
Before you operate the vehicle on such a
dynamometer, please consult a qualified
workshop. You could otherwise damage the
drive train or the brake system.
i In wintry driving conditions, the maximum
effect of 4MATIC can only be achieved if you
use winter tires (M+S tires), with snow chains if necessary. DSR (Downhill Speed Regulation)
General notes DSR is an aid to assist you when driving down-
hill. It keeps the speed of travel at the speed
selected on the on-board computer. The steeper
the downhill gradient, the greater the DSR brak- ing effect on the vehicle. When driving on flat
stretches of road or on an uphill gradient, the
DSR braking effect is minimal or nonexistent.
DSR controls the vehicle’s speed when it is acti-
vated and the transmission is in position 005B,005E
or 005C. You can drive at a higher or a lower speed
than that set on the on-board computer at any
time by accelerating or braking.
Important safety notes G
WARNING
If the speed driven and the set speed deviate and you activate DSR on a slippery road sur-
face, the wheels may lose traction. There is an
increased danger of skidding and accidents.
Before switching DSR on, please take into
consideration the road surface and the differ- ence between driving speed and the set
speed.
If you fail to adapt your driving style, DSR can
neither reduce the risk of accident nor override the laws of physics. DSR cannot take account of
road, weather and traffic conditions. DSR is only
an aid. You are responsible for the distance to
the vehicle in front, for vehicle speed, for brak-
ing in good time and for staying in your lane.
You are always responsible for keeping control
of the vehicle and for assessing whether the
downhill gradient can be managed. DSR may not always be able to keep to the set speed, depend-
ing on road surface and tire conditions. Select a
set speed suitable for the prevailing conditions
and when necessary, apply the brakes manually.
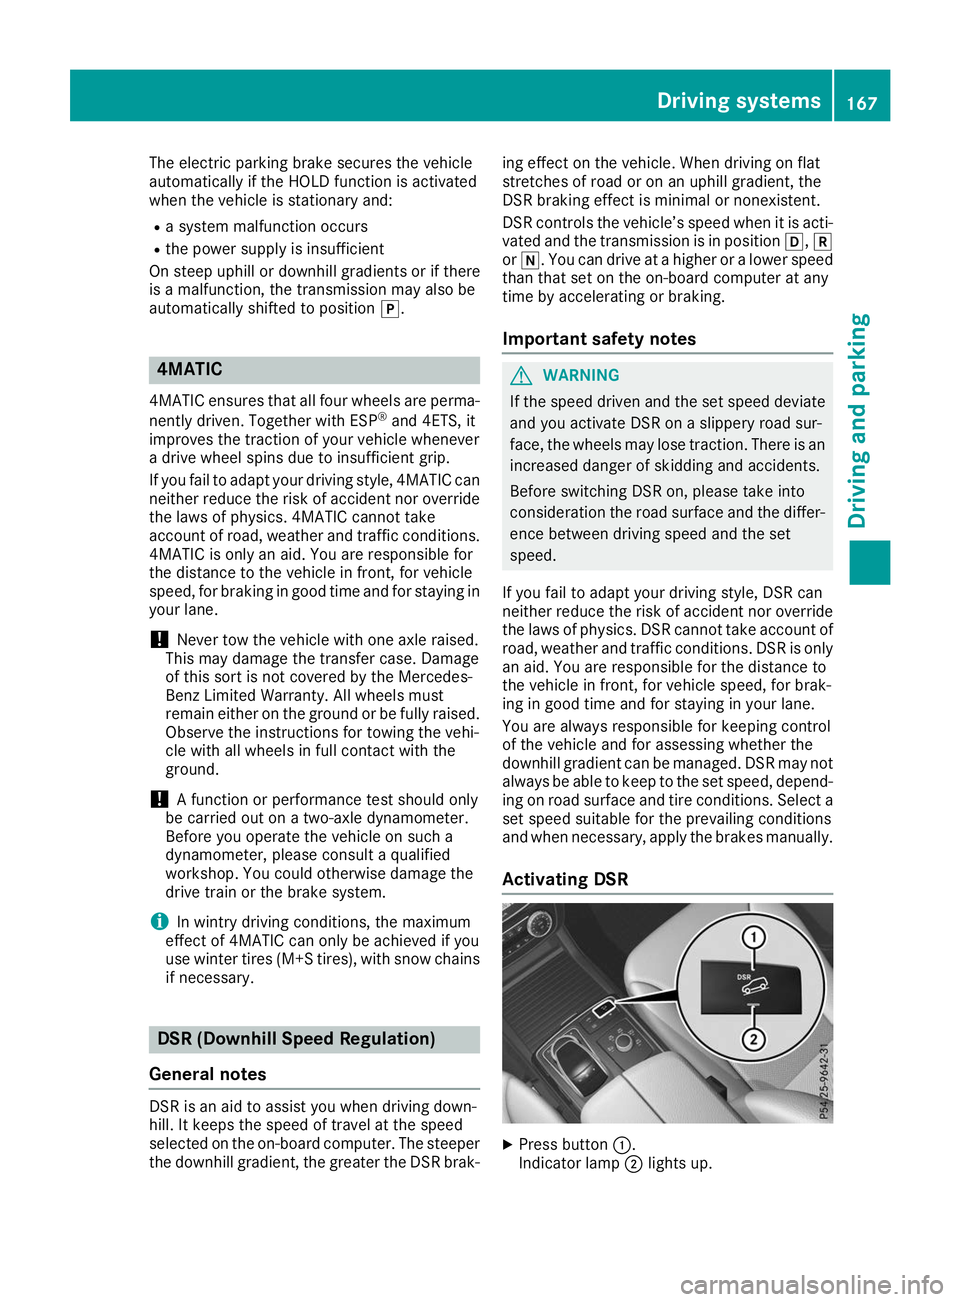
Activating DSR X
Press button 0043.
Indicator lamp 0044lights up. Driving systems
167Driving and parking Z
Page 213 of 370
i
Set the time using the multimedia system;
see the Digital Operator's Manual.
Possible displays in the multifunction dis-
play:
R 0097Gearshift recommendation, when shifting
manually (Y page 139)
R 005D Active Parking Assist (Y page 176)
R CRUISE
CRUISE Cruise control (Y page 156)
R 00CE Adaptive Highbeam Assist
(Y page 109)
R 00D6 ECO start/stop function (Y page 131)
R 00D9 HOLD function (Y page 165)
R 004F Active Distance Assist DISTRONIC
Active Steering Assist (Y page 216)
R DSR DSR Downhill Speed Regulation
(Y page 167) Menus and submenus
Menu overview
Press the 0059or0065 button on the steering
wheel to call up the menu bar and select a menu.
Operating the on-board computer (Y page 209).
Depending on the equipment installed in the
vehicle, you can call up the following menus:
R Trip
Trip menu (Y page 211)
R Navi
Navi menu (navigation instructions)
(Y page 212)
R Audio
Audio menu (Y page 214)
R Tel
Tel menu (telephone) (Y page 214)
R DriveAssist
DriveAssist menu (assistance)
(Y page 216)
R Serv.
Serv. menu (Y page 217)
R Sett.
Sett. menu (settings) (Y page 217)
R AMG
AMG menu (Mercedes-AMG vehicles)
(Y page 220) Trip menu
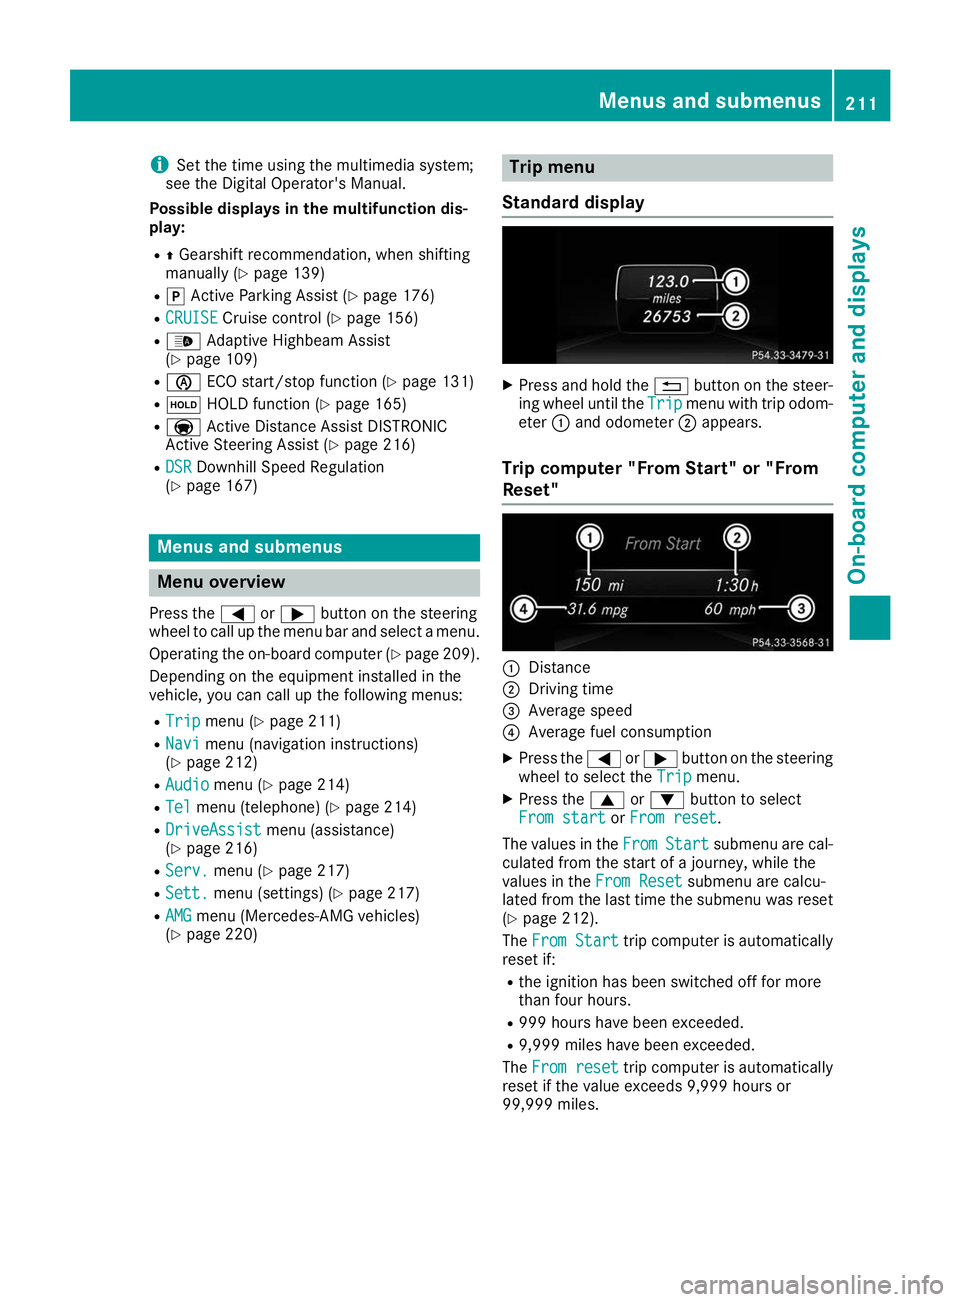
Standard display X
Press and hold the 0038button on the steer-
ing wheel until the Trip
Tripmenu with trip odom-
eter 0043and odometer 0044appears.
Trip computer "From Start" or "From
Reset" 0043
Distance
0044 Driving time
0087 Average speed
0085 Average fuel consumption
X Press the 0059or0065 button on the steering
wheel to select the Trip
Tripmenu.
X Press the 0063or0064 button to select
From start
From start orFrom reset
From reset.
The values in the From
FromStart
Start submenu are cal-
culated from the start of a journey, while the
values in the From Reset From Resetsubmenu are calcu-
lated from the last time the submenu was reset
(Y page 212).
The From Start
From Start trip computer is automatically
reset if:
R the ignition has been switched off for more
than four hours.
R 999 hours have been exceeded.
R 9,999 miles have been exceeded.
The From reset From reset trip computer is automatically
reset if the value exceeds 9,999 hours or
99,999 miles. Menus and submenus
211On-board computer and displays Z
Page 325 of 370
In order to ensure that the automatic transmis-
sion stays in position 005Cwhen towing away the
vehicle, you must observe the following points:
X Make sure that the vehicle is stationary.
X Turn the SmartKey to position 0048in the igni-
tion lock.
X Depress and hold the brake pedal.
X Shift the automatic transmission to position
005C.
X Leave the SmartKey in position 0048in the igni-
tion lock.
X Release the brake pedal.
X Release the electric parking brake.
X Switch on the hazard warning lamps
(Y page 108).
In order to signal a change of direction when
towing the vehicle with the hazard warning
lamps switched on, use the combination switch as usual. In this case, only the indicator lamps
for the direction of travel flash. After resetting
the combination switch, the hazard warning
lamp starts flashing again. Transporting the vehicle
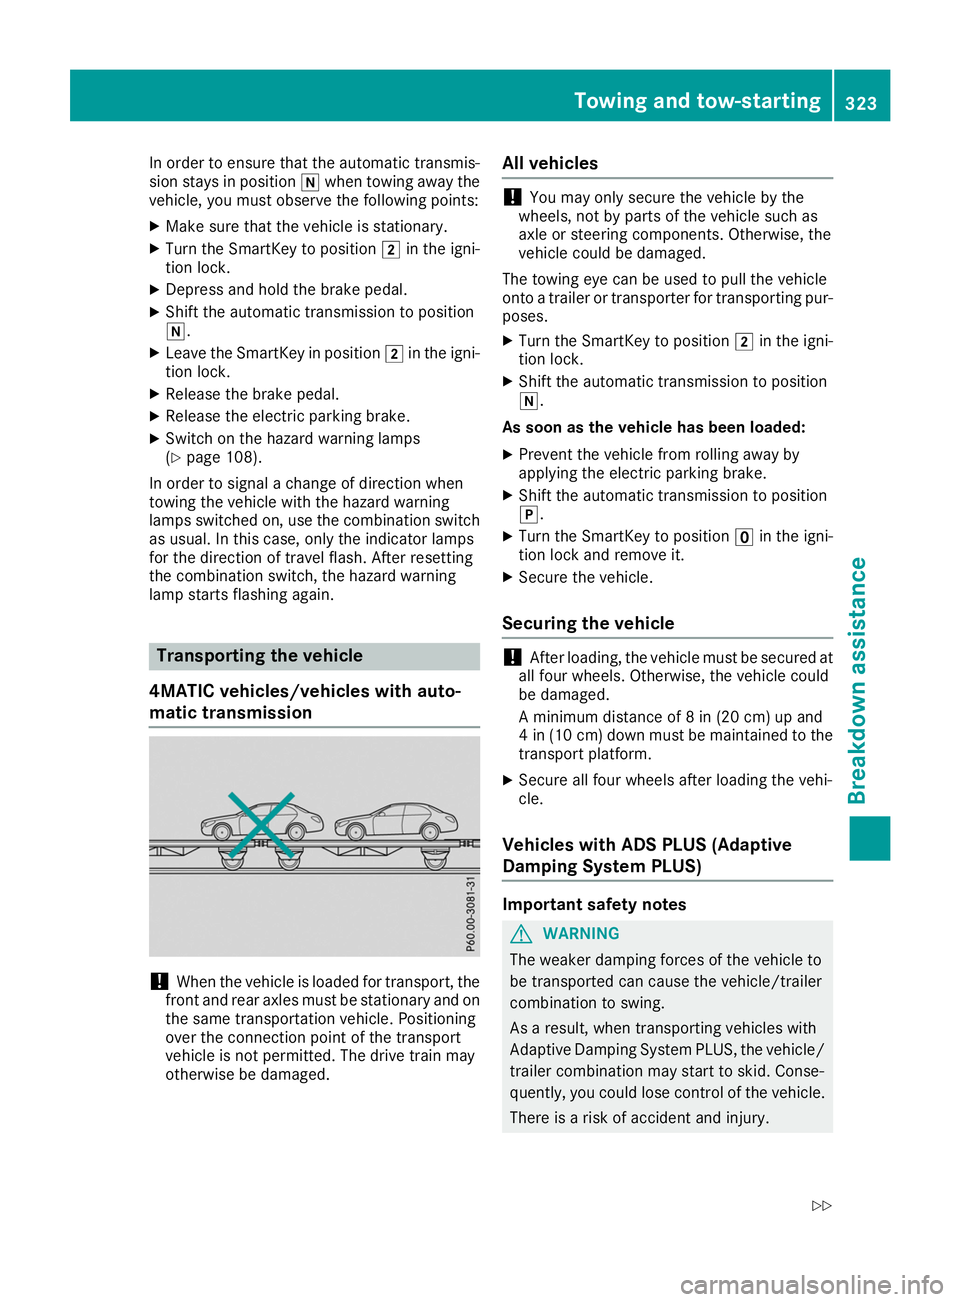
4MATIC vehicles/vehicles with auto-
matic transmission !
When the vehicle is loaded for transport, the
front and rear axles must be stationary and on
the same transportation vehicle. Positioning
over the connection point of the transport
vehicle is not permitted. The drive train may
otherwise be damaged. All vehicles !
You may only secure the vehicle by the
wheels, not by parts of the vehicle such as
axle or steering components. Otherwise, the
vehicle could be damaged.
The towing eye can be used to pull the vehicle
onto a trailer or transporter for transporting pur-
poses.
X Turn the SmartKey to position 0048in the igni-
tion lock.
X Shift the automatic transmission to position
005C.
As soon as the vehicle has been loaded:
X Prevent the vehicle from rolling away by
applying the electric parking brake.
X Shift the automatic transmission to position
005D.
X Turn the SmartKey to position 0092in the igni-
tion lock and remove it.
X Secure the vehicle.
Securing the vehicle !
After loading, the vehicle must be secured at
all four wheels. Otherwise, the vehicle could
be damaged.
A minimum distance of 8 in (20 cm) up and
4 in (10 cm) down must be maintained to the transport platform.
X Secure all four wheels after loading the vehi-
cle.
Vehicles with ADS PLUS (Adaptive
Damping System PLUS) Important safety notes
G
WARNING
The weaker damping forces of the vehicle to
be transported can cause the vehicle/trailer
combination to swing.
As a result, when transporting vehicles with
Adaptive Damping System PLUS, the vehicle/ trailer combination may start to skid. Conse-
quently, you could lose control of the vehicle.
There is a risk of accident and injury. Towing and tow-starting
323Breakdown assistance
Z
Page 339 of 370
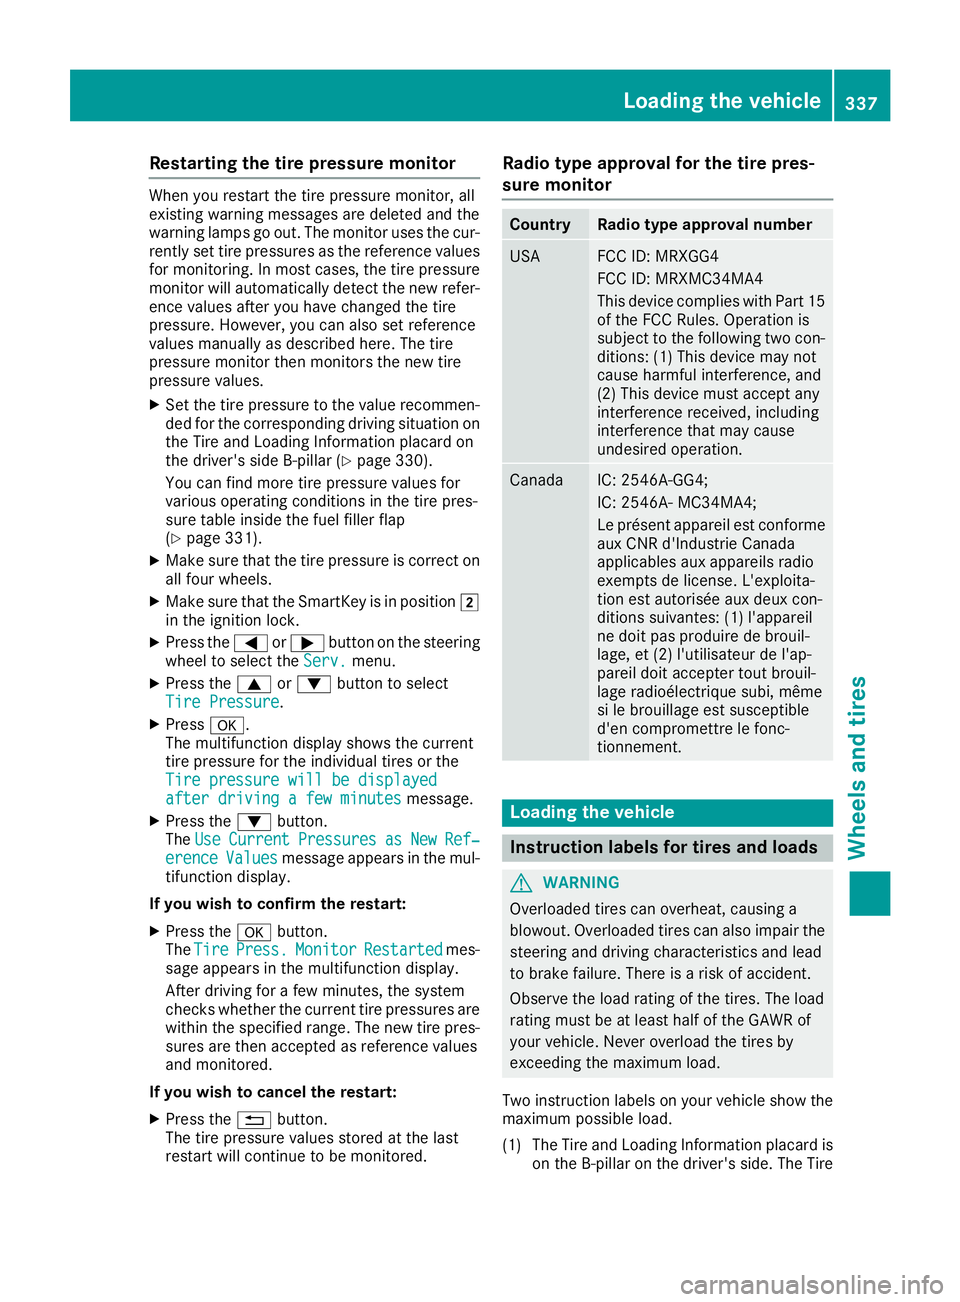
Restarting the tire pressure monitor
When you restart the tire pressure monitor, all
existing warning messages are deleted and the
warning lamps go out. The monitor uses the cur-
rently set tire pressures as the reference values
for monitoring. In most cases, the tire pressure
monitor will automatically detect the new refer- ence values after you have changed the tire
pressure. However, you can also set reference
values manually as described here. The tire
pressure monitor then monitors the new tire
pressure values.
X Set the tire pressure to the value recommen-
ded for the corresponding driving situation on the Tire and Loading Information placard on
the driver's side B-pillar (Y page 330).
You can find more tire pressure values for
various operating conditions in the tire pres-
sure table inside the fuel filler flap
(Y page 331).
X Make sure that the tire pressure is correct on
all four wheels.
X Make sure that the SmartKey is in position 0048
in the ignition lock.
X Press the 0059or0065 button on the steering
wheel to select the Serv. Serv.menu.
X Press the 0063or0064 button to select
Tire Pressure
Tire Pressure .
X Press 0076.
The multifunction display shows the current
tire pressure for the individual tires or the
Tire pressure will be displayed Tire pressure will be displayed
after driving a few minutes after driving a few minutes message.
X Press the 0064button.
The Use
Use Current
Current Pressures
Pressures as
asNew
New Ref‐
Ref‐
erence
erence Values
Valuesmessage appears in the mul-
tifunction display.
If you wish to confirm the restart:
X Press the 0076button.
The Tire
Tire Press.
Press. Monitor
Monitor Restarted
Restarted mes-
sage appears in the multifunction display.
After driving for a few minutes, the system
checks whether the current tire pressures are
within the specified range. The new tire pres- sures are then accepted as reference values
and monitored.
If you wish to cancel the restart: X Press the 0038button.
The tire pressure values stored at the last
restart will continue to be monitored. Radio type approval for the tire pres-
sure monitor Country Radio type approval number
USA FCC ID: MRXGG4
FCC ID: MRXMC34MA4
This device complies with Part 15
of the FCC Rules. Operation is
subject to the following two con- ditions: (1) This device may not
cause harmful interference, and
(2) This device must accept any
interference received, including
interference that may cause
undesired operation. Canada IC: 2546A-GG4;
IC: 2546A- MC34MA4;
Le présent appareil est conforme
aux CNR d'Industrie Canada
applicables aux appareils radio
exempts de license. L'exploita-
tion est autorisée aux deux con-
ditions suivantes: (1) l'appareil
ne doit pas produire de brouil-
lage, et (2) l'utilisateur de l'ap-
pareil doit accepter tout brouil-
lage radioélectrique subi, même
si le brouillage est susceptible
d'en compromettre le fonc-
tionnement. Loading the vehicle
Instruction labels for tires and loads
G
WARNING
Overloaded tires can overheat, causing a
blowout. Overloaded tires can also impair the steering and driving characteristics and lead
to brake failure. There is a risk of accident.
Observe the load rating of the tires. The load
rating must be at least half of the GAWR of
your vehicle. Never overload the tires by
exceeding the maximum load.
Two instruction labels on your vehicle show the maximum possible load.
(1) The Tire and Loading Information placard is on the B-pillar on the driver's side. The Tire Loading the vehicle
337Wheels and tires Z
Page 343 of 370
All about wheels and tires
Uniform Tire Quality Grading Stand-
ards
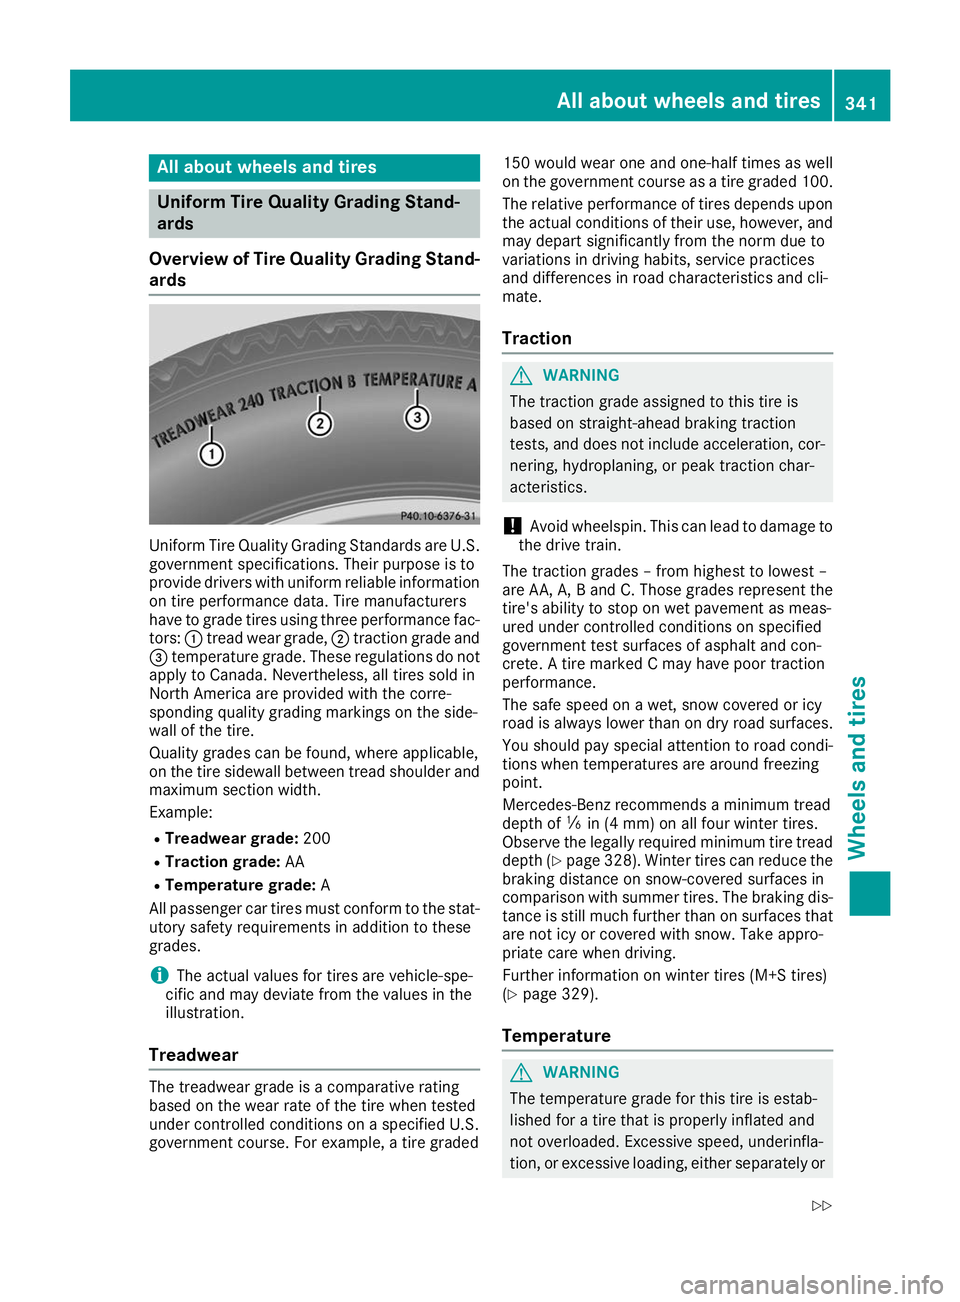
Overview of Tire Quality Grading Stand- ards Uniform Tire Quality Grading Standards are U.S.
government specifications. Their purpose is to
provide drivers with uniform reliable information on tire performance data. Tire manufacturers
have to grade tires using three performance fac-
tors: 0043tread wear grade, 0044traction grade and
0087 temperature grade. These regulations do not
apply to Canada. Nevertheless, all tires sold in
North America are provided with the corre-
sponding quality grading markings on the side-
wall of the tire.
Quality grades can be found, where applicable,
on the tire sidewall between tread shoulder and
maximum section width.
Example:
R Treadwear grade: 200
R Traction grade: AA
R Temperature grade: A
All passenger car tires must conform to the stat-
utory safety requirements in addition to these
grades.
i The actual values for tires are vehicle-spe-
cific and may deviate from the values in the
illustration.
Treadwear The treadwear grade is a comparative rating
based on the wear rate of the tire when tested
under controlled conditions on a specified U.S.
government course. For example, a tire graded 150 would wear one and one-half times as well
on the government course as a tire graded 100.
The relative performance of tires depends upon the actual conditions of their use, however, and
may depart significantly from the norm due to
variations in driving habits, service practices
and differences in road characteristics and cli-
mate.
Traction G
WARNING
The traction grade assigned to this tire is
based on straight-ahead braking traction
tests, and does not include acceleration, cor- nering, hydroplaning, or peak traction char-
acteristics.
! Avoid wheelspin. This can lead to damage to
the drive train.
The traction grades – from highest to lowest –
are AA, A, B and C. Those grades represent the
tire's ability to stop on wet pavement as meas-
ured under controlled conditions on specified
government test surfaces of asphalt and con-
crete. A tire marked C may have poor traction
performance.
The safe speed on a wet, snow covered or icy
road is always lower than on dry road surfaces.
You should pay special attention to road condi-
tions when temperatures are around freezing
point.
Mercedes-Benz recommends a minimum tread
depth of 00CFin (4 mm) on all four winter tires.
Observe the legally required minimum tire tread
depth (Y page 328). Winter tires can reduce the
braking distance on snow-covered surfaces in
comparison with summer tires. The braking dis-
tance is still much further than on surfaces that
are not icy or covered with snow. Take appro-
priate care when driving.
Further information on winter tires (M+S tires)
(Y page 329).
Temperature G
WARNING
The temperature grade for this tire is estab-
lished for a tire that is properly inflated and
not overloaded. Excessive speed, underinfla-
tion, or excessive loading, either separately or All about wheels and tires
341Wheels and tires
Z