2019 MERCEDES-BENZ CLA USB
[x] Cancel search: USBPage 9 of 330

Roof lining ...................................... 272
Seat belt ........................................ 271
Seat cover .....................................271
Sensors ......................................... 269
Steering wheel ............................... 271
Trim pieces ....................................271
Washing by hand ........................... 266
Wheels ...........................................268
Windows ........................................ 268
Wiper blades .................................. 269
Wooden trim .................................. 271
Cargo compartment enlargement... 242
Cargo tie down rings......................... 243
CD
see also Digital Operator's Man-
ual ..................................................231
CD player (on-board computer)........185
Center console
Lower section .................................. 36
Upper section .................................. 35
Central locking
Automatic locking (on-board com-
puter) ............................................. 189
Locking/unlocking (SmartKey) ........70
Change of address.............................. 26
Change of ownership.......................... 26
Changing a wheel
Wheels and tires ............................ 311
Child
Restraint system .............................. 56
Child seat
Forward-facing restraint system ...... 59
LATCH-type (ISOFIX) child seat
anchors ............................................ 57
On the front-passenger seat ............ 58
Rearward-facing restraint system .... 59
Top Tether .......................................57
Child-proof locks
Important safety notes .................... 59
Rear doors .......................................60
Children
Special seat belt retractor ...............55
Children in the vehicle
Important safety notes .................... 54
Cigarette lighter................................ 247
Cleaning
Mirror turn signal ...........................269
Climate control
Air-conditioning system ................. 112
Automatic climate control (dual-
zone) .............................................. 114
Controlling automatically ...............117
Cooling with air dehumidification .. 116
Defrosting the windows ................. 119
Defrosting the windshield .............. 118
General notes ................................ 111
Indicator lamp ................................ 117
Information about using auto-
matic climate control ..................... 115
Maximum cooling .......................... 119
Notes on using the air-condition-
ing system ..................................... 113
Overview of systems ......................111
Problem with the rear window
defroster ........................................ 120
Problems with cooling with air
dehumidification ............................ 117
Refrigerant ..................................... 324
Refrigerant filling capacity ............. 324
Setting the air distribution ............. 117
Setting the air vents ......................121
Setting the airflow ......................... 118
Setting the temperature ................ 117
Switching air-recirculation mode
on/off ............................................ 120
Switching on/off ........................... 116
Switching residual heat on/off ...... 120
Switching the rear window
defroster on/off ............................ 119
Switching the ZONE function
on/off ............................................ 118
Cockpit
Overview .......................................... 32
see Instrument cluster
COMAND display
Cleaning ......................................... 270
Combination switch.......................... 102
Compass
Calibrating ..................................... 258
Calling up ....................................... 258
Magnetic field zone maps .............. 258
Setting ...........................................258
Connecting a USB device
see also Digital Operator's Man-
ual ..................................................231
Index7
Page 23 of 330

U
Unlocking
Emergency unlocking .......................77
From inside the vehicle (central
unlocking button) ............................. 76
Upshift indicator (on-board com-
puter, Mercedes-AMG vehicles)....... 190
USB devices
Connecting to the Media Inter-
face ............................................... 238
V
Vanity mirror (in the sun visor)........ 246
Vehicle
Correct use ...................................... 28
Data acquisition ............................... 29
Display message............................ 215
Equipment ....................................... 25
Individual settings .......................... 188
Limited Warranty ............................. 29
Loading .......................................... 301
Locking (in an emergency) ............... 77
Locking (SmartKey).......................... 70
Lowering ........................................ 314
Maintenance .................................... 26
Parking for a long period ................ 145
Pulling away ................................... 126
Raising ........................................... 312
Reporting problems ......................... 28
Securing from rolling away ............ 312
Transporting .................................. 287
Unlocking (in an emergency) ........... 77
Unlocking (SmartKey)...................... 70
Vehicle data ................................... 325
Vehicle data
Roof load (maximum) ..................... 325
Vehicle dimensions........................... 325
Vehicle emergency locking................ 77
Vehicle identification number
see VIN
Vehicle identification plate.............. 318
Vehicle tool kit.................................. 274
Ventilation
Setting the vents ........................... 121
Video
Operating the DVD ......................... 185
see also Digital Operator's Man-
ual .................................................. 231
VIN
Seat ............................................... 319
Type plate ...................................... 318
W
Warning and indicator lamps
ABS ................................................ 222
Active Brake Assist ........................ 229
Brakes ........................................... 221
Check Engine ................................. 226
Coolant .......................................... 227
Distance warning ........................... 229
ESP®.............................................. 223
ESP®OFF ....................................... 224
Fuel tank ........................................ 226
Overview .......................................... 33
PASSENGER AIR BAG ...................... 41
Reserve fuel ................................... 226
Restraint system ............................ 226
Seat belt ........................................ 220
SPORT handling mode ................... 224
Tire pressure monitor .................... 230
Warranty.............................................. 25
Washer fluid
Display message ............................ 218
Weather display (COMAND)
see also Digital Operator's Man-
ual .................................................. 231
Wheel and tire combinations
Tires ............................................... 315
Wheel bolt tightening torque........... 314
Wheel chock...................................... 312
Wheels
Changing a wheel.......................... 310
Checking ........................................ 290
Cleaning ......................................... 268
Emergency spare wheel ................. 315
Important safety notes .................. 290
Information on driving .................... 290
Interchanging/changing ................ 310
Mounting a new wheel ................... 313
Removing a wheel.......................... 313
Storing ........................................... 311
Tightening torque ........................... 314
Wheel size/tire size ....................... 315
Index21
Page 239 of 330

XAuthorization using Secure Simple Pair-ing:
A code is displayed in the multimedia systemand on the mobile phone.
XConfirm code on the mobile phone. Depend-ing on the mobile phone used, confirm theconnection to the multimedia system and for
the PBAP and MAP Bluetooth®profiles. Theprompt to confirm may take up to twominutes to be displayed (see the manufactur-er's operating instructions).
XIf the codes are different: selectNoNoon themultimedia system.The process is canceled.
Repeat authorization.
or
XAuthorization by entering a passkey(passcode):enter any one- to sixteen-digitnumber sequence which you have chosenyourself into the passkey input menu.
XPress�Tto confirm.
XEnter and confirm the passkey on the mobilephone. Depending on the mobile phone used,confirm the connection to the multimedia sys-
tem and for the PBAP and MAP Bluetooth®
profiles. The prompt to confirm may take upto two minutes to be displayed (see the man-ufacturer's operating instructions).
Symbols in the device manager
The symbols are shown in color depending ontheir use.
SymbolExplanation
Mobile phone connected to themultimedia system
Main telephone with full range offunctions
Additional telephone for incomingcalls in two telephone mode
Media mode
General notes
If you wish to play external media sources, theappropriate media mode must already be turnedon. Further information on media mode (see theDigital Operator's Manual).
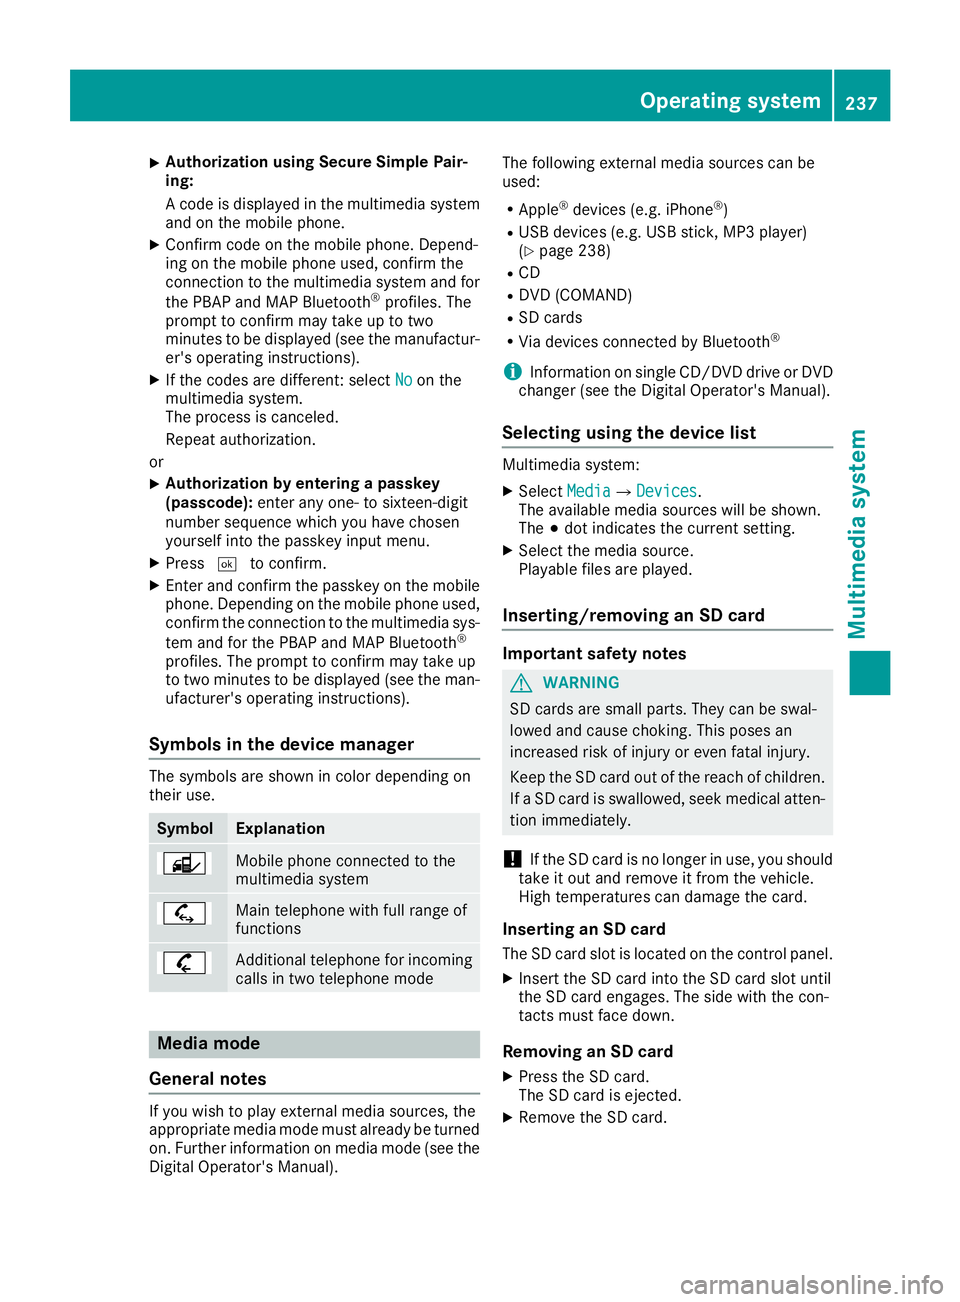
The following external media sources can beused:
RApple®devices (e.g. iPhone®)
RUSB devices (e.g. USB stick, MP3 player)(Ypage 238)
RCD
RDVD (COMAND)
RSD cards
RVia devices connected by Bluetooth®
iInformation on single CD/DVD drive or DVDchanger (see the Digital Operator's Manual).
Selecting using the device list
Multimedia system:
XSelectMediaMedia�{DevicesDevices.The available media sources will be shown.The�;dot indicates the current setting.
XSelect the media source.Playable files are played.
Inserting/removing an SD card
Important safety notes
GWARNING
SD cards are small parts. They can be swal-
lowed and cause choking. This poses an
increased risk of injury or even fatal injury.
Keep the SD card out of the reach of children.
If a SD card is swallowed, seek medical atten-
tion immediately.
!If the SD card is no longer in use, you shouldtake it out and remove it from the vehicle.High temperatures can damage the card.
Inserting an SD card
The SD card slot is located on the control panel.
XInsert the SD card into the SD card slot untilthe SD card engages. The side with the con-tacts must face down.
Removing an SD card
XPress the SD card.The SD card is ejected.
XRemove the SD card.
Operating system237
Multimedia system
Z
Page 240 of 330

Connecting USB devices
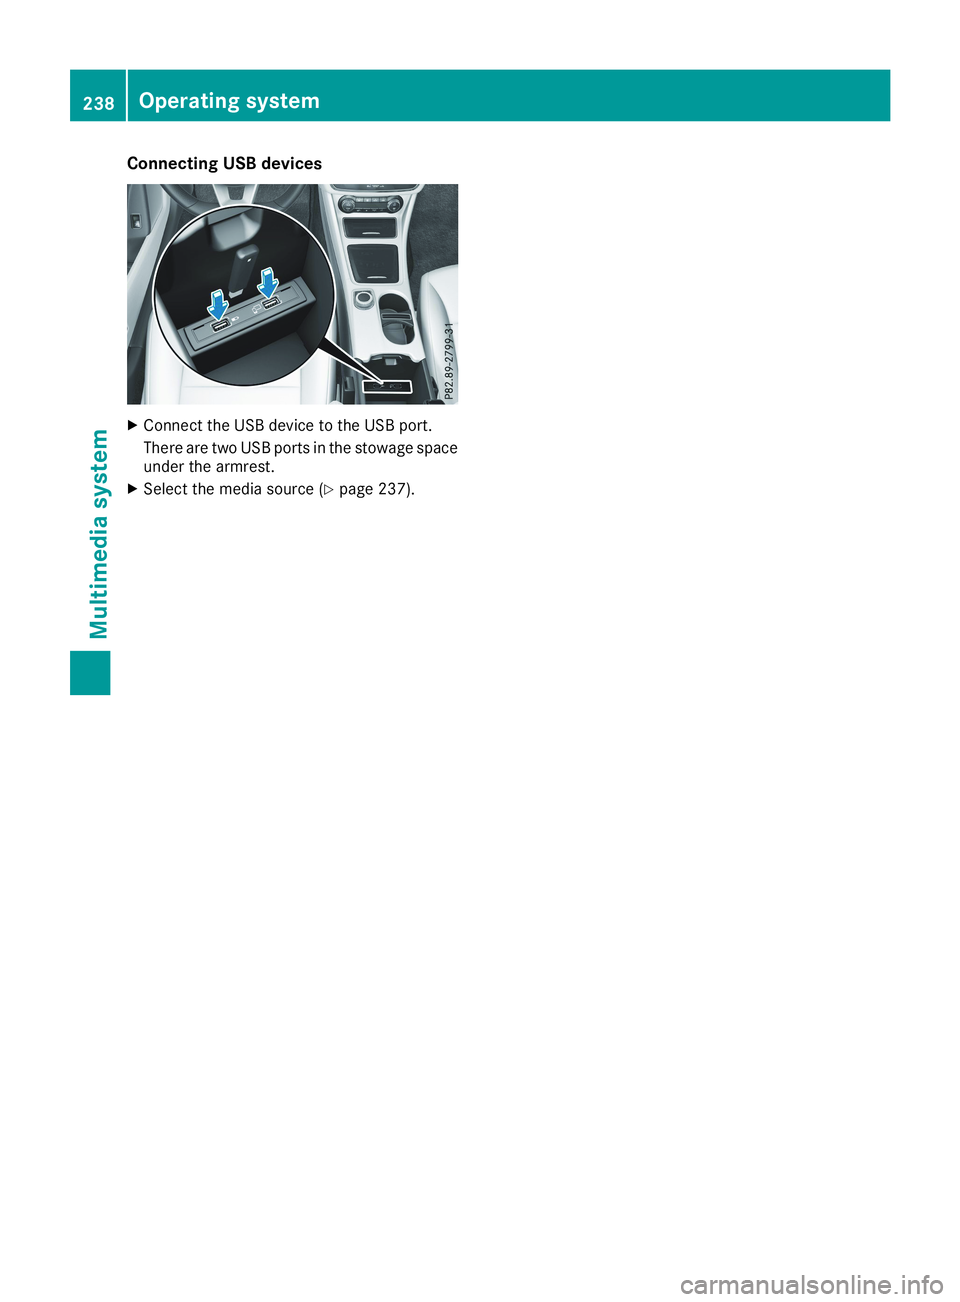
XConnect the USB device to the USB port.
There are two USB ports in the stowage spaceunder the armrest.
XSelect the media source (Ypage 237).
238Operating system
Multimedia system
Page 243 of 330

Stowage compartment under the armrest
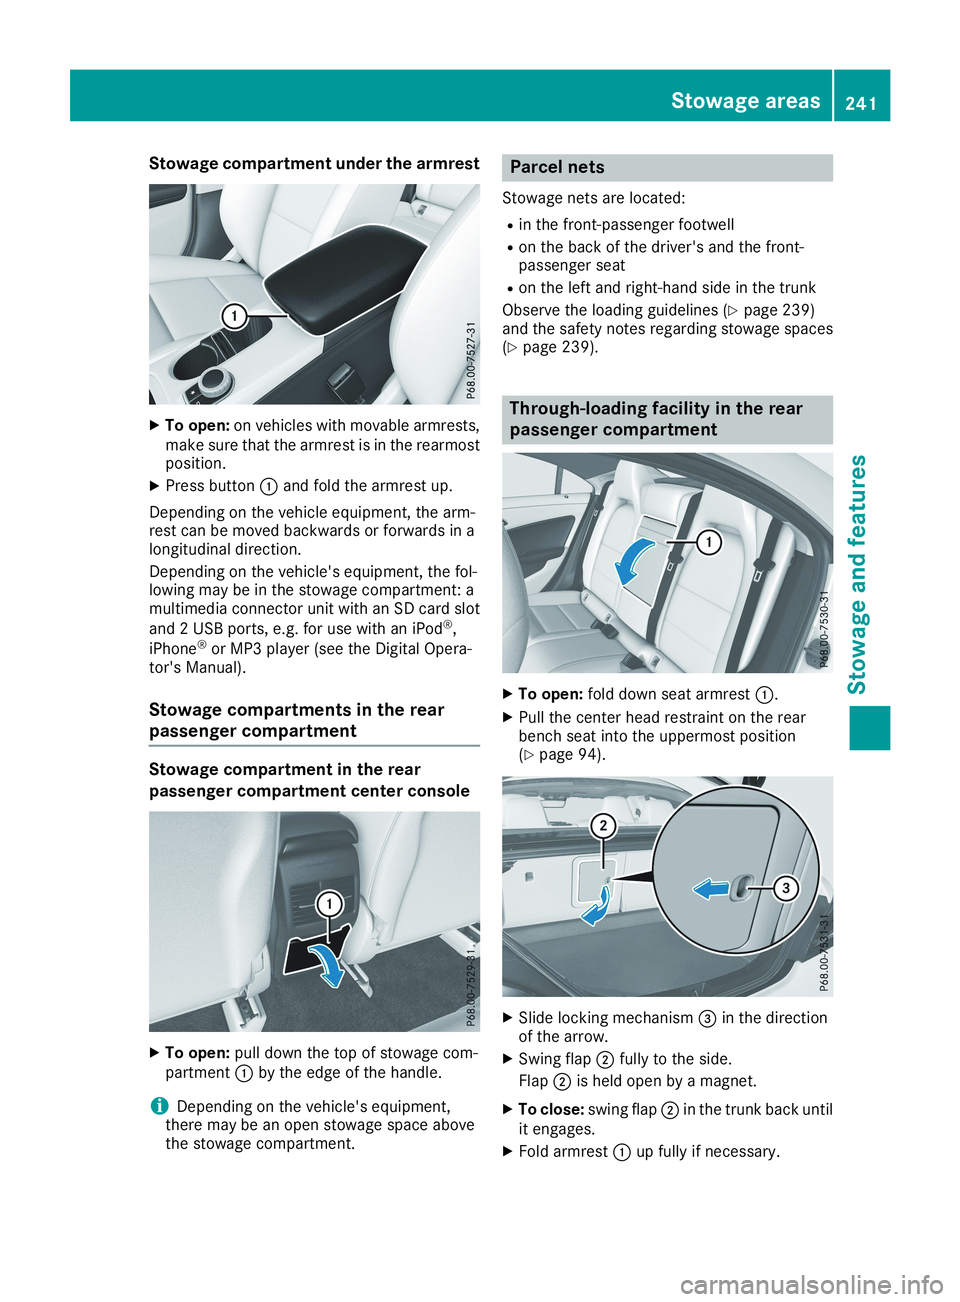
XTo open:on vehicles with movable armrests,make sure that the armrest is in the rearmostposition.
XPress button�Cand fold the armrest up.
Depending on the vehicle equipment, the arm-rest can be moved backwards or forwards in alongitudinal direction.
Depending on the vehicle's equipment, the fol-lowing may be in the stowage compartment: amultimedia connector unit with an SD card slot
and 2 USB ports, e.g. for use with an iPod®,
iPhone®or MP3 player (see the Digital Opera-tor's Manual).
Stowage compartments in the rear
passenger compartment
Stowage compartment in the rear
passenger compartment center console
XTo open:pull down the top of stowage com-partment�Cby the edge of the handle.
iDepending on the vehicle's equipment,there may be an open stowage space abovethe stowage compartment.
Parcel nets
Stowage nets are located:
Rin the front-passenger footwell
Ron the back of the driver's and the front-passenger seat
Ron the left and right-hand side in the trunk
Observe the loading guidelines (Ypage 239)and the safety notes regarding stowage spaces(Ypage 239).
Through-loading facility in the rear
passenger compartment
XTo open:fold down seat armrest�C.
XPull the center head restraint on the rearbench seat into the uppermost position(Ypage 94).
XSlide locking mechanism�