2019 MASERATI LEVANTE tow
[x] Cancel search: towPage 211 of 436
clearance when driver takes
transmission to P (Park) to help
entry into and exit from the vehicle
and unloading of cargo from the
trunk compartment. The feature
can be set to “On” or “Off”.
• Warning/Suspension Warning
Messages Only
Select this mode to choose whether
to display only warnings (option
“On”). The feature can be set to
“On” or “Off”.
• Tire Change Mode/Stationary Auto
Leveling
Select this mode to disable the
pneumatic suspension to avoid
automatic levelling, when vehicle
must be lifted for changing a wheel
or tire. The feature can be set to
“On” or “Off”.
• Transport To Mode
Select this mode to lower the
pneumatic suspension to minimum
ride height and disable system
operation to help vehicle loading
and transport, for instance on the
platform of a tow truck. The feature
can be set to “On” or “Off”.
• Wheel Alignment Mode
Select this mode to prevent
automatic pneumatic suspension alignment when servicing
suspension and/or steering parts.
The feature can be set to “On” or
“Off”.
Audio This feature enables to view and set
the available audio modes depending
on the type of audio system supplied
on the car.
The following modes refer to the
“High Premium” audio system.
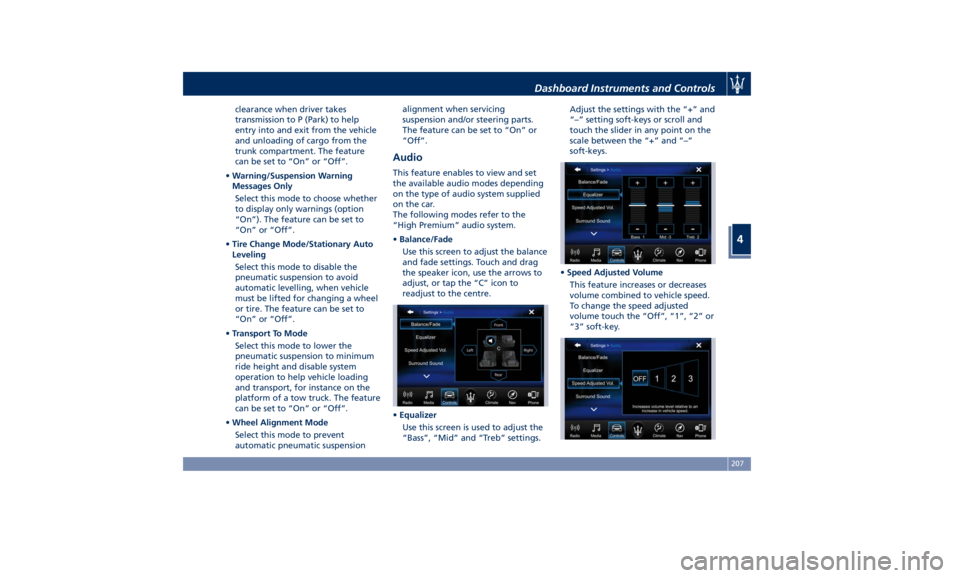
• Balance/Fade
Use this screen to adjust the balance
and fade settings. Touch and drag
the speaker icon, use the arrows to
adjust, or tap the “C” icon to
readjust to the centre.
• Equalizer
Use this screen is used to adjust the
“Bass”, “Mid” and “Treb” settings. Adjust the settings with the “+” and
“–” setting soft-keys or scroll and
touch the slider in any point on the
scale between the “+” and “–”
soft-keys.
• Speed Adjusted Volume
This feature increases or decreases
volume combined to vehicle speed.
To change the speed adjusted
volume touch the “Off”, “1”, “2” or
“3” soft-key.Dashboard Instruments and Controls
4
207
Page 214 of 436
Restore Settings When this feature is selected, it will
reset the “Display”, “Clock”, “Audio”,
and “Radio Settings” to their default
settings.
Run this feature and a pop-up will
appear asking user to confirm default
settings resetting. Select “Yes” to
restore, or “Cancel” to exit. Once the
settings are restored, a pop-up appears
confirming that settings have been
reset to default and then the MTC+
will restart.
Clear Personal Data When this feature is selected, it will
remove personal data concerning
settings and/or options that have been
modified compared to factory settings
and will also remove from system
memory Bluetooth devices and presets.
To remove personal information, select
this feature and a pop-up will appear
asking confirmation to delete all
personal data. Select “OK” to clear, or
“Cancel” to exit. Once the data have
been cleared, a pop up appears
confirming that personal data have
been cleared and then the MTC+ will
restart. Dashboard Compartment There is a glove box compartment on
the passenger side of the dashboard to
store small items or documents.
WARNING!
Do not operate the vehicle with a
glove compartment lid in the open
position. Cellular phones, music
players, and other handheld electronic
devices should be stowed while
driving. Use of these devices while
driving could cause an accident due to
distraction.
CAUTION!
Do not place objects weighing over
22 lb (10 kg) in the glove box
compartment.
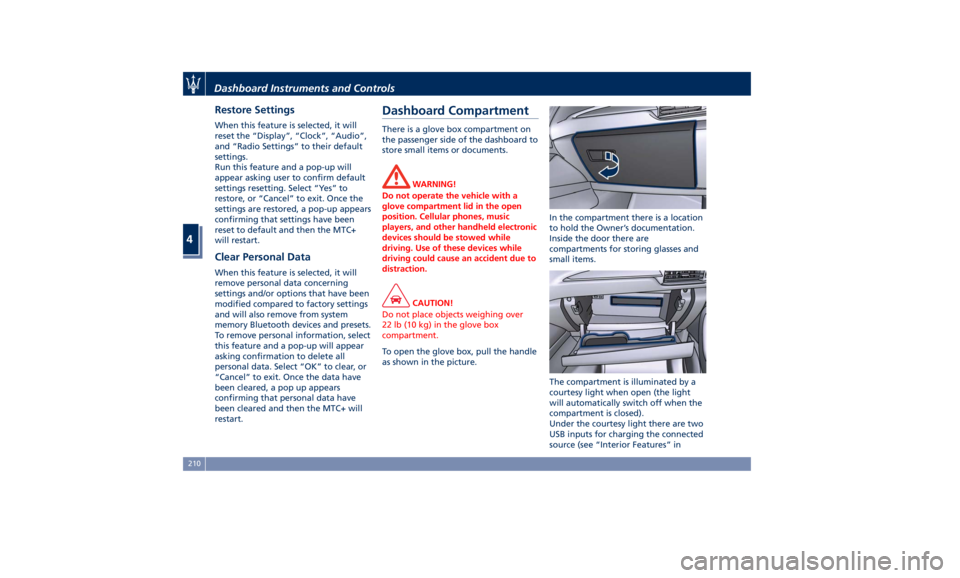
To open the glove box, pull the handle
as
shown in the picture. In the compartment there is a location
to hold the Owner’s documentation.
Inside the door there are
compartments for storing glasses and
small items.
The compartment is illuminated by a
courtesy light when open (the light
will automatically switch off when the
compartment is closed).
Under the courtesy light there are two
USB inputs for charging the connected
source (see “Interior Features” inDashboard Instruments and Controls
4
210
Page 220 of 436
NOTE:
For vehicles equipped with Remote
Start, the Air Conditioning System will
not function during Remote Start
operation if the climate control is left
in “OFF”.
2. A/C
Touch the "A/C" soft-key to change
the current air conditioning setting;
the soft-key illuminates when the A/C
is on. Operating this function will
cause the automatic feature to switch
into manual mode and the “AUTO”
LED on the buttons and MTC+ soft-key
will turn off.
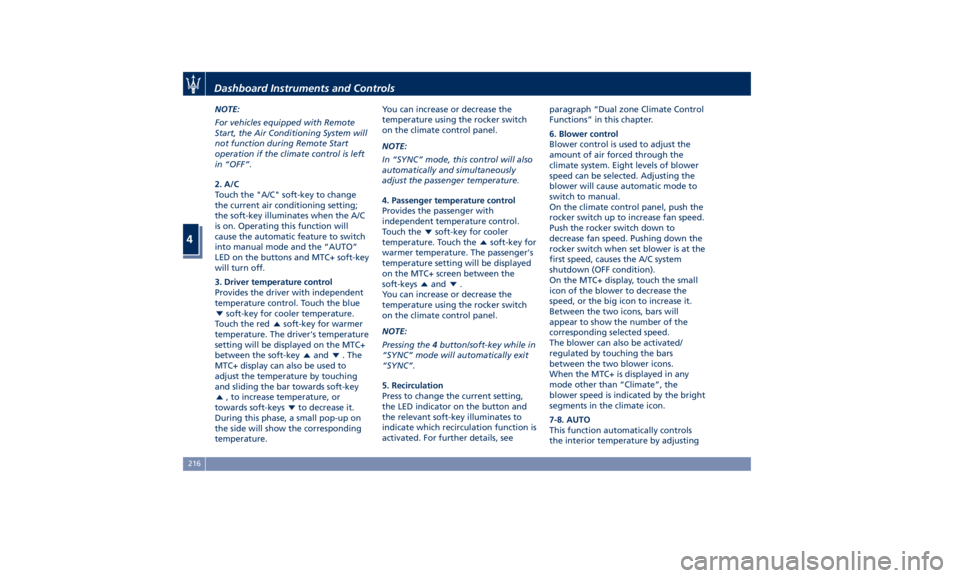
3. Driver temperature control
Provides the driver with independent
temperature control. Touch the blue
soft-key for cooler temperature.
Touch the red
soft-key for warmer
temperature. The driver's temperature
setting will be displayed on the MTC+
between the soft-key
and . The
MTC+ display can also be used to
adjust the temperature by touching
and sliding the bar towards soft-key
, to increase temperature, or
towards soft-keys
to decrease it.
During this phase, a small pop-up on
the side will show the corresponding
temperature. You can increase or decrease the
temperature using the rocker switch
on the climate control panel.
NOTE:
In “SYNC” mode, this control will also
automatically and simultaneously
adjust the passenger temperature.
4. Passenger temperature control
Provides the passenger with
independent temperature control.
Touch the
soft-key for cooler
temperature. Touch the
soft-key for
warmer temperature. The passenger's
temperature setting will be displayed
on the MTC+ screen between the
soft-keys
and .
You can increase or decrease the
temperature using the rocker switch
on the climate control panel.
NOTE:
Pressing the 4 button/soft-key while in
“SYNC” mode will automatically exit
“SYNC”.
5. Recirculation
Press to change the current setting,
the LED indicator on the button and
the relevant soft-key illuminates to
indicate which recirculation function is
activated. For further details, see paragraph “Dual zone Climate Control
Functions” in this chapter.
6. Blower control
Blower control is used to adjust the
amount of air forced through the
climate system. Eight levels of blower
speed can be selected. Adjusting the
blower will cause automatic mode to
switch to manual.
On the climate control panel, push the
rocker switch up to increase fan speed.
Push the rocker switch down to
decrease fan speed. Pushing down the
rocker switch when set blower is at the
first speed, causes the A/C system
shutdown (OFF condition).
On the MTC+ display, touch the small
icon of the blower to decrease the
speed, or the big icon to increase it.
Between the two icons, bars will
appear to show the number of the
corresponding selected speed.
The blower can also be activated/
regulated by touching the bars
between the two blower icons.
When the MTC+ is displayed in any
mode other than “Climate”, the
blower speed is indicated by the bright
segments in the climate icon.
7-8. AUTO
This function automatically controls
the interior temperature by adjustingDashboard Instruments and Controls
4
216
Page 231 of 436
5 – Driving Normal Starting of the Engine ............................. 228
Automatic Start&Stop System ............................. 230
Automatic Transmission .................................. 234
All-Wheel Drive ........................................ 243
Drive Mode ........................................... 244
Active Alternator ....................................... 264
Off-Road Drive ......................................... 264
Parking Brake ......................................... 268
Parking .............................................. 271
Brake and Stability Control System ......................... 273
Using the Brakes ....................................... 280
Use of the Engine ...................................... 281
Electronic Cruise Control ................................. 282
Adaptive Cruise Control - ACC (optional) ..................... 286
Forward Collision Warning – FCW .......................... 297
Lane Keeping Assist - LKA (optional, with ACC only) ............ 301
Blind Spot Assist – BSA (without ACC) ....................... 305
Active Blind Spot Assist - ABSA (optional, with ACC only) ........ 310
Highway Assist – HAS (optional, with ACC only) ................ 313
Traffic Sign Assist – TSA (optional) .......................... 319
Tires - General Information ............................... 321
Tire Pressure Monitoring System (TPMS) ..................... 329
Fuel Requirements ...................................... 334
Refueling ............................................. 336
Driving Conditions ...................................... 338
Trailer Towing ......................................... 341 227
Page 233 of 436
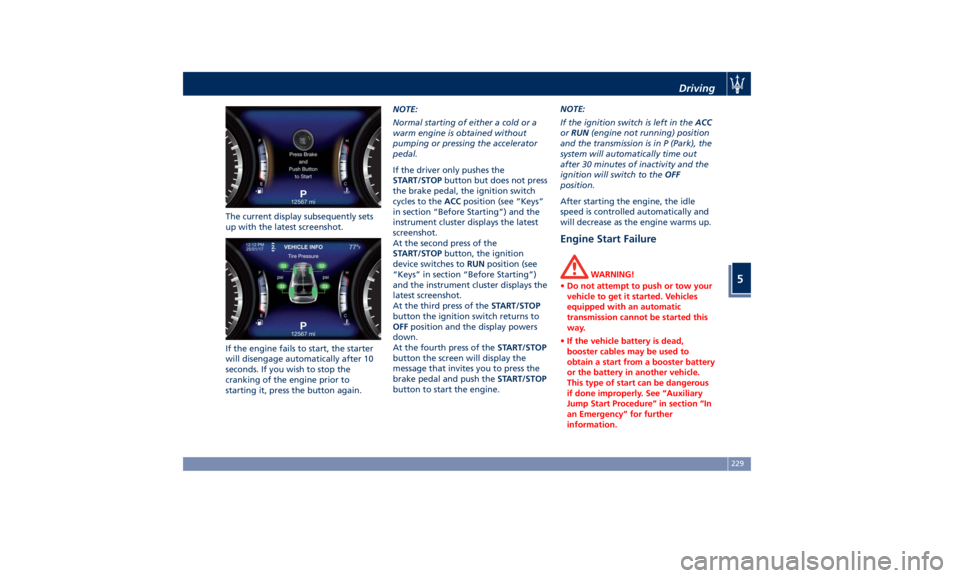
The current display subsequently sets
up with the latest screenshot.
If the engine fails to start, the starter
will disengage automatically after 10
seconds. If you wish to stop the
cranking of the engine prior to
starting it, press the button again. NOTE:
Normal starting of either a cold or a
warm engine is obtained without
pumping or pressing the accelerator
pedal.
If the driver only pushes the
START/STOP button but does not press
the brake pedal, the ignition switch
cycles to the ACC position (see “Keys”
in section “Before Starting”) and the
instrument cluster displays the latest
screenshot.
At the second press of the
START/STOP button, the ignition
device switches to RUN position (see
“Keys” in section “Before Starting”)
and the instrument cluster displays the
latest screenshot.
At the third press of the START/STOP
button the ignition switch returns to
OFF position and the display powers
down.
At the fourth press of the START/STOP
button the screen will display the
message that invites you to press the
brake pedal and push the START/STOP
button to start the engine. NOTE:
If the ignition switch is left in the ACC
or RUN (engine not running) position
and the transmission is in P (Park), the
system will automatically time out
after 30 minutes of inactivity and the
ignition will switch to the OFF
position.
After starting the engine, the idle
speed is controlled automatically and
will decrease as the engine warms up.
Engine Start Failure WARNING!
• Do not attempt to push or tow your
vehicle to get it started. Vehicles
equipped with an automatic
transmission cannot be started this
way.
• If the vehicle battery is dead,
booster cables may be used to
obtain a start from a booster battery
or the battery in another vehicle.
This type of start can be dangerous
if done improperly. See “Auxiliary
Jump Start Procedure” in section “In
an Emergency” for further
information.Driving
5
229
Page 238 of 436
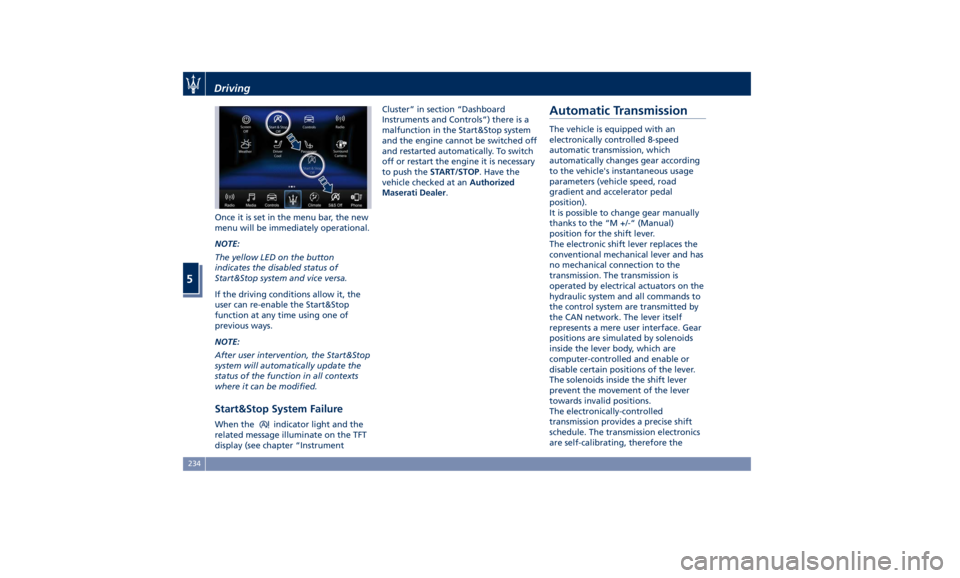
Once it is set in the menu bar, the new
menu will be immediately operational.
NOTE:
The yellow LED on the button
indicates the disabled status of
Start&Stop system and vice versa.
If the driving conditions allow it, the
user can re-enable the Start&Stop
function at any time using one of
previous ways.
NOTE:
After user intervention, the Start&Stop
system will automatically update the
status of the function in all contexts
where it can be modified.
Start&Stop System Failure When the indicator light and the
related message illuminate on the TFT
display (see chapter “Instrument Cluster” in section “Dashboard
Instruments and Controls”) there is a
malfunction in the Start&Stop system
and the engine cannot be switched off
and restarted automatically. To switch
off or restart the engine it is necessary
to push the START/STOP . Have the
vehicle checked at an Authorized
Maserati Dealer .
Automatic Transmission The vehicle is equipped with an
electronically controlled 8-speed
automatic transmission, which
automatically changes gear according
to the vehicle's instantaneous usage
parameters (vehicle speed, road
gradient and accelerator pedal
position).
It is possible to change gear manually
thanks to the “M +/-“ (Manual)
position for the shift lever.
The electronic shift lever replaces the
conventional mechanical lever and has
no mechanical connection to the
transmission. The transmission is
operated by electrical actuators on the
hydraulic system and all commands to
the control system are transmitted by
the CAN network. The lever itself
represents a mere user interface. Gear
positions are simulated by solenoids
inside the lever body, which are
computer-controlled and enable or
disable certain positions of the lever.
The solenoids inside the shift lever
prevent the movement of the lever
towards invalid positions.
The electronically-controlled
transmission provides a precise shift
schedule. The transmission electronics
are self-calibrating, therefore theDriving
5
234
Page 241 of 436
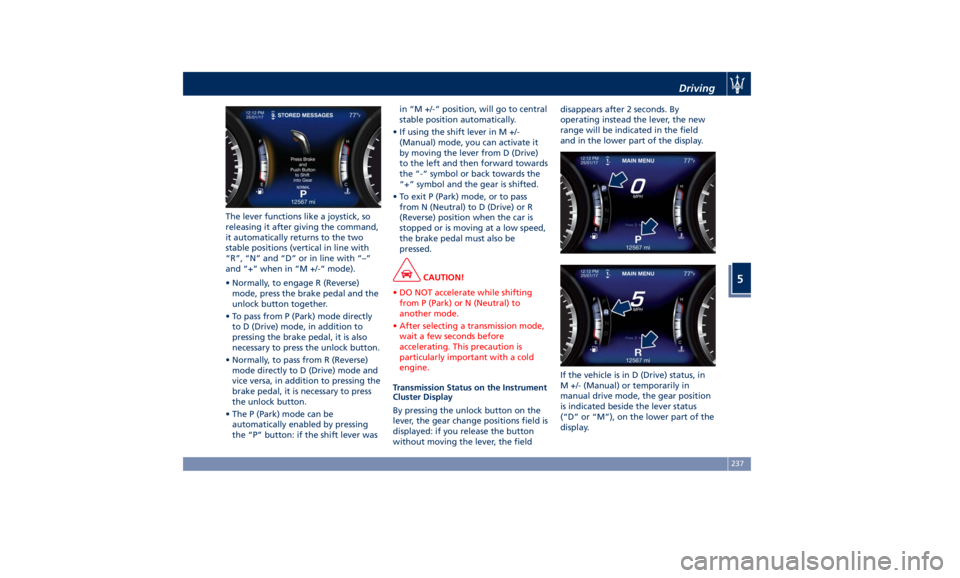
The lever functions like a joystick, so
releasing it after giving the command,
it automatically returns to the two
stable positions (vertical in line with
“R”, “N” and “D” or in line with “–”
and “+” when in “M +/-“ mode).
• Normally, to engage R (Reverse)
mode, press the brake pedal and the
unlock button together.
• To pass from P (Park) mode directly
to D (Drive) mode, in addition to
pressing the brake pedal, it is also
necessary to press the unlock button.
• Normally, to pass from R (Reverse)
mode directly to D (Drive) mode and
vice versa, in addition to pressing the
brake pedal, it is necessary to press
the unlock button.
• The P (Park) mode can be
automatically enabled by pressing
the “P” button: if the shift lever was in “M +/-“ position, will go to central
stable position automatically.
• If using the shift lever in M +/-
(Manual) mode, you can activate it
by moving the lever from D (Drive)
to the left and then forward towards
the “-“ symbol or back towards the
“+” symbol and the gear is shifted.
• To exit P (Park) mode, or to pass
from N (Neutral) to D (Drive) or R
(Reverse) position when the car is
stopped or is moving at a low speed,
the brake pedal must also be
pressed.
CAUTION!
• DO NOT accelerate while shifting
from P (Park) or N (Neutral) to
another mode.
• After selecting a transmission mode,
wait a few seconds before
accelerating. This precaution is
particularly important with a cold
engine.
Transmission Status on the Instrument
Cluster
Display
By pressing the unlock button on the
lever, the gear change positions field is
displayed: if you release the button
without moving the lever, the field disappears after 2 seconds. By
operating instead the lever, the new
range will be indicated in the field
and in the lower part of the display.
If the vehicle is in D (Drive) status, in
M +/- (Manual) or temporarily in
manual drive mode, the gear position
is indicated beside the lever status
(“D” or “M”), on the lower part of the
display.Driving
5
237
Page 242 of 436
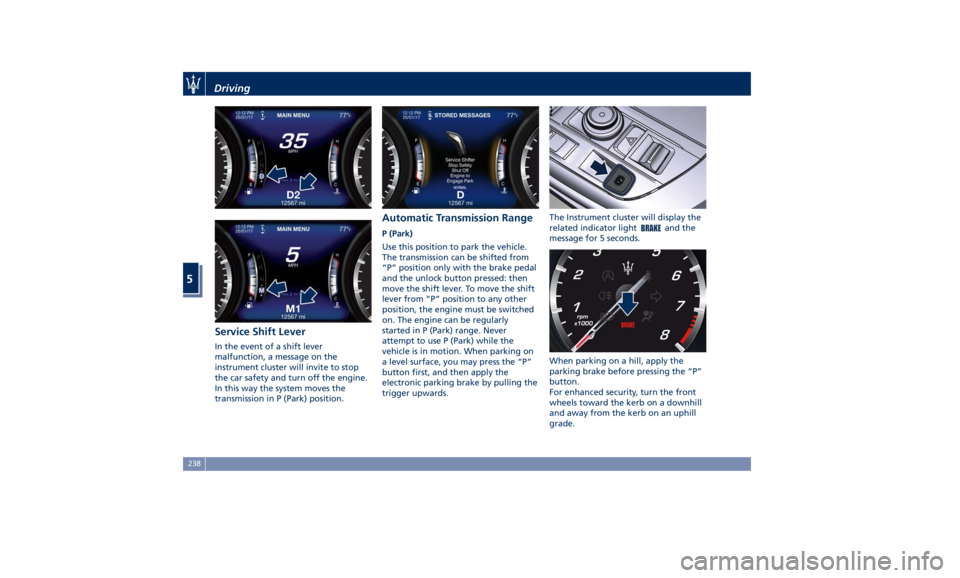
Service Shift Lever In the event of a shift lever
malfunction, a message on the
instrument cluster will invite to stop
the car safety and turn off the engine.
In this way the system moves the
transmission in P (Park) position. Automatic Transmission Range P (Park)
Use this position to park the vehicle.
The transmission can be shifted from
“P” position only with the brake pedal
and the unlock button pressed: then
move the shift lever. To move the shift
lever from “P” position to any other
position, the engine must be switched
on. The engine can be regularly
started in P (Park) range. Never
attempt to use P (Park) while the
vehicle is in motion. When parking on
a level surface, you may press the “P”
button first, and then apply the
electronic parking brake by pulling the
trigger upwards. The Instrument cluster will display the
related indicator light
and the
message for 5 seconds.
When parking on a hill, apply the
parking brake before pressing the “P”
button.
For enhanced security, turn the front
wheels toward the kerb on a downhill
and away from the kerb on an uphill
grade.Driving
5
238