2019 LINCOLN CONTINENTAL reset
[x] Cancel search: resetPage 144 of 627
Head-Up Display (HUD)
Turns the HUD on and off.
HUD On
Follow onscreen directions to confirm or modify your settings.
Brightness
Follow onscreen directions to confirm or
modify your settings.
Vertical Position
HUD Adjustments
Image Rotation
Turns the distance to empty, time and temperature on and off.
HUD Content
Select Your Setting
Cruise and Lane Control
Note: When you save a memory preset position, your current HUD settings are al\
so saved to that memory preset position. See Memory
Function (page 160).
141
Continental (CPL) Canada/United States of America, enUSA, Edition date: 201807, Second-Printing Information Displays
Page 155 of 627

1. Adjust the seat backrest to an upright
driving or riding position.
2. Pivot the head restraint forward toward your head to the desired position.
After the head restraint reaches the
forward-most tilt position, pivot it forward
again to release it to the rearward, un-tilted
position. Rear Seat Outermost Head Restraints
The rear outermost head restraints consist
of:
An energy absorbing head
restraint.
A
Two steel stems.
B
Guide sleeve unlock and remove
button.
C
Fold button (If Equipped).
D Removing the Head Restraint
1. Press and hold both C buttons.
2. Pull the head restraint up.
Installing the Head Restraint
Align the steel stems into the guide sleeves
and push the head restraint down until it
locks.
Folding the Head Restraint
1. Press and hold button D.
2. Pull it back up to reset.
152
Continental (CPL) Canada/United States of America, enUSA, Edition date: 201807, Second-Printing SeatsE144727 E293091
Page 163 of 627

You can also adjust this feature through the
touchscreen.
Press the Menu Settings icon, then
Vehicle. Choose Multi-Contour
Seats.
When switched on, the system displays
directions for you to adjust the lumbar
settings in your seat or to set the massage
function.
To access and make adjustments to the
lumbar setting:
1. Choose the desired seat to adjust.
2. Press the + or - to adjust the lumbar intensity.
To access and make adjustments to the
massage setting:
1. Press the Menu Settings icon, then Vehicle. Choose Multi-Contour Seats.
2. Choose the desired seat to adjust.
3. Press OFF, Low or High. MEMORY FUNCTION WARNING: Before activating the
memory seat, make sure that the area
immediately surrounding the seat is clear
of obstructions and that all occupants are
clear of moving parts. WARNING:
Do not use the memory
function when your vehicle is moving.
This feature automatically recalls the position
of the following:
• Driver seat.
• Power mirrors.
• Power steering column.
The memory control is on the driver door. Saving a Preset Position
1. Switch the ignition on.
2. Adjust the memory features to your
desired position.
3. Press and hold the desired preset button
until you hear a single tone.
160
Continental (CPL) Canada/United States of America, enUSA, Edition date: 201807, Second-Printing SeatsE142607 E222235
Page 164 of 627
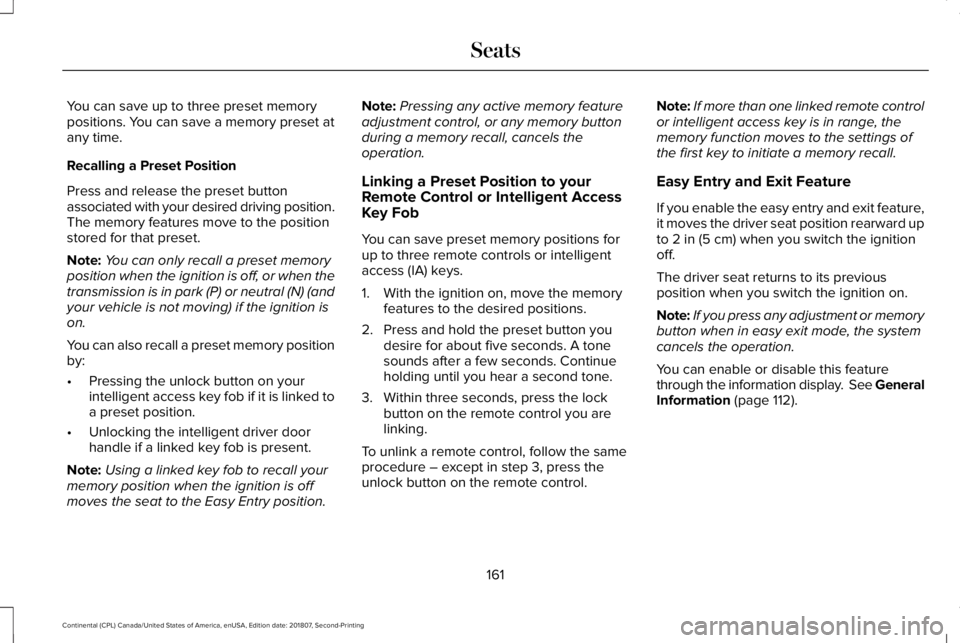
You can save up to three preset memory
positions. You can save a memory preset at
any time.
Recalling a Preset Position
Press and release the preset button
associated with your desired driving position.
The memory features move to the position
stored for that preset.
Note:
You can only recall a preset memory
position when the ignition is off, or when the
transmission is in park (P) or neutral (N) (and
your vehicle is not moving) if the ignition is
on.
You can also recall a preset memory position
by:
• Pressing the unlock button on your
intelligent access key fob if it is linked to
a preset position.
• Unlocking the intelligent driver door
handle if a linked key fob is present.
Note: Using a linked key fob to recall your
memory position when the ignition is off
moves the seat to the Easy Entry position. Note:
Pressing any active memory feature
adjustment control, or any memory button
during a memory recall, cancels the
operation.
Linking a Preset Position to your
Remote Control or Intelligent Access
Key Fob
You can save preset memory positions for
up to three remote controls or intelligent
access (IA) keys.
1. With the ignition on, move the memory features to the desired positions.
2. Press and hold the preset button you desire for about five seconds. A tone
sounds after a few seconds. Continue
holding until you hear a second tone.
3. Within three seconds, press the lock button on the remote control you are
linking.
To unlink a remote control, follow the same
procedure – except in step 3, press the
unlock button on the remote control. Note:
If more than one linked remote control
or intelligent access key is in range, the
memory function moves to the settings of
the first key to initiate a memory recall.
Easy Entry and Exit Feature
If you enable the easy entry and exit feature,
it moves the driver seat position rearward up
to 2 in (5 cm) when you switch the ignition
off.
The driver seat returns to its previous
position when you switch the ignition on.
Note: If you press any adjustment or memory
button when in easy exit mode, the system
cancels the operation.
You can enable or disable this feature
through the information display. See General
Information
(page 112).
161
Continental (CPL) Canada/United States of America, enUSA, Edition date: 201807, Second-Printing Seats
Page 168 of 627
Press the heated seat symbol to cycle
through the various heat settings and off.
More indicator lights indicate warmer
settings.
The heated seat module resets at every
ignition run cycle. While the ignition is on,
press the high or low heated seat switch to
enable heating mode. When activated, they
will turn off automatically when you turn the
engine off.
CLIMATE CONTROLLED SEATS (IF
EQUIPPED)
Heated Seats WARNING:
People who are unable
to feel pain to their skin because of
advanced age, chronic illness, diabetes,
spinal cord injury, medication, alcohol use,
exhaustion or other physical conditions,
must use caution when using the heated
seat. The heated seat may cause burns
even at low temperatures, especially if
used for long periods of time. Do not place
anything on the seat that may block the
heat, such as a blanket or cushion. This
can cause the heated seat to overheat. Do
not puncture the seat with pins, needles
or other pointed objects. This damages the
heating element and can cause the heated
seat to overheat. An overheated seat may
cause serious personal injury.
Note: The heated seats switch on during a
remote start if they are enabled through the
information displays.
See General
Information (page 112).
Note: The heated seats may also switch on
when you start your vehicle if they were on
when you previously switched your vehicle
off. Note:
Do not do the following:
• Place heavy objects on the seat.
• Operate the seat heater if water or any
other liquid spills on the seat. Allow the
seat to dry thoroughly. Press this symbol to cycle through the
various heat settings and off. More indicator
lights indicate warmer settings.
Ventilated Seats
Note:
The ventilated seats switch on during
a remote start if they are enabled through
the information displays. See General
Information (page 112).
165
Continental (CPL) Canada/United States of America, enUSA, Edition date: 201807, Second-Printing SeatsE146322 E146322
Page 175 of 627
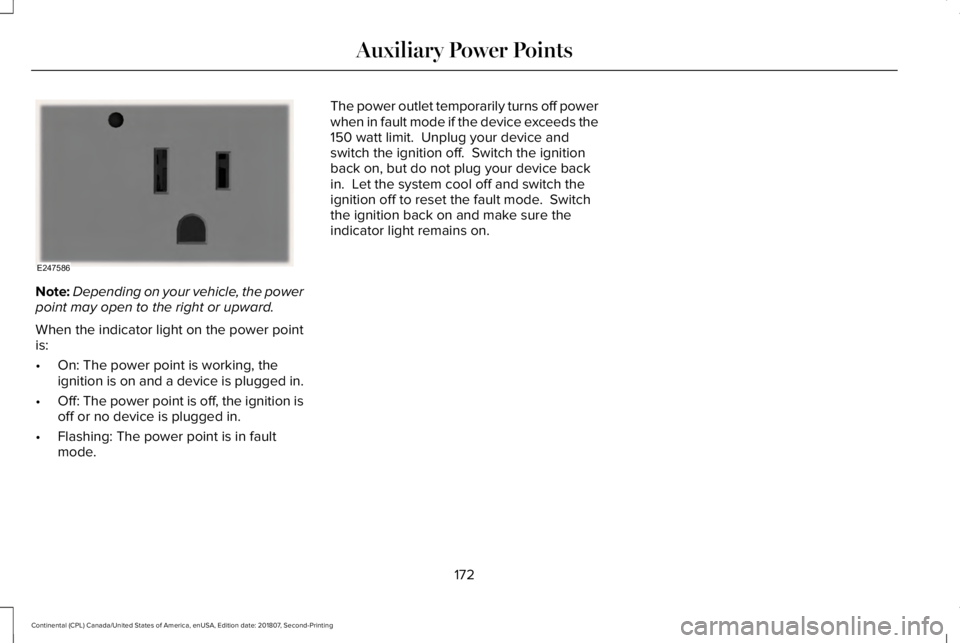
Note:
Depending on your vehicle, the power
point may open to the right or upward.
When the indicator light on the power point
is:
• On: The power point is working, the
ignition is on and a device is plugged in.
• Off: The power point is off, the ignition is
off or no device is plugged in.
• Flashing: The power point is in fault
mode. The power outlet temporarily turns off power
when in fault mode if the device exceeds the
150 watt limit. Unplug your device and
switch the ignition off. Switch the ignition
back on, but do not plug your device back
in. Let the system cool off and switch the
ignition off to reset the fault mode. Switch
the ignition back on and make sure the
indicator light remains on.
172
Continental (CPL) Canada/United States of America, enUSA, Edition date: 201807, Second-Printing Auxiliary Power PointsE247586
Page 180 of 627
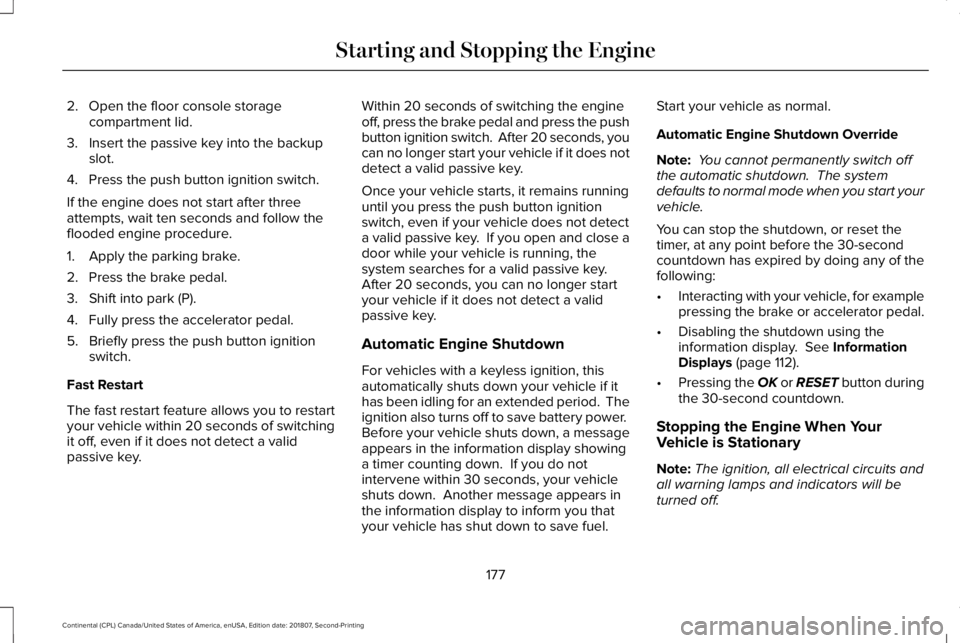
2. Open the floor console storage
compartment lid.
3. Insert the passive key into the backup slot.
4. Press the push button ignition switch.
If the engine does not start after three
attempts, wait ten seconds and follow the
flooded engine procedure.
1. Apply the parking brake.
2. Press the brake pedal.
3. Shift into park (P).
4. Fully press the accelerator pedal.
5. Briefly press the push button ignition switch.
Fast Restart
The fast restart feature allows you to restart
your vehicle within 20 seconds of switching
it off, even if it does not detect a valid
passive key. Within 20 seconds of switching the engine
off, press the brake pedal and press the push
button ignition switch. After 20 seconds, you
can no longer start your vehicle if it does not
detect a valid passive key.
Once your vehicle starts, it remains running
until you press the push button ignition
switch, even if your vehicle does not detect
a valid passive key. If you open and close a
door while your vehicle is running, the
system searches for a valid passive key.
After 20 seconds, you can no longer start
your vehicle if it does not detect a valid
passive key.
Automatic Engine Shutdown
For vehicles with a keyless ignition, this
automatically shuts down your vehicle if it
has been idling for an extended period. The
ignition also turns off to save battery power.
Before your vehicle shuts down, a message
appears in the information display showing
a timer counting down. If you do not
intervene within 30 seconds, your vehicle
shuts down. Another message appears in
the information display to inform you that
your vehicle has shut down to save fuel.Start your vehicle as normal.
Automatic Engine Shutdown Override
Note:
You cannot permanently switch off
the automatic shutdown. The system
defaults to normal mode when you start your
vehicle.
You can stop the shutdown, or reset the
timer, at any point before the 30-second
countdown has expired by doing any of the
following:
• Interacting with your vehicle, for example
pressing the brake or accelerator pedal.
• Disabling the shutdown using the
information display. See Information
Displays (page 112).
• Pressing the OK or RESET button during
the 30-second countdown.
Stopping the Engine When Your
Vehicle is Stationary
Note: The ignition, all electrical circuits and
all warning lamps and indicators will be
turned off.
177
Continental (CPL) Canada/United States of America, enUSA, Edition date: 201807, Second-Printing Starting and Stopping the Engine
Page 189 of 627

9. Fully close the fuel filler door.
Note:
The message may not immediately
reset. If the message continues to appear
and a warning lamp illuminates, have your
vehicle checked as soon as possible.
FUEL CONSUMPTION
Advertised Capacity
The advertised capacity is the maximum
amount of fuel that you can add to the fuel
tank after running out of fuel. Included in the
advertised capacity is an empty reserve. The
empty reserve is an unspecified amount of
fuel that remains in the fuel tank when the
fuel gauge indicates empty.
Note: The amount of fuel in the empty
reserve varies and should not be relied upon
to increase driving range.
Fuel Economy
Your vehicle calculates fuel economy figures
through the trip computer average fuel
function. See General Information (page
112). The first 1,000 mi (1,500 km) of driving is the
break-in period of the engine. A more
accurate measurement is obtained after
2,000 mi (3,000 km)
.
Impacting Fuel Economy
• Incorrect tire inflation pressures.
• Fully loading your vehicle.
• Carrying unnecessary weight.
• Adding certain accessories to your
vehicle such as bug deflectors, rollbars
or light bars, running boards and ski
racks.
• Using fuel blended with alcohol.
See
Fuel Quality (page 181).
• Fuel economy may decrease with lower
temperatures.
• Fuel economy may decrease when
driving short distances.
• You may get better fuel economy when
driving on flat terrain than when driving
on hilly terrain.
186
Continental (CPL) Canada/United States of America, enUSA, Edition date: 201807, Second-Printing Fuel and Refueling