Page 410 of 626
CavityCartridge Fuse Micro Fuse Description
F11 30 Amp Pink –Trailer Tow Electric Brake — If Equipped
F12 40 Amp Green –Body Controller #3/Power Locks
F13 40 Amp Green –Blower Motor Front
F14 40 Amp Green –Body Controller #4/Exterior Lighting #1
F15 40 Amp Green –LTR (Low Temperature Radiator) Engine
Cooling Pump — If Equipped
F17 30 Amp Pink –Headlamp Washer — If Equipped
F19 20 Amp Blue –Headrest Solenoid — If Equipped
F20 30 Amp Pink –Passenger Door Module
F22 20 Amp Blue –Engine Control Module
F23 30 Amp Pink –Interior Lights #1
F24 30 Amp Pink –Driver Door Module
F25 30 Amp Pink – Front Wipers
F26 30 Amp Pink –Anti-lock Brakes/Stability Control Module,
ECU and Valves
F28 20 Amp Blue –Trailer Tow Backup Lights — If Equipped
F29 20 Amp Blue –Trailer Tow Parking Lights — If Equipped
F30 30 Amp Pink –Trailer Tow (Receptacle) / Trailer Tow (Sepa-
rate E-Brake) / Trailer Tow (BUX) — If Equipped
408 IN CASE OF EMERGENCY
Page 411 of 626
CavityCartridge Fuse Micro Fuse Description
F32 30 Amp Pink –Drive Train Control Module
F34 30 Amp Pink –Slip Differential Control — If Equipped
F35 30 Amp Pink –Sunroof - If Equipped
F36 30 Amp Pink –Rear Defroster
F37 25 Amp Clear –Rear Blower Motor — If Equipped
F38 30 Amp Pink –Power Inverter 115V AC — If Equipped
F39 30 Amp Pink –Power Liftgate — If Equipped
F40 –10 Amp Red Daytime Running Lights/Headlamp Level-
ing
F42 –20 Amp Yellow Horn
F44 –10 Amp Red Diagnostic Port
F45 –5 Amp Tan Cyber Security Gateway
F49 –10 Amp Red Integrated Central Stack/Climate Control
F50 –20 Amp Yellow Air Suspension Control Module/Slip Differ-
ential - If Equipped
F51 –15 Amp Blue KIN/RF HUB/Steering Column Lock — If
Equipped
F53 –20 Amp Yellow Trailer Tow – Left Turn/Stop Lights — If
Equipped
F56 –15 Amp Blue Additional Content (Diesel Engine Only)
7
IN CASE OF EMERGENCY 409
Page 416 of 626
Jack Location
The scissor-type jack and tire changing tools are located in
the rear cargo area, below the load floor.
NOTE:The funnel for the Cap-Less Fuel System is located
on top of the spare tire. If your vehicle is out of fuel and an
auxiliary fuel can is needed, insert the funnel into the filler
neck and proceed to fill the vehicle. For vehicles not
equipped with a spare tire, the fuel filler funnel is stored in
the left storage bin under the load floor. For more informa-
tion on the Cap-Less Fuel System, refer to “Refueling The
Vehicle” in “Starting And Operating”.
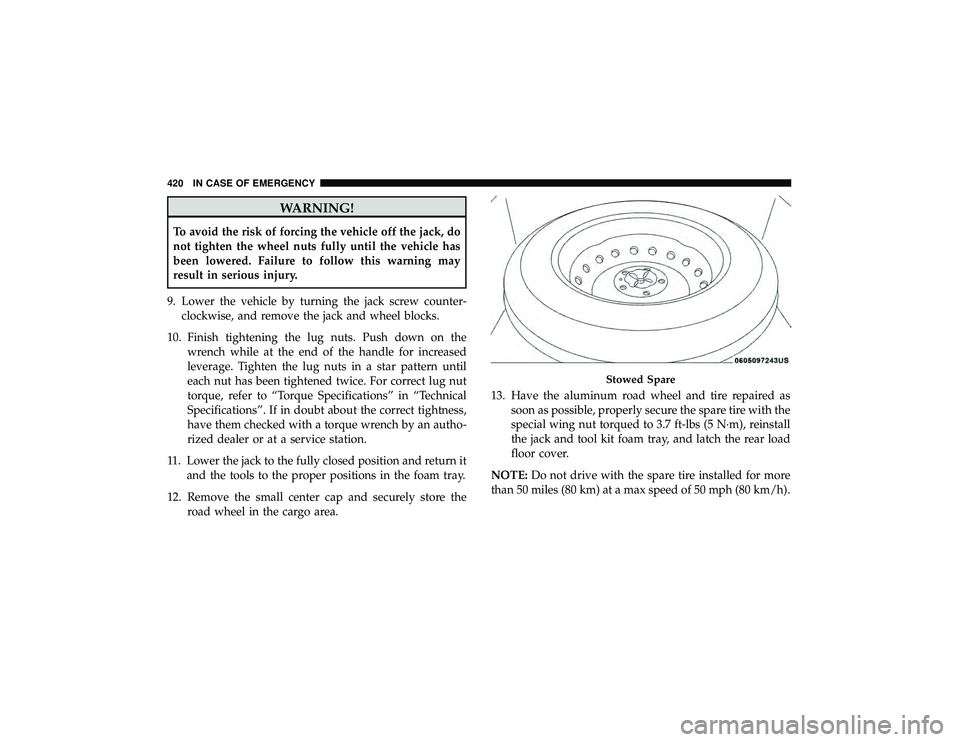
Spare Tire Stowage
The spare tire is stowed under the load floor in the rear
cargo area and is secured to the body with a special wing
nut.
Preparations For Jacking
Page 422 of 626

WARNING!
To avoid the risk of forcing the vehicle off the jack, do
not tighten the wheel nuts fully until the vehicle has
been lowered. Failure to follow this warning may
result in serious injury.
9. Lower the vehicle by turning the jack screw counter- clockwise, and remove the jack and wheel blocks.
10. Finish tightening the lug nuts. Push down on the wrench while at the end of the handle for increased
leverage. Tighten the lug nuts in a star pattern until
each nut has been tightened twice. For correct lug nut
torque, refer to “Torque Specifications” in “Technical
Specifications”. If in doubt about the correct tightness,
have them checked with a torque wrench by an autho-
rized dealer or at a service station.
11. Lower the jack to the fully closed position and return it and the tools to the proper positions in the foam tray.
12. Remove the small center cap and securely store the road wheel in the cargo area. 13. Have the aluminum road wheel and tire repaired as
soon as possible, properly secure the spare tire with the
special wing nut torqued to 3.7 ft-lbs (5 N·m), reinstall
the jack and tool kit foam tray, and latch the rear load
floor cover.
NOTE: Do not drive with the spare tire installed for more
than 50 miles (80 km) at a max speed of 50 mph (80 km/h).
Page 455 of 626
5. Remove the filter cover by disengaging the retaining taband mid way snap that secures the filter cover to the
HVAC housing. Disengage the mid way snap by pulling
the door outward. Unhinge the filter cover on the right
side to fully remove the cover. 6. Remove the A/C air filter by pulling it straight out of
the housing.
7. Install the A/C air filter with the arrow on the filter pointing toward the floor. When installing the filter
cover, make sure the retaining tabs fully engage the
cover.
Page 514 of 626

CYBERSECURITY
Your vehicle may be a connected vehicle and may be
equipped with both wired and wireless networks. These
networks allow your vehicle to send and receive informa-
tion. This information allows systems and features in your
vehicle to function properly.
Your vehicle may be equipped with certain security fea-
tures to reduce the risk of unauthorized and unlawful
access to vehicle systems and wireless communications.
Vehicle software technology continues to evolve over time
and FCA US LLC, working with its suppliers, evaluates
and takes appropriate steps as needed. Similar to a com-
puter or other devices, your vehicle may require software
updates to improve the usability and performance of your
systems or to reduce the potential risk of unauthorized and
unlawful access to your vehicle systems.
The risk of unauthorized and unlawful access to your
vehicle systems may still exist, even if the most recent
version of vehicle software (such as Uconnect software) is
installed.
Page 515 of 626

NOTE:
•FCA US LLC or your dealer may contact you directly
regarding software updates.
• To help further improve vehicle security and minimize
the potential risk of a security breach, vehicle owners
should:
• Routinely check www.driveuconnect.com (U.S. Resi-
dents) or www.driveuconnect.ca (Canadian Residents)
to learn about available Uconnect software updates.
• Only connect and use trusted media devices (e.g.
personal mobile phones, USBs, CDs).
Privacy of any wireless and wired communications cannot
be assured. Third parties may unlawfully intercept infor-
mation and private communications without your consent.
For further information, refer to “Data Collection & Pri-
vacy” in your Uconnect Owner ’s Manual Supplement or
“Onboard Diagnostic System (OBD II) Cybersecurity” in
“Getting To Know Your Instrument Panel”.UCONNECT SETTINGS
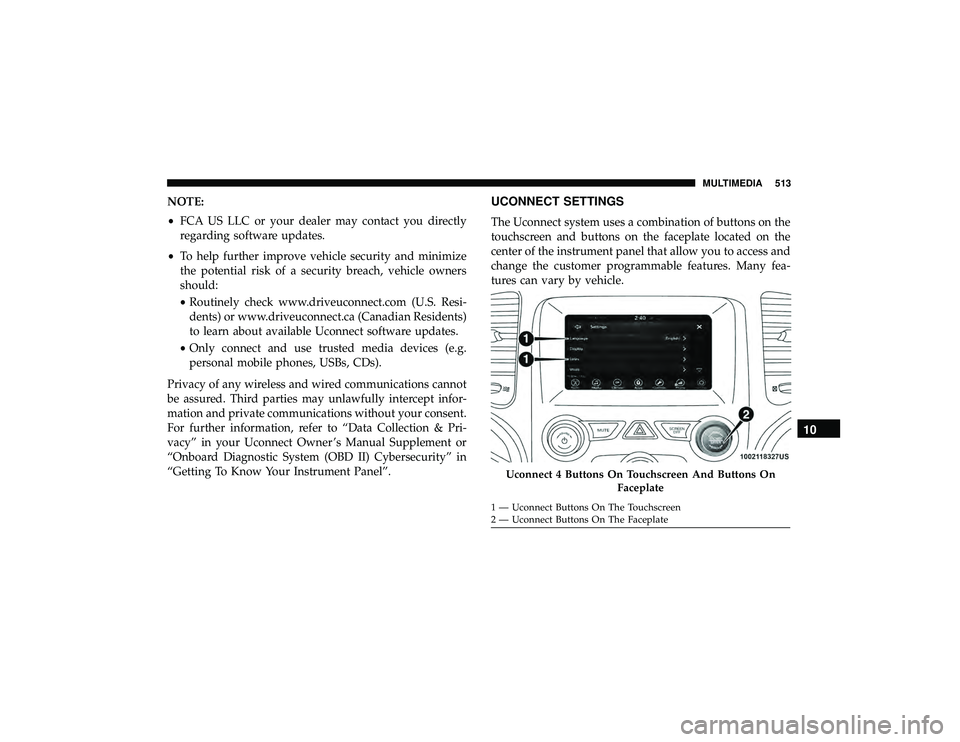
The Uconnect system uses a combination of buttons on the
touchscreen and buttons on the faceplate located on the
center of the instrument panel that allow you to access and
change the customer programmable features. Many fea-
tures can vary by vehicle.
Page 610 of 626

About Your Brakes........................ .499
Adaptive Cruise Control (ACC) (Cruise Control) . . . .293
Adding Engine Coolant (Antifreeze) .............464
Adding Fuel ............................. .359
Additives, Fuel ........................... .502
Adjust Forward ................................49
Rearward ...............................49
Air Bag Air Bag Operation ....................... .216
Air Bag Warning Light .....................212
Driver Knee Air Bag ..................... .217
Enhanced Accident Response .............222, 433
Event Data Recorder (EDR) .................433
FrontAirBag .......................... .214
If Deployment Occurs .....................221
Knee Impact Bolsters ..................... .216
Maintaining Your Air Bag System .............224
Maintenance ........................... .224
Redundant Air Bag Warning Light ............213
Side Air Bags .......................... .217
Transporting Pets ....................... .244
Air Bag Light .......................149, 212, 246
Air Cleaner, Engine (Engine Air Cleaner Filter) ......448
Air Conditioner Maintenance ..................450 Air Conditioner Refrigerant
................450, 451
Air Conditioner System ..................... .450
Air Conditioning ............................92
Air Conditioning Filter .................95, 448, 451
Air Conditioning, Operating Tips ................94
Air Filter ............................... .448
Air Pressure Tires................................. .478
Alarm Arm The System .......................34, 35
Disarm The System ........................34
Rearm The System ........................35
Security Alarm....................... .33, 153
Alterations/Modifications Vehicle .................................6
Ambient Light .............................78
Andr oid
Auto ............................ .595
Antifreeze (Engine Coolant) ................463, 505
Disposal .............................. .465
Anti-Lock Brake System (ABS) .................166
Anti-Lock Warning Light .....................153
Apple CarPlay ........................... .597
Assist, Hill Start .......................... .168
Audio Systems (Radio) .......................511
Auto Down Power Windows ...................97
608 INDEX