Page 18 of 685
1-6
Your vehicle at a glance
ENGINE COMPARTMENT
1. Engine coolant reservoir/Radiator cap.........................................7-20
2. Brake/clutch fluid reservoir ..................7-24
3. Air cleaner ............................................7-27
4. Engine oil dipstick ................................7-15
5. Engine oil filler cap ..............................7-16
6. Windscreen washer fluid reservoir ......7-25
7. Fuse box ..............................................7-59
8. Battery..................................................7-33
OTLE075101R/OTLE075002R
■Petrol 1.6 GDI
■Petrol 1.6 T-GDI
The actual engine compartment in the vehicle may differ from the illustration.
TLe UK 1.qxp 5/10/2018 11:28 AM Page 6
Page 19 of 685
1-7
Your vehicle at a glance
1
1. Engine coolant reservoir/Radiator cap.........................................7-20
2. Brake/clutch fluid reservoir ..................7-24
3. Air cleaner ............................................7-27
4. Engine oil dipstick ................................7-15
5. Engine oil filler cap ..............................7-16
6. Windscreen washer fluid reservoir ......7-25
7. Fuse box ..............................................7-59
8. Battery..................................................7-33
OTL075103R/OTLE078104R
■Petrol 2.0 MPI
■Petrol 2.4 GDI
The actual engine compartment in the vehicle may differ from the illustration.
TLe UK 1.qxp 5/10/2018 11:28 AM Page 7
Page 20 of 685
1-8
Your vehicle at a glance
1. Engine coolant reservoir/Radiator cap.........................................7-20
2. Brake/clutch fluid reservoir ..................7-24
3. Air cleaner ............................................7-27
4. Engine oil dipstick ................................7-17
5. Engine oil filler cap ..............................7-18
6. Windscreen washer fluid reservoir ......7-25
7. Fuse box ..............................................7-59
8. Battery..................................................7-33
9. Fuel filter .............................................7-26
OTLE078002/OTLE078001R
■Smartstream D1.6
■Diesel 2.0 TCI / Diesel 2.0 48V MHEV
The actual engine compartment in the vehicle may differ from the illustration.
TLe UK 1.qxp 5/10/2018 11:28 AM Page 8
Page 121 of 685

3-29
Convenient features of your vehicle
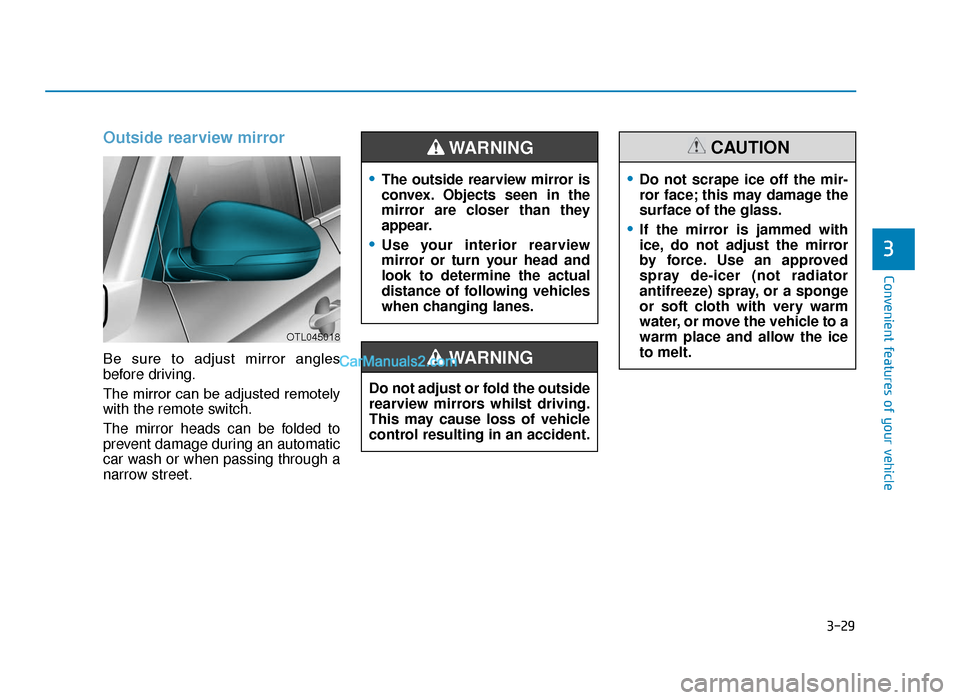
Outside rearview mirror
Be sure to adjust mirror angles
before driving.
The mirror can be adjusted remotely
with the remote switch.
The mirror heads can be folded to
prevent damage during an automatic
car wash or when passing through a
narrow street.
3
OTL045018
•The outside rearview mirror is
convex. Objects seen in the
mirror are closer than they
appear.
•Use your interior rearview
mirror or turn your head and
look to determine the actual
distance of following vehicles
when changing lanes.
WARNING
Do not adjust or fold the outside
rearview mirrors whilst driving.
This may cause loss of vehicle
control resulting in an accident.
WARNING
•Do not scrape ice off the mir-
ror face; this may damage the
surface of the glass.
•If the mirror is jammed with
ice, do not adjust the mirror
by force. Use an approved
spray de-icer (not radiator
antifreeze) spray, or a sponge
or soft cloth with very warm
water, or move the vehicle to a
warm place and allow the ice
to melt.
CAUTION
TLe UK 3a(~109).qxp 6/12/2018 2:22 PM Page 29
Page 136 of 685
3-44
Fuel filler door
Opening the fuel filler door
1. Unlock all doors after turning offthe engine. To open the fuel filler
door, press the centre edge of the
fuel filler door.
Information
The fuel filler door will open and close
only when all doors are unlocked. 2. Pull the fuel filler door (1) out to
fully open.
3. To remove the fuel tank cap (2), turn it counterclockwise. You may
hear a hissing noise as the pres-
sure inside the tank equalizes.
4. Place the cap on the fuel filler door.
Information
If the fuel filler door does not open
because ice has formed around it, tap
lightly or push on the door to break
the ice and release the door. Do not
pry on the door. If necessary, spray
around the door with an approved de-
icer fluid (do not use radiator anti-
freeze) or move the vehicle to a warm
place and allow the ice to melt.
i
i
Convenient features of your vehicle
OTLE048031
OTLE048035
TLe UK 3a(~109).qxp 6/12/2018 2:24 PM Page 44
Page 155 of 685

3-63
Convenient features of your vehicle
3
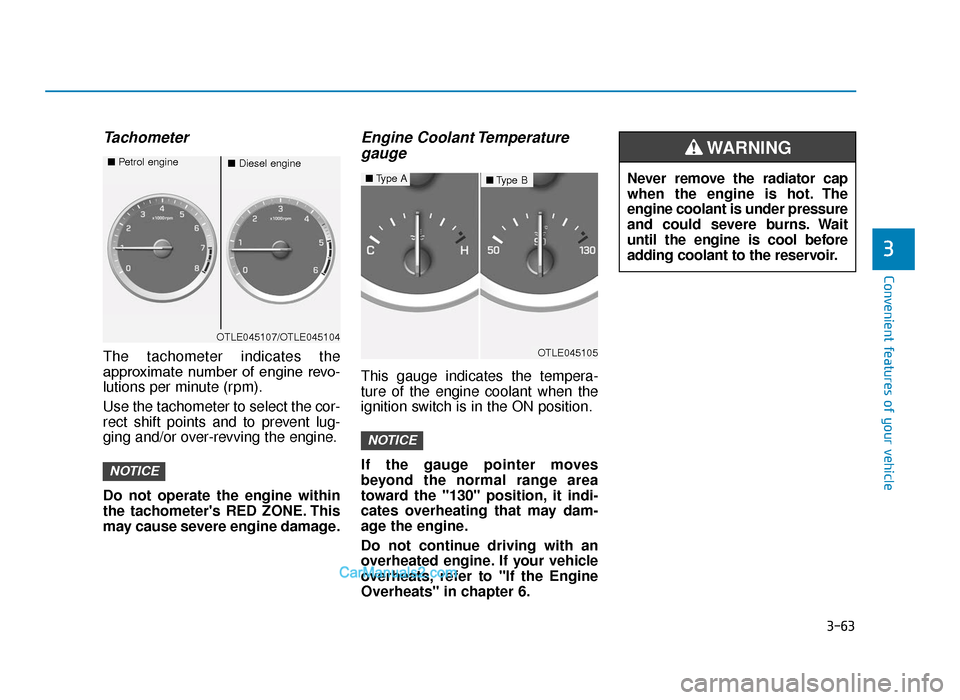
Tachometer
The tachometer indicates the
approximate number of engine revo-
lutions per minute (rpm).
Use the tachometer to select the cor-
rect shift points and to prevent lug-
ging and/or over-revving the engine.
Do not operate the engine within
the tachometer's RED ZONE. This
may cause severe engine damage.
Engine Coolant Temperaturegauge
This gauge indicates the tempera-
ture of the engine coolant when the
ignition switch is in the ON position.
If the gauge pointer moves
beyond the normal range area
toward the "130" position, it indi-
cates overheating that may dam-
age the engine.
Do not continue driving with an
overheated engine. If your vehicle
overheats, refer to "If the Engine
Overheats" in chapter 6.
NOTICE
NOTICE
OTLE045107/OTLE045104
■ Diesel engine
■
Petrol engine
OTLE045105
Never remove the radiator cap
when the engine is hot. The
engine coolant is under pressure
and could severe burns. Wait
until the engine is cool before
adding coolant to the reservoir.
WARNING
■Type B■Type A
TLe UK 3a(~109).qxp 6/12/2018 2:25 PM Page 63
Page 511 of 685

6-8
What to do in an emergency
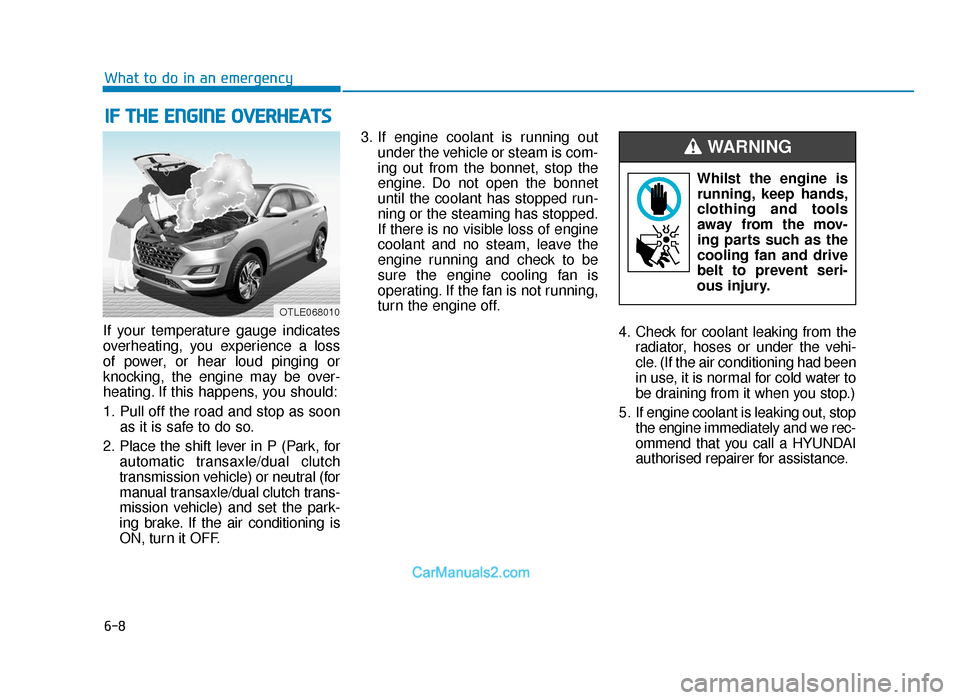
If your temperature gauge indicates
overheating, you experience a loss
of power, or hear loud pinging or
knocking, the engine may be over-
heating. If this happens, you should:
1. Pull off the road and stop as soon as it is safe to do so.
2. Place the shift lever in P (Park, for automatic transaxle/dual clutch
transmission vehicle) or neutral (for
manual transaxle/dual clutch trans-
mission vehicle) and set the park-
ing brake. If the air conditioning is
ON, turn it OFF. 3. If engine coolant is running out
under the vehicle or steam is com-
ing out from the bonnet, stop the
engine. Do not open the bonnet
until the coolant has stopped run-
ning or the steaming has stopped.
If there is no visible loss of engine
coolant and no steam, leave the
engine running and check to be
sure the engine cooling fan is
operating. If the fan is not running,
turn the engine off.
4. Check for coolant leaking from theradiator, hoses or under the vehi-
cle. (If the air conditioning had been
in use, it is normal for cold water to
be draining from it when you stop.)
5. If engine coolant is leaking out, stop the engine immediately and we rec-
ommend that you call a HYUNDAI
authorised repairer for assistance.
IF THE ENGINE OVERHEATS
Whilst the engine isrunning, keep hands,
clothing and tools
away from the mov-
ing parts such as the
cooling fan and drive
belt to prevent seri-
ous injury.
WARNING
OTLE068010
TLe UK 6.qxp 5/10/2018 1:20 PM Page 8
Page 512 of 685

6-9
What to do in an emergency
6
6. If you cannot find the cause of theoverheating, wait until the engine
temperature has returned to nor-
mal. Then, if coolant has been
lost, carefully add coolant to the
reservoir to bring the fluid level in
the reservoir up to the halfway
mark.
7. Proceed with caution, keeping alert for further signs of overheat-
ing. If overheating happens again,
we recommend that you call a
HYUNDAI authorised repairer for
assistance.
•Serious loss of coolant indi-
cates a leak in the cooling
system and we recommend
the system be checked by a
HYUNDAI authorised repairer.
•When the engine overheats
from low engine coolant, sud-
denly adding engine coolant
may cause cracks in the
engine. To prevent damage,
add engine coolant slowly in
small quantities.
CAUTION
NEVER remove the
radiator cap or the
drain plug whilst the
engine and radiator
are hot. Hot coolant
and steam may blow out under
pressure, causing serious injury.
Turn the engine off and wait
until the engine cools down.
Use extreme care when remov-
ing the radiator cap. Wrap a
thick towel around it, and turn it
counterclockwise slowly to the
first stop. Step back whilst the
pressure is released from the
cooling system. When you are
sure all the pressure has been
released, press down on the
cap, using a thick towel, and
continue turning counterclock-
wise to remove it.
WARNING
TLe UK 6.qxp 5/10/2018 1:20 PM Page 9