Page 130 of 555
3-45
Convenient features of your vehicle
3
Resetting the sunroof
Sunroof needs to be reset if the fol-
lowing occurs :
- Battery is discharged or discon-nected or the related fuse has been
replaced or disconnected
- The one-touch sliding function of the sunroof does not normally oper-
ate
Reset procedure :
1. Place the POWER button to the ON position or start the vehicle
( indicator ON). It is recom-
mended to reset the sunroof while
the vehicle is in the ready ( )
mode.
2. Push the control lever forward. The sunroof will close completely or tilt
depending on the condition of the
sunroof.
3. Release the control lever when the sunroof stops moving. 4. Push the control lever forward
about 10 seconds.
- When the sunroof is in the closed position :
The glass will tilt and slightly move up and down.
- When the sunroof is in the tilt position:
The glass will slightly move up and down.
Do not release the lever until the
operation is completed.
If you release the lever during opera-
tion, start the procedure again from
step 2.
5. Within 3 seconds, push and hold the control lever forward until the
sunroof operates as follows:
Tilt down → Slide Open → Slide
Close. Do not release the lever until the
operation is completed.
If you release the lever during opera-
tion, start the procedure again from
step 2.
6. Release the sunroof control lever
after all steps have completed. The
sunroof system has been reset.
Information
• If the sunroof is not reset when thevehicle battery is disconnected or
discharged, or the sunroof fuse is
blown, the sunroof may not operate
normally.
• For more detailed information, con- tact an authorized HYUNDAI deal-
er.
i
Page 135 of 555
3-50
Convenient features of your vehicle
Charging Door
Opening the charging door
The charging door must be opened
from inside the vehicle by pushing
the charging door open button.
1.Depress the brake pedal and applythe parking brake.
2.Turn OFF all switches, shift to P (Park), and turn OFF the vehicle.
3.Press the charging door open but- ton ( ) to open the charging door.
Closing the charging door
1. After recharging, install the charg- ing inlet cover.
2. Close the charging door until it is latched securely.
For more details, refer to the
Electric Vehicle Guide provided in
the front of the owner’s manual.
Unlock Charging Door in Emergency
If the charging door does not open
due to battery discharge and failure
of the electric wires, open the liftgate
and slightly pull the emergency cable
as shown above. The charging door
will then open.
OAEE046010
OAEEQ016063N
Page 136 of 555
3-51
Convenient features of your vehicle
I
IN
N S
ST
T R
R U
U M
M E
EN
N T
T
C
C L
LU
U S
ST
T E
ER
R
3
1. ECO guide
2. Speedometer
3. Warning and indicator lights
4. LCD display (including Trip computer)
5. Battery SOC (State of Charge) gauge
OAEE047100N
The actual cluster in the vehicle may
differ from the illustration.
Page 138 of 555
3-53
Convenient features of your vehicle
3
The speedometer is displayed differ-
ently according to the selected drive
mode in the Drive Mode Integrated
Control System.
For more information, refer to
“Drive Mode Integrated Control
System” in chapter 5.ECO guide
The ECO guide shows the energy
consumption rate of the vehicle and
the charge/discharge status of the
regenerative brakes.
It shows the energy consumption rate
of the vehicle when driving uphill or
accelerating. The more electric ener-
gy is used, the higher the gauge level.
It shows the energy consumption
rate during normal driving condition.
It shows the charging status of the
battery when it is being charged by
the regenerative brakes (decelerat-
ing or driving on a downhill road).
The more electric energy is charged,
the lower the gauge level.
OAEQ046008
Page 139 of 555
3-54
Convenient features of your vehicle
State of Charge (SOC) gauge forhigh voltage battery
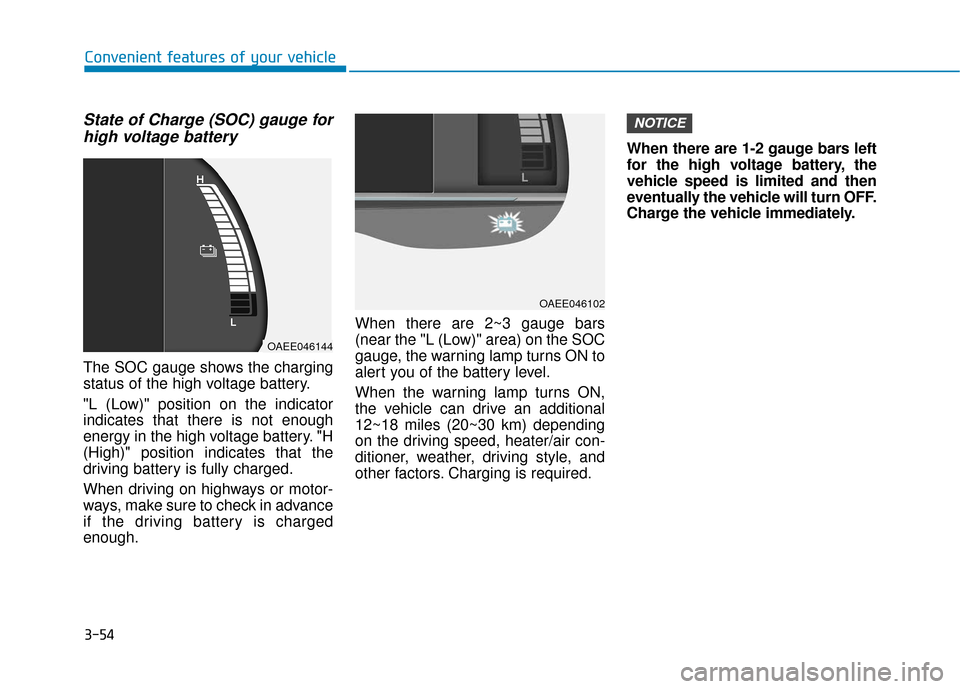
The SOC gauge shows the charging
status of the high voltage battery.
"L (Low)" position on the indicator
indicates that there is not enough
energy in the high voltage battery. "H
(High)" position indicates that the
driving battery is fully charged.
When driving on highways or motor-
ways, make sure to check in advance
if the driving battery is charged
enough. When there are 2~3 gauge bars
(near the "L (Low)" area) on the SOC
gauge, the warning lamp turns ON to
alert you of the battery level.
When the warning lamp turns ON,
the vehicle can drive an additional
12~18 miles (20~30 km) depending
on the driving speed, heater/air con-
ditioner, weather, driving style, and
other factors. Charging is required.When there are 1-2 gauge bars left
for the high voltage battery, the
vehicle speed is limited and then
eventually the vehicle will turn OFF.
Charge the vehicle immediately.
NOTICE
OAEE046144
OAEE046102
Page 140 of 555
3-55
Convenient features of your vehicle
3
Odometer
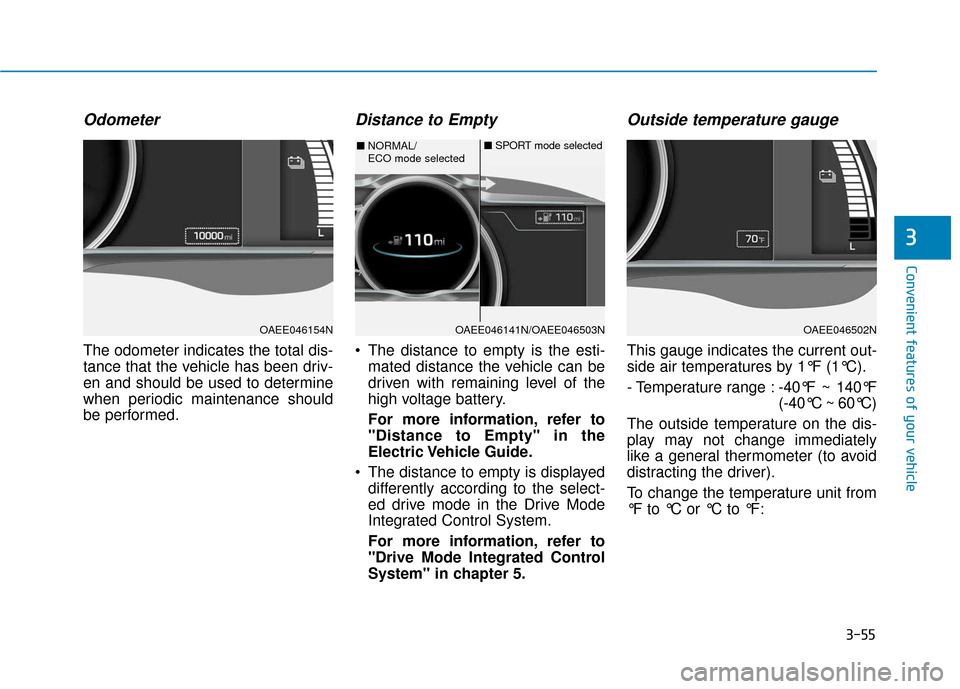
The odometer indicates the total dis-
tance that the vehicle has been driv-
en and should be used to determine
when periodic maintenance should
be performed.
Distance to Empty
The distance to empty is the esti-mated distance the vehicle can be
driven with remaining level of the
high voltage battery.
For more information, refer to
"Distance to Empty" in the
Electric Vehicle Guide.
The distance to empty is displayed differently according to the select-
ed drive mode in the Drive Mode
Integrated Control System.
For more information, refer to
"Drive Mode Integrated Control
System" in chapter 5.
Outside temperature gauge
This gauge indicates the current out-
side air temperatures by 1°F (1°C).
- Temperature range : -40°F ~ 140°F
(-40°C ~ 60°C)
The outside temperature on the dis-
play may not change immediately
like a general thermometer (to avoid
distracting the driver).
To change the temperature unit from
°F to °C or °C to °F:
OAEE046154NOAEE046141N/OAEE046503N
■ NORMAL/
ECO mode selected ■
SPORT mode selected
OAEE046502N
Page 143 of 555
3-58
Convenient features of your vehicle
Warning and Indicator lightsInformation
Make sure that all warning lights are
OFF after starting the vehicle. If any
light is still ON, this indicates a situa-
tion that needs attention.
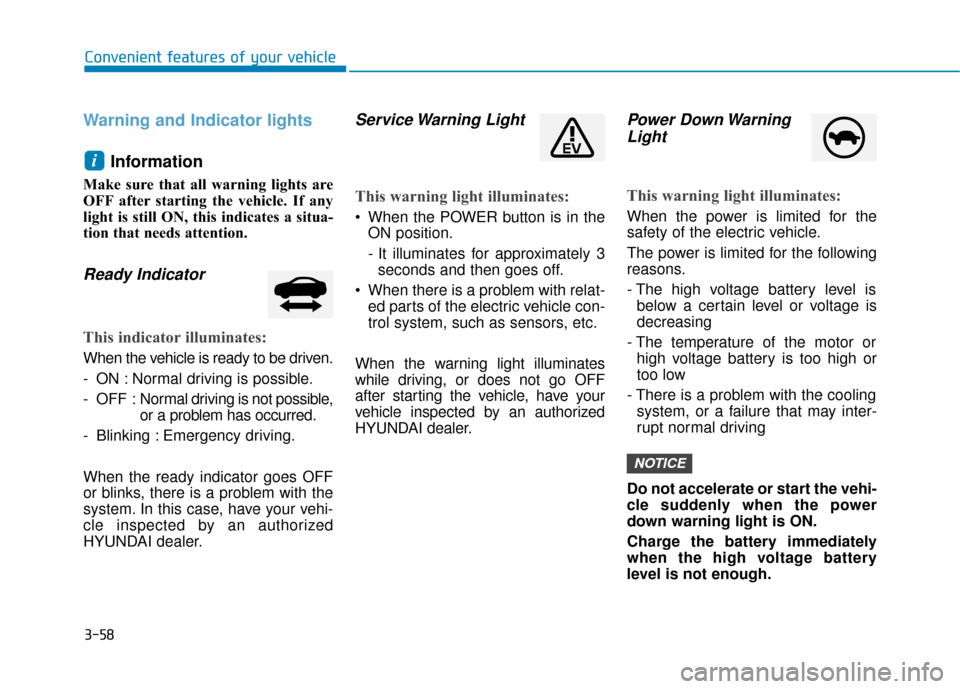
Ready Indicator
This indicator illuminates:
When the vehicle is ready to be driven.
- ON : Normal driving is possible.
- OFF : Nor mal driving is not possible,
or a problem has occurred.
- Blinking : Emergency driving.
When the ready indicator goes OFF
or blinks, there is a problem with the
system. In this case, have your vehi-
cle inspected by an authorized
HYUNDAI dealer.
Service Warning Light
This warning light illuminates:
• When the POWER button is in the ON position.
- It illuminates for approximately 3seconds and then goes off.
When there is a problem with relat- ed parts of the electric vehicle con-
trol system, such as sensors, etc.
When the warning light illuminates
while driving, or does not go OFF
after starting the vehicle, have your
vehicle inspected by an authorized
HYUNDAI dealer.
Power Down Warning Light
This warning light illuminates:
When the power is limited for the
safety of the electric vehicle.
The power is limited for the following
reasons.
- The high voltage battery level is
below a certain level or voltage is
decreasing
- The temperature of the motor or high voltage battery is too high or
too low
- There is a problem with the cooling system, or a failure that may inter-
rupt normal driving
Do not accelerate or start the vehi-
cle suddenly when the power
down warning light is ON.
Charge the battery immediately
when the high voltage battery
level is not enough.
NOTICE
i
Page 144 of 555
3-59
Convenient features of your vehicle
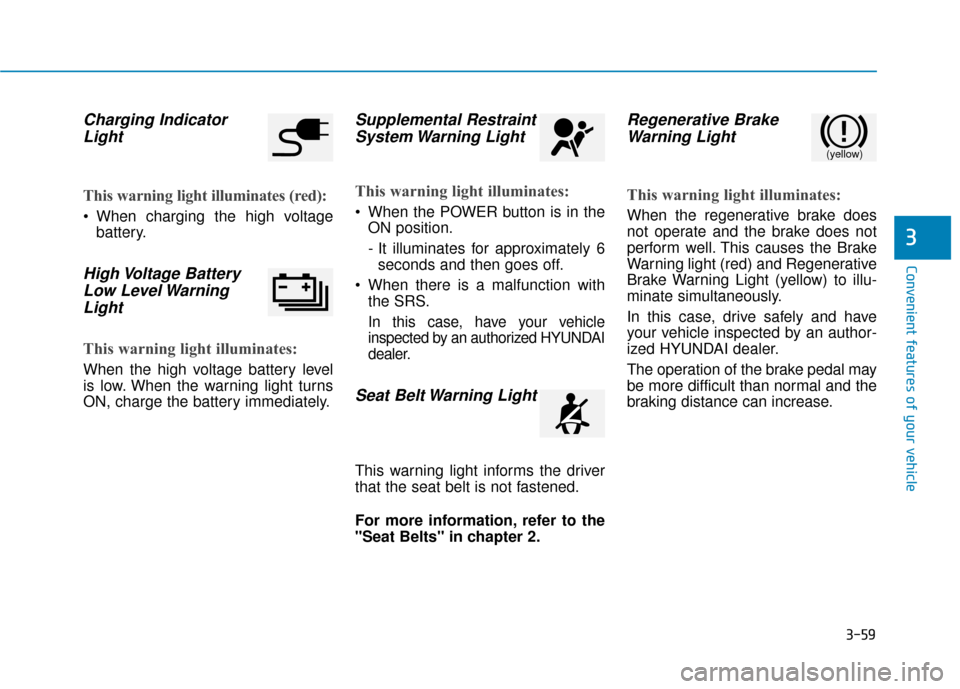
Charging IndicatorLight
This warning light illuminates (red):
When charging the high voltage
battery.
High Voltage BatteryLow Level WarningLight
This warning light illuminates:
When the high voltage battery level
is low. When the warning light turns
ON, charge the battery immediately.
Supplemental RestraintSystem Warning Light
This warning light illuminates:
When the POWER button is in the
ON position.
- It illuminates for approximately 6seconds and then goes off.
When there is a malfunction with the SRS.
In this case, have your vehicle
inspected by an authorized HYUNDAI
dealer.
Seat Belt Warning Light
This warning light informs the driver
that the seat belt is not fastened.
For more information, refer to the
"Seat Belts" in chapter 2.
Regenerative BrakeWarning Light
This warning light illuminates:
When the regenerative brake does
not operate and the brake does not
perform well. This causes the Brake
Warning light (red) and Regenerative
Brake Warning Light (yellow) to illu-
minate simultaneously.
In this case, drive safely and have
your vehicle inspected by an author-
ized HYUNDAI dealer.
The operation of the brake pedal may
be more difficult than normal and the
braking distance can increase.
3
(yellow)