2019 FORD EXPLORER transmission
[x] Cancel search: transmissionPage 259 of 571
•
Transmissions give their best fuel
economy when operated in the top
cruise gear and with steady pressure
on the gas pedal.
• Four-wheel-drive operation (if
equipped) is less fuel efficient than
two-wheel-drive operation.
• Close the windows for high-speed
driving.
DRIVING THROUGH WATER WARNING: Do not drive through
flowing or deep water as you may lose
control of your vehicle.
Note: Driving through standing water can
cause vehicle damage.
Note: Engine damage can occur if water
enters the air filter.
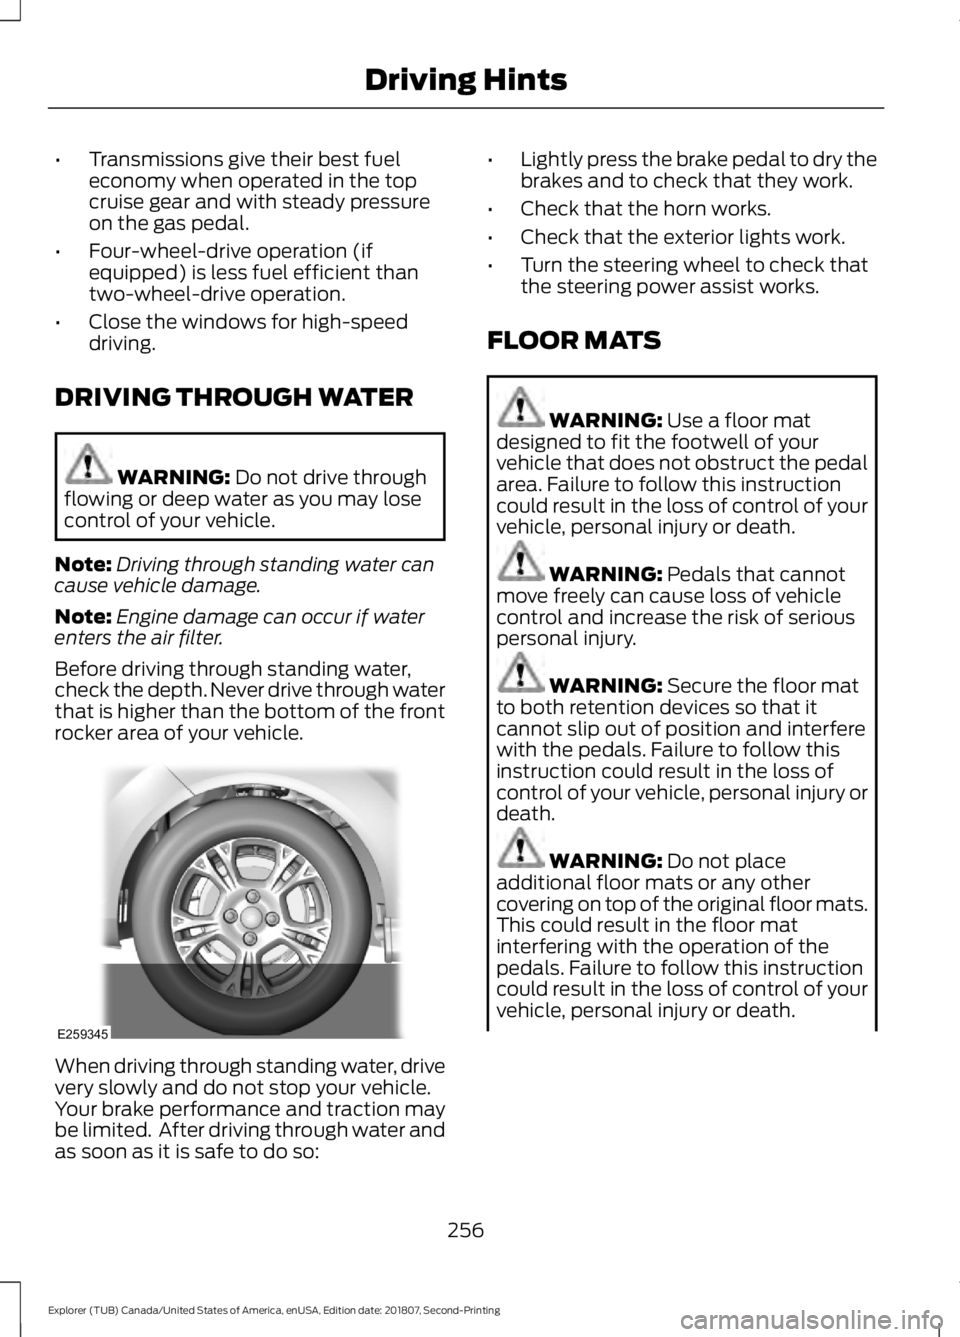
Before driving through standing water,
check the depth. Never drive through water
that is higher than the bottom of the front
rocker area of your vehicle. When driving through standing water, drive
very slowly and do not stop your vehicle.
Your brake performance and traction may
be limited. After driving through water and
as soon as it is safe to do so: •
Lightly press the brake pedal to dry the
brakes and to check that they work.
• Check that the horn works.
• Check that the exterior lights work.
• Turn the steering wheel to check that
the steering power assist works.
FLOOR MATS WARNING:
Use a floor mat
designed to fit the footwell of your
vehicle that does not obstruct the pedal
area. Failure to follow this instruction
could result in the loss of control of your
vehicle, personal injury or death. WARNING:
Pedals that cannot
move freely can cause loss of vehicle
control and increase the risk of serious
personal injury. WARNING:
Secure the floor mat
to both retention devices so that it
cannot slip out of position and interfere
with the pedals. Failure to follow this
instruction could result in the loss of
control of your vehicle, personal injury or
death. WARNING:
Do not place
additional floor mats or any other
covering on top of the original floor mats.
This could result in the floor mat
interfering with the operation of the
pedals. Failure to follow this instruction
could result in the loss of control of your
vehicle, personal injury or death.
256
Explorer (TUB) Canada/United States of America, enUSA, Edition date: 201807, Second-Printing Driving HintsE259345
Page 263 of 571
4. You can attempt to start the vehicle
by pressing the brake pedal and
START/STOP, or press START/STOP
without pressing the brake pedal.
5. If the vehicle does not start, repeat steps 1 through 4.
JUMP STARTING THE VEHICLE WARNING:
Batteries normally
produce explosive gases which can
cause personal injury. Therefore, do not
allow flames, sparks or lighted
substances to come near the battery.
When working near the battery, always
shield your face and protect your eyes.
Always provide correct ventilation. WARNING:
Keep batteries out of
reach of children. Batteries contain
sulfuric acid. Avoid contact with skin,
eyes or clothing. Shield your eyes when
working near the battery to protect
against possible splashing of acid
solution. In case of acid contact with skin
or eyes, flush immediately with water for
a minimum of 15 minutes and get prompt
medical attention. If acid is swallowed,
call a physician immediately. WARNING:
Use only adequately
sized cables with insulated clamps.
Preparing Your Vehicle
Do not attempt to push-start your
automatic transmission vehicle.
Note: Attempting to push-start a vehicle
with an automatic transmission may cause
transmission damage.
Note: Use only a 12-volt supply to start your
vehicle. Note:
Do not disconnect the battery of the
disabled vehicle as this could damage the
vehicle electrical system.
Park the booster vehicle close to the hood
of the disabled vehicle, making sure the
two vehicles do not touch.
Connecting the Jumper Cables WARNING:
Do not attach the
cables to fuel lines, engine rocker covers,
the intake manifold or electrical
components as grounding points. Stay
clear of moving parts. To avoid reverse
polarity connections, make sure that you
correctly identify the positive (+) and
negative (-) terminals on both the
disabled and booster vehicles before
connecting the cables. WARNING:
Do not attach the end
of the positive cable to the studs or
L-shaped eyelet located above the
positive (+) terminal of your vehicle ’s
battery. High current may flow through
and cause damage to the fuses. WARNING:
Do not connect the
end of the second cable to the negative
(-) terminal of the battery to be jumped.
A spark may cause an explosion of the
gases that surround the battery.
Note: In the illustration, the bottom vehicle
represents the booster vehicle.
260
Explorer (TUB) Canada/United States of America, enUSA, Edition date: 201807, Second-Printing Roadside Emergencies
Page 266 of 571
It is acceptable to have your front-wheel
drive vehicle towed from the front if using
proper wheel lift equipment to raise the
front wheels off the ground. When towing
in this manner, the rear wheels can remain
on the ground.
Front-wheel drive vehicles must have the
front wheels placed on a tow dolly when
towing your vehicle from the rear using
wheel lift equipment. This prevents
damage to the transmission.
Towing an all-wheel or four-wheel drive
vehicle requires that all wheels be off the
ground, such as using a wheel lift and
dollies or flatbed equipment. This prevents
damage to the transmission, all-wheel or
four-wheel drive system and vehicle.
TOWING POINTS (IF EQUIPPED)
Due to local market requirements in some
countries, some vehicles may be equipped
with a recovery hook.
Recovery Hook Location
If your vehicle is equipped with a screw-in
recovery hook, it is with the spare tire kit or
the rear under floor storage.
Installing the Recovery Hook
There is an installation point for the
recovery hook located behind the fascia.
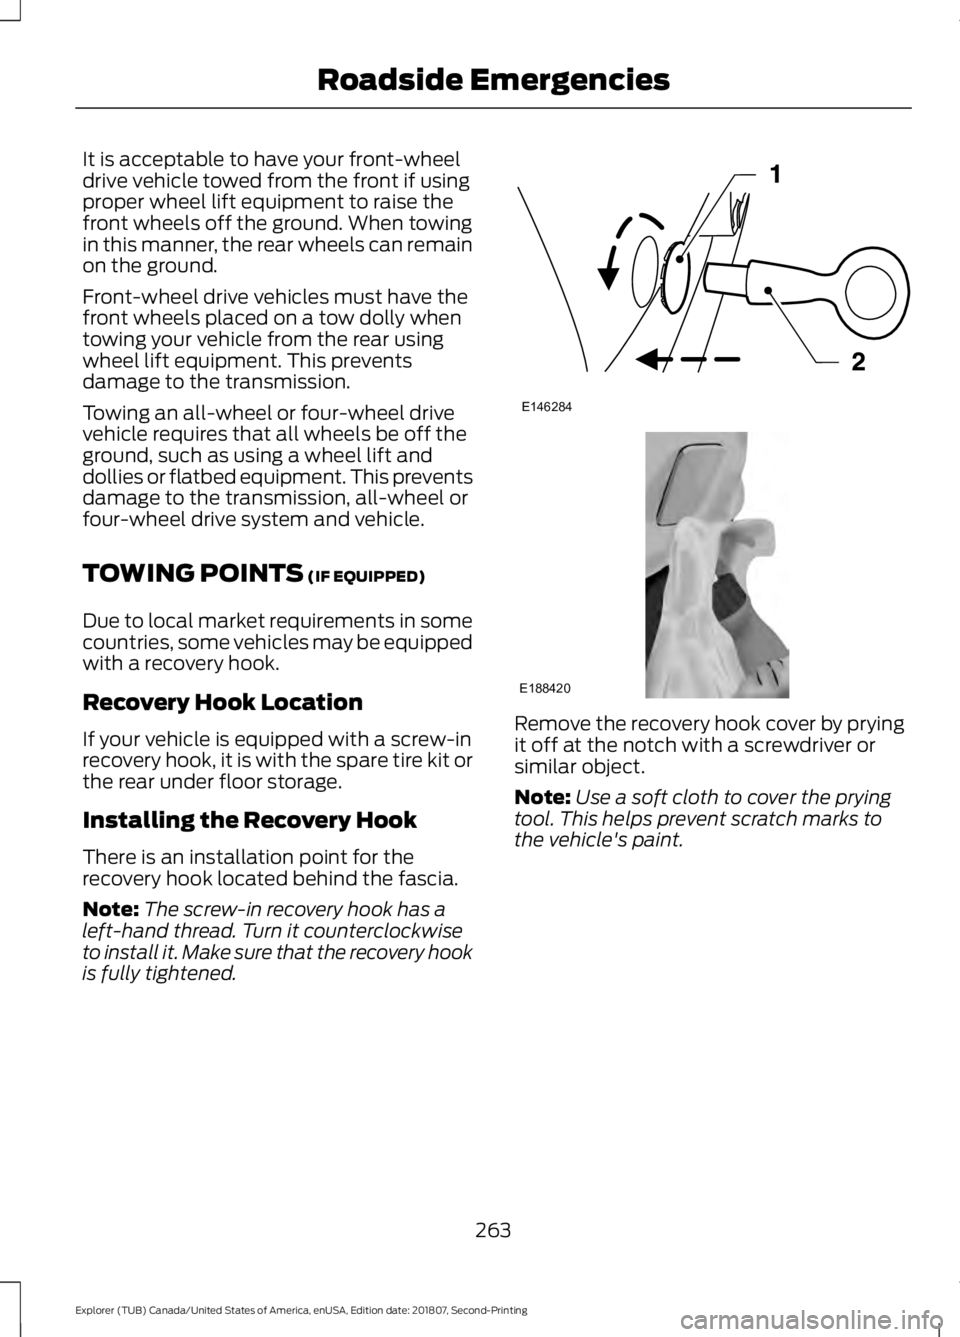
Note: The screw-in recovery hook has a
left-hand thread. Turn it counterclockwise
to install it. Make sure that the recovery hook
is fully tightened. Remove the recovery hook cover by prying
it off at the notch with a screwdriver or
similar object.
Note:
Use a soft cloth to cover the prying
tool. This helps prevent scratch marks to
the vehicle's paint.
263
Explorer (TUB) Canada/United States of America, enUSA, Edition date: 201807, Second-Printing Roadside EmergenciesE146284 E188420
Page 281 of 571

Protected Components
Fuse Rating
Fuse or Relay
Number
Front climate control module.
7.5A 2
12
Instrument cluster.
7.5A 2
13
Smart data link.
Steering column control module.
Extended power module.
10A 2
14
Smart datalink connector power.
10A 2
15
Heads up display.
Not used.
—
16
Electronic finish panel.
5A 2
17
Push button start switch.
5A 2
18
Ignition switch.
Key inhibit.
Transmission control switch.
7.5A 2
19
Not used.
—
20
Terrain management switch.
5A 2
21
Heads up display.
Humidity sensor.
Occupant classification sensor.
5A 2
22
Delayed accessory power.
10A 1
23
Power windows.
Moonroof.
Folding mirror relay.
DC inverter.
Window/moonroof switch illumination.
Central lock relay.
20A 1
24
Left-hand front smart window motor.
30A 1
25
Door zone module.
Right-hand front smart window motor.
30A 1
26
Door zone module.
Moonroof.
30A 1
27
278
Explorer (TUB) Canada/United States of America, enUSA, Edition date: 201807, Second-Printing Fuses
Page 285 of 571
GENERAL INFORMATION
Have your vehicle serviced regularly to help
maintain its roadworthiness and resale
value. There is a large network of
authorized dealers that are there to help
you with their professional servicing
expertise. We believe that their specially
trained technicians are best qualified to
service your vehicle properly and expertly.
They are supported by a wide range of
highly specialized tools developed
specifically for servicing your vehicle.
If your vehicle requires professional service,
an authorized dealer can provide the
necessary parts and service. Check your
warranty information to find out which
parts and services are covered.
Use only recommended fuels, lubricants,
fluids and service parts conforming to
specifications. Motorcraft® parts are
designed and built to provide the best
performance in your vehicle.
Precautions
•
Do not work on a hot engine.
• Make sure that nothing gets caught in
moving parts.
• Do not work on a vehicle with the
engine running in an enclosed space,
unless you are sure you have enough
ventilation.
• Keep all open flames and other burning
material (such as cigarettes) away
from the battery and all fuel related
parts.
Working with the Engine Off
1. Set the parking brake and shift the transmission to park (P).
2. Switch off the engine.
3. Block the wheels. Working with the Engine On WARNING: To reduce the risk of
vehicle damage and personal burn
injuries, do not start your engine with the
air cleaner removed and do not remove
it while the engine is running.
1. Set the parking brake and shift the transmission to park (P).
2. Block the wheels.
OPENING AND CLOSING THE
HOOD
Opening the Hood 282
Explorer (TUB) Canada/United States of America, enUSA, Edition date: 201807, Second-Printing MaintenanceE203008
1
Page 288 of 571

Engine coolant reservoir. See
Engine Coolant Check (page
289).
A
Brake fluid reservoir. See
Brake
Fluid Check (page 295).
B
Battery. See
Changing the 12V
Battery (page 296).
C
Engine compartment fusebox.
See
Fuse Specification Chart
(page 271).
D
Air filter assembly. See
Changing the Engine Air Filter
(page
304).
E Automatic transmission fluid
dipstick. See
Automatic
Transmission Fluid Check
(page
293).
F
Engine oil dipstick. See
Engine
Oil Dipstick (page 287).
G
Engine oil filler cap. See Engine
Oil Check
(page 287).
H
Windshield washer fluid
reservoir. See
Washer Fluid
Check (page 296).
I
UNDER HOOD OVERVIEW - 3.5L ECOBOOST™
285
Explorer (TUB) Canada/United States of America, enUSA, Edition date: 201807, Second-Printing MaintenanceIEFGH
ABCD
E223186
Page 289 of 571

Engine coolant reservoir. See
Engine Coolant Check (page
289).
A.
Engine oil filler cap.
See Engine
Oil Check (page 287).
B.
Engine oil dipstick.
See Engine
Oil Dipstick (page 287).
C.
Brake fluid reservoir.
See Brake
Fluid Check (page 295).
D.
Battery.
See Changing the 12V
Battery (page 296).
E.
Engine compartment fuse box.
See
Fuses (page 271).
F.
Air filter assembly. See
Changing the Engine Air Filter
(page
304).
G.
Automatic transmission dipstick.
See
Automatic Transmission
Fluid Check (page 293).
H.
Washer fluid reservoir. See
Washer Fluid Check (page 296
).
I. ENGINE OIL DIPSTICK - 2.3L
ECOBOOST™
Minimum.
A
Maximum.
B
286
Explorer (TUB) Canada/United States of America, enUSA, Edition date: 201807, Second-Printing MaintenanceE270723 E161560
AB
Page 290 of 571
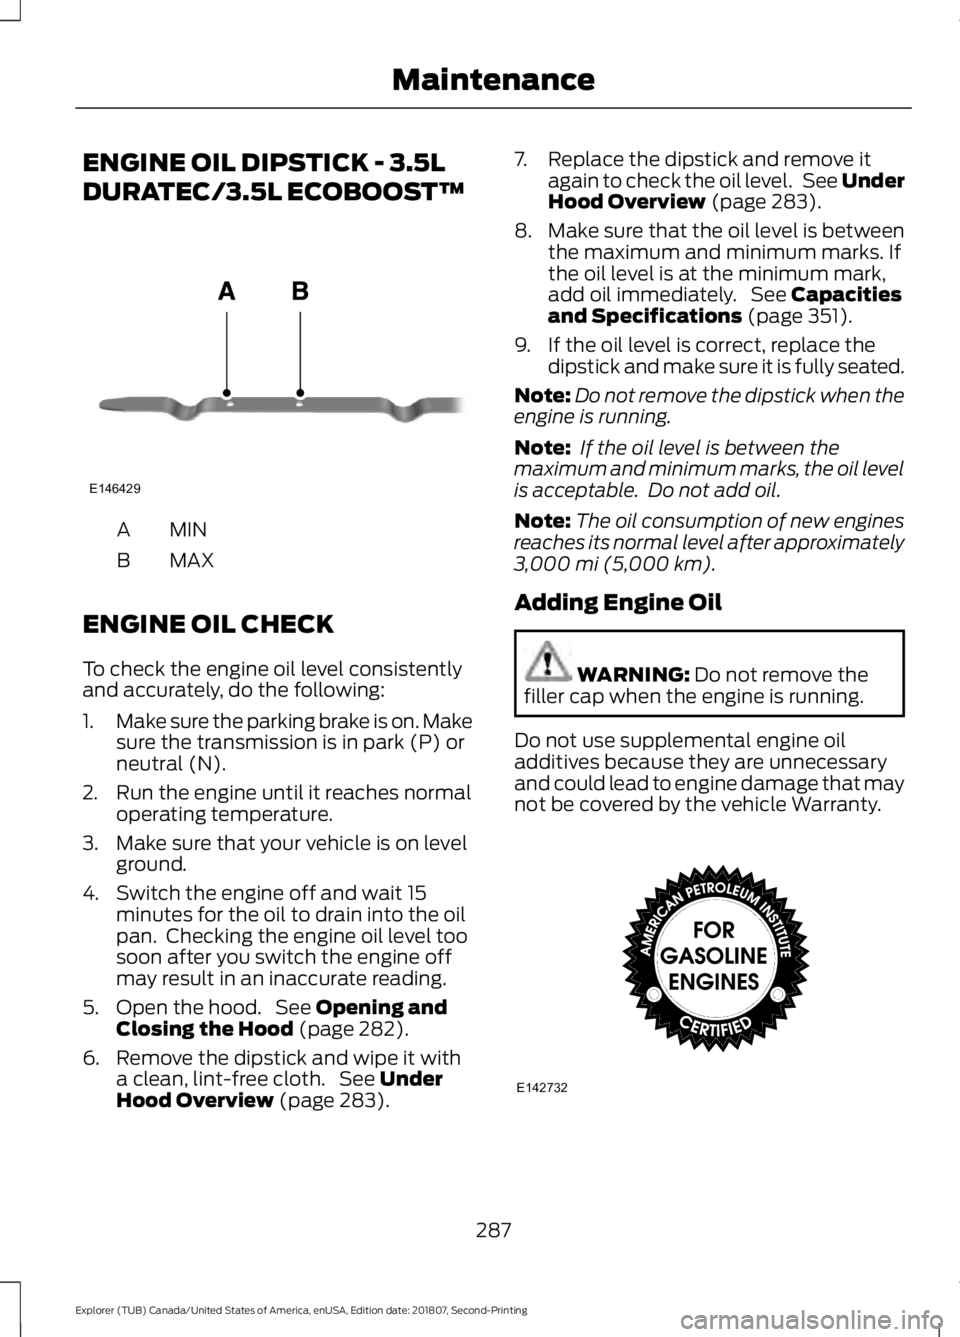
ENGINE OIL DIPSTICK - 3.5L
DURATEC/3.5L ECOBOOST™
MINA
MAX
B
ENGINE OIL CHECK
To check the engine oil level consistently
and accurately, do the following:
1. Make sure the parking brake is on. Make
sure the transmission is in park (P) or
neutral (N).
2. Run the engine until it reaches normal operating temperature.
3. Make sure that your vehicle is on level ground.
4. Switch the engine off and wait 15 minutes for the oil to drain into the oil
pan. Checking the engine oil level too
soon after you switch the engine off
may result in an inaccurate reading.
5. Open the hood. See Opening and
Closing the Hood (page 282).
6. Remove the dipstick and wipe it with a clean, lint-free cloth. See
Under
Hood Overview (page 283). 7. Replace the dipstick and remove it
again to check the oil level. See Under
Hood Overview
(page 283).
8. Make sure that the oil level is between
the maximum and minimum marks. If
the oil level is at the minimum mark,
add oil immediately. See
Capacities
and Specifications (page 351).
9. If the oil level is correct, replace the dipstick and make sure it is fully seated.
Note: Do not remove the dipstick when the
engine is running.
Note: If the oil level is between the
maximum and minimum marks, the oil level
is acceptable. Do not add oil.
Note: The oil consumption of new engines
reaches its normal level after approximately
3,000 mi (5,000 km)
.
Adding Engine Oil WARNING:
Do not remove the
filler cap when the engine is running.
Do not use supplemental engine oil
additives because they are unnecessary
and could lead to engine damage that may
not be covered by the vehicle Warranty. 287
Explorer (TUB) Canada/United States of America, enUSA, Edition date: 201807, Second-Printing MaintenanceE146429 E142732