2019 FORD EXPLORER back up camera
[x] Cancel search: back up cameraPage 216 of 571
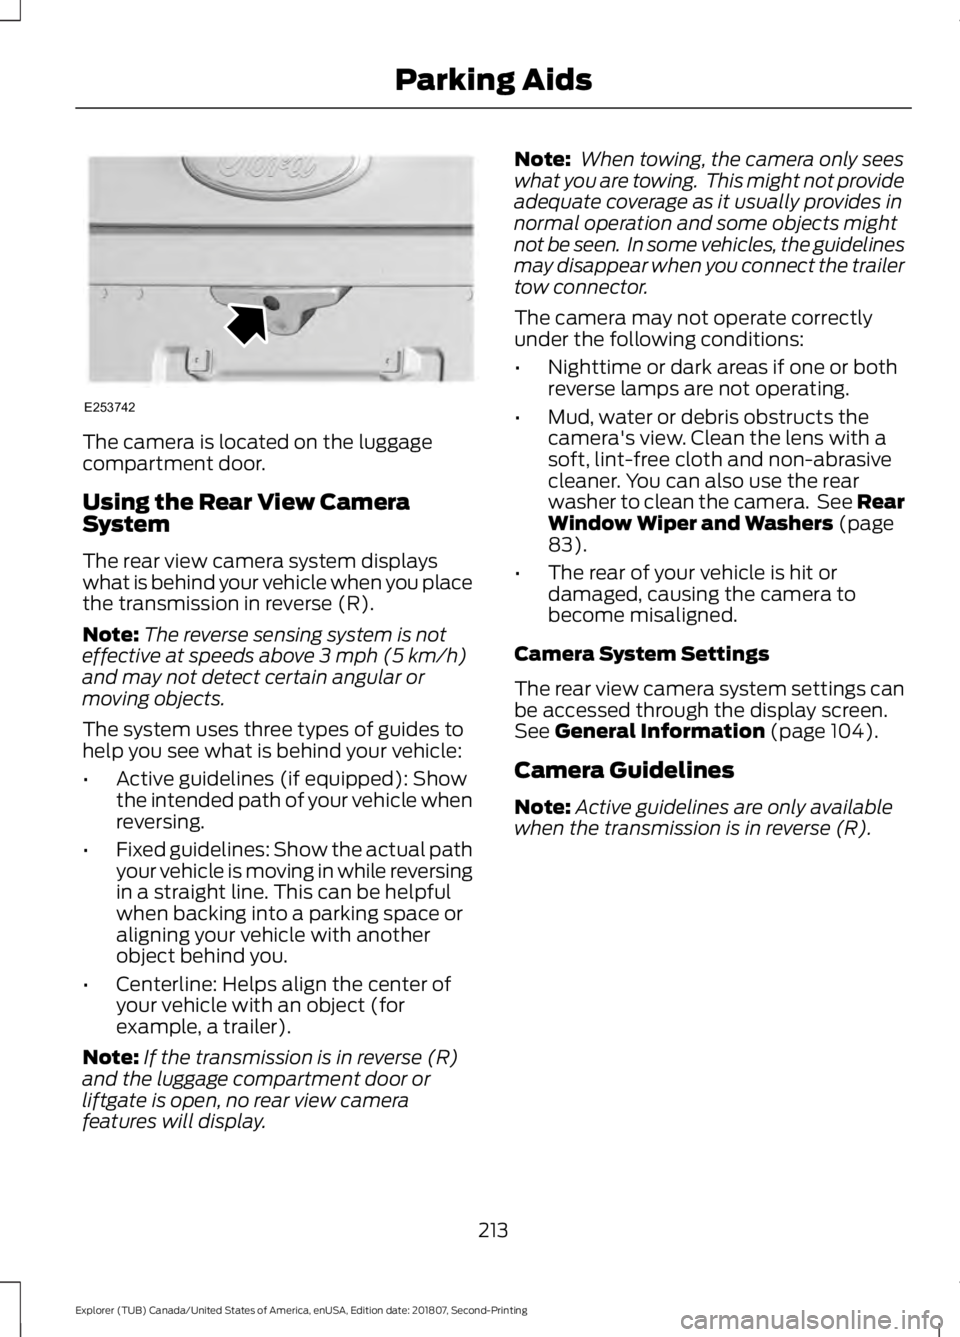
The camera is located on the luggage
compartment door.
Using the Rear View Camera
System
The rear view camera system displays
what is behind your vehicle when you place
the transmission in reverse (R).
Note:
The reverse sensing system is not
effective at speeds above 3 mph (5 km/h)
and may not detect certain angular or
moving objects.
The system uses three types of guides to
help you see what is behind your vehicle:
• Active guidelines (if equipped): Show
the intended path of your vehicle when
reversing.
• Fixed guidelines: Show the actual path
your vehicle is moving in while reversing
in a straight line. This can be helpful
when backing into a parking space or
aligning your vehicle with another
object behind you.
• Centerline: Helps align the center of
your vehicle with an object (for
example, a trailer).
Note: If the transmission is in reverse (R)
and the luggage compartment door or
liftgate is open, no rear view camera
features will display. Note:
When towing, the camera only sees
what you are towing. This might not provide
adequate coverage as it usually provides in
normal operation and some objects might
not be seen. In some vehicles, the guidelines
may disappear when you connect the trailer
tow connector.
The camera may not operate correctly
under the following conditions:
• Nighttime or dark areas if one or both
reverse lamps are not operating.
• Mud, water or debris obstructs the
camera's view. Clean the lens with a
soft, lint-free cloth and non-abrasive
cleaner. You can also use the rear
washer to clean the camera. See Rear
Window Wiper and Washers
(page
83).
• The rear of your vehicle is hit or
damaged, causing the camera to
become misaligned.
Camera System Settings
The rear view camera system settings can
be accessed through the display screen.
See
General Information (page 104).
Camera Guidelines
Note: Active guidelines are only available
when the transmission is in reverse (R).
213
Explorer (TUB) Canada/United States of America, enUSA, Edition date: 201807, Second-Printing Parking AidsE253742
Page 218 of 571
Manual Zoom
WARNING: When manual zoom
is on, the full area behind your vehicle
may not show. Be aware of your
surroundings when using the manual
zoom feature.
Note: Manual zoom is only available when
the transmission is in reverse (R).
Note: When you enable manual zoom, only
the centerline is shown.
Selectable settings for this feature are
Zoom in (+) and Zoom out (-). Press the
symbol in the camera screen to change the
view. The default setting is Zoom OFF.
This allows you to get a closer view of an
object behind your vehicle. The zoomed
image keeps the bumper in the image to
provide a reference. The zoom is only
active while the transmission is in reverse
(R).
Rear Camera Delay
Selectable settings for this feature are ON
and OFF.
The default setting for the rear camera
delay is OFF.
When shifting the transmission out of
reverse (R) and into any gear other than
park (P), the camera image remains in the
display until:
• Your vehicle speed reaches
approximately
5 mph (8 km/h).
• You shift your vehicle into park (P). 180 DEGREE CAMERA (IF EQUIPPED) WARNING:
The front camera
system still requires the driver to use it
in conjunction with looking out of your
vehicle. WARNING: Objects that are close
to either corner of the bumper or under
the bumper, might not be seen on the
screen due to the limited coverage of the
camera system. WARNING:
Use caution when
turning camera features on or off when
the transmission is not in park (P). Make
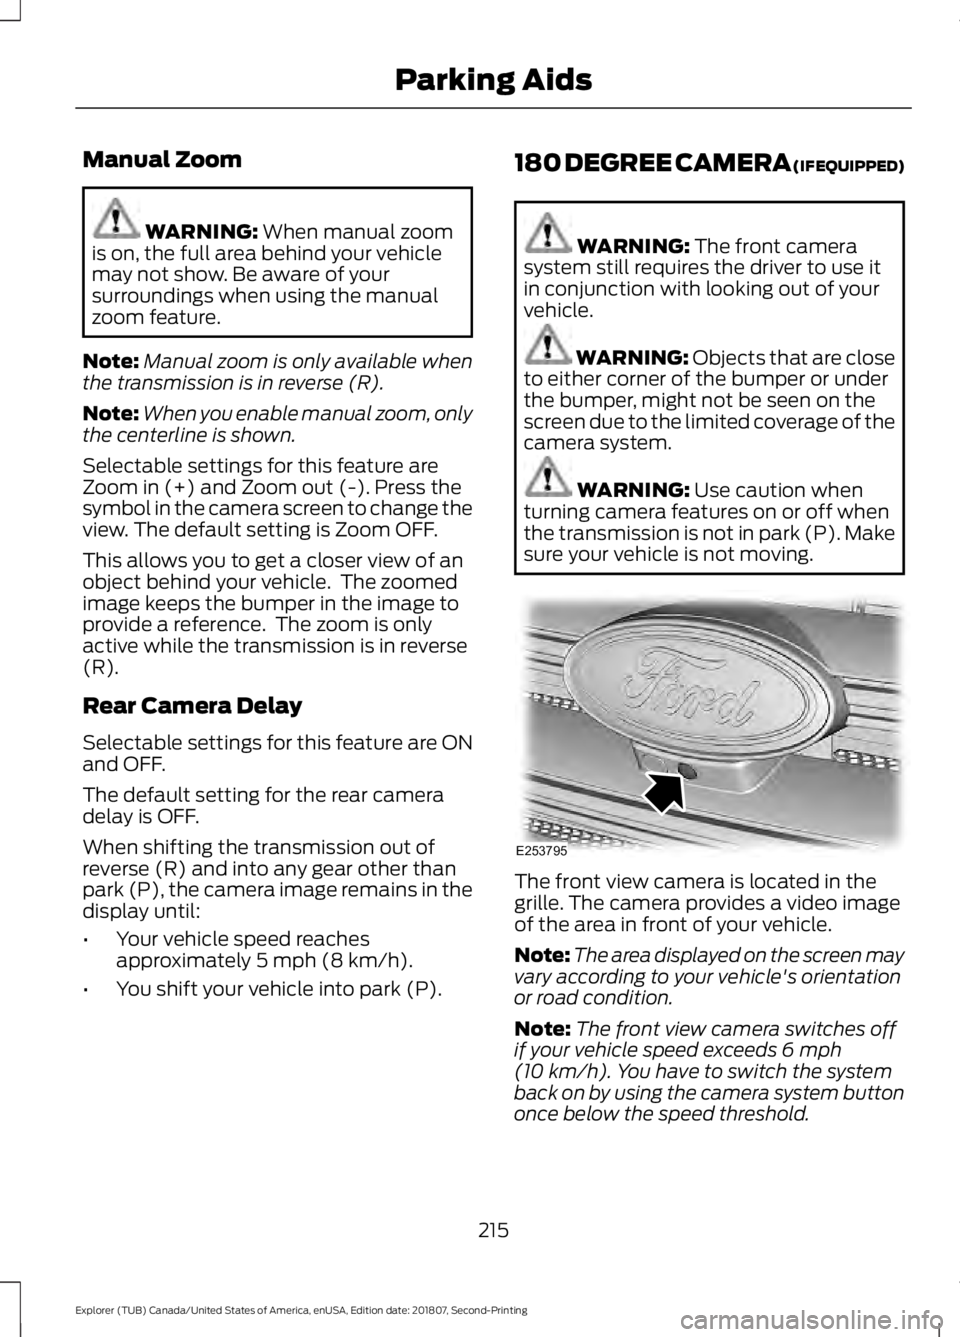
sure your vehicle is not moving. The front view camera is located in the
grille. The camera provides a video image
of the area in front of your vehicle.
Note:
The area displayed on the screen may
vary according to your vehicle's orientation
or road condition.
Note: The front view camera switches off
if your vehicle speed exceeds
6 mph
(10 km/h). You have to switch the system
back on by using the camera system button
once below the speed threshold.
215
Explorer (TUB) Canada/United States of America, enUSA, Edition date: 201807, Second-Printing Parking AidsE253795
Page 230 of 571

WARNING: If damage occurs in
the immediate area surrounding the
sensor, have your vehicle checked as
soon as possible.
Note: The system works above
40 mph
(64 km/h).
Note: The system works as long as the
camera can detect one lane marking.
Note: When you select aid or alert and aid
mode and the system detects no steering
activity for a short period, the system alerts
you to put your hands on the steering wheel.
The system may detect a light grip or
touch on the steering wheel as hands off
driving.
Note: The system may not function if the
camera is blocked, or if the windshield is
damaged or dirty. When you switch the system on and it
detects an unintentional drift out of your
lane is likely to occur, the system notifies
or assists you to stay in your lane through
the steering system and information
display. In Alert mode, the system provides
a warning by vibrating the steering wheel.
In Aid mode, the system provides steering
assistance by gently counter steering your
vehicle back into the lane. When the system is functioning in the
combined Alert and Aid mode, the system
first provides steering assistance by gently
counter steering your vehicle back into the
lane, followed by a warning that vibrates
the steering wheel if the vehicle is still out
of the lane markings.
Switching the System On and Off
Note:
The system on or off setting is stored
until it is manually changed, unless a MyKey
is detected. If the system detects a MyKey,
it defaults to on and the mode sets to alert. Press the button on the direction indicator
stalk to switch the system on or off.
System Settings
The system has optional setting menus
available. The system stores the last
known selection for each of these settings.
You do not need to readjust your settings
each time you switch the system on.
Mode:
This setting allows you to select
which of the system features you can
enable.
227
Explorer (TUB) Canada/United States of America, enUSA, Edition date: 201807, Second-Printing Driving AidsE249505 E132099
Page 233 of 571
Why is the feature not available (line markings are gray) when I can see the lane markings
on the road?
Your vehicle stays too close to the lane markings.
Driving at high speeds in curves.
The last alert warning or aid intervention occurred a short time ago.
Ambiguous lane markings, for example in construction zones.
Rapid transition from light to dark, or from dark to light.
Sudden offset in lane markings.
ABS or AdvanceTrac ™ is active.
There is a camera blockage due to dirt, grime, fog, frost or water on the windshield.
You are driving too close to the vehicle in front of you.
Transitioning between no lane markings to lane markings or vice versa.
There is standing water on the road.
Faint lane markings, for example partial yellow lane markings on concrete roads.
Lane width is too narrow or too wide.
The camera has not been calibrated after a windshield replacement.
Driving on tight roads or on uneven roads. Why does the vehicle not come back toward the middle of the lane, as expected, in the
Aid or Aid + Alert mode?
High cross winds are present.
There is a large road crown.
Rough roads, grooves or shoulder drop-offs.
Heavy uneven loading of the vehicle or improper tire inflation pressure.
The tires have been changed, or the suspension has been modified.
230
Explorer (TUB) Canada/United States of America, enUSA, Edition date: 201807, Second-Printing Driving Aids
Page 239 of 571
Extreme continuous steering may increase
the effort required for you to steer your
vehicle. This increased effort prevents
overheating and permanent damage to
the steering system. You do not lose the
ability to steer your vehicle manually.
Typical steering and driving maneuvers
allow the system to cool and return to
normal operation.
Steering Tips
If the steering wanders or pulls, check for:
•
Correct tire pressures.
• Uneven tire wear.
• Loose or worn suspension
components.
• Loose or worn steering components.
• Improper vehicle alignment.
Note: A high crown in the road or high
crosswinds may also make the steering
seem to wander or pull.
Adaptive Learning
The electronic power steering system
adaptive learning helps correct road
irregularities and improves overall handling
and steering feel. It communicates with
the brake system to help operate
advanced stability control and accident
avoidance systems. Additionally, whenever
the battery is disconnected or a new
battery installed, you must drive your
vehicle a short distance before the system
relearns the strategy and reactivates all
systems. PRE-COLLISION ASSIST (IF
EQUIPPED) WARNING:
You are responsible
for controlling your vehicle at all times.
The system is designed to be an aid and
does not relieve you of your responsibility
to drive with due care and attention.
Failure to follow this instruction could
result in the loss of control of your
vehicle, personal injury or death. WARNING:
The system does not
detect vehicles that are driving in a
different direction, pedestrians at night,
cyclists or animals. Failure to take care
may result in the loss of control of your
vehicle, serious personal injury or death. WARNING:
The system does not
operate during hard acceleration or
steering. Failure to take care may lead
to a crash or personal injury. WARNING:
The system may fail
or operate with reduced function during
cold and severe weather conditions.
Snow, ice, rain, spray and fog can
adversely affect the system. Keep the
front camera and radar free of snow and
ice. Failure to take care may result in the
loss of control of your vehicle, serious
personal injury or death. WARNING: In situations where the
vehicle camera has limited detection
capability, this may reduce system
performance. These situations include
but are not limited to direct or low
sunlight, vehicles at night without tail
lights, unconventional vehicle types,
pedestrians with complex backgrounds,
236
Explorer (TUB) Canada/United States of America, enUSA, Edition date: 201807, Second-Printing Driving Aids
Page 479 of 571
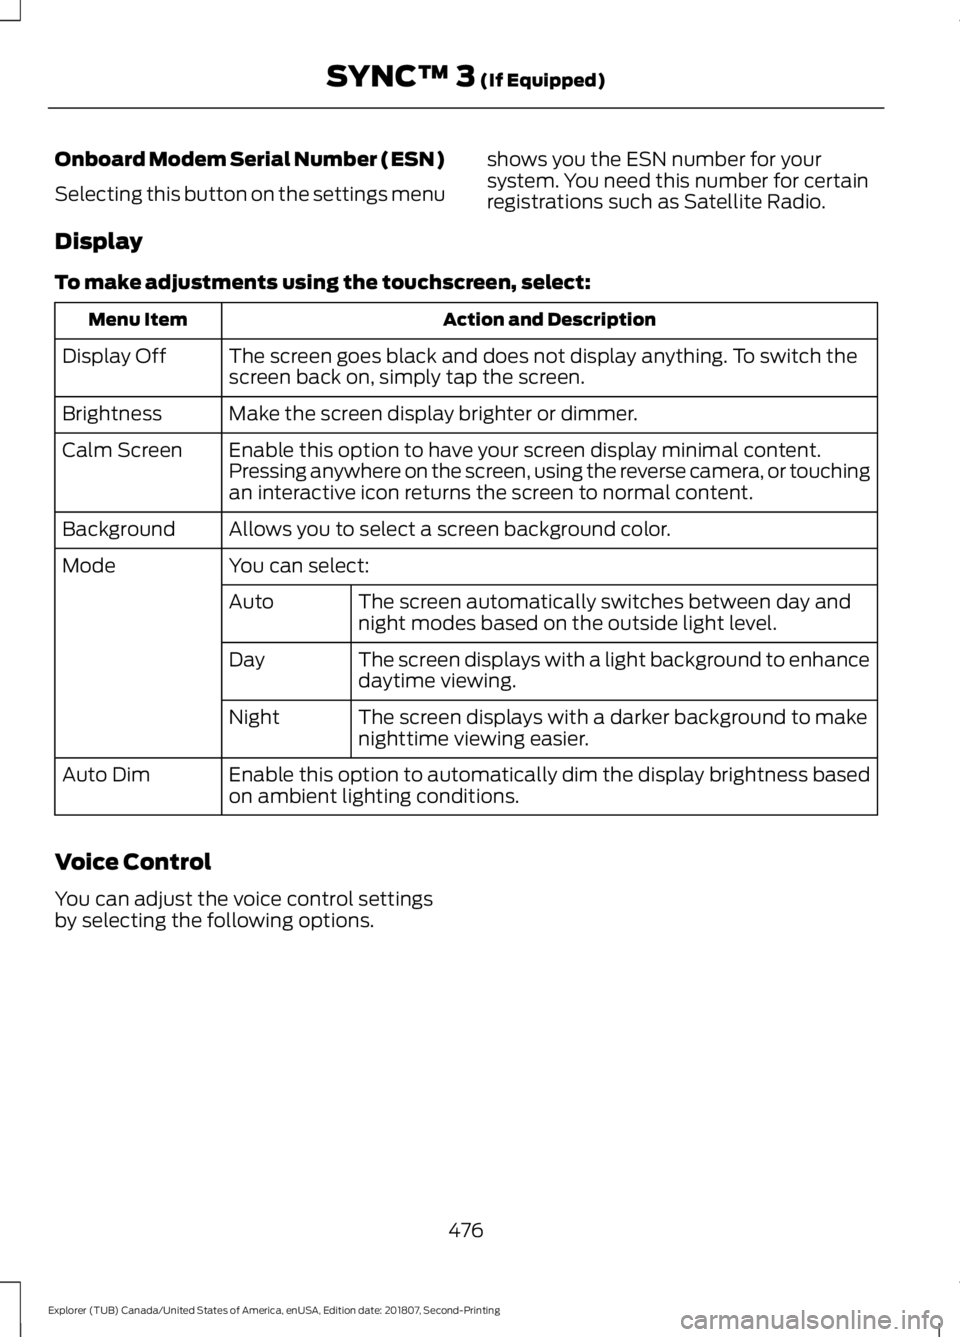
Onboard Modem Serial Number (ESN)
Selecting this button on the settings menu
shows you the ESN number for your
system. You need this number for certain
registrations such as Satellite Radio.
Display
To make adjustments using the touchscreen, select: Action and Description
Menu Item
The screen goes black and does not display anything. To switch the
screen back on, simply tap the screen.
Display Off
Make the screen display brighter or dimmer.
Brightness
Enable this option to have your screen display minimal content.
Pressing anywhere on the screen, using the reverse camera, or touching
an interactive icon returns the screen to normal content.
Calm Screen
Allows you to select a screen background color.
Background
You can select:
Mode
The screen automatically switches between day and
night modes based on the outside light level.
Auto
The screen displays with a light background to enhance
daytime viewing.
Day
The screen displays with a darker background to make
nighttime viewing easier.
Night
Enable this option to automatically dim the display brightness based
on ambient lighting conditions.
Auto Dim
Voice Control
You can adjust the voice control settings
by selecting the following options.
476
Explorer (TUB) Canada/United States of America, enUSA, Edition date: 201807, Second-Printing SYNC™ 3 (If Equipped)