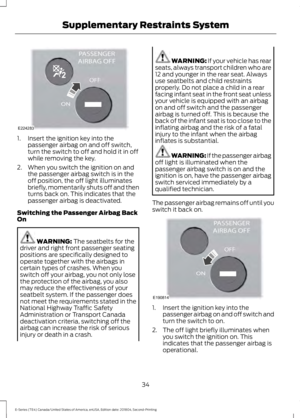
Page 65 of 329

Compass zone adjustment
1. Determine which magnetic zone you
are in for your geographic location by
referring to the zone map.
2. Press and release the SELECT/RESET stem to scroll through the information
displays until the message center
displays HOLD RESET FOR SETUP
MENU.
3. Press and hold the SELECT/RESET stem to get into the setup menu. Press
repeatedly to scroll through the setup
menu until COMPASS ZONE XX
appears in the information display.
4. Press and hold the SELECT/RESET stem for approximately two seconds
to go to the next zone, then release.
5. Press and hold to go up by one zone then release. Repeat this until you
reach the desired zone.
6. To exit the procedure, release the SELECT/RESET stem and allow the
setup timer to expire. Compass calibration adjustment
Note:
For optimum calibration, drive to an
open, level location away from large
metallic objects or structures. Switch off all
non-essential electrical accessories (heated
rear window, heater, A/C, map lamps,
wiper) and make sure all the doors are
closed.
Note: If you press the SELECT/RESET stem
during the calibration or three minutes
elapse since the beginning of the calibration
without driving the vehicle, the information
display reverts back to normal operation
and CAL displays until you complete a
successful calibration.
1. Press and release the SELECT/RESET stem to scroll through the information
displays until HOLD RESET FOR SETUP
MENU appears.
2. Press and hold the SELECT/RESET stem to get into the setup menu. Press
it repeatedly to scroll through the setup
menu until HOLD RESET FOR
CALIBRATION appears in the
information display.
3. Press and hold the SELECT/RESET stem for approximately two seconds
until the information display enters the
compass zone adjustment mode.
4. Press and hold the SELECT/RESET stem until CIRCLE SLOWLY TO
CALIBRATE appears in the information
display.
5. Slowly drive the vehicle in a circle less than 3 mph (5 km/h) until the CIRCLE
SLOWLY TO CALIBRATE message
changes to CALIBRATION
COMPLETED. This may require up to
five circles to complete the calibration.
TBC MODE
Allows you to choose the trailer brake
mode.
62
E-Series (TE4) Canada/United States of America, enUSA, Edition date: 201804, Second-Printing Information Displays1
2
3
4
5
678910 1112 13 14 15
E142800
Page 66 of 329

LANGUAGE = ENGLISH / SPANISH /
FRENCH
Allows you to choose which language
appears in the information display.
Waiting four seconds or pressing the
SELECT/RESET stem cycles the
information display through each of the
language choices.
Press the SELECT/RESET stem to set the
language choice when the language you
want appears.
HOLD RESET FOR SYSTEM CHECK
The information display begins to cycle
through the vehicle systems and provides
a status of the item if needed. Some
systems show a message only if a
condition is present.
INFORMATION MESSAGES
Note:
Depending on the vehicle options
equipped with your vehicle, not all of the
messages will display or be available.
Certain messages may be abbreviated or
shortened depending upon which cluster
type you have.
Press the SELECT/RESET stem to
acknowledge and remove some messages
from the information display. Other
messages will be removed automatically
after a short time.
Certain messages need to be confirmed
before you can access the menus.
Brake System Action
Message
Indicates the brake fluid level is low, have the brakesystem inspected immediately.
BRAKE FLUID LEVEL LOW
Displays when the brake system needs servicing. If thewarning stays on or continues to come on, contact your authorized dealer as soon as possible.
CHECK BRAKE SYSTEM
Displays when the parking brake is set and the vehicleis in motion.
PARK BRAKE ENGAGED
Fuel Action
Message
Displays as an early reminder of a low fuel condition.
XXX MILES TO E FUEL LEVEL
LOW
63
E-Series (TE4) Canada/United States of America, enUSA, Edition date: 201804, Second-Printing Information Displays
Page 67 of 329

Maintenance
Action
Message
Displays when the engine oil life remaining is between5% and 0%.
ENGINE OIL CHANGE SOON
Displays when the oil life left reaches 0%.
OIL CHANGE REQUIRED
Displays after you have the oil changed.
OIL LIFE OK
Tire Action
Message
Displays when one or more tires on your vehicle havelow tire pressure.
LOW TIRE PRESSURE
Displays when the tire pressure monitoring system
malfunctions. If the warning stays on or continues to come on, contact your authorized dealer.
TIRE PRESSURE MONITOR
FAULT
Displays when a tire pressure sensor malfunctions, oryour spare tire is in use. For more information on how the system operates under these conditions, refer to
the Tire Pressure Monitoring System in the Wheels and
Tires chapter for more information. If the warning stays on or continues to come on, contact your authorized dealer as soon as possible.
TIRE PRESSURE SENSOR
FAULT
Traction Control Action
Message
Displays when the traction control system detects a
condition that requires service. Contact your authorized dealer as soon as possible.
Traction Control
64
E-Series (TE4) Canada/United States of America, enUSA, Edition date: 201804, Second-Printing Information Displays
Page 68 of 329

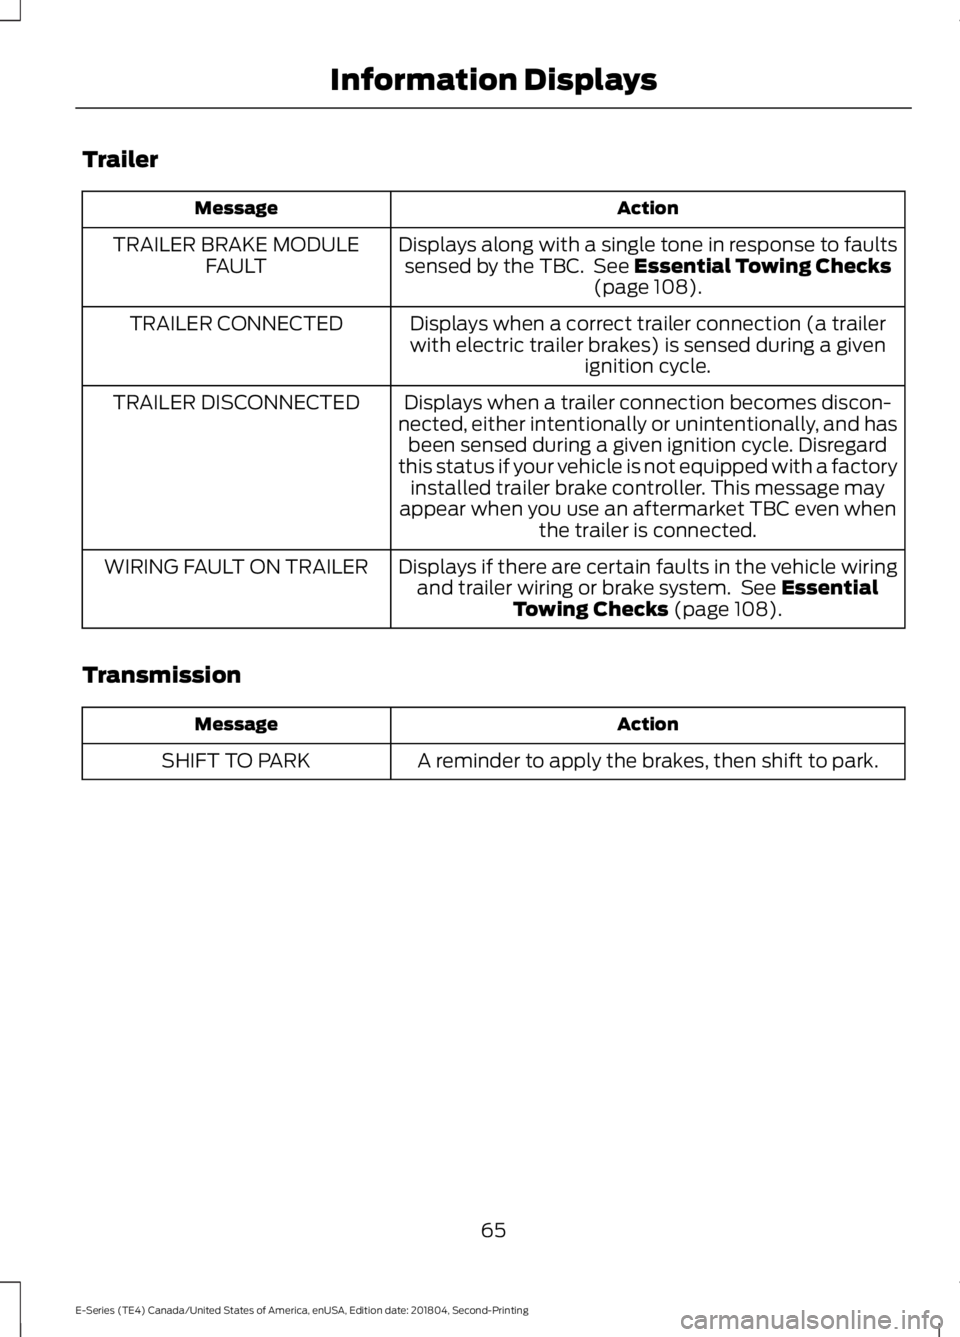
Trailer
Action
Message
Displays along with a single tone in response to faultssensed by the TBC. See Essential Towing Checks
(page 108).
TRAILER BRAKE MODULE
FAULT
Displays when a correct trailer connection (a trailerwith electric trailer brakes) is sensed during a given ignition cycle.
TRAILER CONNECTED
Displays when a trailer connection becomes discon-
nected, either intentionally or unintentionally, and has been sensed during a given ignition cycle. Disregard
this status if your vehicle is not equipped with a factory installed trailer brake controller. This message may
appear when you use an aftermarket TBC even when the trailer is connected.
TRAILER DISCONNECTED
Displays if there are certain faults in the vehicle wiringand trailer wiring or brake system. See
Essential
Towing Checks (page 108).
WIRING FAULT ON TRAILER
Transmission Action
Message
A reminder to apply the brakes, then shift to park.
SHIFT TO PARK
65
E-Series (TE4) Canada/United States of America, enUSA, Edition date: 201804, Second-Printing Information Displays
Page 69 of 329

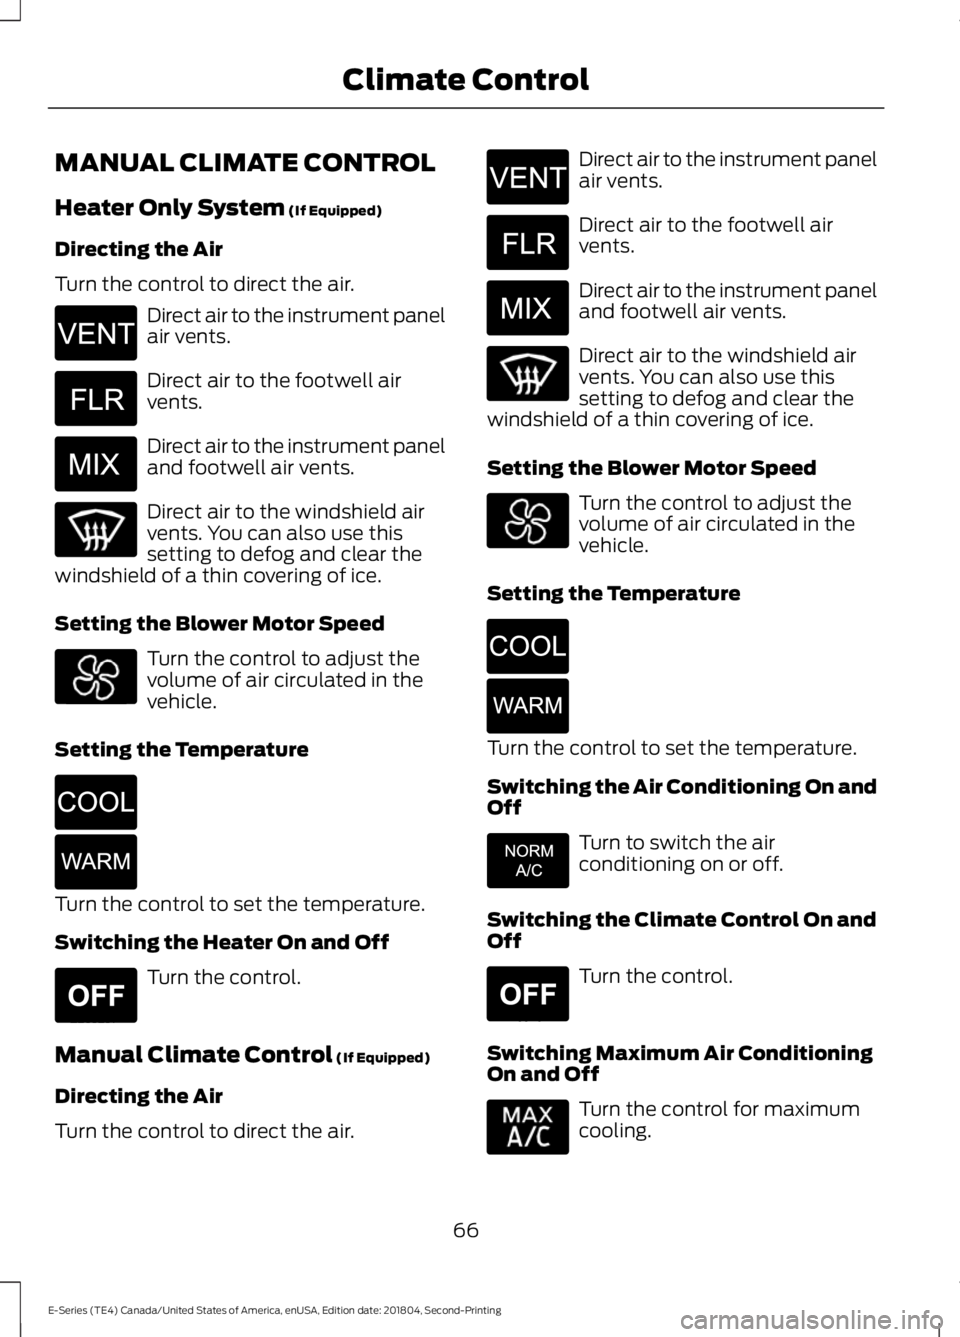
MANUAL CLIMATE CONTROL
Heater Only System (If Equipped)
Directing the Air
Turn the control to direct the air. Direct air to the instrument panel
air vents.
Direct air to the footwell air
vents.
Direct air to the instrument panel
and footwell air vents.
Direct air to the windshield air
vents. You can also use this
setting to defog and clear the
windshield of a thin covering of ice.
Setting the Blower Motor Speed Turn the control to adjust the
volume of air circulated in the
vehicle.
Setting the Temperature Turn the control to set the temperature.
Switching the Heater On and Off
Turn the control.
Manual Climate Control
(If Equipped)
Directing the Air
Turn the control to direct the air. Direct air to the instrument panel
air vents.
Direct air to the footwell air
vents.
Direct air to the instrument panel
and footwell air vents.
Direct air to the windshield air
vents. You can also use this
setting to defog and clear the
windshield of a thin covering of ice.
Setting the Blower Motor Speed Turn the control to adjust the
volume of air circulated in the
vehicle.
Setting the Temperature Turn the control to set the temperature.
Switching the Air Conditioning On and
Off
Turn to switch the air
conditioning on or off.
Switching the Climate Control On and
Off Turn the control.
Switching Maximum Air Conditioning
On and Off Turn the control for maximum
cooling.
66
E-Series (TE4) Canada/United States of America, enUSA, Edition date: 201804, Second-Printing Climate ControlE266044 E266043 E266042 E266045 E266046 E265297 E266044 E266043 E266042 E266045 E266046 E266041 E265297
Page 70 of 329

Recirculated air flows through the
instrument panel vents and air conditioning
turns on.
HINTS ON CONTROLLING THE
INTERIOR CLIMATE
General Hints
Note:
Prolonged use of recirculated air may
cause the windows to fog up.
Note: You may feel a small amount of air
from the footwell air vents regardless of the
air distribution setting.
Note: To reduce humidity build-up inside
your vehicle, do not drive with the system
switched off or with recirculated air always
switched on.
Note: To reduce fogging of the windshield
during humid weather, adjust the air
distribution control to the windshield air
vents position.
Note: Do not place objects under the front
seats as this may interfere with the airflow
to the rear seats.
Note: Remove any snow, ice or leaves from
the air intake area at the base of the
windshield.
Note: To improve the time to reach a
comfortable temperature in hot weather,
drive with the windows open until you feel
cold air through the air vents.
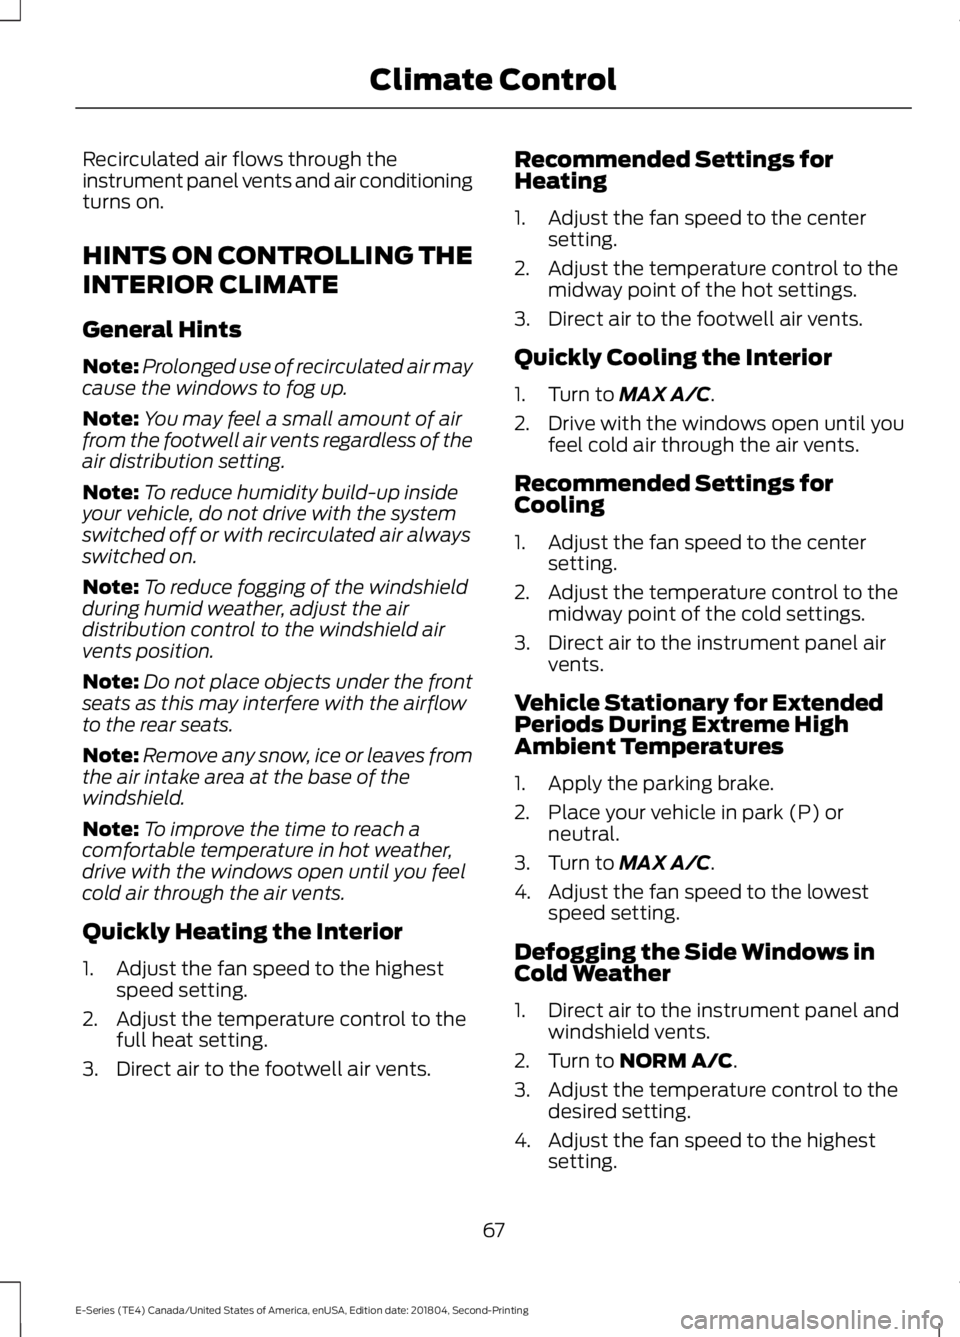
Quickly Heating the Interior
1. Adjust the fan speed to the highest speed setting.
2. Adjust the temperature control to the full heat setting.
3. Direct air to the footwell air vents. Recommended Settings for
Heating
1. Adjust the fan speed to the center
setting.
2. Adjust the temperature control to the midway point of the hot settings.
3. Direct air to the footwell air vents.
Quickly Cooling the Interior
1. Turn to MAX A/C.
2. Drive with the windows open until you feel cold air through the air vents.
Recommended Settings for
Cooling
1. Adjust the fan speed to the center setting.
2. Adjust the temperature control to the midway point of the cold settings.
3. Direct air to the instrument panel air vents.
Vehicle Stationary for Extended
Periods During Extreme High
Ambient Temperatures
1. Apply the parking brake.
2. Place your vehicle in park (P) or neutral.
3. Turn to
MAX A/C.
4. Adjust the fan speed to the lowest speed setting.
Defogging the Side Windows in
Cold Weather
1. Direct air to the instrument panel and windshield vents.
2. Turn to
NORM A/C.
3. Adjust the temperature control to the desired setting.
4. Adjust the fan speed to the highest setting.
67
E-Series (TE4) Canada/United States of America, enUSA, Edition date: 201804, Second-Printing Climate Control
Page 71 of 329
5. Direct air toward the side windows.
6. Close the instrument panel vents.
REAR PASSENGER CLIMATE
CONTROLS (IF EQUIPPED)
Setting the Blower Motor Speed Turn the control to adjust the
volume of air circulated in the
vehicle.
Switching the Rear Climate
Control On and Off Turn the control.
68
E-Series (TE4) Canada/United States of America, enUSA, Edition date: 201804, Second-Printing Climate Control E265297
Page 72 of 329

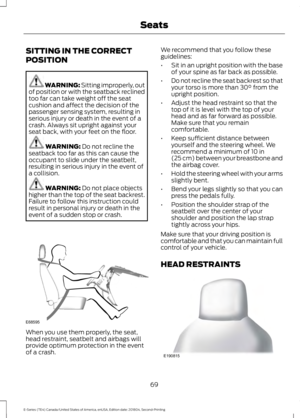
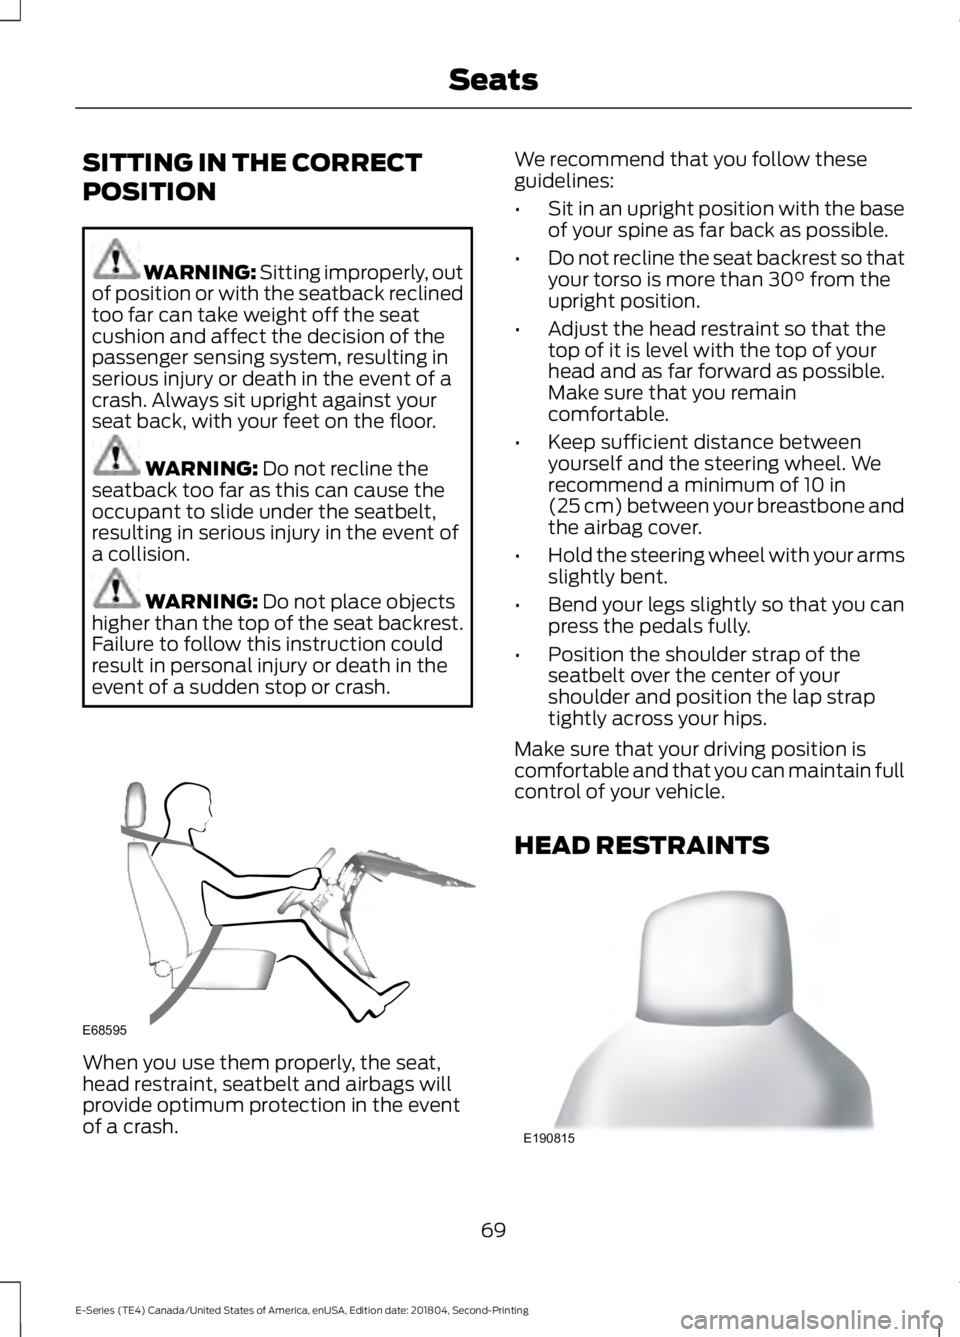
SITTING IN THE CORRECT
POSITION
WARNING: Sitting improperly, out
of position or with the seatback reclined
too far can take weight off the seat
cushion and affect the decision of the
passenger sensing system, resulting in
serious injury or death in the event of a
crash. Always sit upright against your
seat back, with your feet on the floor. WARNING:
Do not recline the
seatback too far as this can cause the
occupant to slide under the seatbelt,
resulting in serious injury in the event of
a collision. WARNING:
Do not place objects
higher than the top of the seat backrest.
Failure to follow this instruction could
result in personal injury or death in the
event of a sudden stop or crash. When you use them properly, the seat,
head restraint, seatbelt and airbags will
provide optimum protection in the event
of a crash. We recommend that you follow these
guidelines:
•
Sit in an upright position with the base
of your spine as far back as possible.
• Do not recline the seat backrest so that
your torso is more than
30° from the
upright position.
• Adjust the head restraint so that the
top of it is level with the top of your
head and as far forward as possible.
Make sure that you remain
comfortable.
• Keep sufficient distance between
yourself and the steering wheel. We
recommend a minimum of
10 in
(25 cm) between your breastbone and
the airbag cover.
• Hold the steering wheel with your arms
slightly bent.
• Bend your legs slightly so that you can
press the pedals fully.
• Position the shoulder strap of the
seatbelt over the center of your
shoulder and position the lap strap
tightly across your hips.
Make sure that your driving position is
comfortable and that you can maintain full
control of your vehicle.
HEAD RESTRAINTS 69
E-Series (TE4) Canada/United States of America, enUSA, Edition date: 201804, Second-Printing SeatsE68595 E190815