Page 97 of 329

REAR VIEW CAMERA (IF EQUIPPED)
WARNING: The rear view camera
system is a reverse aid supplement
device that still requires the driver to use
it in conjunction with the interior and
exterior mirrors for maximum coverage. WARNING: Objects that are close
to either corner of the bumper or under
the bumper, might not be seen on the
screen due to the limited coverage of the
camera system. WARNING: Reverse your vehicle
as slow as possible, higher speeds may
limit your reaction time to stop your
vehicle. WARNING:
Use caution when the
rear cargo door is ajar. If the rear cargo
door is ajar, the camera will be out of
position and the video image may be
incorrect. All guidelines disappear when
the rear cargo door is ajar. Some vehicles
may not come equipped with guidelines. WARNING:
Use caution when
turning camera features on or off when
the transmission is not in park (P). Make
sure your vehicle is not moving.
The rear view camera system provides a
video image of the area behind your
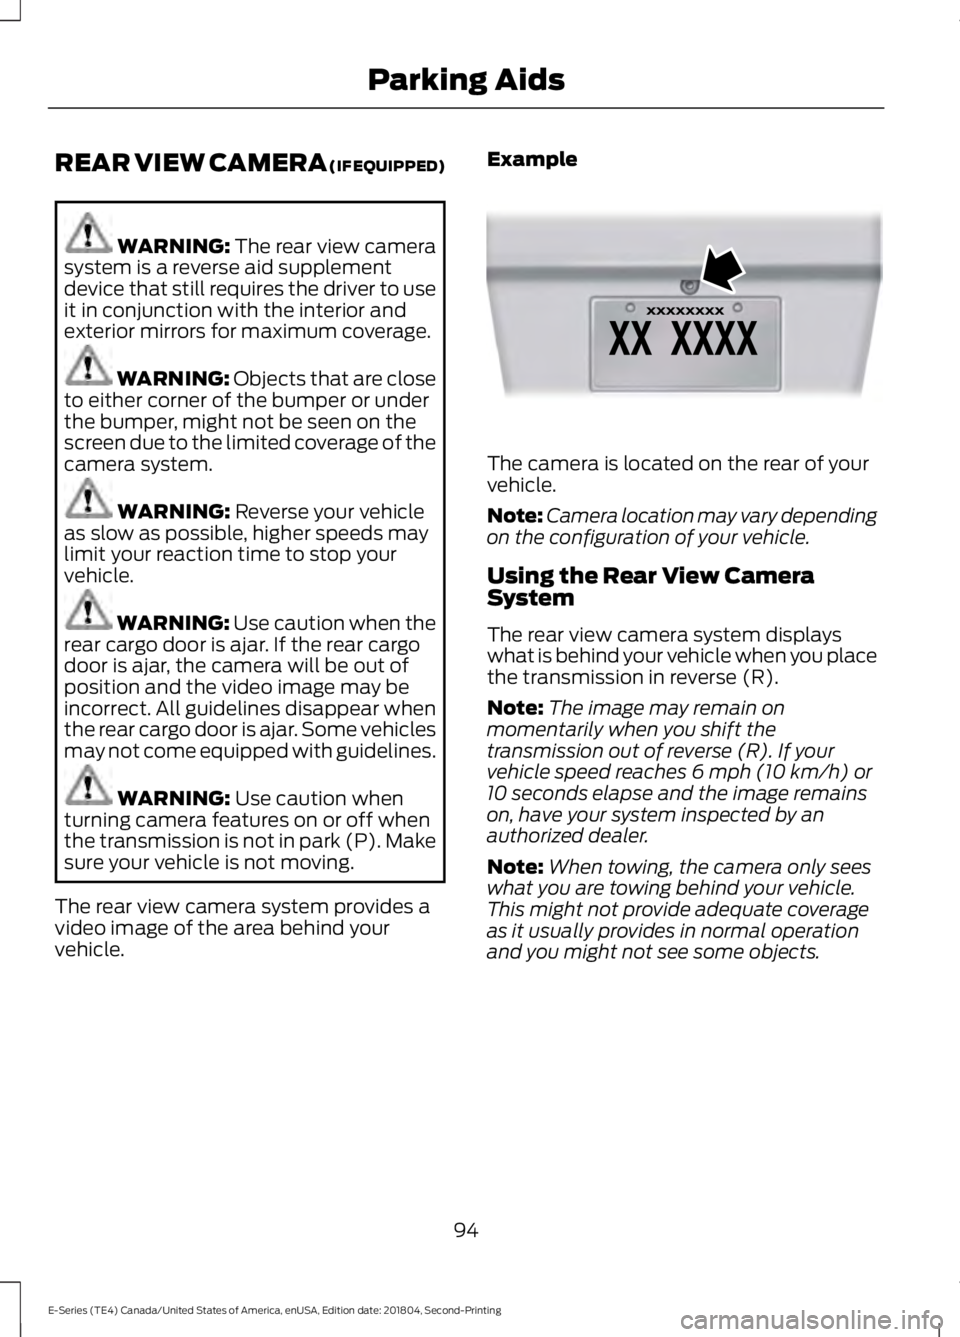
vehicle. Example The camera is located on the rear of your
vehicle.
Note:
Camera location may vary depending
on the configuration of your vehicle.
Using the Rear View Camera
System
The rear view camera system displays
what is behind your vehicle when you place
the transmission in reverse (R).
Note: The image may remain on
momentarily when you shift the
transmission out of reverse (R). If your
vehicle speed reaches
6 mph (10 km/h) or
10 seconds elapse and the image remains
on, have your system inspected by an
authorized dealer.
Note: When towing, the camera only sees
what you are towing behind your vehicle.
This might not provide adequate coverage
as it usually provides in normal operation
and you might not see some objects.
94
E-Series (TE4) Canada/United States of America, enUSA, Edition date: 201804, Second-Printing Parking AidsE142435
Page 98 of 329
The camera may not operate correctly
under the following conditions:
•
Nighttime or dark areas if the reverse
lamps are not operating.
• Mud, water or debris obstructs the
camera's view. Clean the lens with a
soft, lint-free cloth and non-abrasive
cleaner.
• The camera is misaligned due to
damage to the rear of your vehicle.
Rear Camera Delay
When shifting the transmission out of
reverse (R) and into any gear other than
park (P), the camera image remains on
until your vehicle speed reaches 6 mph
(10 km/h) or 10 seconds elapses. This
occurs when the rear camera delay feature
is ON.
Selectable settings for this feature are ON
and OFF. The default setting for the rear
camera delay is OFF.
95
E-Series (TE4) Canada/United States of America, enUSA, Edition date: 201804, Second-Printing Parking Aids
Page 99 of 329

PRINCIPLE OF OPERATION
Cruise control lets you maintain a set
speed without keeping your foot on the
accelerator pedal. You can use cruise
control when your vehicle speed is greater
than 20 mph (30 km/h).
USING CRUISE CONTROL WARNING:
Do not use cruise
control on winding roads, in heavy traffic
or when the road surface is slippery. This
could result in loss of vehicle control,
serious injury or death. WARNING:
When you are going
downhill, your vehicle speed could
increase above the set speed. The
system does not apply the brakes.
To help the system to maintain the set
speed when going downhill, downshift to
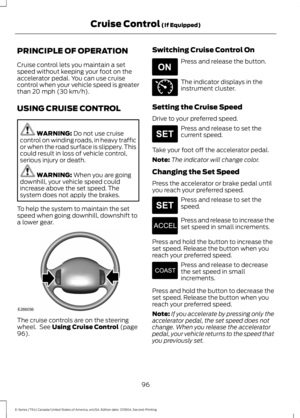
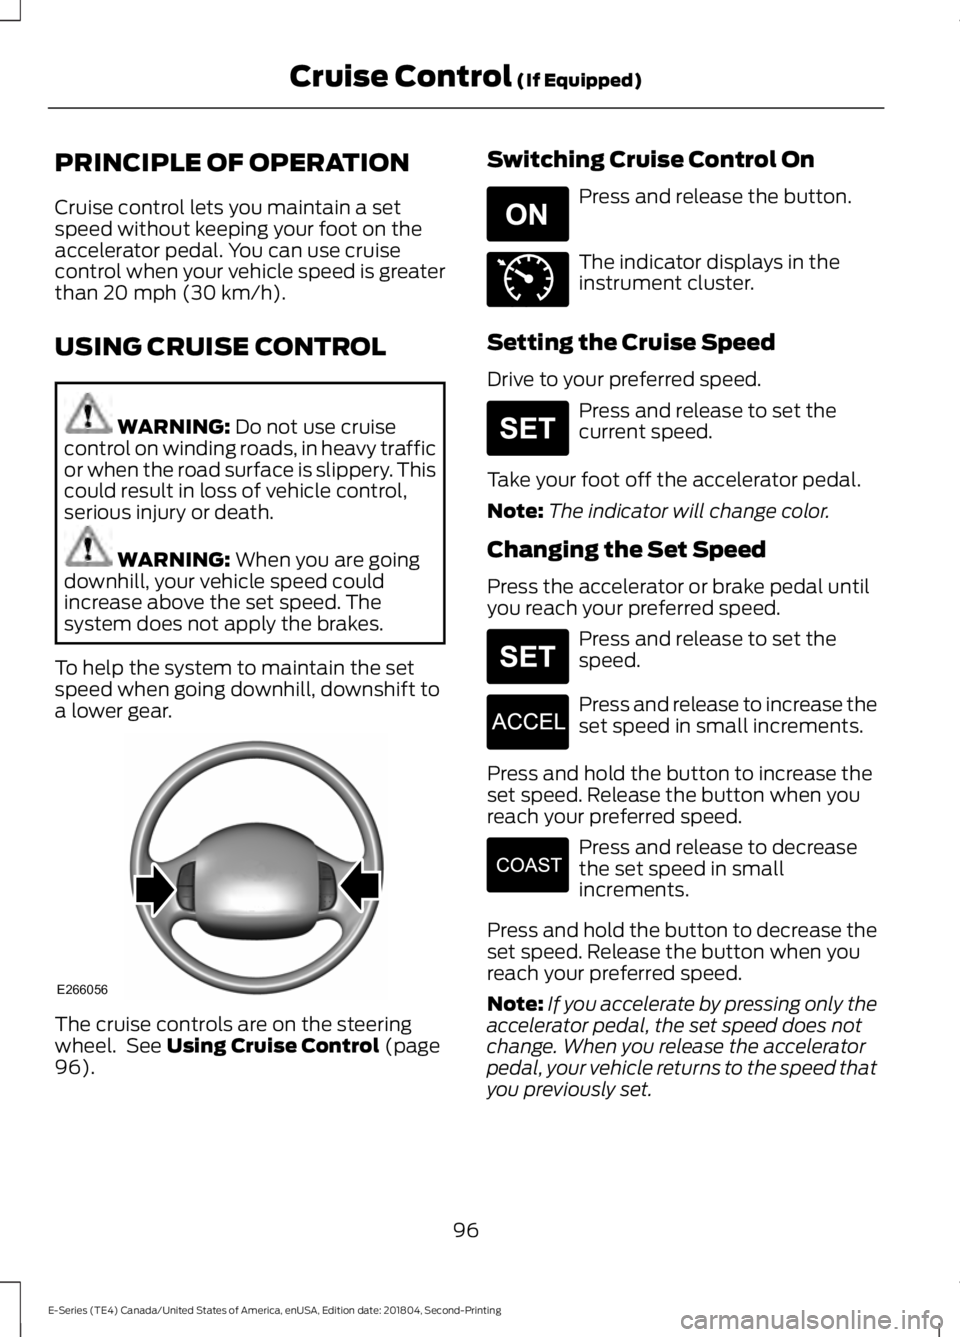
a lower gear. The cruise controls are on the steering
wheel. See
Using Cruise Control (page
96). Switching Cruise Control On Press and release the button.
The indicator displays in the
instrument cluster.
Setting the Cruise Speed
Drive to your preferred speed. Press and release to set the
current speed.
Take your foot off the accelerator pedal.
Note: The indicator will change color.
Changing the Set Speed
Press the accelerator or brake pedal until
you reach your preferred speed. Press and release to set the
speed.
Press and release to increase the
set speed in small increments.
Press and hold the button to increase the
set speed. Release the button when you
reach your preferred speed. Press and release to decrease
the set speed in small
increments.
Press and hold the button to decrease the
set speed. Release the button when you
reach your preferred speed.
Note: If you accelerate by pressing only the
accelerator pedal, the set speed does not
change. When you release the accelerator
pedal, your vehicle returns to the speed that
you previously set.
96
E-Series (TE4) Canada/United States of America, enUSA, Edition date: 201804, Second-Printing Cruise Control
(If Equipped)E266056 E265296 E71340 E265306 E265306 E266055 E266054
Page 100 of 329
Canceling the Set Speed
Tap the brake pedal to cancel the set
speed.
Note:
The system remembers the set
speed.
Resuming the Set Speed Press and release to resume the
set speed.
Switching Cruise Control Off Press and release when the
system is in standby mode, or
switch the ignition off.
Note: You erase the set speed when you
switch the system off.
97
E-Series (TE4) Canada/United States of America, enUSA, Edition date: 201804, Second-Printing Cruise Control (If Equipped) E265297
Page 101 of 329

STEERING
To help prevent damage to the power
steering system:
•
Do not hold the steering wheel at its
furthest turning points for more than
three to five seconds when the engine
is running.
• Avoid continuously steering back and
forth with elevated engine RPM as this
may overheat the system. If trying to
free a stuck vehicle, pause between
attempts to allow the power steering
system to cool or seek assistance.
Typical steering and driving maneuvers
allow the system to cool.
• Do not operate the vehicle if the power
steering pump fluid level is below the
MIN mark on the reservoir.
• Some noise is normal during operation.
If excessive, check for low power
steering pump fluid level before
seeking service by your dealer.
• Heavy or uneven efforts may be caused
by low power steering fluid. Check for
low power steering pump fluid level
before seeking service by your dealer.
• Do not fill the power steering pump
reservoir above the MAX mark on the
reservoir, as this may result in leaks
from the reservoir.
If the power steering system breaks down
or if the engine is switched off, you can
steer the vehicle manually, but it takes
more effort.
If the steering wanders or pulls, check for:
• An improperly inflated tire.
• Uneven tire wear.
• Loose or worn suspension
components.
• Loose or worn steering components.
• Improper vehicle alignment. If any steering components are serviced or
replaced, install new fasteners. Many
fasteners are coated with thread adhesive
or have prevailing torque features which
may not be re-used. Do not re-use a bolt
or nut. Torque fasteners to specifications.
A high crown in the road or high crosswinds
may also make the steering seem to
wander or pull.
98
E-Series (TE4) Canada/United States of America, enUSA, Edition date: 201804, Second-Printing Driving Aids
Page 102 of 329

LOAD LIMIT
Vehicle Loading - with and
without a Trailer
This section guides you in the
proper loading of your vehicle,
trailer, or both. Keep your loaded
vehicle weight within its design
rating capability, with or without
a trailer. Properly loading your
vehicle provides maximum return
of vehicle design performance.
Before you load your vehicle,
become familiar with the
following terms for determining
your vehicle
’s weight rating, with
or without a trailer, from the
vehicle ’s Tire and Loading
Information label or Safety
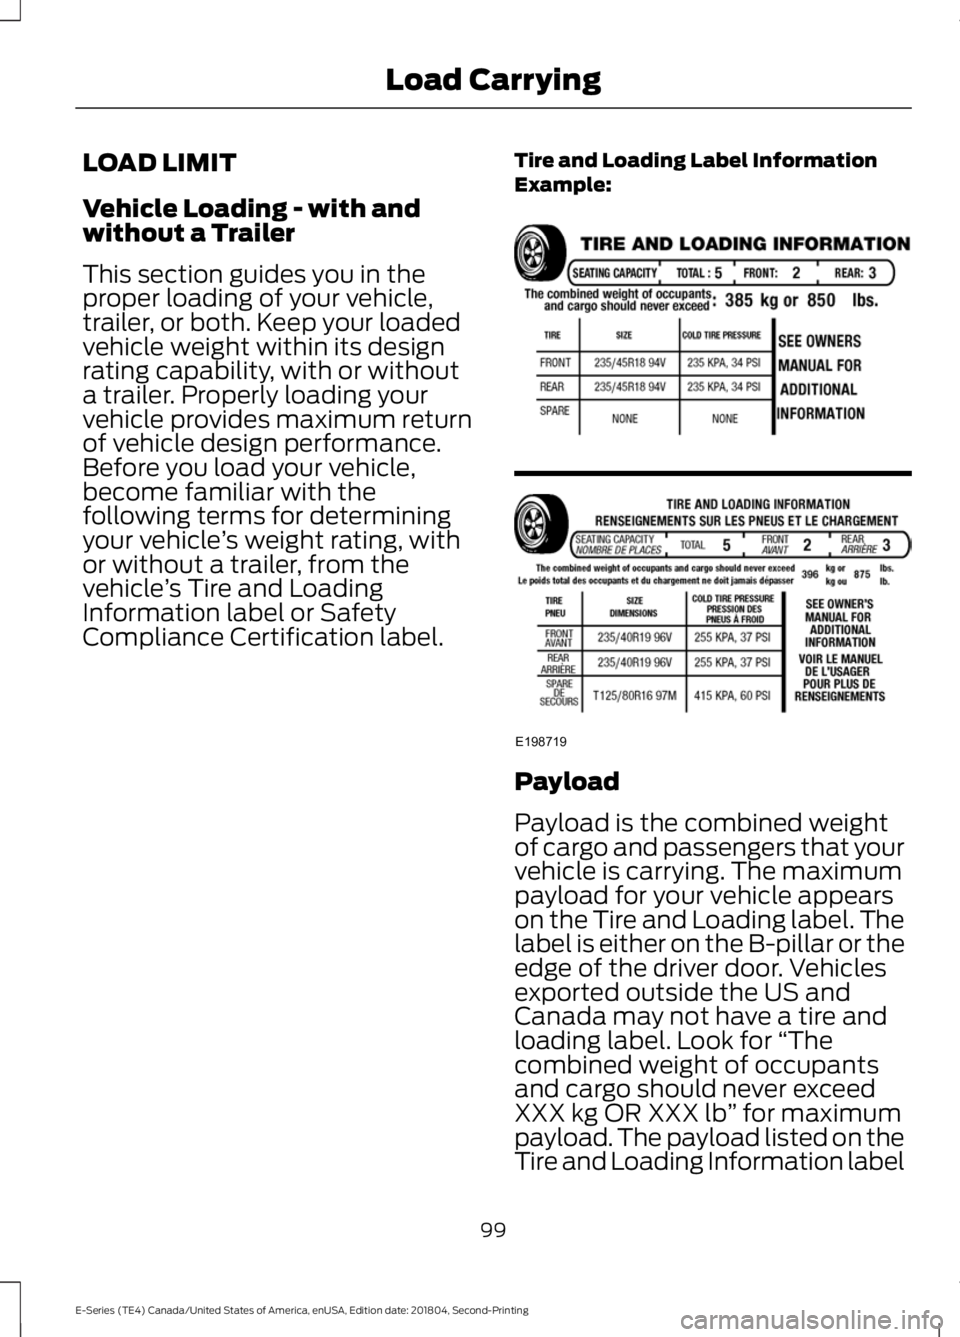
Compliance Certification label. Tire and Loading Label Information
Example: Payload
Payload is the combined weight
of cargo and passengers that your
vehicle is carrying. The maximum
payload for your vehicle appears
on the Tire and Loading label. The
label is either on the B-pillar or the
edge of the driver door. Vehicles
exported outside the US and
Canada may not have a tire and
loading label. Look for
“The
combined weight of occupants
and cargo should never exceed
XXX kg OR XXX lb ” for maximum
payload. The payload listed on the
Tire and Loading Information label
99
E-Series (TE4) Canada/United States of America, enUSA, Edition date: 201804, Second-Printing Load CarryingE198719
Page 103 of 329

is the maximum payload for your
vehicle as built by the assembly
plant. If you install any additional
equipment on your vehicle, you
must determine the new payload.
Subtract the weight of the
equipment from the payload listed
on the Tire and Loading label.
When towing, trailer tongue
weight or king pin weight is also
part of payload.
WARNING: The
appropriate loading capacity of
your vehicle can be limited either
by volume capacity (how much
space is available) or by payload
capacity (how much weight the
vehicle should carry). Once you
have reached the maximum
payload of your vehicle, do not
add more cargo, even if there is
space available. Overloading or
improperly loading your vehicle
can contribute to loss of vehicle
control and vehicle rollover.
GAWR (Gross Axle Weight
Rating)
GAWR is the maximum allowable
weight that a single axle (front or
rear) can carry. These numbers
are on the Safety Compliance
Certification label. The label is
located on the door hinge pillar,
door-latch post, or the door edge
that meets the door-latch post,
next to the driver seating position. The total load on each axle must
never exceed its Gross Axle
Weight Rating.
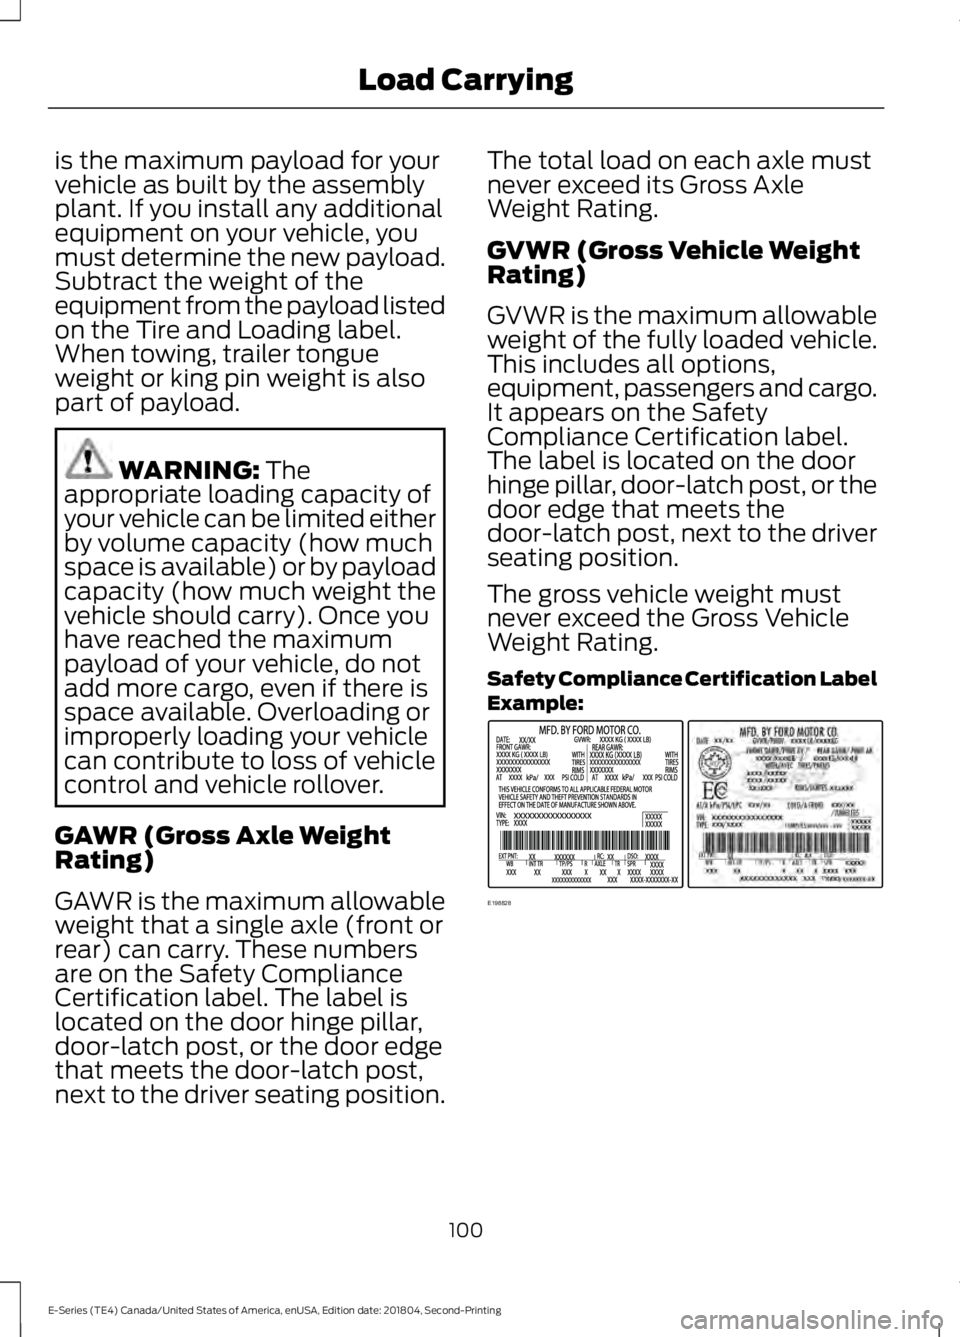
GVWR (Gross Vehicle Weight
Rating)
GVWR is the maximum allowable
weight of the fully loaded vehicle.
This includes all options,
equipment, passengers and cargo.
It appears on the Safety
Compliance Certification label.
The label is located on the door
hinge pillar, door-latch post, or the
door edge that meets the
door-latch post, next to the driver
seating position.
The gross vehicle weight must
never exceed the Gross Vehicle
Weight Rating.
Safety Compliance Certification Label
Example:
100
E-Series (TE4) Canada/United States of America, enUSA, Edition date: 201804, Second-Printing Load CarryingE198828
Page 104 of 329

WARNING: Exceeding the
Safety Compliance Certification
label vehicle weight limits can
adversely affect the
performance and handling of
your vehicle, cause vehicle
damage and can result in the
loss of control of your vehicle,
serious personal injury or death.
Maximum Loaded Trailer
Weight
Maximum loaded trailer weight is
the highest possible weight of a
fully loaded trailer the vehicle can
tow. Consult an authorized dealer
(or the RV and Trailer Towing
Guide available at an authorized
dealer) for more detailed
information.
GCWR (Gross Combined
Weight Rating)
GCWR is the maximum allowable
weight of the vehicle and the
loaded trailer, including all cargo
and passengers, that the vehicle
can handle without risking
damage. (Important: The towing
vehicle ’s braking system is rated
for operation at Gross Vehicle
Weight Rating, not at Gross
Combined Weight Rating.)
Separate functional brakes should
be used for safe control of towed
vehicles and for trailers where the
Gross Combined Weight of the
towing vehicle plus the trailer
exceed the Gross Vehicle Weight
Rating of the towing vehicle. The gross combined weight must
never exceed the Gross Combined
Weight Rating.
Note:
For trailer towing
information refer to the RV and
Trailer Towing Guide available at
an authorized dealer. WARNING:
Do not exceed
the GVWR or the GAWR
specified on the certification
label. WARNING:
Do not use
replacement tires with lower
load carrying capacities than the
original tires because they may
lower your vehicle's GVWR and
GAWR limitations. Replacement
tires with a higher limit than the
original tires do not increase the
GVWR and GAWR limitations. WARNING:
Exceeding any
vehicle weight rating can
adversely affect the
performance and handling of
your vehicle, cause vehicle
damage and can result in the
loss of control of your vehicle,
serious personal injury or death.
Steps for determining the
correct load limit:
1. Locate the statement "The combined weight of occupants
and cargo should never exceed
XXX kg or XXX lb." on your
vehicle ’s placard.
101
E-Series (TE4) Canada/United States of America, enUSA, Edition date: 201804, Second-Printing Load Carrying