Page 64 of 300

Interior Light Timing (Center Position)
There are four different modes of operation that can be
activated in this position:
•When one door is opened, a three minute timer is
activated.
• When the key is removed from the ignition (within two
minutes of the ignition being turned OFF), a 10 second
timer is activated.
• When the doors are unlocked with the key fob, a 10
second timer is activated.
• When the doors are locked with the key fob, the lights
will turn off.
Interior Light Timing (On/Right Position)
When all doors are closed a 15-minute timer is activated.
NOTE: The timer is deactivated when the key is moved
into the ON/RUN position.
Dimmer Control
The brightness of the instrument panel lighting can be
regulated by pushing the buttons on the right side of the
instrument cluster. The (+) button increases the brightness
and the (-) button decreases the brightness. You can control
brightness of the radio by itself or the entire instrument
panel. Refer to “Uconnect Settings” in “Multimedia” for
more information.
Ambient Light
The vehicle is equipped with ambient light on the center
stack. The ambient light will be on when the headlights are
turned on by rotating the end of the multifunction lever.
62 GETTING TO KNOW YOUR VEHICLE
Page 77 of 300

WARNING!
Never leave children unattended in a vehicle, and do
not let children play with power windows. Do not
leave the key fob in or near the vehicle, or in a location
accessible to children. Occupants, particularly unat-
tended children, can become entrapped by the win-
dows while operating the power window switches.
Such entrapment may result in serious injury or death.
Auto-Down
The window switches have an Auto-Down feature. Push
the window switch for approximately one second, release,
and the window will go down automatically. To cancel the
Auto-Down movement, operate the switch in either the up
or down direction and release the switch. To open the
window part way, pull the window switch briefly, and
release the switch when the window is in the desired
position.
Wind Buffeting
Wind buffeting can be described as the perception of
pressure on the ears or a helicopter-type sound in the ears.
Your vehicle may exhibit wind buffeting with the windows
down, or the sunroof (if equipped) in certain open orpartially open positions. This is a normal occurrence and
can be minimized. If the buffeting occurs with the rear
windows open, open the front and rear windows together
to minimize the buffeting. If the buffeting occurs with the
sunroof open, adjust the sunroof opening to minimize the
buffeting or open any window.
POWER SUNROOF — IF EQUIPPED
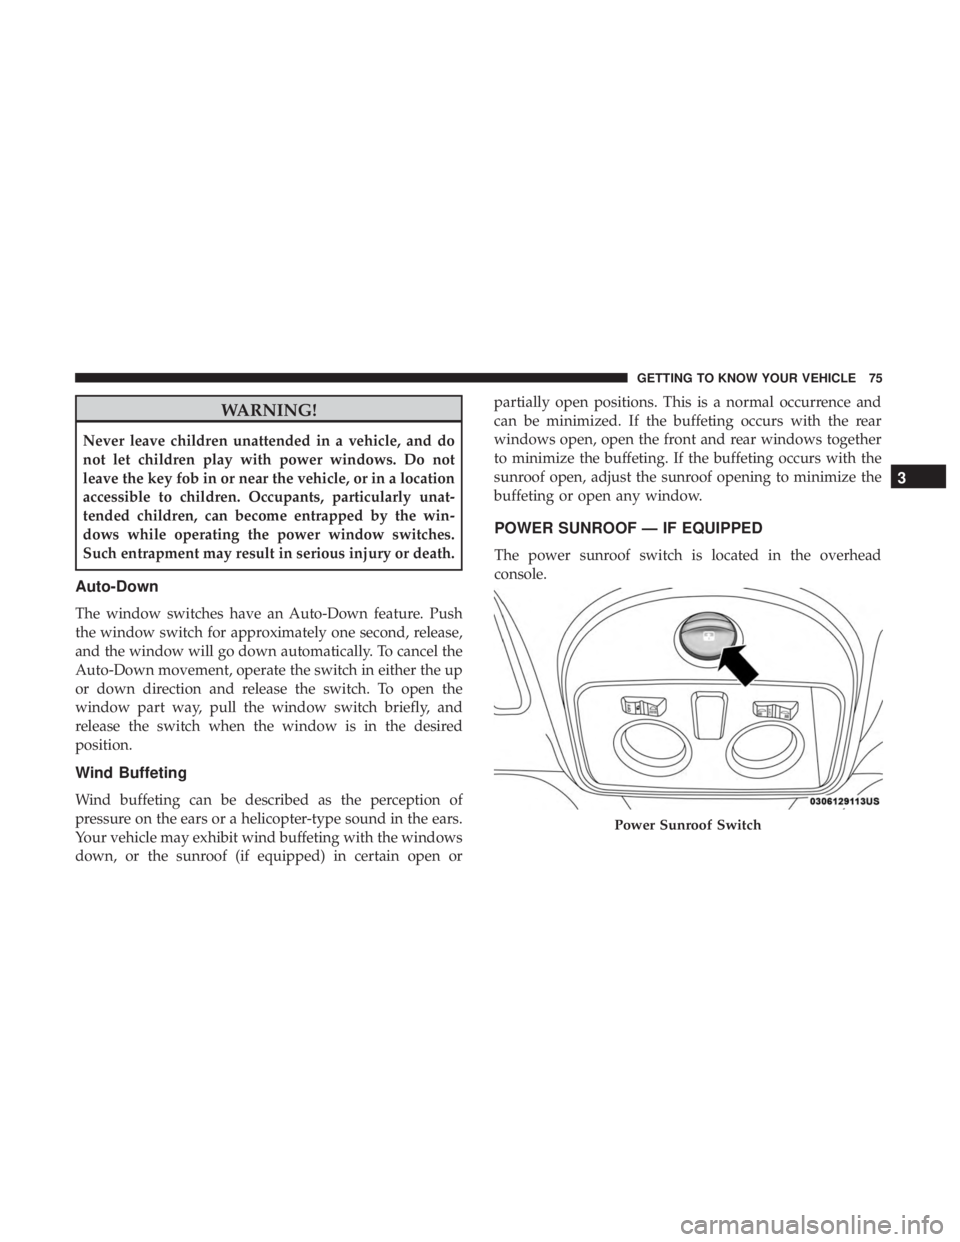
The power sunroof switch is located in the overhead
console.
Power Sunroof Switch
3
GETTING TO KNOW YOUR VEHICLE 75
Page 78 of 300

WARNING!
•Never leave children alone in a vehicle, or with
access to an unlocked vehicle. Never leave the key
fob in or near the vehicle or in a location accessible to
children. Occupants, particularly unattended chil-
dren, can become entrapped by the power sunroof
while operating the power sunroof switch. Such
entrapment may result in serious injury or death.
• In a collision, there is greater risk of being thrown
from a vehicle with an open sunroof. You could also
be seriously injured or killed. Always fasten your
seat belt properly and make sure all passengers are
properly secured too.
• Do not allow small children to operate the sunroof.
Never allow your fingers, other body parts, or any
object to project through the sunroof opening. Injury
may result.
To Open
Push and hold the power sunroof switch rearward for
approximately one second and the sunroof will stop at the
vented position. Push the switch a second time and hold
for approximately one second and release, the sunroof will open fully, then stop automatically. This is called “Express
Open”. During Express Open operation, any movement of
the sunroof switch will stop the sunroof.
To Close
With the sunroof in the full open position, pull the power
sunroof button and hold it for approximately one second,
the sunroof will return to the vented position. Pull the
switch a second time and hold for approximately one
second to completely close the sunroof.
Wind Buffeting
Wind buffeting can be described as the perception of
pressure on the ears or a helicopter-type sound in the ears.
Your vehicle may exhibit wind buffeting with the windows
down, or the sunroof (if equipped) in certain open or
partially open positions. This is a normal occurrence and
can be minimized. If the buffeting occurs with the rear
windows open, open the front and rear windows together
to minimize the buffeting. If the buffeting occurs with the
sunroof open, adjust the sunroof opening to minimize the
buffeting or open any window.
Sun Shade — If Equipped
For vehicles equipped with either a power sunroof or a
fixed glass roof, there is a sun shade that can be open or
76 GETTING TO KNOW YOUR VEHICLE
Page 86 of 300
LIFTGATE
Opening
To unlock the liftgate, use the key fob or activate the power
door lock switches located on the driver door handle.
To open the liftgate, squeeze the liftgate release handle and
pull the liftgate open with one fluid motion.NOTE:
Gas props support the liftgate in the open position.
However, because the gas pressure drops with tempera-
ture, it may be necessary to assist the props when opening
the liftgate in cold weather.
Liftgate Handle
84 GETTING TO KNOW YOUR VEHICLE
Page 159 of 300

STARTING PROCEDURES
Before starting your vehicle, adjust your seat, adjust both
inside and outside mirrors, and fasten your seat belts.
WARNING!
•Never leave children alone in a vehicle, or with
access to an unlocked vehicle.
• Allowing children to be in a vehicle unattended is
dangerous for a number of reasons. A child or others
could be seriously or fatally injured. Children
should be warned not to touch the parking brake,
brake pedal or the transmission gear selector.
• Do not leave the key fob in or near the vehicle (or in
a location accessible to children). A child could
operate power windows, other controls, or move the
vehicle.
Single-Speed Transmission
The transmission must be in the PARK or NEUTRAL
position before you can start the vehicle. Apply the brakes
when selecting a transmission gear from Park.
NOTE: You must press the brake pedal before selecting a
transmission gear.
Normal Starting
Turn the key to the START position while your vehicle is in
PARK. When the ignition key is turned to the START and
then released to the RUN position, a chime will sound and
the “READY” indicator in the instrument cluster display
will illuminate to indicate the 500e’s Electric Drive System
has started. When the “READY” indicator is illuminated
your 500e is ready to be driven.
“READY” Indicator
6
STARTING AND OPERATING 157
Page 161 of 300
WARNING!
•Never leave children alone in a vehicle, or with
access to an unlocked vehicle.
• Allowing children to be in a vehicle unattended is
dangerous for a number of reasons. A child or others
could be seriously or fatally injured. Children
should be warned not to touch the parking brake,
brake pedal or the transmission push buttons.
• Do not leave the key fob in or near the vehicle (or in
a location accessible to children). A child could
operate power windows, other controls, or move the
vehicle.
• Be sure the parking brake is fully disengaged before
driving; failure to do so can lead to brake failure and
a collision.
• Always fully apply the parking brake when leaving
your vehicle, or it may roll and cause damage or
injury.
CAUTION!
If the Brake Warning Light remains on with the park-
ing brake released, a brake system malfunction is
indicated. Have the brake system serviced by an au-
thorized dealer immediately.
6
STARTING AND OPERATING 159
Page 164 of 300

When parking on a hill, apply the parking brake before
placing the transmission into PARK. As an added precau-
tion, turn the front wheels toward the curb on a downhill
grade and away from the curb on an uphill grade.
When exiting the vehicle, always:
•Apply the parking brake.
• Shift the transmission into PARK.
• Turn the vehicle OFF.
• Remove the ignition key.
NOTE: Refer to the transmission range position displayed
in the instrument cluster and verify that it indicates the
PARK position.
WARNING!
• Never use the PARK position as a substitute for the
park brake. Always apply the park brake fully when
exiting the vehicle to guard against vehicle move-
ment and possible injury or damage.
• Your vehicle could move and injure you and others if
it is not in PARK. Check by trying to move the gear
selector out of PARK with the brake pedal released.
(Continued)
WARNING! (Continued)
Make sure the transmission is in PARK before exit-
ing the vehicle.
• It is dangerous to shift out of PARK or NEUTRAL if
your foot is not firmly pressing the brake pedal. The
vehicle could accelerate quickly forward or in re-
verse. You could lose control of the vehicle and hit
someone or something. Only shift the transmission
into gear when your foot is firmly pressing the brake
pedal.
• Unintended movement of a vehicle could injure
those in or near the vehicle. As with all vehicles, you
should never exit a vehicle while the engine is
running or the propulsion system is active. Before
exiting a vehicle, always come to a complete stop,
then apply the park brake, shift the transmission into
PARK, turn the ignition OFF, and remove the key
fob. When the ignition is in the OFF mode, the
transmission is locked in PARK, securing the vehicle
against unwanted movement.
• When leaving the vehicle, always remove the igni-
tion key and lock your vehicle.
(Continued)
162 STARTING AND OPERATING
Page 270 of 300
Setting NameSelectable Options
Remote Door Unlock/Door Unlock DriverAll
NOTE: When “Driver” is selected, only the driver ’s door will unlock on the first push of the key fob unlock button,
you must push the key fob unlock button twice to unlock the passenger ’s doors. When “All” is selected, all of the
doors will unlock on the first push of the key fob unlock button.
Engine Off Options
After pressing the “Engine Off Options” button on the
touchscreen, the following settings will be available:
Setting Name Selectable Options
Radio Off Delay 0 min.20 min.
Audio
After pressing the “Audio” button on the touchscreen, the
following settings will be available:
Setting Name Selectable Options
Equalizer +–
NOTE:
•When in the “Equalizer” display, you may adjust the Bass, Mid and Treble settings.
•Bass/Mid/Treble allow you to simply slide your finger up or down to change the setting as well as press directly
on the desired setting.
268 MULTIMEDIA