Page 47 of 490
Tailgate Mode
1. Pull release strap “3”, then pull release strap “4” torotate the entire seat rearward.
2. To restore the seat to its upright position, lift up on the seatback and push forward until the anchors latch.
WARNING!
To avoid serious injury or death, never operate the
vehicle with occupants in the third row seat while in
the tailgate mode.
Power Seats — If Equipped
Some models may be equipped with eight-way power
seats for the driver and front passenger. The power seat
switches are located on the outboard side of the seat. The
switches control the movement of the seat cushion and the
seatback.
Driver Power Seat Switch
1 — Seat Switch
2 — Seatback Switch
3
GETTING TO KNOW YOUR VEHICLE 45
Page 60 of 490

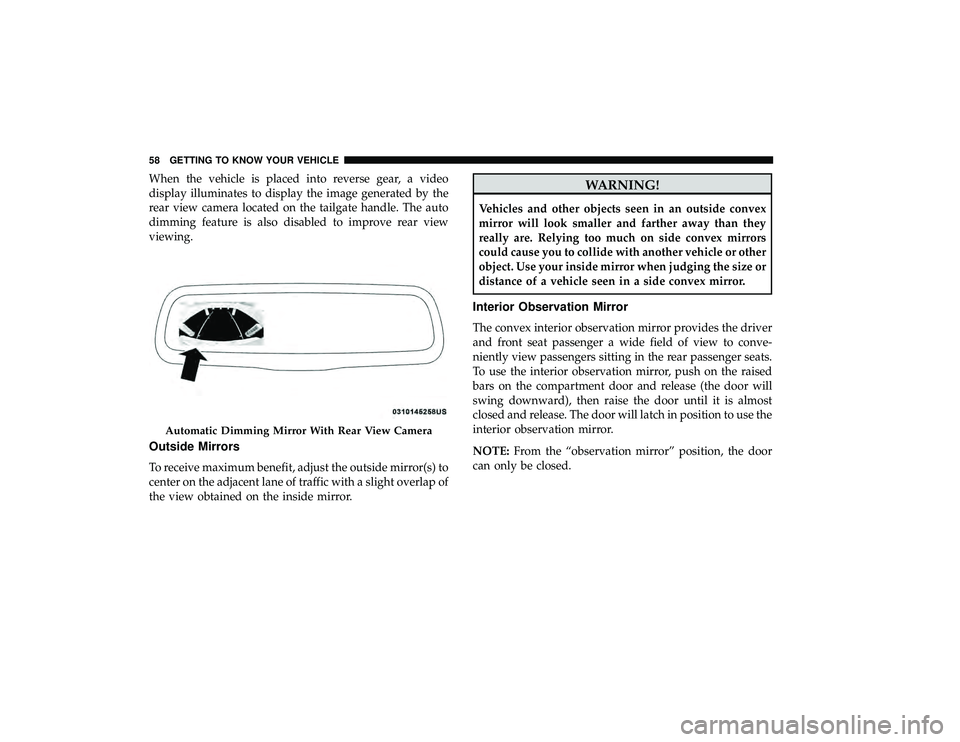
When the vehicle is placed into reverse gear, a video
display illuminates to display the image generated by the
rear view camera located on the tailgate handle. The auto
dimming feature is also disabled to improve rear view
viewing.
Outside Mirrors
To receive maximum benefit, adjust the outside mirror(s) to
center on the adjacent lane of traffic with a slight overlap of
the view obtained on the inside mirror.
WARNING!
Vehicles and other objects seen in an outside convex
mirror will look smaller and farther away than they
really are. Relying too much on side convex mirrors
could cause you to collide with another vehicle or other
object. Use your inside mirror when judging the size or
distance of a vehicle seen in a side convex mirror.
Interior Observation Mirror
The convex interior observation mirror provides the driver
and front seat passenger a wide field of view to conve-
niently view passengers sitting in the rear passenger seats.
To use the interior observation mirror, push on the raised
bars on the compartment door and release (the door will
swing downward), then raise the door until it is almost
closed and release. The door will latch in position to use the
interior observation mirror.
NOTE:From the “observation mirror” position, the door
can only be closed.
Automatic Dimming Mirror With Rear View Camera
58 GETTING TO KNOW YOUR VEHICLE
Page 292 of 490

NOTE:•If a screwdriver is used, make sure a soft material is
placed between the vehicle body and tool so not to
scratch the paint.
• The PRY location is best closest to the studs while
dislodging them separately.
3. Twist the socket and remove from the lamp assembly.
4. Pull the bulb to remove it from the socket.
5. Replace the bulb, reinstall the socket, and reattach the lamp assembly.
Center High-Mounted Stop Lamp (CHMSL)
The CHMSL uses LED lamps that are not serviceable
separately. The CHMSL must be replaced as an assembly.
See your authorized dealer.
License Lamp
The license plate lamp is located under the tailgate light
bar and above the license plate.
1. Using a small screwdriver, press inward the locking tabon the outboard side of the lamp assembly and pull
down on the lamp assembly for removal. 2. Twist and remove the socket from the lamp assembly
and pull the bulb out to remove.
3. Push the bulb into the socket, twist the socket into the lamp assembly and reinstall the lamp assembly into
place ensuring the locking tab is secure.
FUSES
WARNING!
•When replacing a blown fuse, always use an appro-
priate replacement fuse with the same amp rating as
the original fuse. Never replace a fuse with another
fuse of higher amp rating. Never replace a blown
fuse with metal wires or any other material. Do not
place a fuse inside a circuit breaker cavity or vice
versa. Failure to use proper fuses may result in
serious personal injury, fire and/or property damage.
• Before replacing a fuse, make sure that the ignition is
off and that all the other services are switched off
and/or disengaged.
• If the replaced fuse blows again, contact an autho-
rized dealer.
(Continued)
290 IN CASE OF EMERGENCY
Page 349 of 490

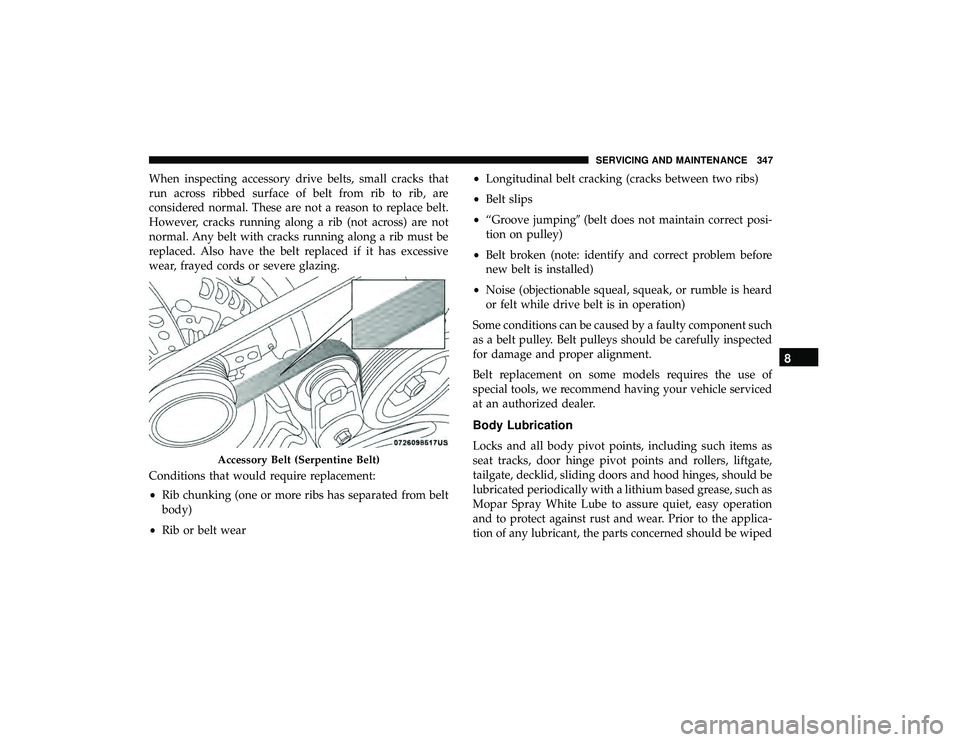
When inspecting accessory drive belts, small cracks that
run across ribbed surface of belt from rib to rib, are
considered normal. These are not a reason to replace belt.
However, cracks running along a rib (not across) are not
normal. Any belt with cracks running along a rib must be
replaced. Also have the belt replaced if it has excessive
wear, frayed cords or severe glazing.
Conditions that would require replacement:
•Rib chunking (one or more ribs has separated from belt
body)
• Rib or belt wear •
Longitudinal belt cracking (cracks between two ribs)
• Belt slips
• “Groove jumping� (belt does not maintain correct posi-
tion on pulley)
• Belt broken (note: identify and correct problem before
new belt is installed)
• Noise (objectionable squeal, squeak, or rumble is heard
or felt while drive belt is in operation)
Some conditions can be caused by a faulty component such
as a belt pulley. Belt pulleys should be carefully inspected
for damage and proper alignment.
Belt replacement on some models requires the use of
special tools, we recommend having your vehicle serviced
at an authorized dealer.
Body Lubrication
Locks and all body pivot points, including such items as
seat tracks, door hinge pivot points and rollers, liftgate,
tailgate, decklid, sliding doors and hood hinges, should be
lubricated periodically with a lithium based grease, such as
Mopar Spray White Lube to assure quiet, easy operation
and to protect against rust and wear. Prior to the applica-
tion of any lubricant, the parts concerned should be wiped
Accessory Belt (Serpentine Belt)
8
SERVICING AND MAINTENANCE 347