Page 18 of 490
▫General Information .................... .104
� INTERNAL EQUIPMENT ..................104
▫ Storage ............................. .104
▫ Cupholders ...........................113
▫ Sun Screens — If Equipped ................115
▫ Electrical Power Outlets — If Equipped .......115▫
Power Inverter — If Equipped .............119
▫ Smoker’s Package Kit — If Equipped ........120
▫ Sunglass Storage Bin — If Equipped .........120
� ROOF LUGGAGE RACK — IF EQUIPPED ......122
▫ Deploying The Crossbars .................123
▫ Stowing The Crossbars .................. .126
16 GETTING TO KNOW YOUR VEHICLE
Page 124 of 490
ROOF LUGGAGE RACK — IF EQUIPPED
The crossbars on your vehicle are delivered stowed within
the roof rack side rails. If adding cargo, deploy the cross-
bars. Distribute cargo weight evenly on the roof rack
crossbars, to maximum of 150 lbs (68 kg). The roof rack
does not increase the total load carrying capacity of the
vehicle. Be sure the total load of cargo inside the vehicle
plus that on the external rack does not exceed the maxi-
mum vehicle load capacity.The crossbars and side rails are designed to carry weight
on vehicles equipped with a luggage rack. The load must
not exceed 150 lbs (68 kg), and should be uniformly
distributed over the luggage rack crossbars.
NOTE:
•
Crossbars are error-proofed and cannot be deployed or
stowed in the incorrect positions.
• To help control wind noise, stow the crossbars in the side
rails when they are not in use.
Crossbar Stowed In Side Rail
122 GETTING TO KNOW YOUR VEHICLE
Page 128 of 490

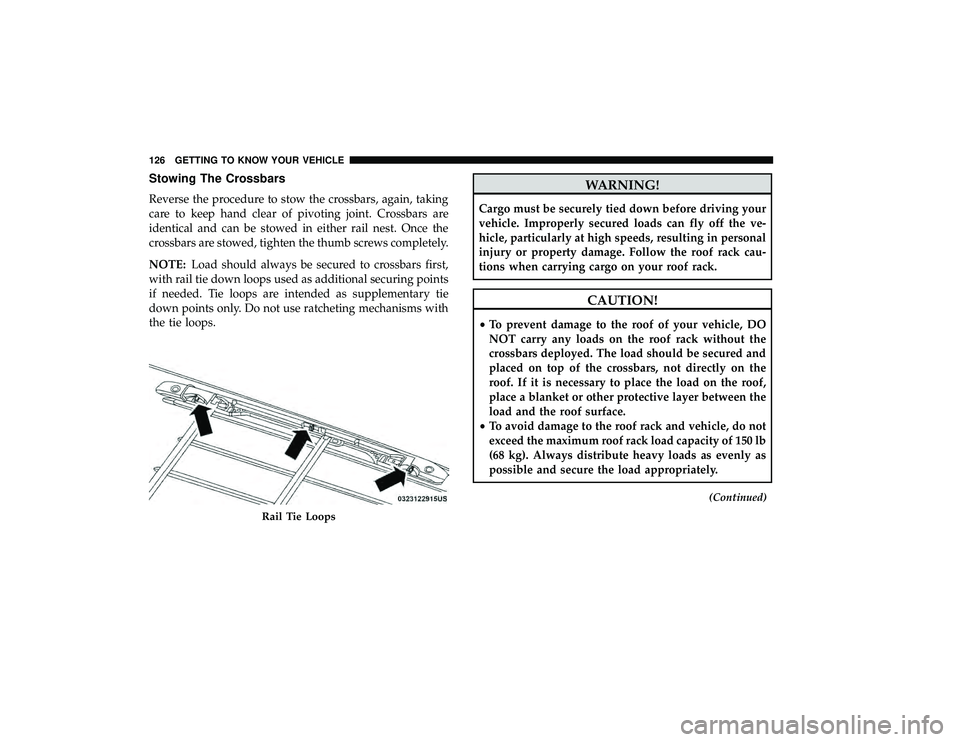
Stowing The Crossbars
Reverse the procedure to stow the crossbars, again, taking
care to keep hand clear of pivoting joint. Crossbars are
identical and can be stowed in either rail nest. Once the
crossbars are stowed, tighten the thumb screws completely.
NOTE:Load should always be secured to crossbars first,
with rail tie down loops used as additional securing points
if needed. Tie loops are intended as supplementary tie
down points only. Do not use ratcheting mechanisms with
the tie loops.
WARNING!
Cargo must be securely tied down before driving your
vehicle. Improperly secured loads can fly off the ve-
hicle, particularly at high speeds, resulting in personal
injury or property damage. Follow the roof rack cau-
tions when carrying cargo on your roof rack.
CAUTION!
• To prevent damage to the roof of your vehicle, DO
NOT carry any loads on the roof rack without the
crossbars deployed. The load should be secured and
placed on top of the crossbars, not directly on the
roof. If it is necessary to place the load on the roof,
place a blanket or other protective layer between the
load and the roof surface.
• To avoid damage to the roof rack and vehicle, do not
exceed the maximum roof rack load capacity of 150 lb
(68 kg). Always distribute heavy loads as evenly as
possible and secure the load appropriately.
(Continued)
Rail Tie Loops
126 GETTING TO KNOW YOUR VEHICLE
Page 129 of 490
CAUTION!(Continued)
•Load should always be secured to cross bars first,
with tie down loops used as additional securing
points if needed. Tie loops are intended as supple-
mentary tie down points only. Do not use ratcheting
mechanisms with the tie loops. Check the straps and
thumb wheels frequently to be sure that the load
remains securely attached.
• Long loads that extend over the windshield, such as
wood panels or surfboards, or loads with large
frontal area should be secured to both the front and
rear of the vehicle.
• Travel at reduced speeds and turn corners carefully
when carrying large or heavy loads on the roof rack.
Wind forces, due to natural causes or nearby truck
traffic, can add sudden upward lift to a load. This is
especially true on large flat loads and may result in
damage to the cargo or your vehicle.
3
GETTING TO KNOW YOUR VEHICLE 127
Page 205 of 490

Supplemental Side Air Bag Inflatable Curtains (SABICs)
This vehicle is equipped with Supplemental Side Air Bag
Inflatable Curtains (SABICs).
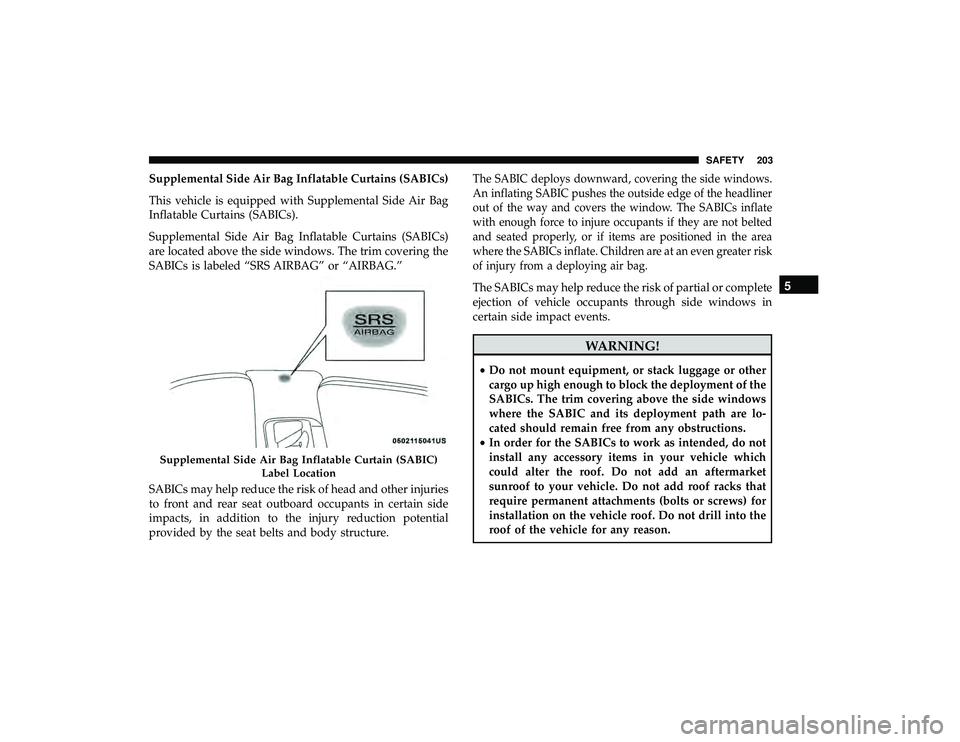
Supplemental Side Air Bag Inflatable Curtains (SABICs)
are located above the side windows. The trim covering the
SABICs is labeled “SRS AIRBAG” or “AIRBAG.”
SABICs may help reduce the risk of head and other injuries
to front and rear seat outboard occupants in certain side
impacts, in addition to the injury reduction potential
provided by the seat belts and body structure.The SABIC deploys downward, covering the side windows.
An inflating SABIC pushes the outside edge of the headliner
out of the way and covers the window. The SABICs inflate
with enough force to injure occupants if they are not belted
and seated properly, or if items are positioned in the area
where the SABICs inflate. Children are at an even greater risk
of injury from a deploying air bag.
The SABICs may help reduce the risk of partial or complete
ejection of vehicle occupants through side windows in
certain side impact events.
WARNING!
•Do not mount equipment, or stack luggage or other
cargo up high enough to block the deployment of the
SABICs. The trim covering above the side windows
where the SABIC and its deployment path are lo-
cated should remain free from any obstructions.
• In order for the SABICs to work as intended, do not
install any accessory items in your vehicle which
could alter the roof. Do not add an aftermarket
sunroof to your vehicle. Do not add roof racks that
require permanent attachments (bolts or screws) for
installation on the vehicle roof. Do not drill into the
roof of the vehicle for any reason.
Supplemental Side Air Bag Inflatable Curtain (SABIC)
Label Location
5
SAFETY 203
Page 484 of 490

Refrigerant.............................. .345
Release, Hood ..............................92
Reminder, Lights On .........................61
Reminder, Seat Belt ........................ .181
Remote Keyless Entry Arm The Alarm ..........................25
Disarm The Alarm ........................25
Programming Additional Key Fobs ..........20, 24
Remote Starting Exit Remote Start Mode .....................22
Replacement Bulbs ........................ .287
Replacement Keys ...........................24
Replacement Tires ......................... .372
Reporting Safety Defects .................... .469
Restraints, Child .......................... .210
Restraints, Head ............................49
Rocking Vehicle When Stuck ...................329
Roof Luggage Rack ........................ .122
Rotation, Tires ............................ .379
Safety Checks Inside Vehicle ...................235
Safety Checks Outside Vehicle .................237
Safety Defects, Reporting .................... .469
Safety, Exhaust Gas ........................ .234
Safety Information, Tire ..................... .357Safety Tips
.............................. .234
Schedule, Maintenance ...................... .335
Seat Belt Reminder ........................ .147
Seat Belts ............................ .181, 235
Adjustable Shoulder Belt ...................186
Adjustable Upper Shoulder Anchorage .........186
Adjustable Upper Shoulder Belt Anchorage ......186
Automatic Locking Retractor (ALR) ...........193
Child Restraints ........................ .210
Energy Management Feature ................192
Extender .............................. .191
Front Seat ...................... .181, 182, 184
Inspection ............................. .235
Lap/Shoulder Belt Operation ................184
Lap/Shoulder
Belts ...................... .182
Lap/Shoulder Belt Untwisting ...............186
Operating Instructions .................... .184
Pregnant Women ........................ .192
Pretensioners .......................... .192
Rear Seat ............................. .182
Reminder ............................. .181
Seat Belt Extender ....................... .191
Seat Belt Pretensioner .................... .192
Untwisting Procedure .................... .186
Seat Belts Maintenance ...................... .383
482 INDEX