2019 DODGE GRAND CARAVAN set clock
[x] Cancel search: set clockPage 72 of 490

IconDescription
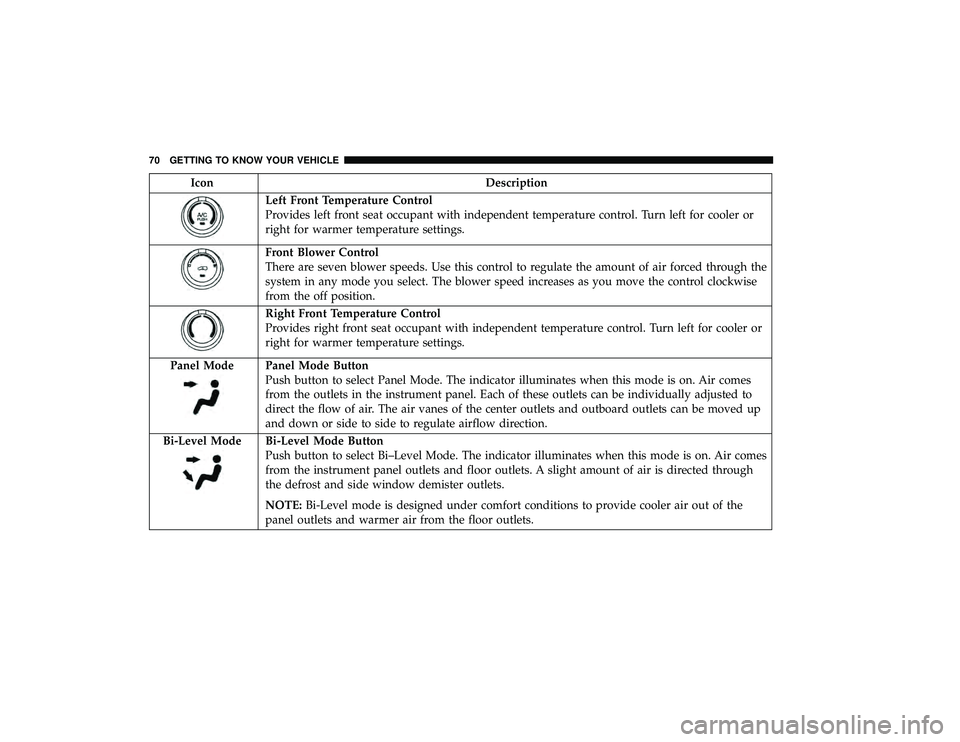
Left Front Temperature Control
Provides left front seat occupant with independent temperature control. Turn left for cooler or
right for warmer temperature settings.
Front Blower Control
There are seven blower speeds. Use this control to regulate the amount of air forced through the
system in any mode you select. The blower speed increases as you move the control clockwise
from the off position.
Right Front Temperature Control
Provides right front seat occupant with independent temperature control. Turn left for cooler or
right for warmer temperature settings.
Panel Mode
Panel Mode Button
Push button to select Panel Mode. The indicator illuminates when this mode is on. Air comes
from the outlets in the instrument panel. Each of these outlets can be individually adjusted to
direct the flow of air. The air vanes of the center outlets and outboard outlets can be moved up
and down or side to side to regulate airflow direction.
Bi-Level Mode
Bi-Level Mode Button
Push button to select Bi–Level Mode. The indicator illuminates when this mode is on. Air comes
from the instrument panel outlets and floor outlets. A slight amount of air is directed through
the defrost and side window demister outlets.
NOTE: Bi-Level mode is designed under comfort conditions to provide cooler air out of the
panel outlets and warmer air from the floor outlets.
70 GETTING TO KNOW YOUR VEHICLE
Page 80 of 490

IconDescription
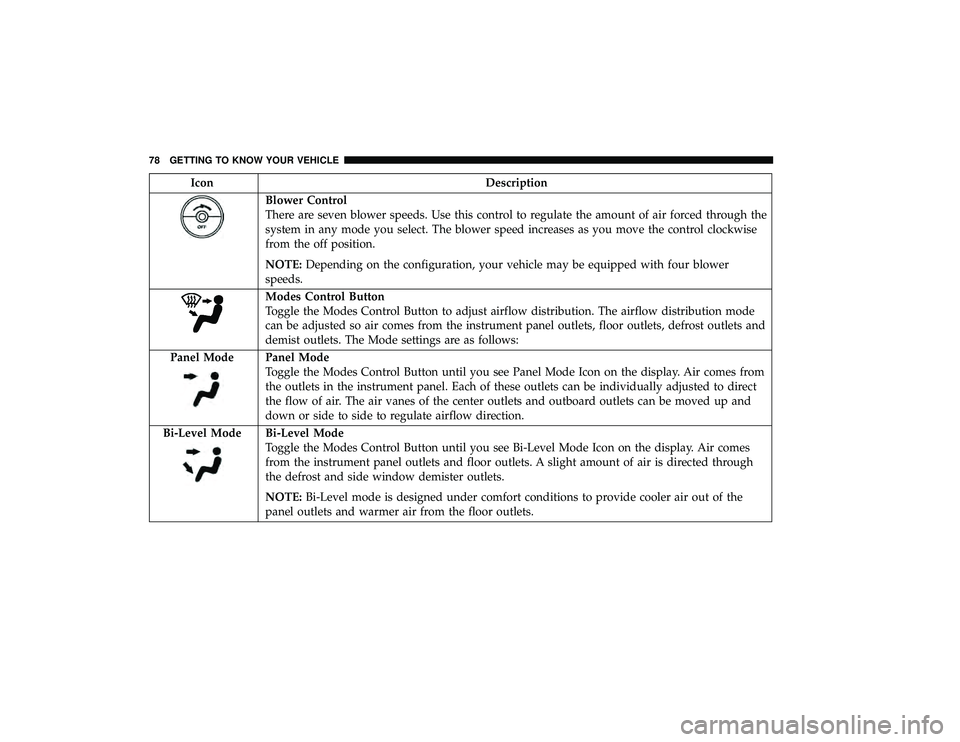
Blower Control
There are seven blower speeds. Use this control to regulate the amount of air forced through the
system in any mode you select. The blower speed increases as you move the control clockwise
from the off position.
NOTE:Depending on the configuration, your vehicle may be equipped with four blower
speeds.
Modes Control Button
Toggle the Modes Control Button to adjust airflow distribution. The airflow distribution mode
can be adjusted so air comes from the instrument panel outlets, floor outlets, defrost outlets and
demist outlets. The Mode settings are as follows:
Panel Mode
Panel Mode
Toggle the Modes Control Button until you see Panel Mode Icon on the display. Air comes from
the outlets in the instrument panel. Each of these outlets can be individually adjusted to direct
the flow of air. The air vanes of the center outlets and outboard outlets can be moved up and
down or side to side to regulate airflow direction.
Bi-Level Mode
Bi-Level Mode
Toggle the Modes Control Button until you see Bi-Level Mode Icon on the display. Air comes
from the instrument panel outlets and floor outlets. A slight amount of air is directed through
the defrost and side window demister outlets.
NOTE: Bi-Level mode is designed under comfort conditions to provide cooler air out of the
panel outlets and warmer air from the floor outlets.
78 GETTING TO KNOW YOUR VEHICLE
Page 83 of 490

IconDescription
SYNC Button — If Equipped
Press the SYNC button to toggle the Sync feature on/off. The SYNC indicator is illuminated
when this feature is enabled. SYNC is used to synchronize the front and rear passenger tem-
perature settings with the driver temperature setting. Changing the front or rear passenger tem-
perature setting while in SYNC will automatically exit this feature.
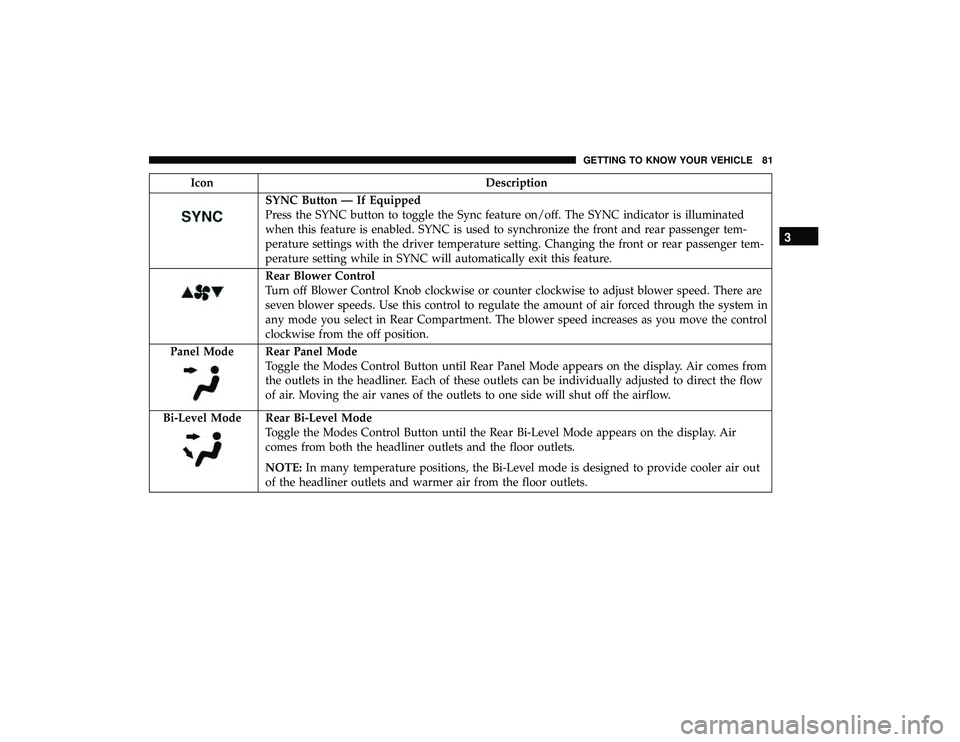
Rear Blower Control
Turn off Blower Control Knob clockwise or counter clockwise to adjust blower speed. There are
seven blower speeds. Use this control to regulate the amount of air forced through the system in
any mode you select in Rear Compartment. The blower speed increases as you move the control
clockwise from the off position.
Panel Mode
Rear Panel Mode
Toggle the Modes Control Button until Rear Panel Mode appears on the display. Air comes from
the outlets in the headliner. Each of these outlets can be individually adjusted to direct the flow
of air. Moving the air vanes of the outlets to one side will shut off the airflow.
Bi-Level Mode
Rear Bi-Level Mode
Toggle the Modes Control Button until the Rear Bi-Level Mode appears on the display. Air
comes from both the headliner outlets and the floor outlets.
NOTE: In many temperature positions, the Bi-Level mode is designed to provide cooler air out
of the headliner outlets and warmer air from the floor outlets.
3
GETTING TO KNOW YOUR VEHICLE 81
Page 86 of 490

IconDescription
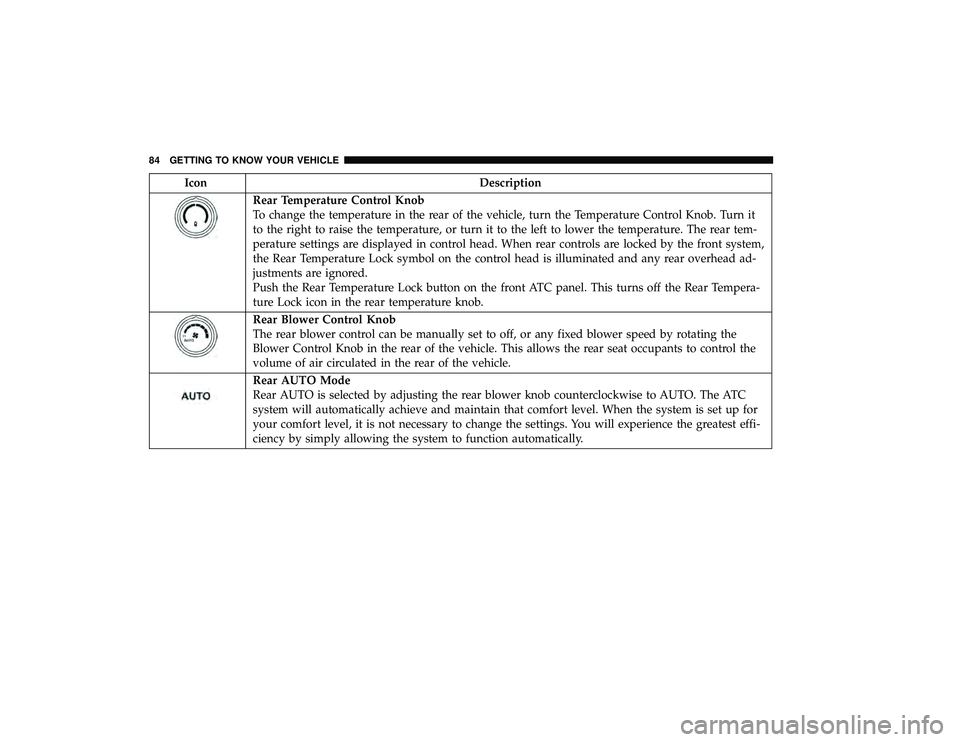
Rear Temperature Control Knob
To change the temperature in the rear of the vehicle, turn the Temperature Control Knob. Turn it
to the right to raise the temperature, or turn it to the left to lower the temperature. The rear tem-
perature settings are displayed in control head. When rear controls are locked by the front system,
the Rear Temperature Lock symbol on the control head is illuminated and any rear overhead ad-
justments are ignored.
Push the Rear Temperature Lock button on the front ATC panel. This turns off the Rear Tempera-
ture Lock icon in the rear temperature knob.
Rear Blower Control Knob
The rear blower control can be manually set to off, or any fixed blower speed by rotating the
Blower Control Knob in the rear of the vehicle. This allows the rear seat occupants to control the
volume of air circulated in the rear of the vehicle.
Rear AUTO Mode
Rear AUTO is selected by adjusting the rear blower knob counterclockwise to AUTO. The ATC
system will automatically achieve and maintain that comfort level. When the system is set up for
your comfort level, it is not necessary to change the settings. You will experience the greatest effi-
ciency by simply allowing the system to function automatically.
84 GETTING TO KNOW YOUR VEHICLE
Page 407 of 490

STEERING WHEEL AUDIO CONTROLS — IF
EQUIPPED
The remote sound system controls are located on the rear
surface of the steering wheel, at the three and nine o’clock
positions.
The right-hand rocker switch has a push-button in the
center, and controls the volume and mode of the sound
system. Pushing the top of the rocker switch will increase
the volume. Pushing the bottom of the rocker switch will
decrease the volume. Pushing the center button changes
the operation of the radio from AM to FM, or to CD mode,
depending on which radio is in the vehicle.The left-hand rocker switch has a push-button in the center.
The function of the left-hand switch is different, depending
on which mode you are in.
The following describes the left-hand rocker switch opera-
tion in each mode.
Radio Operation
Pushing the top of the switch will SEEK up for the next
listenable station, and pushing the bottom of the switch
will SEEK down for the next listenable station.
The button located in the center of the left-hand switch will
tune to the next preset station that you have programmed
in the radio preset push-button.
CD Player
Pushing the top of the switch once will go to the next track
on the CD. Pushing the bottom of the switch once will go
to the beginning of the current track, or to the beginning of
the previous track if it is within one second after the
current track begins to play.
If you push the switch up or down twice it plays the
second track; three times, it will play the third, etc.
The button in the center of the left-hand switch has no
function in this mode.
Remote Sound System Controls (Back View Of Steering Wheel)
10
MULTIMEDIA 405
Page 411 of 490

•Turning it clockwise (forward) and counterclockwise
(backward) scrolls through the lists, displaying the track
detail on the radio display. Once the track to be played
is highlighted on the radio display, push the TUNE
control knob to select and start playing the track. Turn-
ing the TUNEcontrol knob fast will scroll through the
list faster. During fast scroll, a slight delay in updating
the information on the radio display may be noticeable.
During all List modes, the iPod displays all lists in “wrap-
around” mode. So if the track is at the bottom of the list,
just turn the wheel backward (counterclockwise) to get to
the track faster.
In List mode, the radio PRESETbuttons are used as
shortcuts to the following lists on the iPod or external USB
device:
• Preset 1 – Playlists
• Preset 2 – Artists
• Preset 3 – Albums
• Preset 4 – Genres
• Preset 5 – Audiobooks
• Preset 6 – Podcasts Pushing a PRESET button will display the current list on
the top line and the first item in that list on the second line.
To exit List mode without selecting a track, push the same
PRESET
button again to go back to Play mode.
LIST button: The LISTbutton will display the top level
menu of the iPod or external USB device.
• Turn the TUNEcontrol knob to list the top-menu item to
be selected and push the TUNEcontrol knob. This will
display the next sub-menu list item on the audio device,
then follow the same steps to go to the desired track in
that list. Not all iPod or external USB device sub-menu
levels are available on this system.
MUSIC TYPE button: TheMUSIC TYPE button is another
shortcut button to the genre listing on your audio device.
WARNING!
Do not plug in or remove the iPod or external USB
device while driving. Failure to follow this warning
could result in an accident.
10
MULTIMEDIA 409