2019 DODGE GRAND CARAVAN low oil pressure
[x] Cancel search: low oil pressurePage 134 of 490

•Odometer Display / Trip Odometer Display
The odometer display shows the total distance the
vehicle has been driven.
This also displays Trip A and Trip B, DTE, MPG or
L/100km, OAT (Outside Air Temperature) information
to Base Cluster, use STEP and RESET button (on
steering wheel) to access or reset the display.
• Message Display Area
When the appropriate conditions exist, the following
odometer messages will display:
door — Door Ajar
gATE — Liftgate Ajar
LoW tirE — Low Tire Pressure
gASCAP — Fuel Cap Fault
noFUSE — Fuse Fault
CHAngE OIL — Oil Change Required
LoCOOL — Low Coolant
3. Speedometer
Indicates vehicle speed. 4.
Fuel Gauge
• The gauge shows the level of fuel in the fuel tank when
the ignition switch is in the ON/RUN position.
•
The fuel pump symbol points to the side of the
vehicle where the fuel door is located.
5. Temperature Gauge
• The temperature gauge shows engine coolant tem-
perature. Any reading within the normal range indi-
cates that the engine cooling system is operating
satisfactorily.
• The gauge can indicate a higher temperature when
driving in hot weather or up mountain grades. It
should not be allowed to exceed the upper limits of the
normal operating range.
WARNING!
Driving with a hot engine cooling system could dam-
age your vehicle. If the temperature gauge reaches “H”
pull over and stop the vehicle. Idle the vehicle with the
air conditioner turned off until the gauge drops back
into the normal range and is no longer red. If the gauge
remains on the “H”, turn the engine off immediately
and call an authorized dealer for service.
132 GETTING TO KNOW YOUR INSTRUMENT PANEL
Page 149 of 490

come on when the ignition is placed in the ON/RUN or
ACC/ON/RUN position and remain on briefly as a bulb
check. If the light does not come on during starting, have
the system checked by an authorized dealer.
— Engine Coolant Temperature Warning Light
This warning light warns of an overheated engine condi-
tion. If the engine coolant temperature is too high, this
indicator will illuminate and a single chime will sound. If
the temperature reaches the upper limit, a continuous
chime will sound for four minutes or until the engine is
able to cool: whichever comes first.
If the light turns on while driving, safely pull over and stop
the vehicle. If the A/C system is on, turn it off. Also, shift
the transmission into NEUTRAL and idle the vehicle. If the
temperature reading does not return to normal, turn the
engine off immediately and call for service.
Refer to “If Your Engine Overheats” in “In Case Of
Emergency” for further information.
— Liftgate Open Warning Light
This indicator will turn when the liftgate is open.
NOTE:If the vehicle is moving, there will also be a single
chime.
— Oil Pressure Warning Light
This warning light will illuminate to indicate low engine
oil pressure. If the light turns on while driving, stop the
vehicle, shut off the engine as soon as possible, and contact
an authorized dealer. A chime will sound when this light
turns on.
Do not operate the vehicle until the cause is corrected. This
light does not indicate how much oil is in the engine. The
engine oil level must be checked under the hood.
— Seat Belt Reminder Warning Light
This warning light indicates when the driver or passenger
seat belt is unbuckled. When the ignition is first placed in
the ON/RUN or ACC/ON/RUN position and if the
driver ’s seat belt is unbuckled, a chime will sound and the
light will turn on. When driving, if the driver or front
passenger seat belt remains unbuckled, the Seat Belt Re-
minder Light will flash or remain on continuously and a
chime will sound.
Refer to “Occupant Restraint Systems” in “Safety” for
further information.
4
GETTING TO KNOW YOUR INSTRUMENT PANEL 147
Page 337 of 490

SCHEDULED SERVICING
Your vehicle is equipped with an automatic oil change
indicator system. The oil change indicator system will
remind you that it is time to take your vehicle in for
scheduled maintenance.
Based on engine operation conditions, the oil change
indicator message will illuminate. This means that service
is required for your vehicle. Operating conditions such as
frequent short-trips, trailer tow, extremely hot or cold
ambient temperatures, and E85 fuel usage will influence
when the “Oil Change Required” message is displayed.
Severe Operating Conditions can cause the change oil
message to illuminate as early as 3,500 miles (5,600 km)
since last reset. Have your vehicle serviced as soon as
possible, within the next 500 miles (805 km).
Your authorized dealer will reset the oil change indicator
message after completing the scheduled oil change. If a
scheduled oil change is performed by someone other than
your authorized dealer, the message can be reset by
referring to the steps described under “Instrument Cluster
Display” in “Getting To Know Your Instrument Panel” for
further information.NOTE:
Under no circumstances should oil change inter-
vals exceed 10,000 miles (16,000 km), 12 months or 350
hours of engine run time, whichever comes first. The 350
hours of engine run or idle time is generally only a concern
for fleet customers.
Severe Duty All Models
Change engine oil at 4,000 miles (6,500 km) if the vehicle is
operated in a dusty and off road environment or is
operated predominately at idle or only very low engine
RPM’s. This type of vehicle use is considered Severe Duty.
Once A Month Or Before A Long Trip:
• Check engine oil level.
• Check windshield washer fluid level.
• Check tire pressure and look for unusual wear or
damage. Rotate tires at the first sign of irregular wear,
even if it occurs before the oil indicator system turns on.
• Check the fluid levels of the coolant reservoir, brake
master cylinder, and power steering and fill as needed.
• Check function of all interior and exterior lights.
8
SERVICING AND MAINTENANCE 335
Page 342 of 490

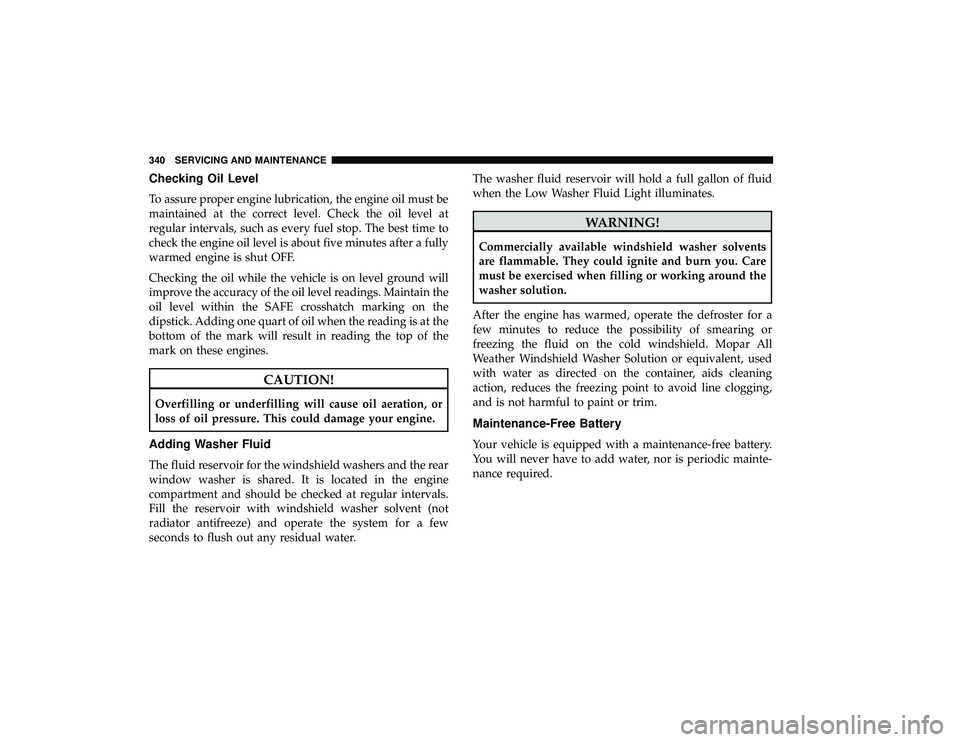
Checking Oil Level
To assure proper engine lubrication, the engine oil must be
maintained at the correct level. Check the oil level at
regular intervals, such as every fuel stop. The best time to
check the engine oil level is about five minutes after a fully
warmed engine is shut OFF.
Checking the oil while the vehicle is on level ground will
improve the accuracy of the oil level readings. Maintain the
oil level within the SAFE crosshatch marking on the
dipstick. Adding one quart of oil when the reading is at the
bottom of the mark will result in reading the top of the
mark on these engines.
CAUTION!
Overfilling or underfilling will cause oil aeration, or
loss of oil pressure. This could damage your engine.
Adding Washer Fluid
The fluid reservoir for the windshield washers and the rear
window washer is shared. It is located in the engine
compartment and should be checked at regular intervals.
Fill the reservoir with windshield washer solvent (not
radiator antifreeze) and operate the system for a few
seconds to flush out any residual water.The washer fluid reservoir will hold a full gallon of fluid
when the Low Washer Fluid Light illuminates.
WARNING!
Commercially available windshield washer solvents
are flammable. They could ignite and burn you. Care
must be exercised when filling or working around the
washer solution.
After the engine has warmed, operate the defroster for a
few minutes to reduce the possibility of smearing or
freezing the fluid on the cold windshield. Mopar All
Weather Windshield Washer Solution or equivalent, used
with water as directed on the container, aids cleaning
action, reduces the freezing point to avoid line clogging,
and is not harmful to paint or trim.
Maintenance-Free Battery
Your vehicle is equipped with a maintenance-free battery.
You will never have to add water, nor is periodic mainte-
nance required.
340 SERVICING AND MAINTENANCE
Page 476 of 490

Certification Label......................... .268
Chains, Tire ............................. .378
Change Oil Indicator ....................... .135
Changing A Flat Tire .................... .297, 357
Chart, Tire Sizing .......................... .359
Check Engine Light (Malfunction Indicator Light). . . .154
Checking Your Vehicle For Safety ...............234
Checks, Safety ............................ .234
Child Restraint ........................... .210
Child Restraints Booster Seats ........................... .214
Child Seat Installation ................. .226, 228
How To Stow An unused ALR Seat Belt ........224
Infant And Child Restraints .................212
Locating The LATCH Anchorages .............220
Lower Anchors And Tethers For Children .......216
Older Children And Child Restraints ...........213
Seating Positions ........................ .215
Using The Top Tether Anchorage .............231
Clean Air Gasoline ........................ .391
Cleaning Wheels ............................... .377
Climate Control ............................68
Automatic ..............................76
Manual ................................68 Coat Hook
...............................112
Cold Weather Operation ..................... .241
Compact Disc (CD) Maintenance ................463
Compact Spare Tire ........................ .375
Compass ................................ .137
Calibration ............................ .138
Variance .............................. .138
Computer, Trip/Travel ................... .136, 144
Console ................................ .105
Floor ................................ .105
Console, Overhead ........................ .108
Contract, Service .......................... .468
Cooling
Pressure Cap (Radiator Cap) ............353
Cooling System ........................... .350
Adding Coolant (Antifreeze) .................352
Cooling Capacity ........................ .397
Disposal Of Used Coolant ..................353
Drain, Flush, And Refill ................... .351
Inspection ............................. .350
Points To Remember ..................... .353
Pressure Cap ........................... .353
Radiator Cap .......................... .353
Selection Of Coolant (Antifreeze) .......351, 397, 398
Corrosion Protection ....................... .381
Cruise Light ............................. .152
474 INDEX