2018 VOLKSWAGEN T-ROC headlights
[x] Cancel search: headlightsPage 136 of 502

NOTICE
Please observe the following points in order to avoid impairing the proper function of the system:
Regularly clean the camera's field of view, and keep it free from snow and ice.
Do not cover the camera's field of view.
Regularly check the area of the windscreen that is in the camera's field of view for damage.
Light-emitting objects in the camera's field of operation, e.g. mobile navigation devices, can impair
the functions of the main-beam control system.
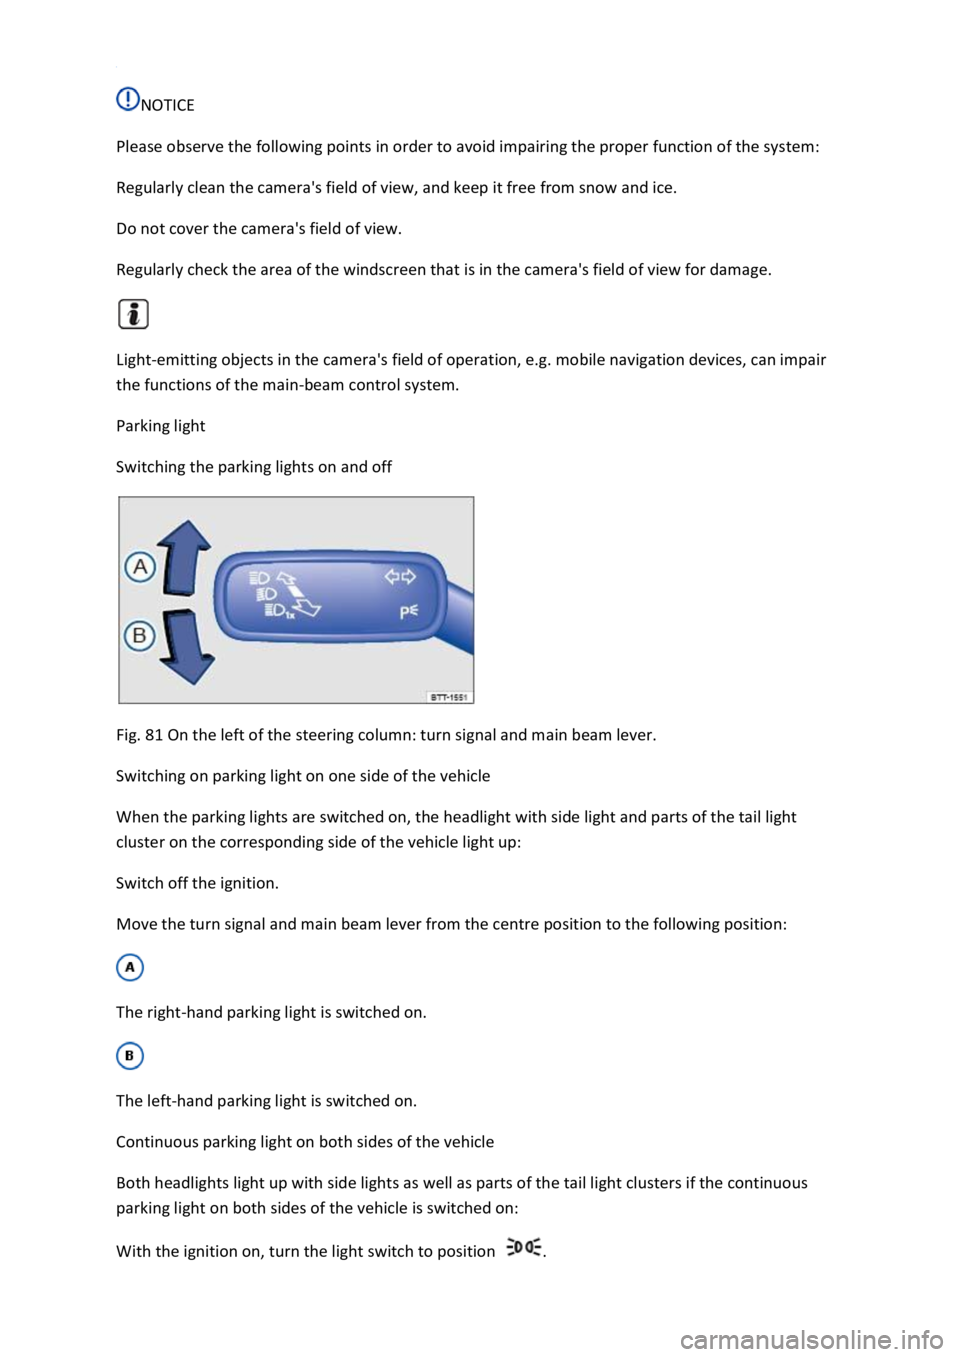
Parking light
Switching the parking lights on and off
Fig. 81 On the left of the steering column: turn signal and main beam lever.
Switching on parking light on one side of the vehicle
When the parking lights are switched on, the headlight with side light and parts of the tail light
cluster on the corresponding side of the vehicle light up:
Switch off the ignition.
Move the turn signal and main beam lever from the centre position to the following position:
The right-hand parking light is switched on.
The left-hand parking light is switched on.
Continuous parking light on both sides of the vehicle
Both headlights light up with side lights as well as parts of the tail light clusters if the continuous
parking light on both sides of the vehicle is switched on:
With the ignition on, turn the light switch to position .
Page 138 of 502

Switch off the ignition.
The Coming Home lighting is switched on when the light switch is in position and the
rain/light sensor detects that it is dark.
The switch-off delay starts when the last vehicle door or the boot lid has been closed.
Deactivating the Coming Home function
Automatically after the selected switch-off delay has elapsed.
OR: automatically if a door or the boot lid is still open approximately 30 seconds after switching on.
OR: turn light switch to position .
OR: switch on the ignition.
Activating the Leaving Home function
Unlock the vehicle when the light switch is in position and the rain/light sensor detects that it
is dark.
Deactivating the Leaving Home function
Automatically after the switch-off delay.
OR: lock the vehicle.
OR: turn light switch to position .
OR: switch on the ignition.
Some settings can be stored in the user accounts of the personalisation function and therefore
change automatically when the user account changes Personalisation
Headlights
Headlight range control
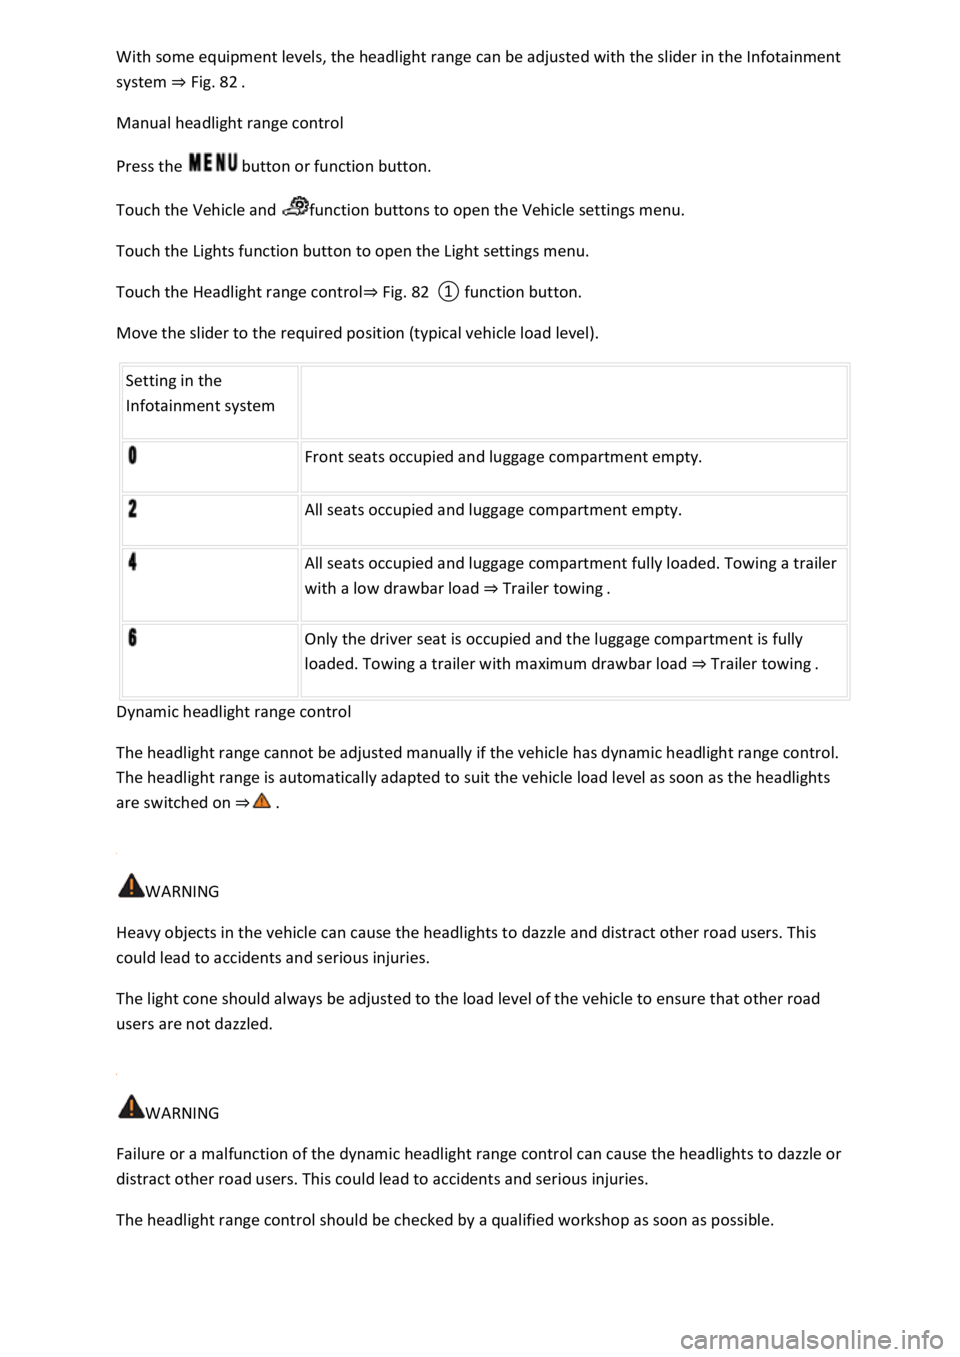
Fig. 82 In the Infotainment system: slider for headlight range control.
Headlight range control can be used to adjust the light cone of the dipped beam headlights to the
vehicle load level. This gives the driver the best visibility possible and means that oncoming traffic
will not be dazzled
Page 139 of 502

system Fig. 82
Manual headlight range control
Press the button or function button.
Touch the Vehicle and function buttons to open the Vehicle settings menu.
Touch the Lights function button to open the Light settings menu.
Touch the Headlight range controlFig. 82
Move the slider to the required position (typical vehicle load level).
Setting in the
Infotainment system
Front seats occupied and luggage compartment empty.
All seats occupied and luggage compartment empty.
All seats occupied and luggage compartment fully loaded. Towing a trailer
with a low drawbar load Trailer towing.
Only the driver seat is occupied and the luggage compartment is fully
loaded. Towing a trailer with maximum drawbar load Trailer towing.
Dynamic headlight range control
The headlight range cannot be adjusted manually if the vehicle has dynamic headlight range control.
The headlight range is automatically adapted to suit the vehicle load level as soon as the headlights
are switched on
WARNING
Heavy objects in the vehicle can cause the headlights to dazzle and distract other road users. This
could lead to accidents and serious injuries.
The light cone should always be adjusted to the load level of the vehicle to ensure that other road
users are not dazzled.
WARNING
Failure or a malfunction of the dynamic headlight range control can cause the headlights to dazzle or
distract other road users. This could lead to accidents and serious injuries.
The headlight range control should be checked by a qualified workshop as soon as possible.
Page 140 of 502

If you have to drive a right-hand drive vehicle in a left-hand drive country, or vice versa, the
asymmetric dipped beam headlights may dazzle oncoming traffic. The headlights must therefore be
switched over when you travel to these countries.
With some equipment levels, the headlight alignment can be adjusted in the Infotainment system in
the Vehicle settings menu Infotainment system controls and displays
In vehicles in which the headlights cannot be switched over in the menu, masking stickers should be
applied to certain parts of the headlight lenses, or the headlights should be adjusted by a qualified
workshop. A qualified workshop can provide you with further information. Volkswagen recommends
using a Volkswagen dealership for this purpose.
Travel mode may be used only for a short period. Please contact a qualified workshop for a
permanent conversion. Volkswagen recommends using a Volkswagen dealership for this purpose.
Interior lighting
Instrument and switch lighting
The brightness of the instrument and switch lighting can be adjusted in the Infotainment system in
the Vehicle settings menu Infotainment system controls and displays
The brightness setting is automatically adjusted to the changing light conditions in the vehicle.
When the light switch is in position , a sensor will switch the dipped beam and the lighting in
the instruments and switches on and off automatically depending on the ambient brightness level.
When the light is switched off and the ignition switched on, the instrument and switch lighting
(needles and scales) is switched on. As the ambient light becomes lower, the illumination of the
scales is automatically reduced and may be switched off entirely. This function is intended to remind
the driver to switch on the dipped beam in good time, i.e. when driving through tunnels.
Interior and reading lights
Press the appropriate button or move the switch to the appropriate position:
Switch off the interior light.Switch on the interior lights.The interior lights are switched on
automatically when the vehicle is unlocked, a door is opened or the vehicle key is removed from the
ignition.Switch the reading light on or off.
Stowage compartment and luggage compartment lights
A light will be switched on and off when the stowage compartment on the front passenger side or
the boot lid is opened or closed.
Background lighting
Page 182 of 502

Only attach light objects weighing less than 100 g to the vehicle key.
NOTICE
The 12-volt battery may be discharged unintentionally and prevent the engine from restarting if the
ignition is switched on while the engine is switched off.
Always switch off the ignition before you leave the vehicle.
For vehicles with DSG dual clutch gearbox in some markets: if the vehicle key cannot be
removed from the ignition lock when the vehicle is stopped, move the selector lever to P. If
necessary, press the lock button in the selector lever and then release it.
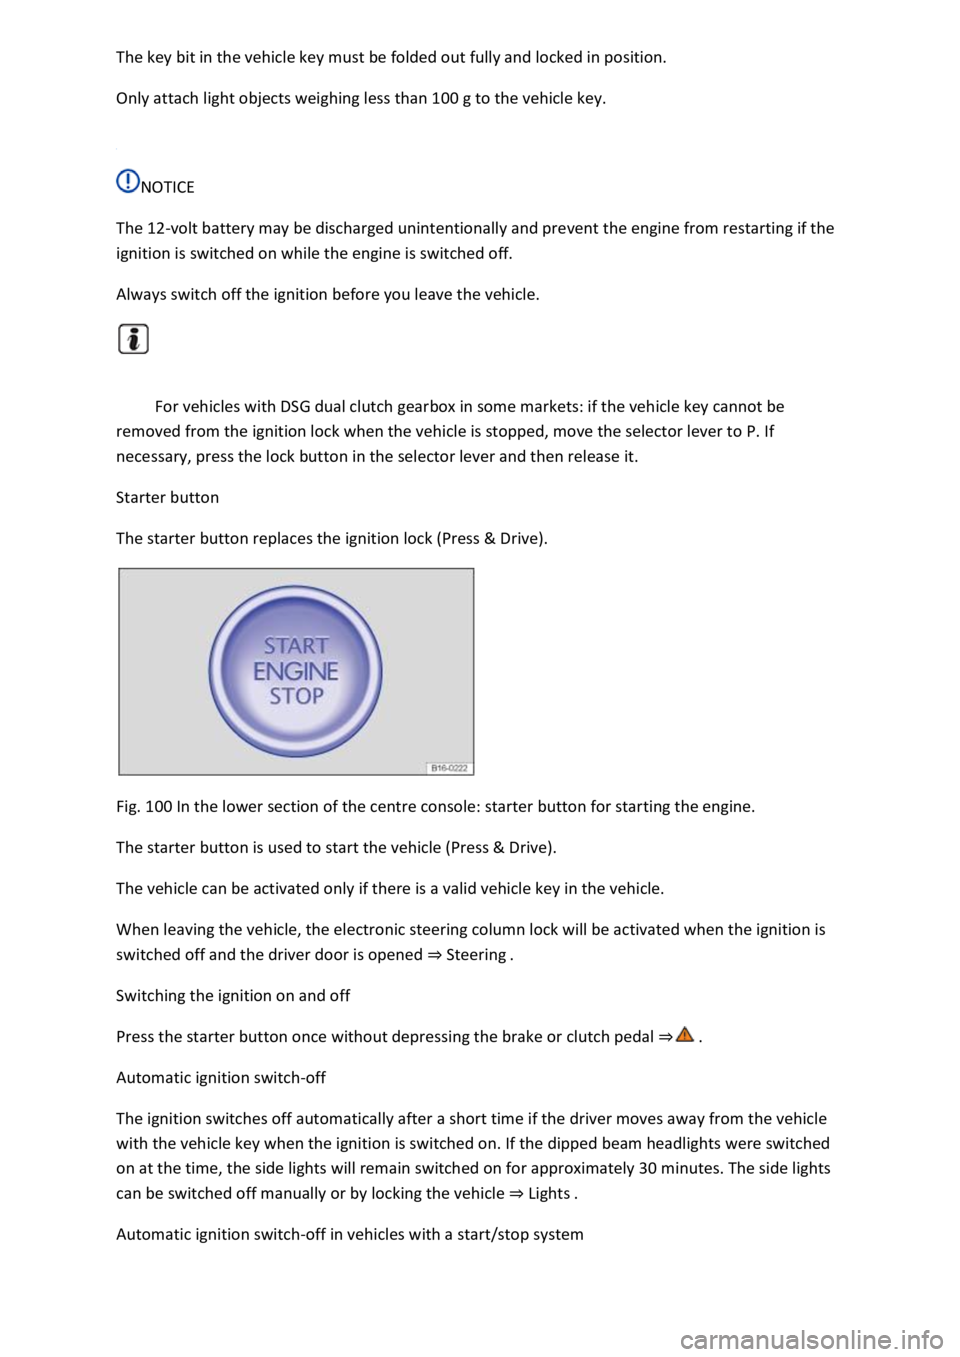
Starter button
The starter button replaces the ignition lock (Press & Drive).
Fig. 100 In the lower section of the centre console: starter button for starting the engine.
The starter button is used to start the vehicle (Press & Drive).
The vehicle can be activated only if there is a valid vehicle key in the vehicle.
When leaving the vehicle, the electronic steering column lock will be activated when the ignition is
switched off and the driver door is opened Steering
Switching the ignition on and off
Press the starter button once without depressing the brake or clutch pedal
Automatic ignition switch-off
The ignition switches off automatically after a short time if the driver moves away from the vehicle
with the vehicle key when the ignition is switched on. If the dipped beam headlights were switched
on at the time, the side lights will remain switched on for approximately 30 minutes. The side lights
can be switched off manually or by locking the vehicle Lights
Automatic ignition switch-off in vehicles with a start/stop system
Page 183 of 502

off automatically when engine stop is active when the vehicle is stationary:
The driver seat belt has been unfastened.
No pedals are depressed.
The driver door is opened.
If the ignition is deactivated automatically while the dipped beam headlights are switched on,
the side lights remain switched on and lit for approximately 30 minutes.
The side lights can be switched off manually or will go off when the vehicle is locked.
Engine restart function
If no valid vehicle key is detected in the vehicle interior once the engine has been switched off, the
engine can be restarted within approximately five seconds. A corresponding message appears on the
instrument cluster display.
After this time, the engine cannot be re-started without a valid vehicle key in the vehicle interior.
WARNING
Unintentional vehicle movements can cause serious injury.
Do not depress the brake or clutch pedal when the ignition is switched on as the engine will start
immediately.
WARNING
Improper or unsupervised use of the vehicle keys can cause accidents or serious injuries.
Always take all vehicle keys with you every time you leave the vehicle. Children or unauthorised
persons could lock the vehicle, start the engine, switch on the ignition or operate electrical
equipment such as the electric windows.
Before leaving the vehicle, always switch off the ignition manually and observe any information
shown on the instrument cluster display.
Leaving the vehicle stationary for long periods with the ignition switched on can discharge the 12-
volt vehicle battery so that the engine can no longer be started.
Starting the engine
Page 245 of 502

Vehicles that are driving outside the sensor range in close proximity to your vehicle, e.g. vehicles
that are driving offset to your vehicle or motorbikes.
Vehicles that change into your lane directly in front of your vehicle.
Vehicles with bodies or attachments that project beyond the vehicle.
Oncoming vehicles or vehicles crossing your path.
Pedestrians who are stationary, moving towards the vehicle or moving in the same direction as the
vehicle.
Function limitations
In tight bends.
Driving in heavy rain, snow or heavy spray.
Driving in multi-storey car parks.
Driving on roads with embedded metal objects, e.g. railway tracks.
Reversing.
If TCS is switched off manually.
If ESC is taking corrective action.
If the radar sensor is dirty or covered.
If there is a fault in several brake lights on the vehicle or on a trailer with an electrical connection to
the vehicle
If the vehicle accelerates hard or the accelerator is fully depressed.
In complex driving situations, e.g. at traffic islands.
In unclear traffic situations, e.g. vehicles ahead are braking heavily or turning off.
If there is a fault in Front Assist.
Switching off Front Assist
If the vehicle is used in a capacity other than driving in normal traffic, e.g. offroad.
If the vehicle is being towed or is loaded onto another vehicle.
If the radar sensor is covered temporarily by add-on parts, e.g. auxiliary headlights.
If the radar sensor is faulty.
After external force on the radar sensor, e.g. after a frontal collision.
In the event of multiple unwanted interventions.
Page 297 of 502

Place heavy objects as far forward in the luggage compartment as possible.
Observe gross axle weight ratings and the gross vehicle weight rating Technical data
Secure luggage to the fastening rings in the luggage compartment using suitable lashing, fixing and
securing straps Luggage compartment equipment
Also stow small objects safely.
If necessary, fold back the rear seat backrest and engage it securely.
If necessary, adjust the headlight range Headlights
Adjust the tyre pressure according to the vehicle load. Observe the tyre pressure sticker Tyre
pressure
In vehicles with a tyre monitoring system, set the new vehicle load level as necessary Tyre
monitoring system
WARNING
Objects that are not secured, or are secured incorrectly, can cause serious injuries in the event of a
sudden driving or braking manoeuvre or accident. This applies particularly if objects are struck by an
airbag when activated and then flung through the vehicle interior. Please observe the following rules
to reduce the risk of accidents:
Always stow all objects in the vehicle securely.
Small and light objects should also be secured.
Objects should be stowed in the vehicle interior in such a way that they can never enter the airbag
deployment zones while the vehicle is in motion.
Always keep stowage compartments closed while the vehicle is in motion.
Stowed objects must never cause passengers to assume an incorrect sitting position.
If an item is being stowed on a seat, this seat must not be used by any passengers.
Do not stow any hard, heavy or sharp objects loose in any of the vehicle's open stowage areas, on
the surface behind the rear seat backrest or on the dash panel.
Remove any hard, heavy or sharp objects from items of clothing and bags inside the vehicle and
stow them securely.
WARNING
Transporting heavy objects changes the vehicle's handling and increases the braking distance. Heavy
loads that are not properly stowed or secured in the vehicle can lead to a loss of vehicle control and
can cause serious injury.