Page 201 of 290

4.5
ENGINE OIL LEVEL: general information (2/2)
Reading the level using the
dipstick
Engine switched off:
– remove the dipstick and wipe with a clean, lint-free cloth;
– push the dipstick in as far as it will go;
– take out the dipstick again;
read the level: it should never fall below minimum mark C or exceed
maximum mark B.
Once the level has been read, push the
dipstick in as far as it will go.
Consult your approved Dealer at
once if you notice an abnormal or
repeated drop in any of the fluid
levels.
In order to prevent splashback, it is
recommended that a funnel be used
when topping up/filling with oil.
Under no circumstances
should maximum filling
level B be exceeded: this
could damage the engine
and the catalytic converter.
Maximum engine oil level
exceeded.
The oil level should only be read with
the dipstick as explained above.
If the level exceeds the maximum
level, do not start your vehicle and
contact an authorised dealer.C
B
Please note when work-
ing close to the engine that
it may be hot. In addition,
the engine cooling fan may
start at any moment. The
warning light in the engine compart-
ment reminds you of this.
Risk of injury.
Before performing any
action in the engine com-
partment, the ignition must
be switched off (please see
the information on “Starting, stop-
ping the engine” in Section 2).
Page 203 of 290

4.7
Filling: take care when
topping up the oil that
no oil drips onto engine
components - risk of fire.
Remember to refit the cap securely
as there is a risk of fire if oil splashes
onto hot engine components.
Engine oil change: if you
are changing the oil when
the engine is hot, be careful
not to scald yourself if the
oil overflows.
Never run the engine in an
enclosed space as exhaust
gases are poisonous.
ENGINE OIL LEVEL : topping up, filling (2/2)
Please note when work-
ing close to the engine that
it may be hot. In addition,
the engine cooling fan may
start at any moment. The
warning light in the engine compart-
ment reminds you of this.
Risk of injury.
Consult your approved Dealer at
once if you notice an abnormal or
repeated drop in any of the fluid
levels.
Before performing any
action in the engine com-
partment, the ignition must
be switched off (please see
the information on “Starting, stop-
ping the engine” in Section 2).
Exceeding the maximum
engine oil level
Under no circumstances
must the maximum fill level
be exceeded: risk of damage to the
engine and catalytic converter.
If the oil level exceeds the maximum
level, do not start your vehicle and
contact an approved Dealer.
When working in the engine
compartment, ensure that
the windscreen wiper stalk
is in the park position.
Risk of injury.
Page 204 of 290

4.8
LEVELS (1/3)
Brake fluid
This should be checked frequently,
and immediately if you notice even the
slightest loss in braking efficiency.
The level should be read with the engine
switched off and on level ground.Level 1
It is normal for the level to drop as the
brake shoes become worn, but it must
never drop lower than the “
MINI” warn-
ing line.
If you wish to check the disc and drum
wear yourself, you should obtain the
document explaining the checking pro-
cedure from our network or from the
manufacturer’s website.
Filling
After any operation on the hydraulic cir-
cuit, a specialist must replace the fluid.
Only use fluids approved by our
Technical Department (and taken from
a sealed container).
Replacement intervals
Refer to the Maintenance Document for
your vehicle.
Consult your approved dealer at
once if you notice an abnormal or
repeated drop in any of the fluid
levels.
1
Please note when work-
ing close to the engine that
it may be hot. In addition,
the engine cooling fan may
start at any moment. The
warning light in the engine compart-
ment reminds you of this.
Risk of injury.
Before performing any
action in the engine com-
partment, the ignition must
be switched off (please see
the information on “Starting, stop-
ping the engine” in Section 2).
Page 206 of 290

4.10
Power-assisted steering
pump
Level: the correct level when cold,
with the engine switched off and on
level ground, should be visible between
the “MINI ” and “MAXI” levels on the
reservoir 5. For topping up or refilling with oil, use
products approved by our Technical
Department. Special feature on vehicles fitted
with a tank
6
Access to the filler cap is not acces-
sible. Contact an approved dealer for
topping up or filling.
Filters
The filter elements (air filter, diesel filter,
etc.) should be replaced during the
maintenance operations carried out on
your vehicle.
Replacement intervals for filter el-
ements: refer to the Maintenance
Document for your vehicle.
On equipped vehicles, if warning light 7
turns red, it indicates that the air filter
is clogged.
Consult your approved dealer as soon
as possible.
LEVELS (3/3)/FILTERS
5
Please note when work-
ing close to the engine that
it may be hot. In addition,
the engine cooling fan may
start at any moment. The
warning light in the engine compart-
ment reminds you of this.
Risk of injury.
7
Before performing any
action in the engine com-
partment, the ignition must
be switched off (please see
the information on “Starting, stop-
ping the engine” in Section 2).
6
Page 207 of 290

4.11
TYRE PRESSURE (1/2)
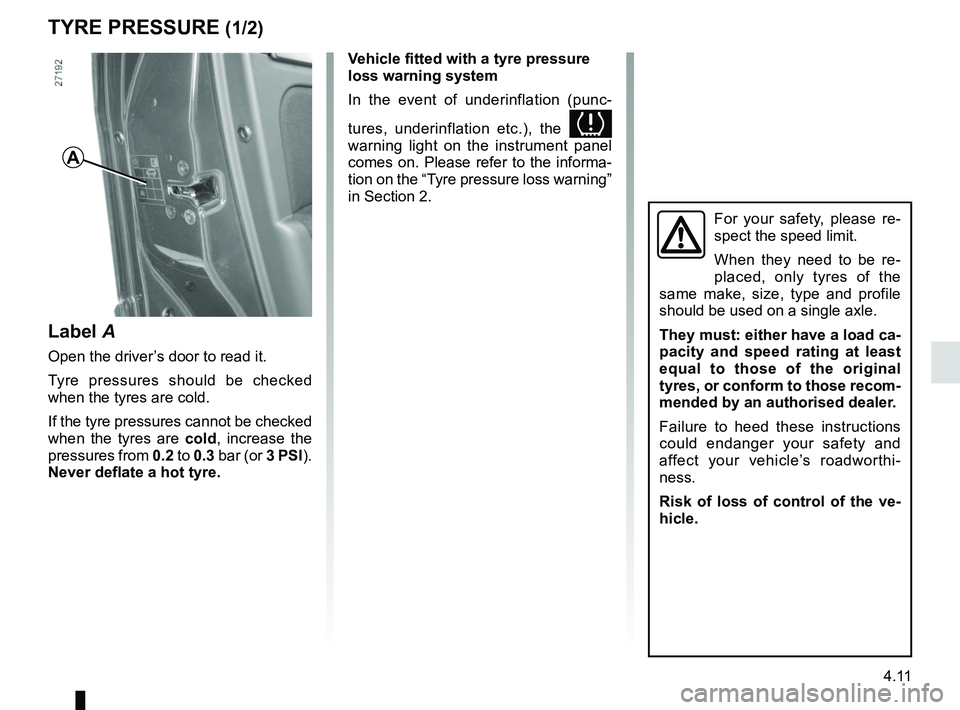
Label A
Open the driver’s door to read it.
Tyre pressures should be checked
when the tyres are cold.
If the tyre pressures cannot be checked
when the tyres are cold, increase the
pressures from 0.2 to 0.3 bar (or 3 PSI).
Never deflate a hot tyre.
A
Vehicle fitted with a tyre pressure
loss warning system
In the event of underinflation (punc-
tures, underinflation etc.), the
warning light on the instrument panel
comes on. Please refer to the informa-
tion on the “Tyre pressure loss warning”
in Section 2.
For your safety, please re-
spect the speed limit.
When they need to be re-
placed, only tyres of the
same make, size, type and profile
should be used on a single axle.
They must: either have a load ca-
pacity and speed rating at least
equal to those of the original
tyres, or conform to those recom-
mended by an authorised dealer.
Failure to heed these instructions
could endanger your safety and
affect your vehicle’s roadworthi-
ness.
Risk of loss of control of the ve-
hicle.
Page 209 of 290

4.13
When the ignition is off, some consu-
mers may also be switched off (dipped
beam headlights, radio, ventilation,
etc.). On the instrument panel, the mes-
sage “BATTERY MODE: ECONOMY”
appears when switched off. When the
level is extremely low, the message
“BATTERY LOW START ENGINE” is
displayed.
The charge status of the battery can
decrease, especially if you use your
vehicle:
– for short journeys;
– for driving in town;
– when the temperature drops;
– with the vehicle stopped and the engine off.
Replacing the battery
As this operation is complex, we advise
you to contact an approved Dealer.
BATTERY
123
456
This is located behind step A and does
not require maintenance. You should
not open it or add any fluid .
Depending on the vehicle, a system
continuously checks the battery charge
status.
Handle the battery with care as it contains sulphuric acid, which must n\
ot
come into contact with eyes or skin. If it does, wash the affected area with
plenty of cold water. If necessary, consult a doctor.
Ensure that naked flames, red hot objects and sparks do not come into
contact with the battery as there is a risk of explosion.
Label B
Observe the indications on the battery:
– 1 naked flames and smoking are for-
bidden;
– 2 eye protection required;
– 3 keep away from children;
– 4 explosive materials;
– 5 refer to the handbook;
– 6 corrosive materials.
The battery is a speci-
fic type, please ensure it
is replaced with the same
type. Consult an approved
dealer.
B
A
Page 211 of 290
4.15
BODYWORK MAINTENANCE (2/3)
Degrease or clean using
high-pressure cleaning
equipment or by spray-
ing on products not ap-
proved by our Technical
Department:
– mechanical components (e.g.:
engine compartment);
– underbody;
– parts with hinges (e.g.: inside the
doors);
– painted plastic external fittings (e.g.:
bumpers).
Doing this could give rise to corrosion
or operational faults.
What you should not do
Wash the vehicle in bright sunlight or
freezing temperatures.
Do not scrape off mud or dirt without
pre-wetting.
Allow dirt to accumulate on the exterior.
Allow rust to form following minor im-
pacts.
Do not use solvents not approved by
our Technical Department to remove
stains as this could damage the paint-
work.
Do not drive in snow or muddy condi-
tions without washing the vehicle, par-
ticularly under the wheel arches and
body.
Page 212 of 290

4.16
Using a roller type car wash
Return the windscreen wiper stalk to
the Park position (refer to the informa-
tion on the “Windscreen washer, wiper”
in Section 1). Check the mounting of
external accessories, additional lights
and mirrors, and ensure that the wiper
blades are secured with adhesive tape.
Remove the radio aerial mast if your
vehicle is fitted with this equipment.
Remember to remove the tape and refit
the antenna after washing.
Vehicles with a matte paint
finish
This type of paint requires certain pre-
cautions.
You should do the following
Wash the vehicle by hand using plenty
of water, using a soft cloth or a gentle
sponge.
Do not do the following
Use wax-based products (polishing).
Rub too hard.
Wash the vehicle in a roller-type car
wash.
Attach stickers to the paintwork (risk of
leaving marks).
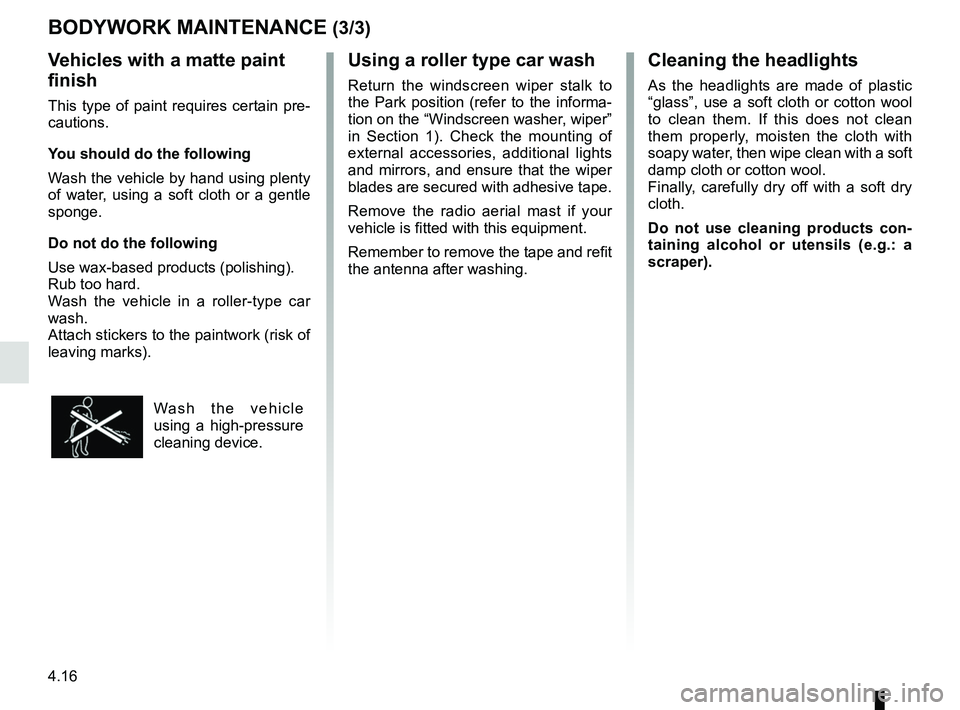
Wash the vehicle
using a high-pressure
cleaning device.
BODYWORK MAINTENANCE (3/3)Cleaning the headlights
As the headlights are made of plastic
“glass”, use a soft cloth or cotton wool
to clean them. If this does not clean
them properly, moisten the cloth with
soapy water, then wipe clean with a soft
damp cloth or cotton wool.
Finally, carefully dry off with a soft dry
cloth.
Do not use cleaning products con-
taining alcohol or utensils (e.g.: a
scraper).