2018 PEUGEOT 5008 remote start
[x] Cancel search: remote startPage 60 of 364
58
To be effective, the deactivation must
be carried out each time the ignition is
switched off.
Reactivating the interior
volumetric and anti-tilt
monitoring
F Deactivate the exterior perimeter monitoring by unlocking the vehicle with the remote
control or the Keyless Entry and Starting
system.
The indicator lamp in the button goes off.
F
R
eactivate all monitoring by locking the
vehicle with the remote control or the
Keyless Entry and Starting system.
The red indicator lamp in the button once again
flashes every second.
Triggering of the alarm Failure of the remote
control
To deactivate the monitoring functions:
F
u nlock the vehicle using the key (integral to
the remote control) in the driver's door lock,
F
o
pen the door; the alarm is triggered,
F
s
witch on the ignition; the alarm stops; the
indicator lamp in the button goes off.
This is indicated by sounding of the siren
and flashing of the direction indicators for
30
seconds.
The monitoring functions remain active until
the alarm has been triggered eleven times in
succession.
When the vehicle is unlocked using the remote
control or the Keyless Entry and Starting
system, rapid flashing of the red indicator
lamp in the button informs you that the alarm
was triggered during your absence. When
the ignition is switched on, this flashing stops
immediately.
Locking the vehicle without
activating the alarm
F Lock or deadlock the vehicle using the key (integral to the remote control) in the driver's
door lock.
Malfunction
When the ignition is switched on, fixed
illumination of the red indicator lamp in the
button indicates a
malfunction of the system.
Have it checked by a
PEUGEOT dealer or
a
qualified workshop.
Doors
Opening
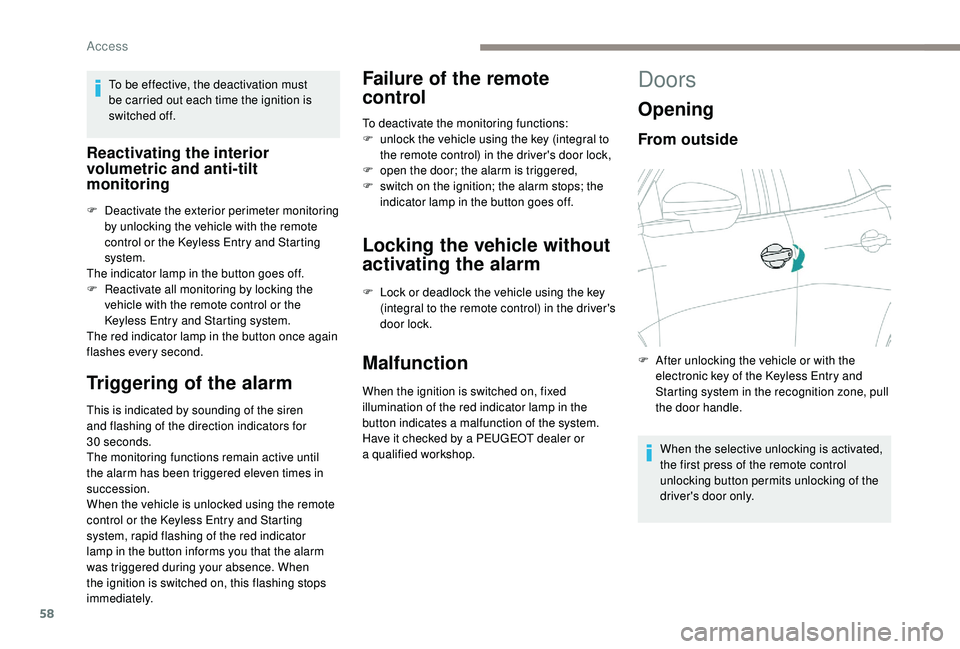
From outside
When the selective unlocking is activated,
the first press of the remote control
unlocking button permits unlocking of the
driver's door only.
F
A
fter unlocking the vehicle or with the
electronic key of the
K
eyless Entry and
Starting system in the recognition zone, pull
the door handle.
Access
Page 96 of 364
94
Switching on/off
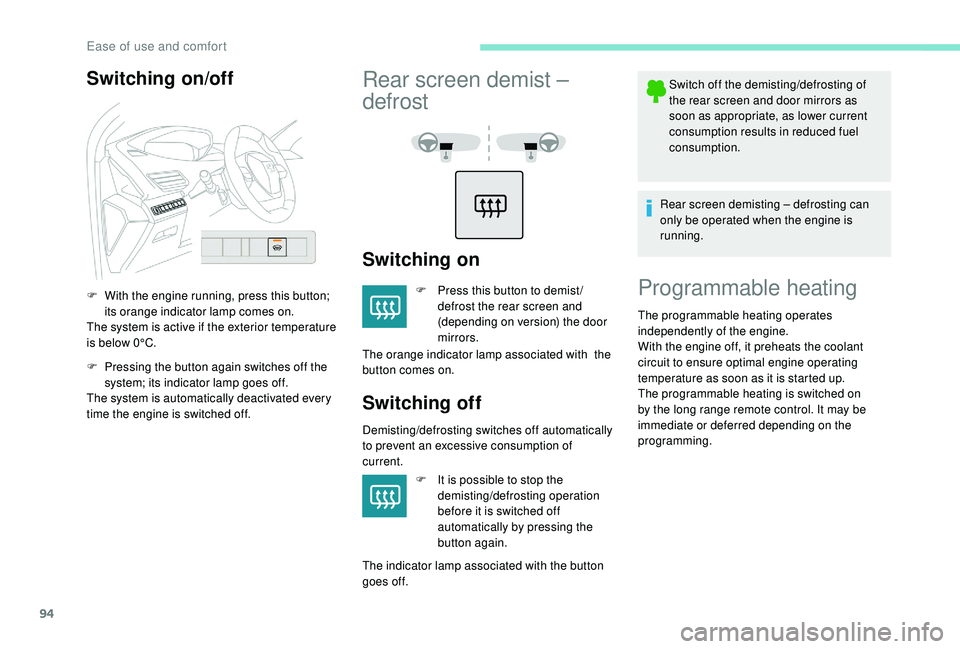
F With the engine running, press this button; its orange indicator lamp comes on.
The system is active if the exterior temperature
is below 0°C.
F
P
ressing the button again switches off the
system; its indicator lamp goes off.
The system is automatically deactivated every
time the engine is switched off.
Rear screen demist –
defrost
Switching on
F Press this button to demist / defrost the rear screen and
(depending on version) the door
mirrors.
The orange indicator lamp associated with the
button comes on.
Switching off
Demisting/defrosting switches off automatically
to prevent an excessive consumption of
current.
F
I
t is possible to stop the
demisting/defrosting operation
before it is switched off
automatically by pressing the
button again.
The indicator lamp associated with the button
goes off. Switch off the demisting/defrosting of
the rear screen and door mirrors as
soon as appropriate, as lower current
consumption results in reduced fuel
consumption.
Rear screen demisting – defrosting can
only be operated when the engine is
running.
Programmable heating
The programmable heating operates
independently of the engine.
With the engine off, it preheats the coolant
circuit to ensure optimal engine operating
temperature as soon as it is started up.
The programmable heating is switched on
by the long range remote control. It may be
immediate or deferred depending on the
programming.
Ease of use and comfort
Page 100 of 364
98
HTM: Heat Thermo Management
F
T
o deactivate the programming, press
button 4
until the message " OK" is
displayed.
During these operations, if the message
" FA I L " is displayed, it means that the
signal has not been received. Restart the
procedure after having changed position.
Stopping the heating
F Press button 5 .
Changing the heating level
The system has 5 heating levels: C1 ( lowest
level) to C5 (highest level).
F
A
fter having displayed the heating level
using buttons 1 , press simultaneously on
buttons 4
and 5.
The letter " C" will flash.
F
A
djust the heating level by pressing
buttons 1 .
F
S
imultaneously press buttons 4 and 5 to
save the selected level.
The letter " C" will be displayed.
The presets are replaced by the new
entries. The programmed times are
memorised until the next change.
When the start time is activated, it is not
possible to change the heating level. You
must first deactivate the start time.
Operating fault
In the event of a fault with the programmable
h eating, contact a PEUGEOT dealer or
a
qualified workshop.
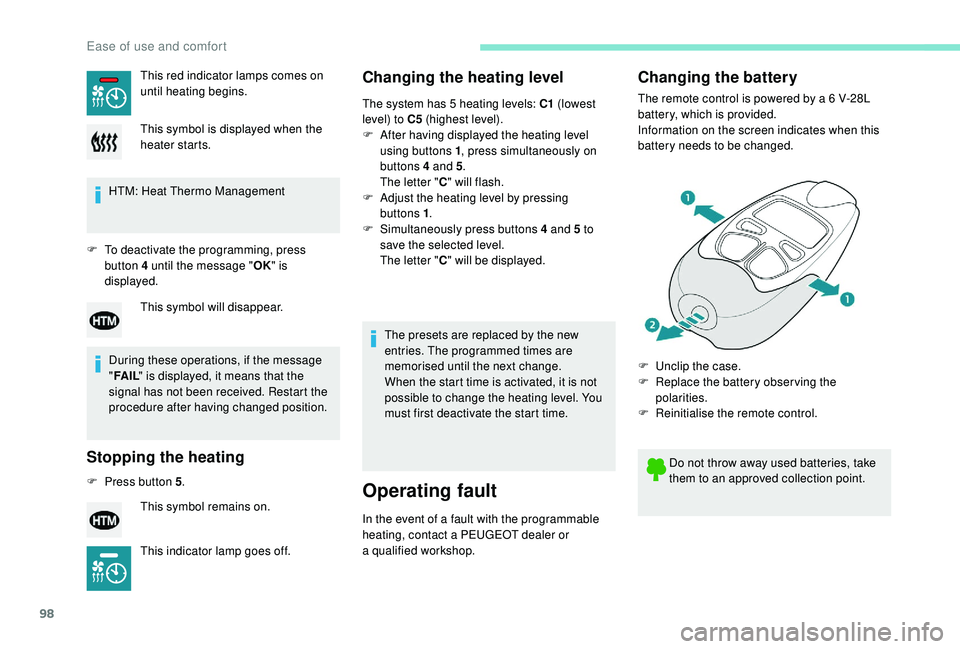
Changing the battery
The remote control is powered by a 6 V-28L
b attery, which is provided.
Information on the screen indicates when this
battery needs to be changed.
This red indicator lamps comes on
until heating begins.
This symbol is displayed when the
heater starts.
This symbol will disappear.
This symbol remains on.
This indicator lamp goes off. Do not throw away used batteries, take
them to an approved collection point.
F
U
nclip the case.
F
R
eplace the battery observing the
polarities.
F
R
einitialise the remote control.
Ease of use and comfort
Page 159 of 364
157
Once the state of charge of the battery drops
to the reser ve level, the system switches to
energy economy mode: the power supply is
cut off automatically to preser ve the remaining
battery charge.Switching off the engine leads to a
loss of
braking assistance.
Avoid attaching heavy objects to the key
or the remote control, which would weigh
down on its blade in the ignition switch
and could cause a
malfunction.
Starting the engine
Parking brake applied:
F W ith a manual gearbox , place the gear
lever in neutral then depress the clutch
pedal fully.
F
W
ith an automatic gearbox , place the gear
selector in mode N or P then depress the
brake pedal fully.
F
I
nsert the key into the ignition switch; the
system recognises the code.
F
U
nlock the steering column by
simultaneously turning the steering and the
key. In certain cases, you may have to apply
significant force to move the steering
wheel (wheels on full lock, for example).
F
With a petrol engine
, o perate the starter
motor by turning the key to position 3 without
pressing the accelerator pedal, until the
engine starts. Once the engine is running,
release the key.
With petrol engines , after a cold start,
preheating the catalytic converter can
cause clearly-felt engine vibrations when
stationary, with the engine running, for
anything up to two minutes (accelerated
idle speed).
F
W
ith a Diesel engine , turn the key to
position 2 , ignition on, to operate the engine
pre-heating system.
Wait until this warning lamp goes off
in the instrument panel then operate
the starter motor by turning the key
to position 3
without pressing the
accelerator pedal, until the engine
starts. Once the engine is running,
release the key. In wintry conditions, the warning lamp
can stay on for a
longer period. When the
engine is hot, the warning lamp does not
come on.
If the engine does not start straight away,
switch off the ignition. Wait a few moments
before operating the starter motor again.
If the engine does not start after several
attempts, do not keep trying: you risk
damaging the starter motor or the engine.
Contact a PEUGEOT dealer or a qualified
workshop.
In temperate conditions, do not let the
engine idle to warm up but move off
straight away and drive at moderate
speed.
6
Driving
Page 162 of 364
160
Switching the ignition on
(without starting)
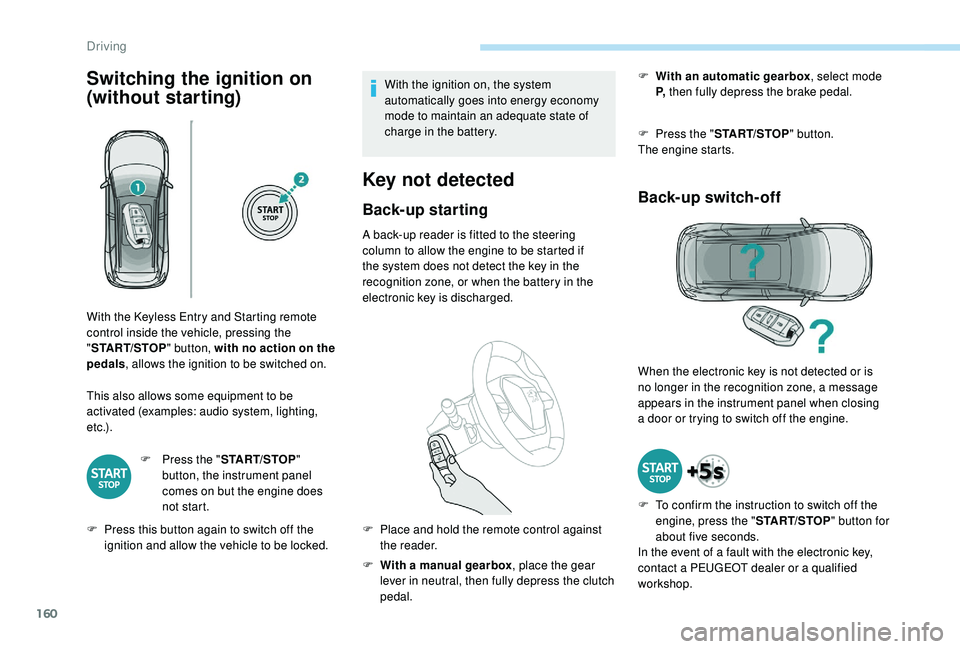
This also allows some equipment to be
activated (examples: audio system, lighting,
e t c .) .F
P
ress the "START/STOP "
button, the instrument panel
comes on but the engine does
not start.
F
P
ress this button again to switch off the
ignition and allow the vehicle to be locked. With the ignition on, the system
automatically goes into energy economy
mode to maintain an adequate state of
charge in the battery.
Key not detected
Back-up starting
A back-up reader is fitted to the steering
column to allow the engine to be started if
the system does not detect the key in the
recognition zone, or when the battery in the
electronic key is discharged.
F
W
ith a manual gearbox , place the gear
lever in neutral, then fully depress the clutch
pedal. F
W
ith an automatic gearbox
, select mode
P, then fully depress the brake pedal.
F
P
ress the "
START/STOP " button.
The engine starts.
Back-up switch-off
With the Keyless Entry and Starting remote
control inside the vehicle, pressing the
" START/STOP " button, with no action on the
pedals , allows the ignition to be switched on.
F
P
lace and hold the remote control against
the reader. When the electronic key is not detected or is
no longer in the recognition zone, a message
appears in the instrument panel when closing
a
door or trying to switch off the engine.
F
T
o confirm the instruction to switch off the
engine, press the " START/STOP" button for
about five seconds.
In the event of a
fault with the electronic key,
contact a
PEUGEOT dealer or a qualified
workshop.
Driving
Page 264 of 364
262
12 V battery
Procedure for starting the engine using another
battery or charging a
discharged battery.
General points
Lead-acid starter batteries
Batteries contain harmful substances
such as sulphuric acid and lead.
They must be disposed of in accordance
with regulations and must not, in any
circumstances, be discarded with
household waste.
Take used remote control batteries and
vehicle batteries to a
special collection
point.
Protect your eyes and face before
handling the battery.
All operations on the battery must be
carried out in a
well ventilated area and
away from naked flames and sources of
sparks, so as to avoid the risk of explosion
or fire.
Wash your hands afterwards.
Access to the battery
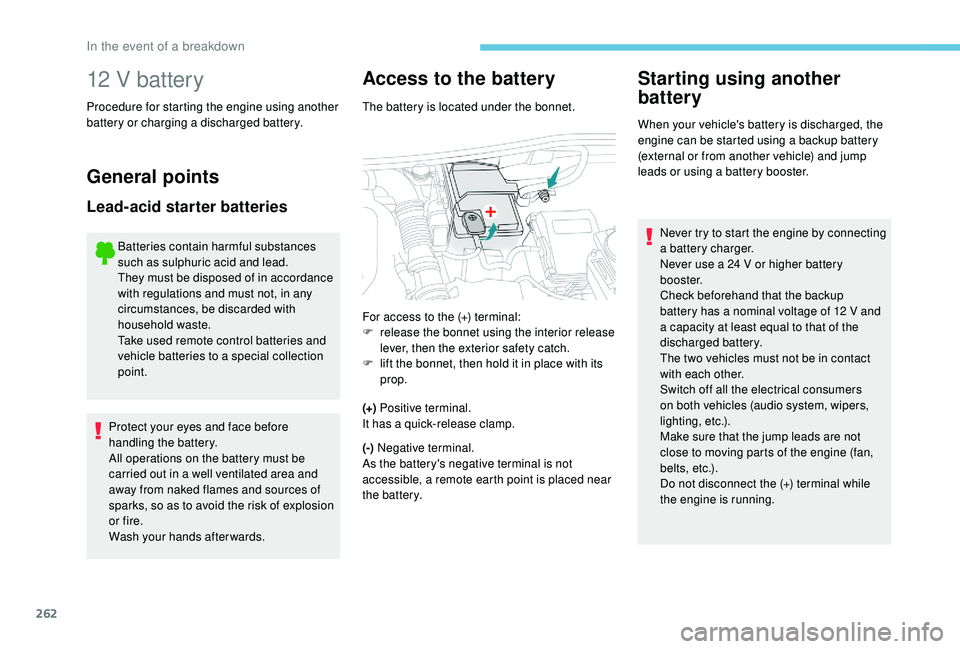
The battery is located under the bonnet.
(+) Positive terminal.
It has a
quick-release clamp.
(-) Negative terminal.
As the battery's negative terminal is not
accessible, a remote earth point is placed near
the battery.
Starting using another
battery
When your vehicle's battery is discharged, the
engine can be started using a backup battery
(external or from another vehicle) and jump
leads or using a
battery booster.
For access to the (+) terminal:
F
r
elease the bonnet using the interior release
lever, then the exterior safety catch.
F
l
ift the bonnet, then hold it in place with its
prop. Never try to start the engine by connecting
a
battery charger.
Never use a
24 V or higher battery
b o o s t e r.
Check beforehand that the backup
battery has a
nominal voltage of 12 V and
a
capacity at least equal to that of the
discharged battery.
The two vehicles must not be in contact
with each other.
Switch off all the electrical consumers
on both vehicles (audio system, wipers,
lighting, etc.).
Make sure that the jump leads are not
close to moving parts of the engine (fan,
belts, etc.).
Do not disconnect the (+) terminal while
the engine is running.
In the event of a breakdown
Page 267 of 364
265
For right-hand drive vehicles, when the
total distance recorder has reached
62 miles (100 km), it is necessary to wait
approx. 15
minutes before starting the
engine.
However, if minor problems persist following
this operation, contact a
PEUGEOT dealer or
a
qualified workshop.
Referring to the corresponding section, you
must yourself reinitialise or reset certain
systems, such as:
-
t
he key with remote control or electronic key
(depending on version),
-
t
he sunroof and its electric blind,
-
t
he electric windows,
-
t
he date and time,
-
t
he preset radio stations. The Stop & Start system may not be
operational during the trip following the
first engine start.
In this case, the system will only be
available again after a
continuous
period of immobilisation of the vehicle,
a period which depends on the exterior
temperature and the state of charge of the
battery (up to about 8 hours).
Do not force the lever as locking will not
be possible if the clamp is not positioned
correctly; start the procedure again.
Following reconnection of the
battery
After reconnecting the battery, turn on the
ignition and wait 1
minute before starting
the engine, in order to enable the electronic
systems to initialise.
Towing the vehicle
Procedure for having your vehicle towed or
for towing another vehicle using a removable
towing eye.
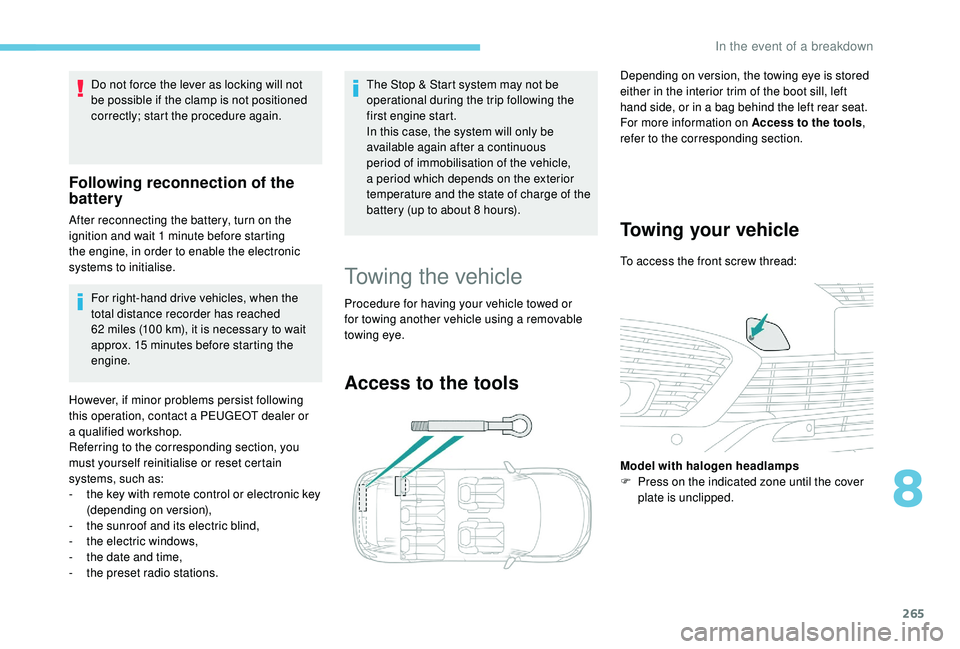
Access to the tools
Depending on version, the towing eye is stored
either in the interior trim of the boot sill, left
hand side, or in a
bag behind the left rear seat.
For more information on Access to the tools ,
refer to the corresponding section.
Towing your vehicle
To access the front screw thread:
Model with halogen headlamps
F
P
ress on the indicated zone until the cover
plate is unclipped.
8
In the event of a breakdown
Page 357 of 364
277
Key ............................................................ 46, 52
Key, electronic ........................................... 49-50
Keyless Entry and Starting
.............................. 49 - 5 0, 52, 15 8 -159
Key not recognised
................................ 16
0 -161
Key with remote control
................................15
6
Kit, hands-free
.................... 2
5 -2 6 , 13 -14, 10 -11
Kit, temporary puncture repair
....... 24
1-243, 245Map reading lamps
............................... 10
4 -105
Markings, identification
.................................273
Massage function
...........................................74
Massage, multi-point
......................................74
Mat
................................................................104
Memorising a
speed
..............................17
5 -176
Menu
...............................................................12K
J
L
M
Labels, identification ..................................... 273
Lamp, boot .................................................... 11 0
Lamps, parking
............................................. 113
Jack
...............................
......
242, 246 -248, 23, 9
Jump starting
................................................
262
Ii-Cockpit amplify function ...7 4, 83 - 84, 103, 170
Ignition ................ ............................. 158, 160, 28
Ignition on ...................................................... 160
Immobiliser, electronic
............................52, 15 6
Indicator, AdBlue
® range ................................. 32
Indicator, coolant temperature ........................ 32
Indicator, engine oil level
.......................... 31, 3 5
Indicator lamps, operation
........................ 11
, 15
Indicators, direction
.............................. 113 , 2 5 3
Inflating tyres
................................................ 236
Inflating tyres (using the kit)
.................. 24
3, 245
Instrument panel
................................ 8 -9, 35 -37
Intelligent Traction Control
............................ 126
Internet browser
.............................................. 16
I
SOFIX
.......................................................... 147
ISOFIX mountings ......................................... 14 6Lamps, rear
...................................................
255
Lane Departure Warning System (LDWS), Active
.........
17, 198 -19 9, 205
Lane Departure Warning System (LDWS) ....................................17, 1 9 8
LEDs – Light-emitting diodes
..................................112, 252-253, 255
Level, brake fluid
...........................................234
Level, Diesel additive
............................234-235
Level, engine coolant
..............................32, 234
Level, engine oil
..............................31, 233-234
Levels and checks
........................23
1-232, 234
Level, screenwash fluid
........................1
20, 234
Light-emitting diodes – LEDs
...............................
.....112, 252-253, 255
Lighting
............................................................26
Lighting, cornering
........................................11 8
Lighting dimmer
..............................................36
Lighting, exterior
...........................................111
Lighting, guide-me home
.................4 8 , 115 -11 6
Lighting, interior
...............................
.....104 -105
Lighting, mood
........................................36, 105
Lighting, welcome
.........................................115
Loading
..................................109 -110, 229 -230
Load reduction mode
....................................227
Locating your vehicle
......................................48
Locking
...............................
.................47, 50, 52
Locking from the inside
...................................55
Locking the doors
........................................... 60
L
ow fuel level
................................................2
20Menu, main
.......................................................
4
M
enus (audio)
........................................
3-5, 4-5
Messages
........................................................
28
Messages, quick ............................................. 28
M irror, rear view ........................................75 -76
Mirrors, door ......................... 74-75, 94, 203 -204
Mirror, vanity
...................................................99
Misfuel prevention
.........................................221
Modularity, seats
.............................................82
Motorised tailgate
..................................... 6
0-62
Mountings, ISOFIX
.......................................14 6
MP3
CD .............................................................9
N
Net ......................................................... 108 -109
Net, high load retaining ..........................109 -110
Number plate lamps
...................................... 256
O
Obstacle detection ........................................ 205
Oil change ............................................. 23
3-234
Oil consumption
.................................... 233-234
Oil, engine
....................................... 12, 233-234
On-board tools
....................................... 241-243
Opening the bonnet
..............................230-231
Opening the boot
...................................... 49, 59
Opening the doors
.................................... 49, 58
Opening the fuel filler flap
.............................220
Opening the windows
..................................... 46
P
ads, brake
........................................... 236-237
Paint
.............................................................. 273
Paint colour code
.......................................... 273
Parcel shelf, rear
........................................... 107
Park Assist
...............................
..............212-213
P
.
Alphabetical index