2018 PEUGEOT 5008 battery
[x] Cancel search: batteryPage 64 of 364
62
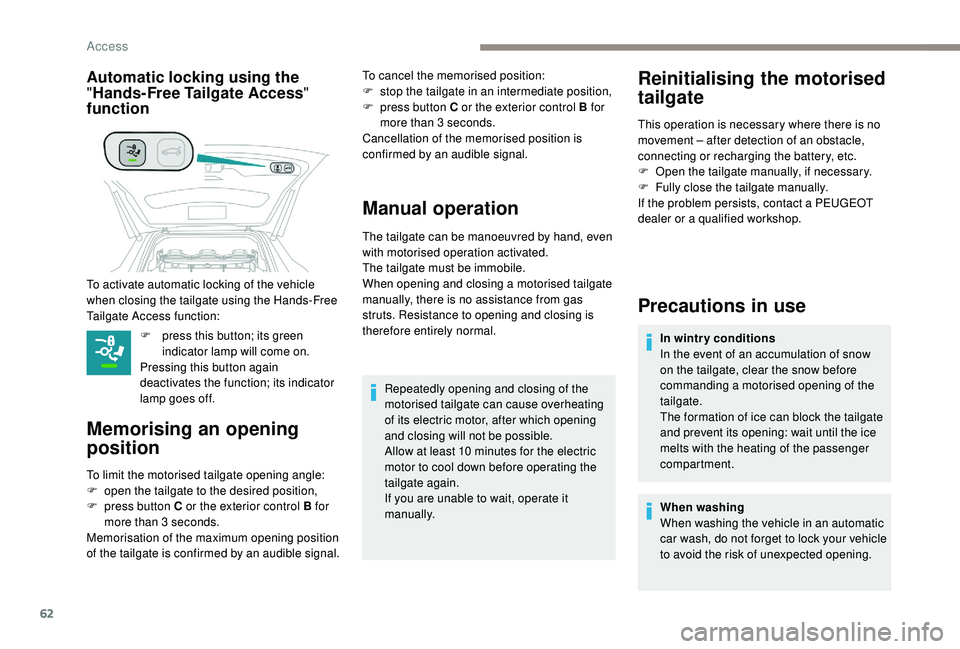
Automatic locking using the
"Hands-Free Tailgate Access "
function
F press this button; its green
indicator lamp will come on.
Pressing this button again
deactivates the function; its indicator
lamp goes off.
Memorising an opening
position
To limit the motorised tailgate opening angle:
F o pen the tailgate to the desired position,
F
p
ress button C or the exterior control B for
more than 3
seconds.
Memorisation of the maximum opening position
of the tailgate is confirmed by an audible signal. To cancel the memorised position:
F
s
top the tailgate in an intermediate position,
F
p
ress button C or the exterior control B for
more than 3 seconds.
Cancellation of the memorised position is
confirmed by an audible signal.
Manual operation
The tailgate can be manoeuvred by hand, even
with motorised operation activated.
The tailgate must be immobile.
When opening and closing a
motorised tailgate
manually, there is no assistance from gas
struts. Resistance to opening and closing is
therefore entirely normal.
To activate automatic locking of the vehicle
when closing the tailgate using the Hands-Free
Tailgate Access function:
Repeatedly opening and closing of the
motorised tailgate can cause overheating
of its electric motor, after which opening
and closing will not be possible.
Allow at least 10
minutes for the electric
motor to cool down before operating the
tailgate again.
If you are unable to wait, operate it
manually.
Reinitialising the motorised
tailgate
This operation is necessary where there is no
movement – after detection of an obstacle,
connecting or recharging the battery, etc.
F
O
pen the tailgate manually, if necessary.
F
F
ully close the tailgate manually.
If the problem persists, contact a
PEUGEOT
dealer or a
qualified workshop.
Precautions in use
In wintry conditions
In the event of an accumulation of snow
on the tailgate, clear the snow before
commanding a
motorised opening of the
tailgate.
The formation of ice can block the tailgate
and prevent its opening: wait until the ice
melts with the heating of the passenger
compartment.
When washing
When washing the vehicle in an automatic
car wash, do not forget to lock your vehicle
to avoid the risk of unexpected opening.
Access
Page 66 of 364
64
Deactivating the rear
controls for the rear
windows
after the window has closed.
The safety anti-pinch function is not active
during this operation.
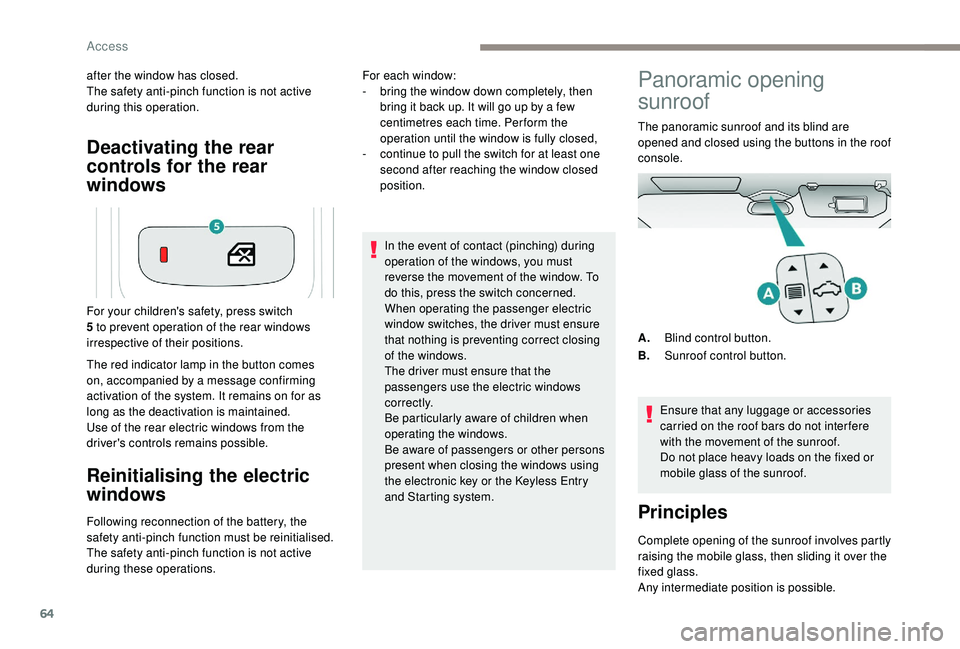
The red indicator lamp in the button comes
on, accompanied by a message confirming
activation of the system. It remains on for as
long as the deactivation is maintained.
Use of the rear electric windows from the
driver's controls remains possible.
Reinitialising the electric
windows
Following reconnection of the battery, the
safety anti-pinch function must be reinitialised.
The safety anti-pinch function is not active
during these operations. In the event of contact (pinching) during
operation of the windows, you must
reverse the movement of the window. To
do this, press the switch concerned.
When operating the passenger electric
window switches, the driver must ensure
that nothing is preventing correct closing
of the windows.
The driver must ensure that the
passengers use the electric windows
c o r r e c t l y.
Be particularly aware of children when
operating the windows.
Be aware of passengers or other persons
present when closing the windows using
the electronic key or the
K
eyless Entry
and Starting system.
For your children's safety, press switch
5 to prevent operation of the rear windows
irrespective of their positions. For each window:
-
b
ring the window down completely, then
bring it back up. It will go up by a few
centimetres each time. Per form the
operation until the window is fully closed,
-
c
ontinue to pull the switch for at least one
second after reaching the window closed
position.
Panoramic opening
sunroof
The panoramic sunroof and its blind are
opened and closed using the buttons in the roof
console.
Ensure that any luggage or accessories
carried on the roof bars do not inter fere
with the movement of the sunroof.
Do not place heavy loads on the fixed or
mobile glass of the sunroof.
Principles
Complete opening of the sunroof involves partly
raising the mobile glass, then sliding it over the
fixed glass.
Any intermediate position is possible. A. Blind control button.
B. Sunroof control button.
Access
Page 67 of 364
65
The control buttons for the sunroof and blind
can be used:
-
w
ith the ignition on, if the state of charge of
the battery is adequate,
-
w
ith the engine running,
-
i
n STOP mode with Stop & Start,
-
d
uring the 45 seconds after switching off
the ignition,
-
d
uring the 45 seconds after locking the
vehicle.
Before operating the sunroof or blind
control buttons, ensure that no object or
person might prevent the movement.
Operating the sunroof
Opening
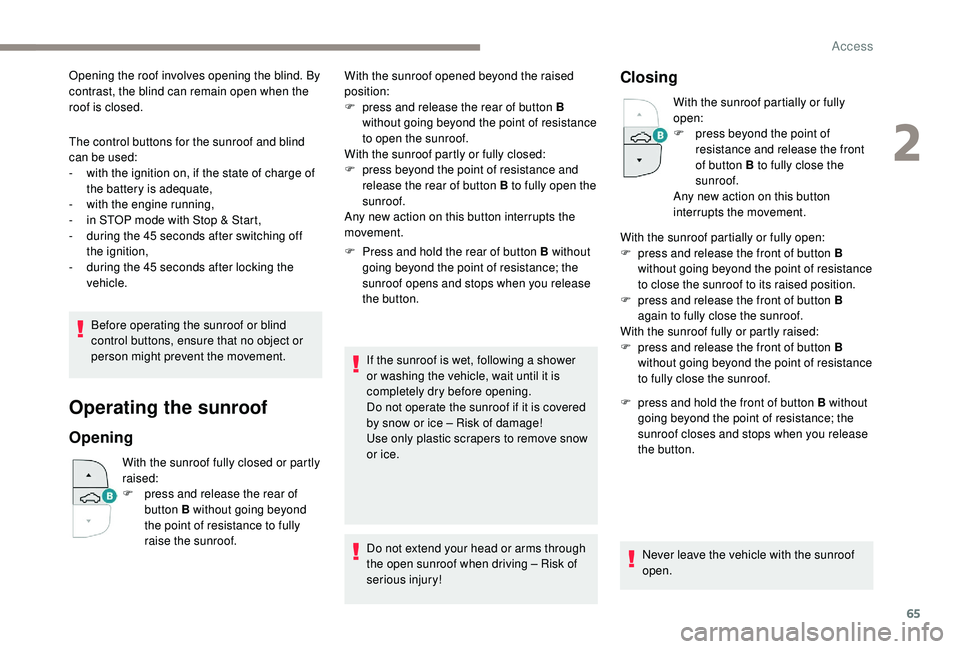
With the sunroof fully closed or partly
raised:
F
p
ress and release the rear of
button B without going beyond
the point of resistance to fully
raise the sunroof. F
P
ress and hold the rear of button B without
going beyond the point of resistance; the
sunroof opens and stops when you release
the button.
If the sunroof is wet, following a shower
or washing the vehicle, wait until it is
completely dry before opening.
Do not operate the sunroof if it is covered
by snow or ice – Risk of damage!
Use only plastic scrapers to remove snow
or ice.
Do not extend your head or arms through
the open sunroof when driving – Risk of
serious injury!
Closing
With the sunroof partially or fully
open:
F
p
ress beyond the point of
resistance and release the front
of button B to fully close the
sunroof.
Any new action on this button
interrupts the movement.
F
p
ress and hold the front of button B without
going beyond the point of resistance; the
sunroof closes and stops when you release
the button.
Never leave the vehicle with the sunroof
open.
With the sunroof opened beyond the raised
position:
F
p
ress and release the rear of button B
without going beyond the point of resistance
to open the sunroof.
With the sunroof partly or fully closed:
F
p
ress beyond the point of resistance and
release the rear of button B to fully open the
sunroof.
Any new action on this button interrupts the
movement. With the sunroof partially or fully open:
F
p
ress and release the front of button B
without going beyond the point of resistance
to close the sunroof to its raised position.
F
p
ress and release the front of button B
again to fully close the sunroof.
With the sunroof fully or partly raised:
F
p
ress and release the front of button B
without going beyond the point of resistance
to fully close the sunroof.
Opening the roof involves opening the blind. By
contrast, the blind can remain open when the
roof is closed.
2
Access
Page 68 of 364
66
Anti-pinch system
If the sunroof encounters an obstacle when
closing, the movement is automatically
reversed.
The anti-pinch system is designed to be
effective at speeds of up to 75 mph (120 km/h).
Reinitialisation
Following reconnection of the battery or in
the event of a fault or jerky movement of
the sunroof, the opening sunroof must be
reinitialised:
F
p
ress the rear of button B until the sunroof
is fully open,
F
p
ress and hold the rear of button B again for
at least 3
seconds.
Check the condition of the sunroof seals
regularly (presence of dust or deposits,
dead leaves, etc.).
If using a
car wash, check that the roof
is correctly closed in advance and keep
the tip of the high-pressure lance at least
30
centimetres from the seals.
Operating the sunroof blind
The closing movement of the blind is limited by
the position of the opening sunroof: the blind
cannot be further for ward than the front of the
mobile glass.
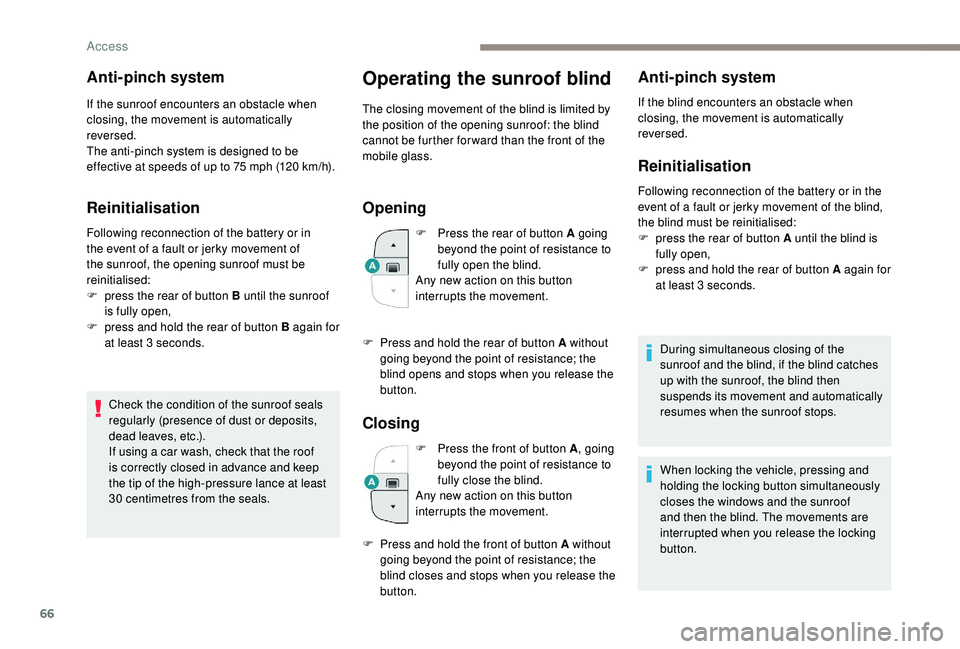
Opening
F Press the rear of button A going beyond the point of resistance to
fully open the blind.
Any new action on this button
interrupts the movement.
Closing
F Press the front of button A , going
beyond the point of resistance to
fully close the blind.
Any new action on this button
interrupts the movement.
Anti-pinch system
If the blind encounters an obstacle when
closing, the movement is automatically
reversed.
Reinitialisation
Following reconnection of the battery or in the
event of a fault or jerky movement of the blind,
the blind must be reinitialised:
F
p
ress the rear of button A until the blind is
fully open,
F
p
ress and hold the rear of button A again for
at least 3
seconds.
During simultaneous closing of the
sunroof and the blind, if the blind catches
up with the sunroof, the blind then
suspends its movement and automatically
resumes when the sunroof stops.
F
P
ress and hold the rear of button A without
going beyond the point of resistance; the
blind opens and stops when you release the
button.
F
P
ress and hold the front of button A without
going beyond the point of resistance; the
blind closes and stops when you release the
button. When locking the vehicle, pressing and
holding the locking button simultaneously
closes the windows and the sunroof
and then the blind. The movements are
interrupted when you release the locking
button.
Access
Page 94 of 364
92
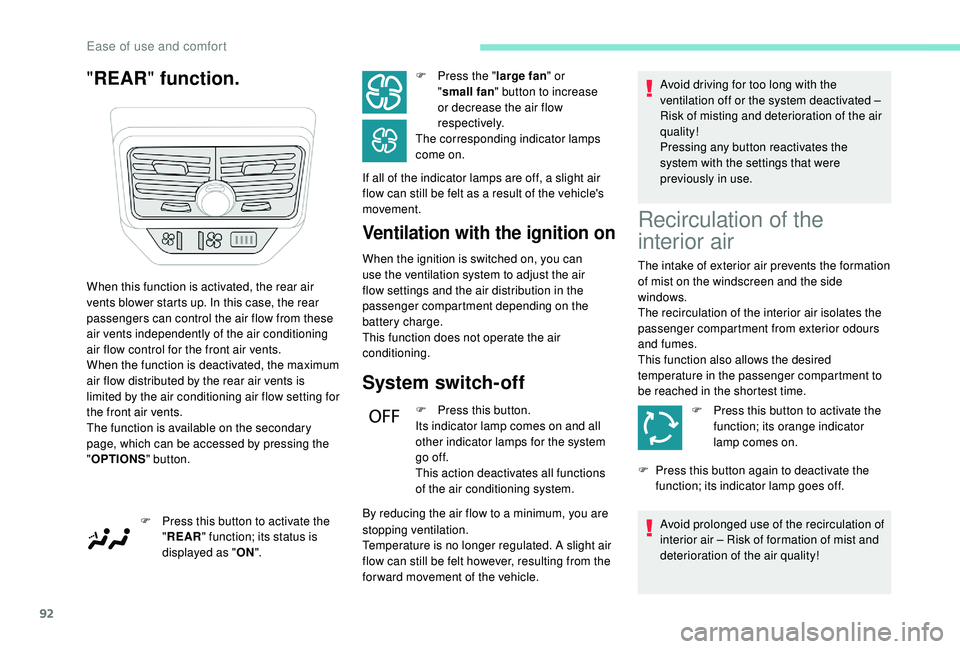
"REAR " function.
Ventilation with the ignition on
When the ignition is switched on, you can
use the ventilation system to adjust the air
flow settings and the air distribution in the
passenger compartment depending on the
battery charge.
This function does not operate the air
conditioning.
System switch-off
F Press this button.
Its indicator lamp comes on and all
other indicator lamps for the system
go of f.
This action deactivates all functions
of the air conditioning system.
By reducing the air flow to a
minimum, you are Avoid driving for too long with the
ventilation off or the system deactivated –
Risk of misting and deterioration of the air
quality!
Pressing any button reactivates the
system with the settings that were
previously in use.
When this function is activated, the rear air
vents blower starts up. In this case, the rear
passengers can control the air flow from these
air vents independently of the air conditioning
air flow control for the front air vents.
When the function is deactivated, the maximum
air flow distributed by the rear air vents is
limited by the air conditioning air flow setting for
the front air vents.
The function is available on the secondary
page, which can be accessed by pressing the
" OPTIONS " button.
F
P
ress this button to activate the
" REAR " function; its status is
displayed as " ON". F
P
ress the "
large fan " or
" small fan " button to increase
or decrease the air flow
respectively.
The corresponding indicator lamps
come on.
If all of the indicator lamps are off, a slight air
flow can still be felt as a result of the vehicle's
movement.
stopping ventilation.
Temperature is no longer regulated. A slight air
flow can still be felt however, resulting from the
for ward movement of the vehicle.
Recirculation of the
interior air
The intake of exterior air prevents the formation
of mist on the windscreen and the side
windows.
The recirculation of the interior air isolates the
passenger compartment from exterior odours
and fumes.
This function also allows the desired
temperature in the passenger compartment to
be reached in the shortest time.
F
P
ress this button to activate the
function; its orange indicator
lamp comes on.
F
P
ress this button again to deactivate the
function; its indicator lamp goes off.
Avoid prolonged use of the recirculation of
interior air – Risk of formation of mist and
deterioration of the air quality!
Ease of use and comfort
Page 100 of 364
98
HTM: Heat Thermo Management
F
T
o deactivate the programming, press
button 4
until the message " OK" is
displayed.
During these operations, if the message
" FA I L " is displayed, it means that the
signal has not been received. Restart the
procedure after having changed position.
Stopping the heating
F Press button 5 .
Changing the heating level
The system has 5 heating levels: C1 ( lowest
level) to C5 (highest level).
F
A
fter having displayed the heating level
using buttons 1 , press simultaneously on
buttons 4
and 5.
The letter " C" will flash.
F
A
djust the heating level by pressing
buttons 1 .
F
S
imultaneously press buttons 4 and 5 to
save the selected level.
The letter " C" will be displayed.
The presets are replaced by the new
entries. The programmed times are
memorised until the next change.
When the start time is activated, it is not
possible to change the heating level. You
must first deactivate the start time.
Operating fault
In the event of a fault with the programmable
h eating, contact a PEUGEOT dealer or
a
qualified workshop.
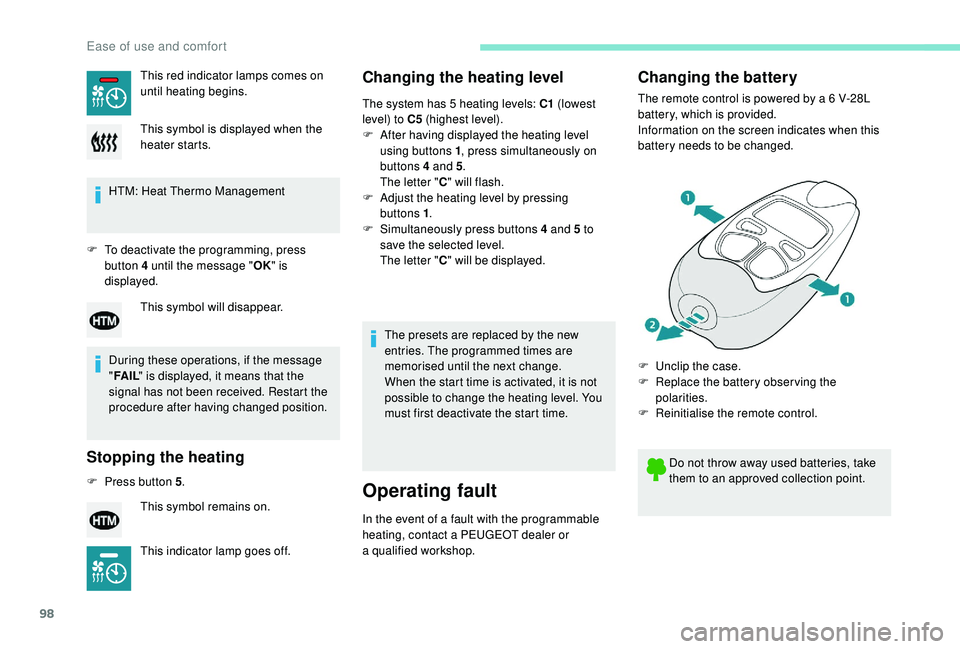
Changing the battery
The remote control is powered by a 6 V-28L
b attery, which is provided.
Information on the screen indicates when this
battery needs to be changed.
This red indicator lamps comes on
until heating begins.
This symbol is displayed when the
heater starts.
This symbol will disappear.
This symbol remains on.
This indicator lamp goes off. Do not throw away used batteries, take
them to an approved collection point.
F
U
nclip the case.
F
R
eplace the battery observing the
polarities.
F
R
einitialise the remote control.
Ease of use and comfort
Page 101 of 364
99
Reinitialising the remote control
If the battery is disconnected or when changing
the battery, the remote control must be
reinitialised.
F
A
fter turning on the power, within the next
5
seconds, press button 4 for 1 second.
If the operation is successful, the message
" OK " will be displayed on the remote
control's screen.
If there is a
fault, the message " FA I L" will
appear.
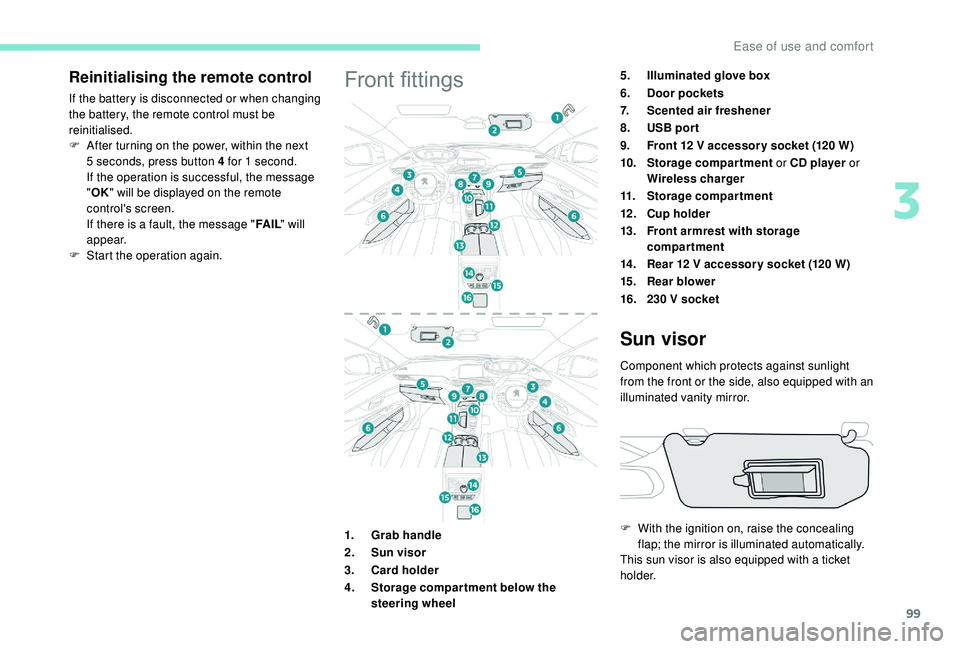
F
St
art the operation again.Front fittings5.Illuminated glove box
6. Door pockets
7. Scented air freshener
8. USB por t
9. Front 12
V accessor y socket (120 W)
10. Storage compartment or CD player or
Wireless charger
11. Storage compartment
12 . Cup holder
13. Front armrest with storage
compartment
14 . Rear 12
V accessor y socket (120 W)
15. Rear blower
16. 230
V socket
1. Grab handle
2. Sun visor
3. Card holder
4. Storage compar tment below the
steering wheel
Sun visor
Component which protects against sunlight
from the front or the side, also equipped with an
illuminated vanity mirror.
F
W
ith the ignition on, raise the concealing
flap; the mirror is illuminated automatically.
This sun visor is also equipped with a
ticket
h o l d e r.
3
Ease of use and comfort
Page 103 of 364
101
The USB port also allows a smartphone to be
c onnected by MirrorLinkTM, Android Auto® or
CarPlay®, so that certain applications on the
smartphone can be used on the touch screen.
FOCAL® premium Hi-Fi
system
- TNF tweeters: Inverted dome aluminium
technology giving optimum sound
dispersion and very detailed treble.
-
S
ub-woofer: 200 mm triple coil Power
Flower™ technology for defined and
dynamic reproduction of low frequencies.
-
1
2-way active amplification – 515 Watts:
Hybrid Class AB/Class D technology
providing breadth and finesse in the high
frequency signals, as well as real power in
the bass.
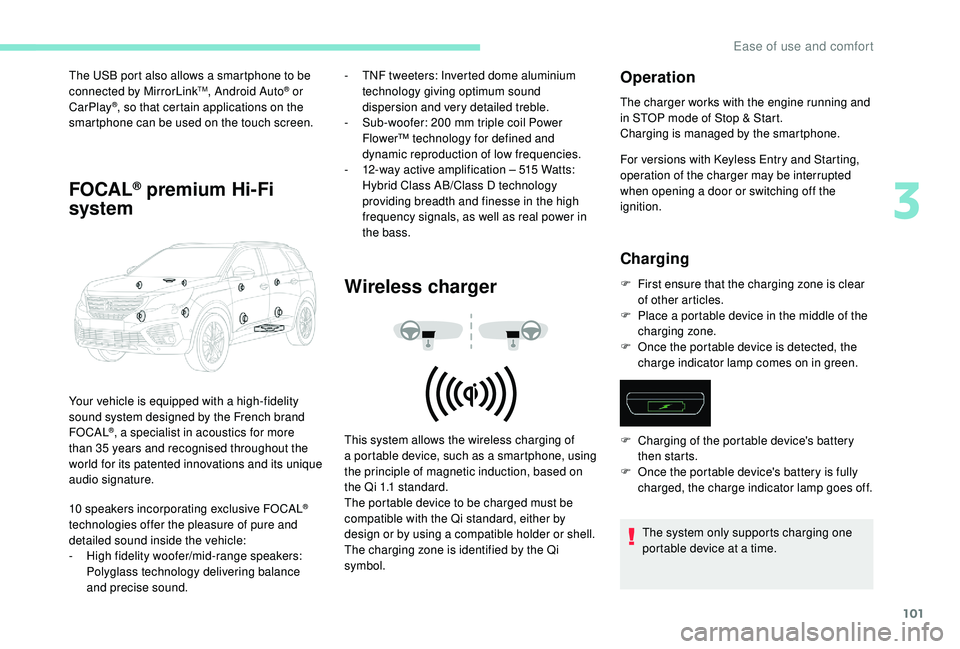
Wireless charger
Your vehicle is equipped with a high-fidelity
s ound system designed by the French brand
FOCAL
®, a specialist in acoustics for more
than 35
years and recognised throughout the
world for its patented innovations and its unique
audio signature.
10
speakers incorporating exclusive FOCAL
®
technologies offer the pleasure of pure and
detailed sound inside the vehicle:
-
H
igh fidelity woofer/mid-range speakers:
Polyglass technology delivering balance
and precise sound. This system allows the wireless charging of
a
portable device, such as a smartphone, using
the principle of magnetic induction, based on
the Qi 1.1 standard.
The portable device to be charged must be
compatible with the Qi standard, either by
design or by using a
compatible holder or shell.
The charging zone is identified by the Qi
symbol.
Operation
The charger works with the engine running and
in STOP mode of Stop & Start.
Charging is managed by the smartphone.
For versions with
K
eyless Entry and Starting,
operation of the charger may be interrupted
when opening a
door or switching off the
ignition.
Charging
F First ensure that the charging zone is clear of other articles.
F
P
lace a portable device in the middle of the
charging zone.
F
O
nce the portable device is detected, the
charge indicator lamp comes on in green.
The system only supports charging one
portable device at a
time.
F
C
harging of the portable device's battery
then starts.
F
O
nce the portable device's battery is fully
charged, the charge indicator lamp goes off.
3
Ease of use and comfort