2018 Peugeot 308 display
[x] Cancel search: displayPage 93 of 324
91
Front and rear seat belt warning
lamp(s)
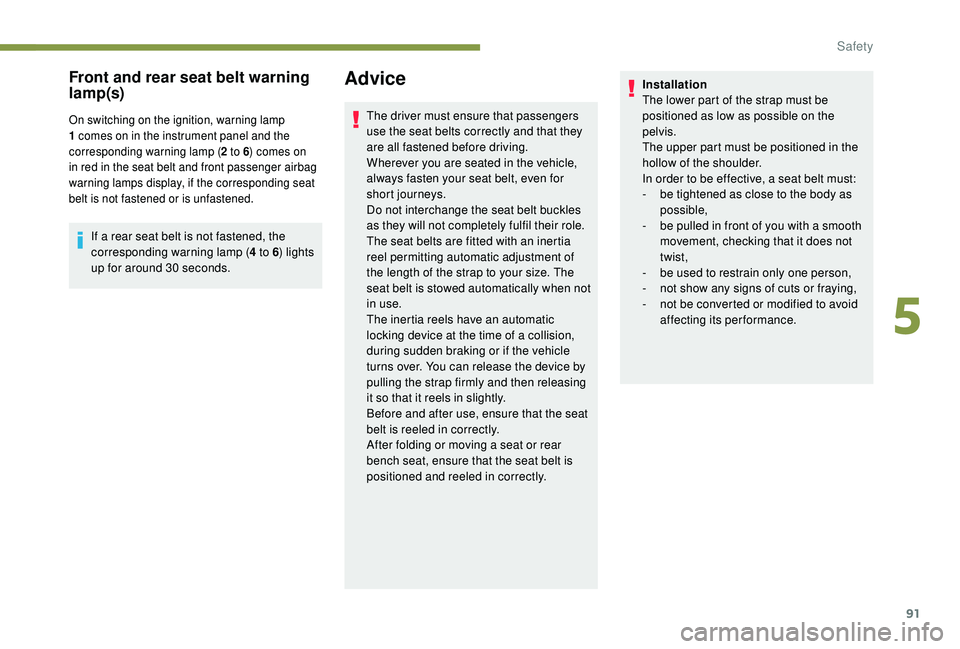
On switching on the ignition, warning lamp
1 comes on in the instrument panel and the
corresponding warning lamp (2 to 6) comes on
in red in the seat belt and front passenger airbag
warning lamps display, if the corresponding seat
belt is not fastened or is unfastened.
If a rear seat belt is not fastened, the
corresponding warning lamp ( 4 to 6) lights
up for around 30
seconds.
Advice
The driver must ensure that passengers
use the seat belts correctly and that they
are all fastened before driving.
Wherever you are seated in the vehicle,
always fasten your seat belt, even for
short journeys.
Do not interchange the seat belt buckles
as they will not completely fulfil their role.
The seat belts are fitted with an inertia
reel permitting automatic adjustment of
the length of the strap to your size. The
seat belt is stowed automatically when not
in use.
The inertia reels have an automatic
locking device at the time of a collision,
during sudden braking or if the vehicle
turns over. You can release the device by
pulling the strap firmly and then releasing
it so that it reels in slightly.
Before and after use, ensure that the seat
belt is reeled in correctly.
After folding or moving a seat or rear
bench seat, ensure that the seat belt is
positioned and reeled in correctly. Installation
The lower part of the strap must be
positioned as low as possible on the
pelvis.
The upper part must be positioned in the
hollow of the shoulder.
In order to be effective, a seat belt must:
-
b
e tightened as close to the body as
possible,
-
b
e pulled in front of you with a smooth
movement, checking that it does not
twist,
-
b
e used to restrain only one person,
-
n
ot show any signs of cuts or fraying,
-
n
ot be converted or modified to avoid
affecting its performance.
5
Safety
Page 101 of 324
99
Deactivating the front
passenger airbag
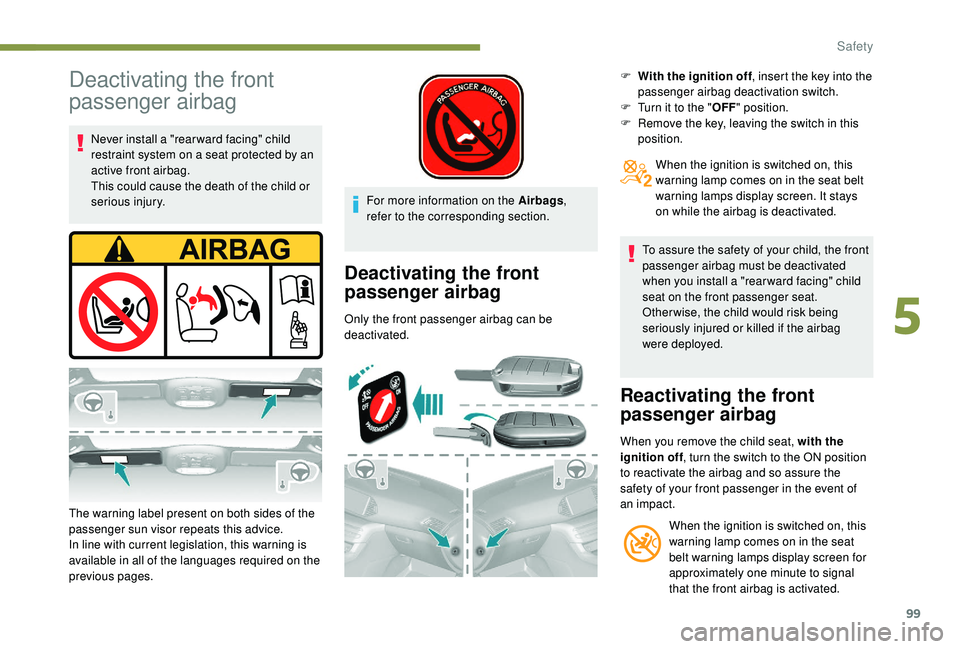
Never install a "rear ward facing" child
restraint system on a seat protected by an
active front airbag.
This could cause the death of the child or
serious injury.
The warning label present on both sides of the
passenger sun visor repeats this advice.
In line with current legislation, this warning is
available in all of the languages required on the
previous pages. For more information on the Airbags
,
refer to the corresponding section.
Deactivating the front
passenger airbag
Only the front passenger airbag can be
deactivated. F
W
ith the ignition off
, insert the key into the
passenger airbag deactivation switch.
F
T
urn it to the "
OFF" position.
F
R
emove the key, leaving the switch in this
position.
When the ignition is switched on, this
warning lamp comes on in the seat belt
warning lamps display screen. It stays
on while the airbag is deactivated.
To assure the safety of your child, the front
passenger airbag must be deactivated
when you install a "rear ward facing" child
seat on the front passenger seat.
Otherwise, the child would risk being
seriously injured or killed if the airbag
were deployed.
Reactivating the front
passenger airbag
When you remove the child seat, with the
ignition off , turn the switch to the ON position
to reactivate the airbag and so assure the
safety of your front passenger in the event of
an impact.
When the ignition is switched on, this
warning lamp comes on in the seat
belt warning lamps display screen for
approximately one minute to signal
that the front airbag is activated.
5
Safety
Page 114 of 324
112
Switching off the engine leads to a loss of
braking assistance.
Avoid attaching heavy objects to the key
or the remote control, which would weigh
down on its blade in the ignition switch
and could cause a malfunction.
Key left in
If the key has been left in the ignition
switch at position 2 (Ignition on), the
ignition will be switched off automatically
after one hour.
To switch the ignition back on, turn the key
to position 1 (Stop) , then back to position
2 (Ignition on) .
Starting/Switching off the
engine, "
K
eyless Entry
and Starting"
Starting
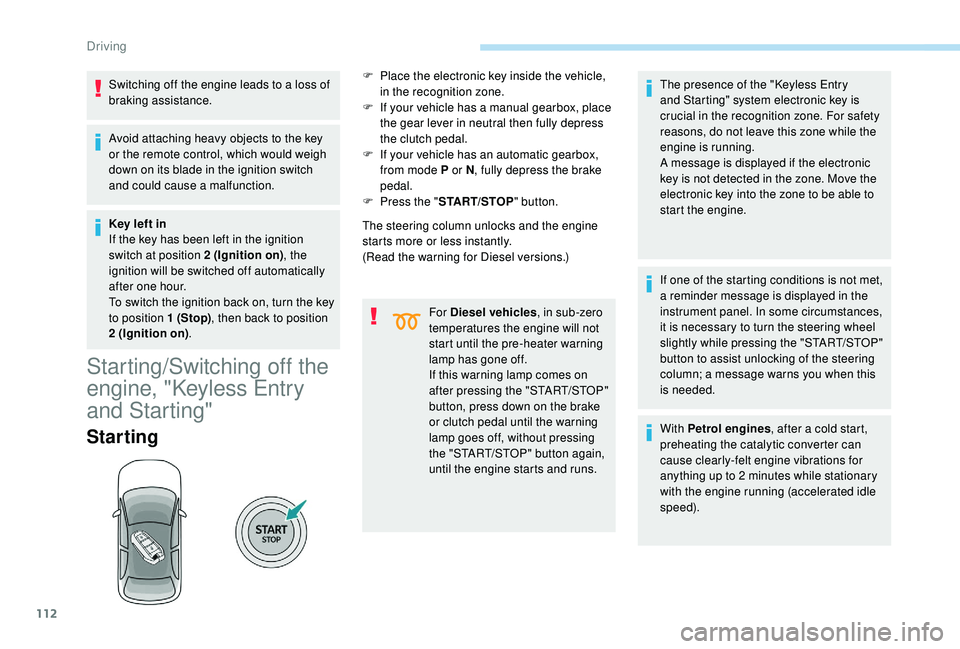
The steering column unlocks and the engine
starts more or less instantly.
(Read the warning for Diesel versions.)
For Diesel vehicles , in sub-zero
temperatures the engine will not
start until the pre-heater warning
lamp has gone off.
If this warning lamp comes on
after pressing the "START/STOP"
button, press down on the brake
or clutch pedal until the warning
lamp goes off, without pressing
the "START/STOP" button again,
until the engine starts and runs. The presence of the "
K
eyless Entry
and Starting" system electronic key is
crucial in the recognition zone. For safety
reasons, do not leave this zone while the
engine is running.
A message is displayed if the electronic
key is not detected in the zone. Move the
electronic key into the zone to be able to
start the engine.
If one of the starting conditions is not met,
a reminder message is displayed in the
instrument panel. In some circumstances,
it is necessary to turn the steering wheel
slightly while pressing the "START/STOP"
button to assist unlocking of the steering
column; a message warns you when this
is needed.
With Petrol engines , after a cold start,
preheating the catalytic converter can
cause clearly-felt engine vibrations for
anything up to 2
minutes while stationary
with the engine running (accelerated idle
speed).
F
P
lace the electronic key inside the vehicle,
in the recognition zone.
F
I
f your vehicle has a manual gearbox, place
the gear lever in neutral then fully depress
the clutch pedal.
F
I
f your vehicle has an automatic gearbox,
from mode P or N , fully depress the brake
pedal.
F
P
ress the "
START/STOP " button.
Driving
Page 117 of 324
115
When towing a trailer, parking on a steep
slope, or if your vehicle is heavily loaded,
turn the front wheels towards the kerb and
engage a gear.
When towing a trailer, your vehicle is
approved for parking on slopes of up to
12% .
The technology adopted for the electric
parking brake does not allow the fitment of
15-inch wheels.
Automatic release
Ensure first that the engine is running and the
driver's door is properly closed.
The electric parking brake releases
automatically and progressively when the
vehicle moves off.
With a manual gearbox : fully depress the
clutch pedal, engage first gear or reverse;
press the accelerator pedal and release the
clutch pedal.
With an automatic gearbox : select position D,
M or R then press the accelerator pedal. The complete release of the parking
brake is confirmed by the brake
indicator lamp and the P indicator
lamp in the control lever going off,
accompanied by the display of a
message.
When stationary with the engine running, do not
depress the accelerator pedal unnecessarily,
you risk releasing the parking brake.
Automatic application
With the vehicle stationary, the parking brake is
automatically applied when the ignition is
switched off
.
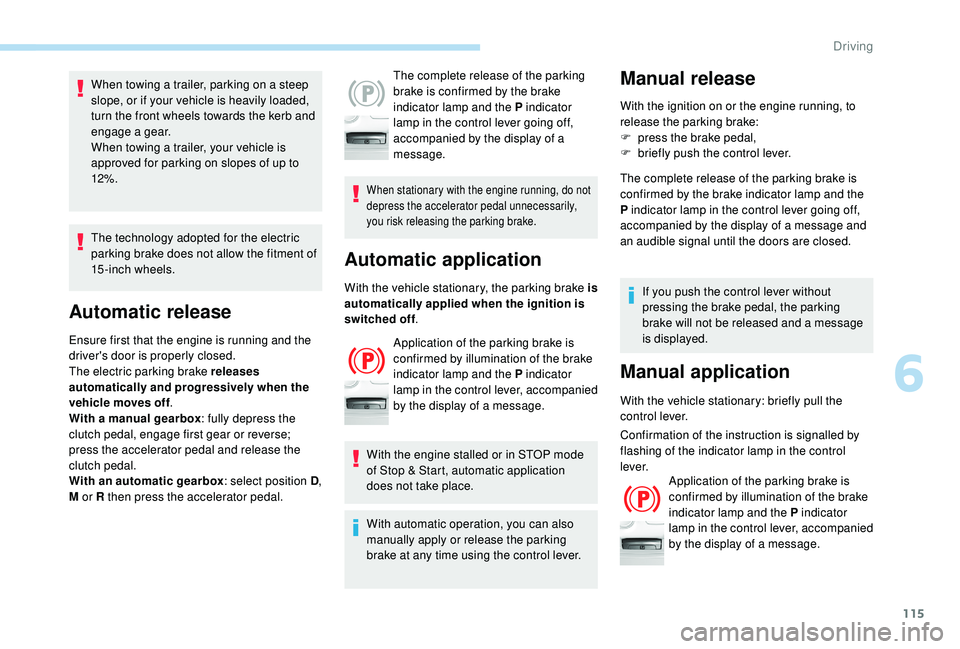
Application of the parking brake is
confirmed by illumination of the brake
indicator lamp and the P indicator
lamp in the control lever, accompanied
by the display of a message.
With the engine stalled or in STOP mode
of Stop & Start, automatic application
does not take place.
With automatic operation, you can also
manually apply or release the parking
brake at any time using the control lever.
Manual release
With the ignition on or the engine running, to
release the parking brake:
F
p
ress the brake pedal,
F
b
riefly push the control lever.
The complete release of the parking brake is
confirmed by the brake indicator lamp and the
P indicator lamp in the control lever going off,
accompanied by the display of a message and
an audible signal until the doors are closed.
If you push the control lever without
pressing the brake pedal, the parking
brake will not be released and a message
is displayed.
Manual application
With the vehicle stationary: briefly pull the
control lever.
Confirmation of the instruction is signalled by
flashing of the indicator lamp in the control
l eve r. Application of the parking brake is
confirmed by illumination of the brake
indicator lamp and the P indicator
lamp in the control lever, accompanied
by the display of a message.
6
Driving
Page 118 of 324
116
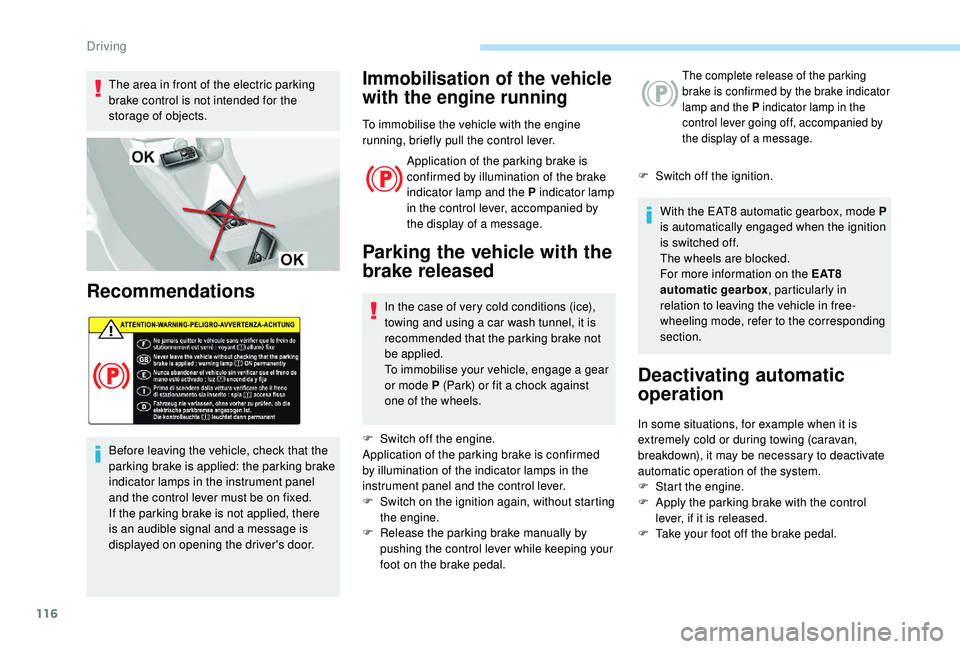
The area in front of the electric parking
brake control is not intended for the
storage of objects.
Recommendations
Before leaving the vehicle, check that the
parking brake is applied: the parking brake
indicator lamps in the instrument panel
and the control lever must be on fixed.
If the parking brake is not applied, there
is an audible signal and a message is
displayed on opening the driver's door.
Immobilisation of the vehicle
with the engine running
To immobilise the vehicle with the engine
running, briefly pull the control lever.Application of the parking brake is
confirmed by illumination of the brake
indicator lamp and the P indicator lamp
in the control lever, accompanied by
the display of a message.
Parking the vehicle with the
brake released
In the case of very cold conditions (ice),
towing and using a car wash tunnel, it is
recommended that the parking brake not
be applied.
To immobilise your vehicle, engage a gear
or mode P (Park) or fit a chock against
one of the wheels.
F
S
witch off the engine.
Application of the parking brake is confirmed
by illumination of the indicator lamps in the
instrument panel and the control lever.
F
S
witch on the ignition again, without starting
the engine.
F
R
elease the parking brake manually by
pushing the control lever while keeping your
foot on the brake pedal.
The complete release of the parking
brake is confirmed by the brake indicator
lamp and the P indicator lamp in the
control lever going off, accompanied by
the display of a message.
F Switch off the ignition.
With the EAT8 automatic gearbox, mode P
is automatically engaged when the ignition
is switched off.
The wheels are blocked.
For more information on the E AT 8
automatic gearbox , particularly in
relation to leaving the vehicle in free-
wheeling mode, refer to the corresponding
section.
Deactivating automatic
operation
In some situations, for example when it is
extremely cold or during towing (caravan,
breakdown), it may be necessary to deactivate
automatic operation of the system.
F
S
tart the engine.
F
A
pply the parking brake with the control
lever, if it is released.
F
T
ake your foot off the brake pedal.
Driving
Page 119 of 324
117
F Push and hold the control lever in the release direction for at least 10 seconds and
no more than 15
seconds.
F
R
elease the control lever.
F
P
ress and hold the brake pedal.
F
P
ull the control lever in the apply direction
for 2
seconds.
Deactivation of the automatic functions
is confirmed by illumination of this
indicator lamp in the instrument panel.
F Release the control lever and the brake pedal.
From now on, the parking brake can only
be applied and released manually using the
control lever.
Repeat this procedure to reactivate automatic
operation.
Reactivation of automatic operation is
confirmed by the indicator lamp in the
instrument panel going off.
Emergency braking
The emergency braking should only be
used in an exceptional situation. pull on the control lever will brake the vehicle.
Braking takes place for as long as the control
lever is being pulled. It is interrupted if the
control lever is released.
The ABS and DSC systems ensure stability of
the vehicle during emergency braking.
If the emergency braking malfunctions,
the "Parking brake faulty" message will be
displayed.
In the event of a failure of the main ser vice
brake or in an exceptional situation (e.g. driver
taken ill, under instruction, etc.), a continuous If the ABS and DSC systems malfunction,
signalled by the illumination of one or both
indicator lamps in the instrument panel, then
stability of the vehicle is no longer guaranteed.
In this event, stability must be assured by the
driver by repeating alternate "pull-release"
actions on the control lever until the vehicle is
immobilised.
Hill start assist
System which keeps your vehicle immobilised
temporarily (approximately 2
seconds) when
starting on a gradient, the time it takes to
move your foot from the brake pedal to the
accelerator pedal.
It is only active when:
-
t
he vehicle is completely stationary, with
your foot on the brake pedal,
-
c
ertain slope conditions are met,
-
t
he driver’s door is closed. The hill start assist system cannot be
deactivated.
Do not leave the vehicle while it is being
held in the hill start assist phase.
If you need to leave the vehicle with the
engine running, apply the parking brake
manually. Then check that the parking
brake warning lamp is on fixed in the
instrument panel.
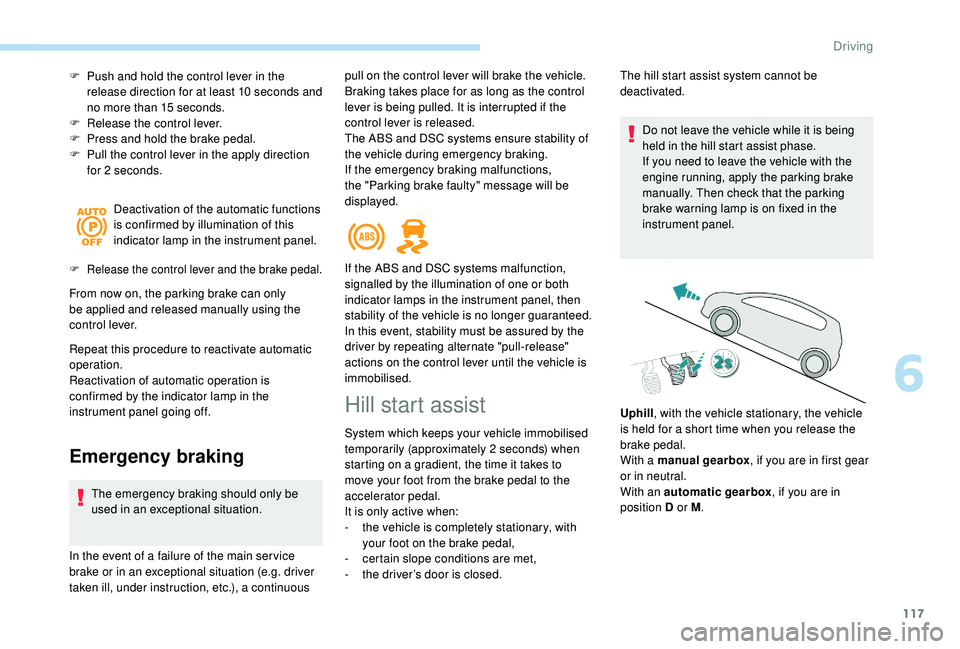
Uphill , with the vehicle stationary, the vehicle
is held for a short time when you release the
brake pedal.
With a manual gearbox , if you are in first gear
or in neutral.
With an automatic gearbox , if you are in
position D or M .
6
Driving
Page 122 of 324
120
The steering mounted controls do not
allow neutral to be selected and reverse
gear to be engaged or disengaged.
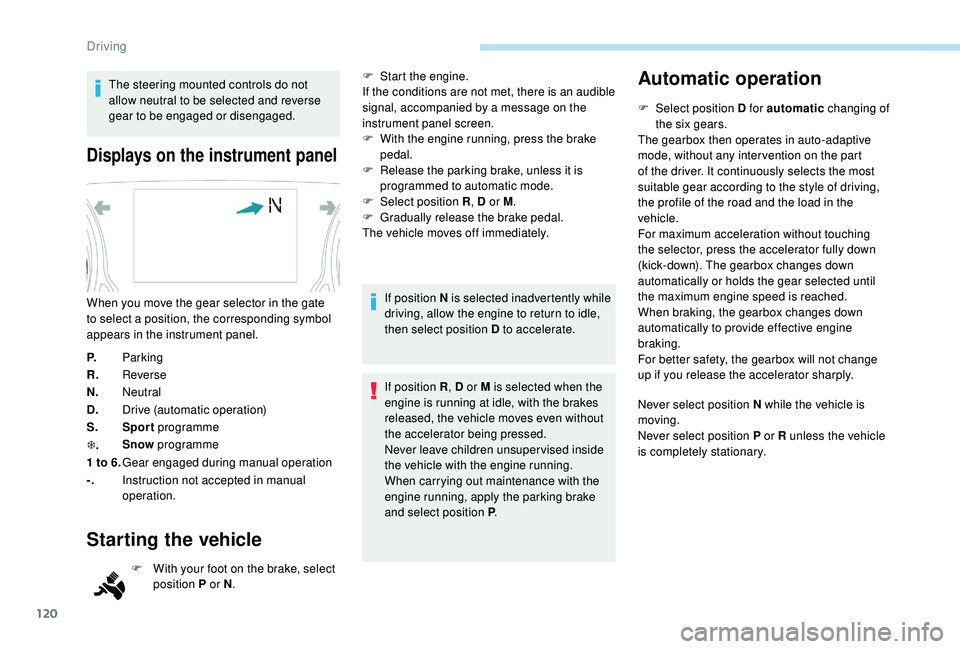
Displays on the instrument panel
P.Parking
R. Reverse
N. Neutral
D. Drive (automatic operation)
S. Sport programme
T . Snow
programme
1 to 6. Gear engaged during manual operation
-. Instruction not accepted in manual
operation.
Starting the vehicle
F With your foot on the brake, select
position P or N .
When you move the gear selector in the gate
to select a position, the corresponding symbol
appears in the instrument panel.
F
S
tart the engine.
If the conditions are not met, there is an audible
signal, accompanied by a message on the
instrument panel screen.
F
W
ith the engine running, press the brake
pedal.
F
R
elease the parking brake, unless it is
programmed to automatic mode.
F
Sel
ect position R
, D or M.
F
G
radually release the brake pedal.
The vehicle moves off immediately.
If position N is selected inadvertently while
driving, allow the engine to return to idle,
then select position D to accelerate.
If position R , D or M is selected when the
engine is running at idle, with the brakes
released, the vehicle moves even without
the accelerator being pressed.
Never leave children unsuper vised inside
the vehicle with the engine running.
When carrying out maintenance with the
engine running, apply the parking brake
and select position P .
Automatic operation
F Select position D for automatic changing of
the six gears.
The gearbox then operates in auto-adaptive
mode, without any inter vention on the part
of the driver. It continuously selects the most
suitable gear according to the style of driving,
the profile of the road and the load in the
vehicle.
For maximum acceleration without touching
the selector, press the accelerator fully down
(kick-down). The gearbox changes down
automatically or holds the gear selected until
the maximum engine speed is reached.
When braking, the gearbox changes down
automatically to provide effective engine
braking.
For better safety, the gearbox will not change
up if you release the accelerator sharply.
Never select position N while the vehicle is
moving.
Never select position P or R unless the vehicle
is completely stationary.
Driving
Page 123 of 324
121
"Sport" and "Snow"
programmes
These two special programmes supplement
the automatic operation in specific conditions
of use.
"Sport"
F Press the "SPORT" button once
the engine has started.
" S " appears in the instrument panel.
The gearbox automatically favours a dynamic
style of driving.
On versions fitted with the Driver Sport Pack,
the " S" button is replaced by the " SPORT"
button.
"Snow"
F Press this button once the engine has started.
" T " appears in the instrument panel.
The gearbox adapts to driving on slippery
roads.
This programme improves starting and
handling when traction is poor.
Driver Sport Pack
This function favours a dynamic style of driving. F
P
ress the "
SPORT" button once
the engine has started.
" S " appears in the instrument panel.
For more information on the Driver Spor t
Pack , refer to the corresponding section.
Return to automatic operation
F At any time, press the button selected ( S or
" T ") again to quit the programme engaged
and return to auto-adaptive mode.
Manual operation
To reduce fuel consumption when at
a prolonged standstill with the engine
running (traffic jam, etc.), put the
selector in position N and apply the
parking brake.
F
Sel
ect position M for sequential changing
of the six gears.
F
P
ush towards the + sign to change up a
g e a r.
F
P
ush towards the – sign to change down a
g e a r. D disappears, and the gears
engaged appear in succession on
the instrument panel.
If the engine is under-revving or over-revving,
the gear selected flashes for a few seconds,
then the actual gear engaged is displayed.
It is possible to change from position D
(automatic) to position M (manual) at any time.
When the vehicle is stationary or moving
very slowly, the gearbox selects gear M1
automatically.
The sport and snow programmes are inactive
in manual operation.
Invalid value during manual
operation
This symbol is displayed if a gear is
not engaged correctly (gear selector
between two positions).
Stopping the vehicle
Before switching off the engine, you can
engage position P or N to place the gearbox in
neutral. Changing from one gear to another only
occurs if the vehicle speed and engine speed
conditions allow; other wise the gearbox will
operate temporarily in automatic mode.
6
Driving