Page 120 of 360

118
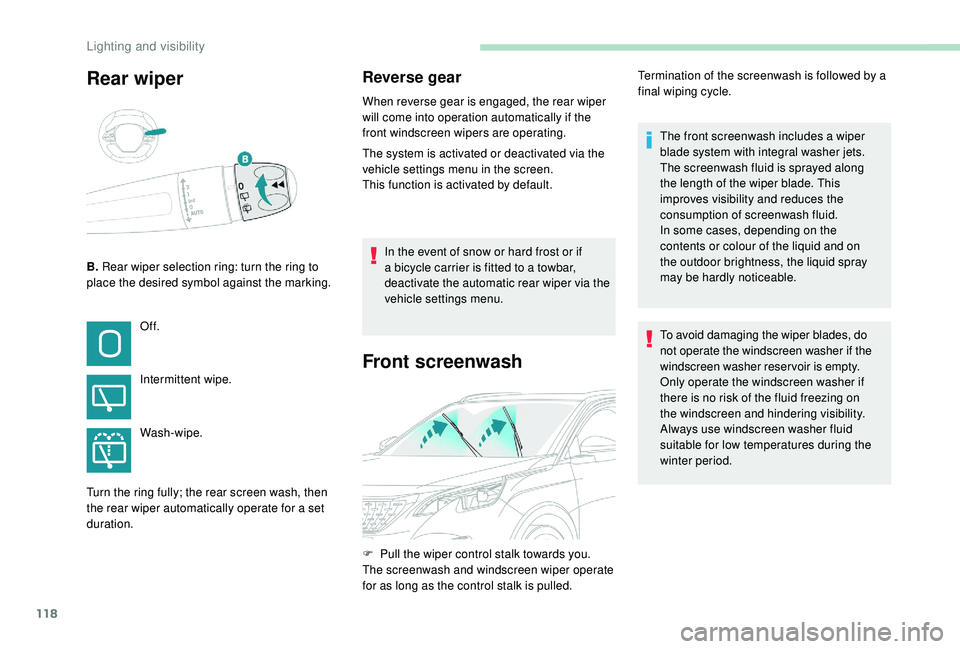
Rear wiper
B. Rear wiper selection ring: turn the ring to
place the desired symbol against the marking.
Reverse gear
When reverse gear is engaged, the rear wiper
will come into operation automatically if the
front windscreen wipers are operating.
The system is activated or deactivated via the
vehicle settings menu in the screen.
This function is activated by default.
Of f.
Intermittent wipe.
Wash-wipe.
Turn the ring fully; the rear screen wash, then
the rear wiper automatically operate for a set
duration. In the event of snow or hard frost or if
a bicycle carrier is fitted to a towbar,
deactivate the automatic rear wiper via the
vehicle settings menu.
Front screenwash
F Pull the wiper control stalk towards you.
The screenwash and windscreen wiper operate
for as long as the control stalk is pulled.The front screenwash includes a wiper
blade system with integral washer jets.
The screenwash fluid is sprayed along
the length of the wiper blade. This
improves visibility and reduces the
consumption of screenwash fluid.
In some cases, depending on the
contents or colour of the liquid and on
the outdoor brightness, the liquid spray
may be hardly noticeable.
To avoid damaging the wiper blades, do
not operate the windscreen washer if the
windscreen washer reservoir is empty.
Only operate the windscreen washer if
there is no risk of the fluid freezing on
the windscreen and hindering visibility.
Always use windscreen washer fluid
suitable for low temperatures during the
winter period.
Termination of the screenwash is followed by a
final wiping cycle.
Lighting and visibility
Page 302 of 360

30
Profile settings
As a safety measure and because it
requires the sustained attention of the
driver, changes to settings must only be
done with the vehicle stationary.
or Press Settings
to display the
primary page.
Press the " OPTIONS" button to go to the
secondary page.
Select "Setting of the profiles ".
Select " Profile 1 " or "Profile 2 " or "Profile 3 "
or " Common profile ".
Press this button to enter a name for
the profile using the virtual keypad.
Press " OK" to confirm.
Press this button to add a
photograph to the profile. Insert a USB memory stick containing
the photograph in the USB port.
Select the photograph.
Press "
OK" to accept the transfer of
the photograph.
Press " OK" again to save the
settings.
The location for the photograph is
square; the system reshapes the original
photograph if in another format.
Press this button to initialise the
profile selected.
Initialisation of the profile selected
activates the English language by default.
Select a " Profile" (1 or 2 or 3) to associate the
" Audio settings " with it.
Select " Audio settings ".
Select " Ambience ".
Or
" Position ". Or
"
Sound ".
Or
" Voice ".
Or
" Ringtone ".
Press " OK" to save the settings.
Modifying system settings
or Press Settings
to display the
primary page.
Press the " OPTIONS" button to go to the
secondary page.
Select "Screen configuration ".
Select " Animation ".
Activate or deactivate: " Automatic
scrolling ".
Select " Brightness ".
PEUGEOT Connect Nav
Page 303 of 360

31
Move the cursor to adjust the
brightness of the screen and/or of
the instrument panel.
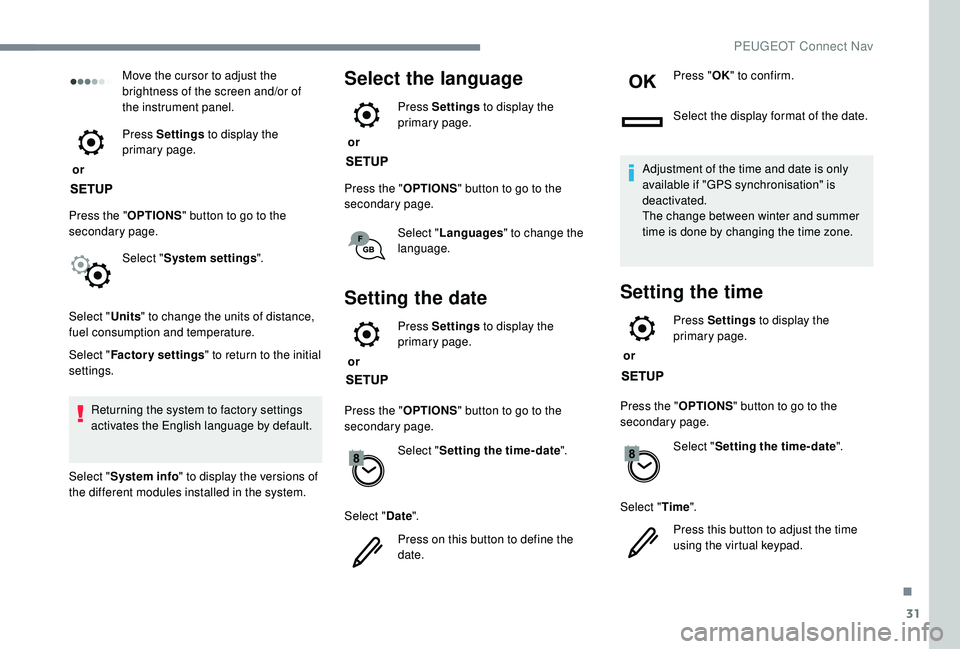
or Press Settings
to display the
primary page.
Press the " OPTIONS" button to go to the
secondary page.
Select "System settings ".
Select " Units" to change the units of distance,
fuel consumption and temperature.
Select " Factory settings " to return to the initial
settings.
Returning the system to factory settings
activates the English language by default.
Select " System info " to display the versions of
the different modules installed in the system.Select the language
or Press Settings
to display the
primary page.
Press the " OPTIONS" button to go to the
secondary page.
Select "Languages " to change the
language.
Setting the date
or Press Settings
to display the
primary page.
Press the " OPTIONS" button to go to the
secondary page.
Select "Setting the time- date".
Select " Date".
Press on this button to define the
date. Press "
OK" to confirm.
Select the display format of the date.
Adjustment of the time and date is only
available if "GPS synchronisation" is
deactivated.
The change between winter and summer
time is done by changing the time zone.
Setting the time
or Press Settings
to display the
primary page.
Press the " OPTIONS" button to go to the
secondary page.
Select "Setting the time- date".
Select " Time".
Press this button to adjust the time
using the virtual keypad.
.
PEUGEOT Connect Nav
Page 326 of 360

16
Press "Recent calls ".
Select the desired contact from the list offered.
It is always possible to make a call
directly from the telephone; as a safety
measure, first park the vehicle.
Setting the ringtone
Press Telephone to display the
primary page.
Press the " OPTIONS" button to go to the
secondary page.
Press "Ring volume " to display the
volume bar.
Press the arrows or move the cursor
to set the ring volume.
Settings
Profile settings
As a safety measure and because it
requires the sustained attention of the
driver, changes to settings must only be
done with the vehicle stationary .
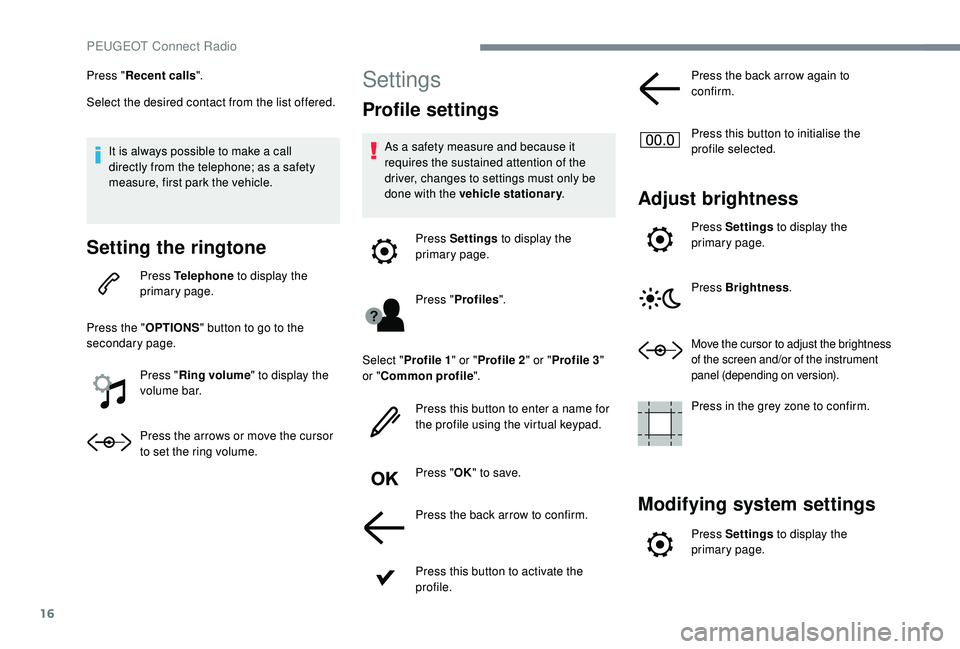
Press Settings to display the
primary page.
Press " Profiles ".
Select " Profile 1 " or "Profile 2 " or "Profile 3 "
or " Common profile ".
Press this button to enter a name for
the profile using the virtual keypad.
Press " OK" to save.
Press the back arrow to confirm.
Press this button to activate the
profile. Press the back arrow again to
confirm.
Press this button to initialise the
profile selected.
Adjust brightness
Press Settings
to display the
primary page.
Press Brightness .
Move the cursor to adjust the brightness
of the screen and/or of the instrument
panel (depending on version).
Press in the grey zone to confirm.
Modifying system settings
Press Settings to display the
primary page.
PEUGEOT Connect Radio
Page 327 of 360

17
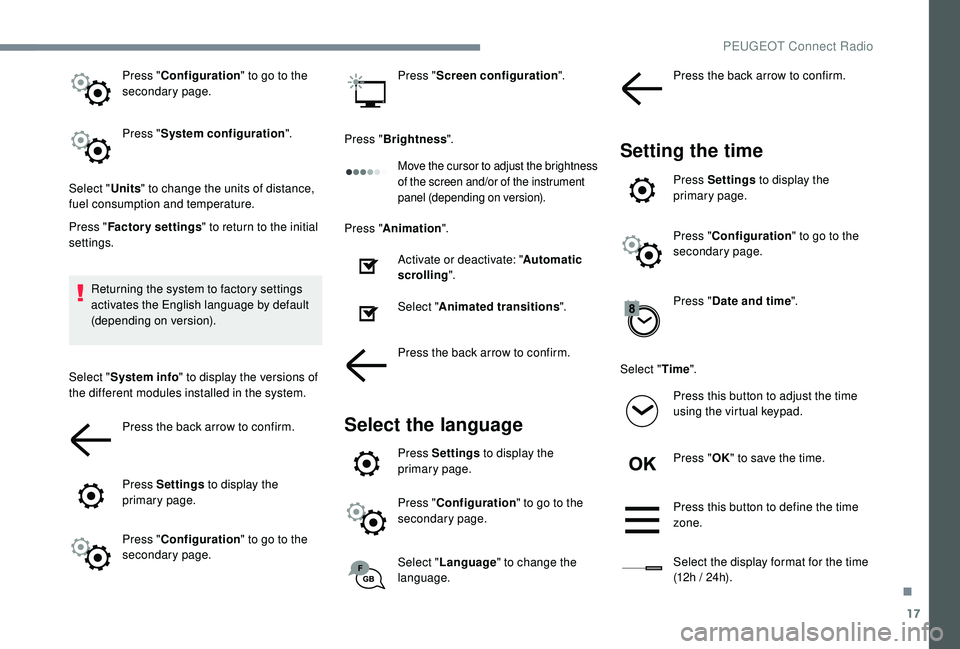
Press "Configuration " to go to the
secondary page.
Press " System configuration ".
Select " Units" to change the units of distance,
fuel consumption and temperature.
Press " Factory settings " to return to the initial
settings.
Returning the system to factory settings
activates the English language by default
(depending on version).
Select " System info " to display the versions of
the different modules installed in the system.
Press the back arrow to confirm.
Press Settings to display the
primary page.
Press " Configuration " to go to the
secondary page. Press "
Screen configuration ".
Press " Brightness ".
Move the cursor to adjust the brightness
of the screen and/or of the instrument
panel (depending on version).
Press "Animation ".
Activate or deactivate: " Automatic
scrolling ".
Select " Animated transitions ".
Press the back arrow to confirm.
Select the language
Press Settings to display the
primary page.
Press " Configuration " to go to the
secondary page.
Select " Language " to change the
language. Press the back arrow to confirm.
Setting the time
Press Settings
to display the
primary page.
Press " Configuration " to go to the
secondary page.
Press " Date and time ".
Select " Time".
Press this button to adjust the time
using the virtual keypad.
Press " OK" to save the time.
Press this button to define the time
zone.
Select the display format for the time
(12h / 24h).
.
PEUGEOT Connect Radio