2018 PEUGEOT 3008 change time
[x] Cancel search: change timePage 8 of 360
6
As a passenger, if you avoid connecting your
multimedia devices (film, music, video game
etc.), you will contribute towards limiting the
consumption of electrical energy, and so of fuel.
Disconnect your portable devices before
leaving the vehicle.
Eco- driving
Eco-driving is a range of everyday practices that allow the motorist to optimise their fuel consumption and CO2 emissions.
Optimise the use of your
gearbox
With a manual gearbox, move off gently
and change up without waiting. During
acceleration change up early.
With an automatic gearbox, give preference
to automatic mode and avoid pressing the
accelerator pedal heavily or suddenly.
The gear shift indicator invites you to engage
the most suitable gear: as soon as the
indication is displayed in the instrument panel,
follow it straight away.
For vehicles fitted with an automatic gearbox,
this indicator appears only in manual mode.
Drive smoothly
Maintain a safe distance between vehicles,
use engine braking rather than the
brake pedal, and press the accelerator
progressively. These practices contribute
towards a reduction in fuel consumption and
CO
2 emissions and also help reduce the
background traffic noise.
If your vehicle has cruise control, make use of
the system at speeds above 25
mph (40 km/h)
when the traffic is flowing well.
Control the use of your electrical
equipment
Before moving off, if the passenger
compartment is too warm, ventilate it by
opening the windows and air vents before
using the air conditioning.
Above 31
mph (50 km/h), close the windows
and leave the air vents open.
Consider using equipment that can help
keep the temperature in the passenger
compartment down (sunroof blind and
window blinds, etc.). Switch off the headlamps and front foglamps
when the ambient light level does not require
their use.
Avoid running the engine before moving off,
particularly in winter; your vehicle will warm up
much faster while driving. Unless it has automatic regulation, switch off
the air conditioning as soon as the desired
temperature has been reached.
Switch off the demisting and defrosting
controls, if these are not automatically
managed.
Switch off the heated seat as soon as possible.
Eco-driving
Page 40 of 360

38
Monochrome screen C
Displays
Depending on the context, it displays:
- time,
-
date,
-
e
xterior temperature (this flashes if there is
a risk of ice),
Tr i p s "
1" and " 2" are independent and are used
identically.
Tr i p " 1" allows daily calculations to be carried
out, for example, and trip " 2" allows monthly
calculations.
A few definitions…
Range
(miles or km)
If dashes are displayed continuously while
driving in place of the digits, contact a
PEUGEOT dealer or a qualified workshop. This value may vary following a change in
the style of driving or the terrain, resulting
in a significant change in the current fuel
consumption.
When the range falls below 19
miles (30 km),
dashes are displayed.
After filling with at least 5
litres of fuel, the
range is recalculated and is displayed if it
exceeds 62
miles (100 km).
The distance which can still be
travelled with the fuel remaining
in the tank (at the average fuel
consumption seen over the last few
miles (kilometres) travelled).
Current fuel consumption
(mpg or l/100 km or km/l)
C alculated over the last few seconds.
This function is only displayed from
19
mph (30 km/h).
Average fuel consumption
(mpg or l/100 km or km/l)
C alculated since the last trip
computer reset.
Average speed
(mph or km/h)
Calculated since the last trip
computer reset.
Distance travelled
(miles or km)Calculated since the last trip
computer reset.
Stop & Start time counter
(minutes / seconds or hours /
minutes)
If your vehicle is fitted with Stop & Start, a time
counter calculates the time spent in STOP
mode during a journey.
It resets to zero every time the ignition is
switched on.
Instruments
Page 41 of 360
39
- visual parking sensor information,
- a udio source being listened to,
-
t
elephone or hands-free kit information,
-
s
ettings menus for the screen and the
vehicle equipment.
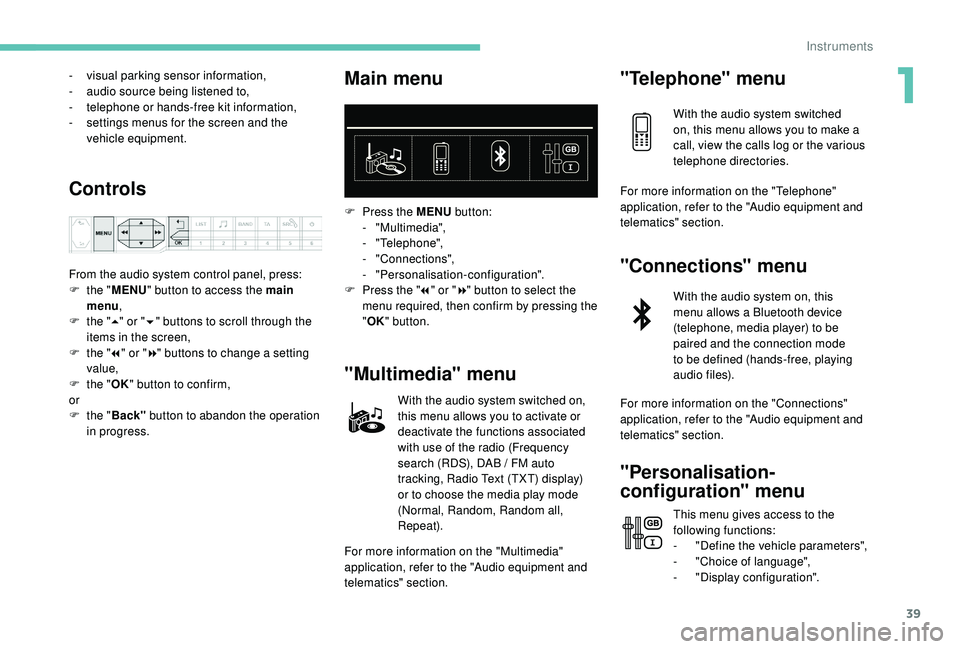
Controls
From the audio system control panel, press:
F t he "MENU " button to access the main
menu ,
F
t
he "5" or " 6" buttons to scroll through the
items in the screen,
F
t
he "7" or " 8" buttons to change a setting
value,
F
t
he "OK" button to confirm,
or
F
t
he "Back" button to abandon the operation
in progress.
Main menu
F Press the MENU button:
- "Multimedia",
-
"Telephone",
-
"Connections",
-
"Personalisation-configuration".
F
P
ress the " 7" or " 8" button to select the
menu required, then confirm by pressing the
" OK " button.
"Multimedia" menu
With the audio system switched on,
this menu allows you to activate or
deactivate the functions associated
with use of the radio (Frequency
search (RDS), DAB
/ FM auto
tracking, Radio Text (TXT) display)
or to choose the media play mode
(Normal, Random, Random all,
Repeat).
For more information on the "Multimedia"
application, refer to the "Audio equipment and
telematics" section.
"Telephone" menu
With the audio system switched
on, this menu allows you to make a
call, view the calls log or the various
telephone directories.
For more information on the "Telephone"
application, refer to the "Audio equipment and
telematics" section.
"Connections" menu
With the audio system on, this
menu allows a Bluetooth device
(telephone, media player) to be
paired and the connection mode
to be defined (hands-free, playing
audio files).
For more information on the "Connections"
application, refer to the "Audio equipment and
telematics" section.
"Personalisation-
configuration" menu
This menu gives access to the
following functions:
-
"
Define the vehicle parameters",
-
"
Choice of language",
-
"
Display configuration".
1
Instruments
Page 60 of 360
58
Anti-intrusion security
This system allows automatic simultaneous
locking of the doors and boot as soon as the
speed of the vehicle exceeds 6 mph (10 km/h).
Operation
If one of the doors or the boot is open, the
automatic central locking does not take place.
Carrying long or voluminous objects
If you want to drive with the boot open, you
should press the central locking button
to lock the doors. Other wise, every time
the speed of the vehicle exceeds 6
mph
(10
km/h), the locks will rebound and the
alerts mentioned above will appear.
Pressing the central locking button
unlocks the vehicle.
Above 6
mph (10 km/h), this unlocking is
te m p o r a r y.
Activation / Deactivation
Driving with the doors locked may render
access for the emergency services
difficult in an emergency.
Alarm
(Depending on version)
System which protects and provides a deterrent
against theft and break-ins. It provides the
following types of monitoring:
- perimeter monitoring
The system checks for opening of the vehicle.
The alarm is triggered if anyone tries to open a
door, the boot, the bonnet, etc.
- volumetric monitoring
The system checks for any variation in the
volume in the passenger compartment.
The alarm is triggered if anyone breaks a
window, enters the passenger compartment or
moves inside the vehicle.
- anti-tilt monitoring
The system checks for any change in the
attitude of the vehicle.
The alarm is triggered if the vehicle is lifted,
moved or knocked.
Self-protection function
The system checks for the putting out of
ser vice of its components.
The alarm is triggered if the battery, the central
control or the siren wiring are put out of ser vice
or damaged.
For all work on the alarm system, contact
a PEUGEOT dealer or a qualified
workshop.
This is signalled by the sound of
the locks rebounding, accompanied
by illumination of this symbol in the
instrument panel, an audible signal and
the display of an alert message.
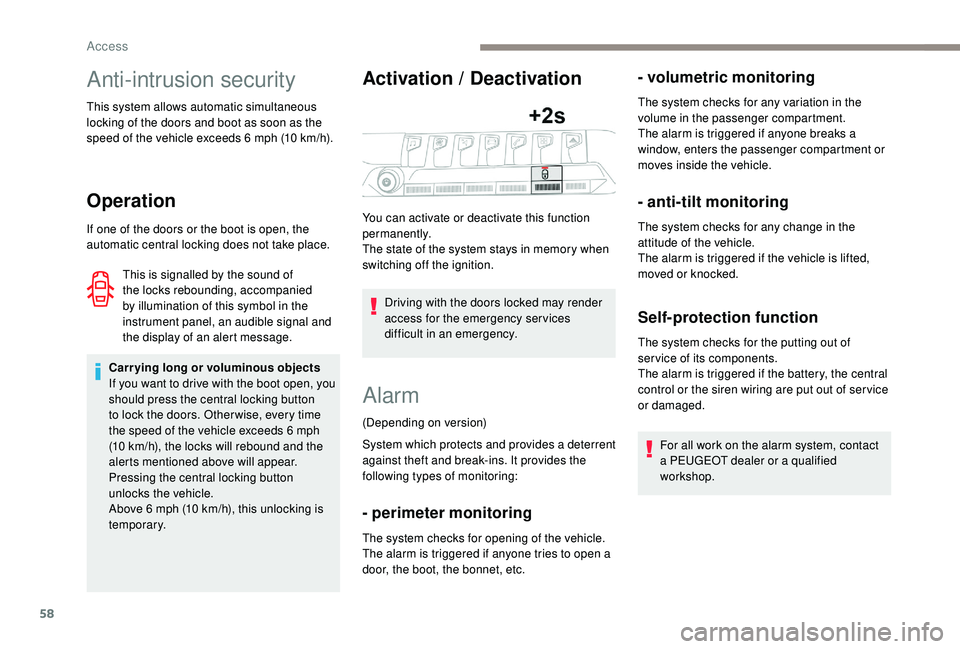
You can activate or deactivate this function
permanently.
The state of the system stays in memory when
switching off the ignition.
Access
Page 96 of 360
94
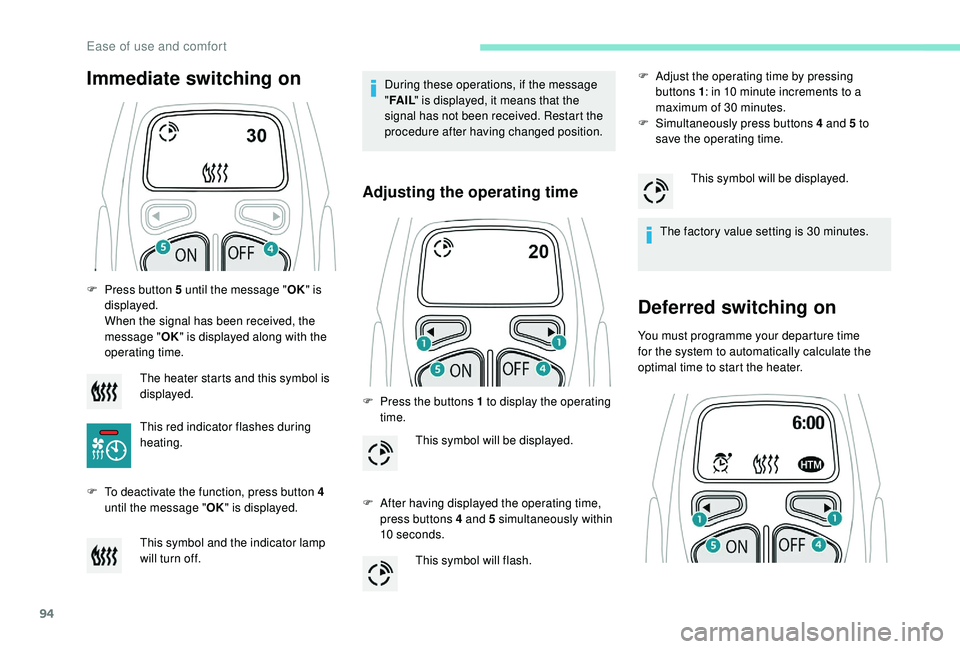
F Press button 5 until the message "OK" is
displayed.
When the signal has been received, the
message " OK" is displayed along with the
operating time.
F
T
o deactivate the function, press button 4
until the message " OK" is displayed. During these operations, if the message
"
FA I L " is displayed, it means that the
signal has not been received. Restart the
procedure after having changed position.
Adjusting the operating time
F Press the buttons 1 to display the operating time.
F
A
fter having displayed the operating time,
press buttons 4 and 5 simultaneously within
10
seconds. F
A
djust the operating time by pressing
buttons 1 : in 10 minute increments to a
maximum of 30
minutes.
F
S
imultaneously press buttons 4 and 5 to
save the operating time.
The factory value setting is 30 minutes.
Deferred switching on
You must programme your departure time
for the system to automatically calculate the
optimal time to start the heater.
Immediate switching on
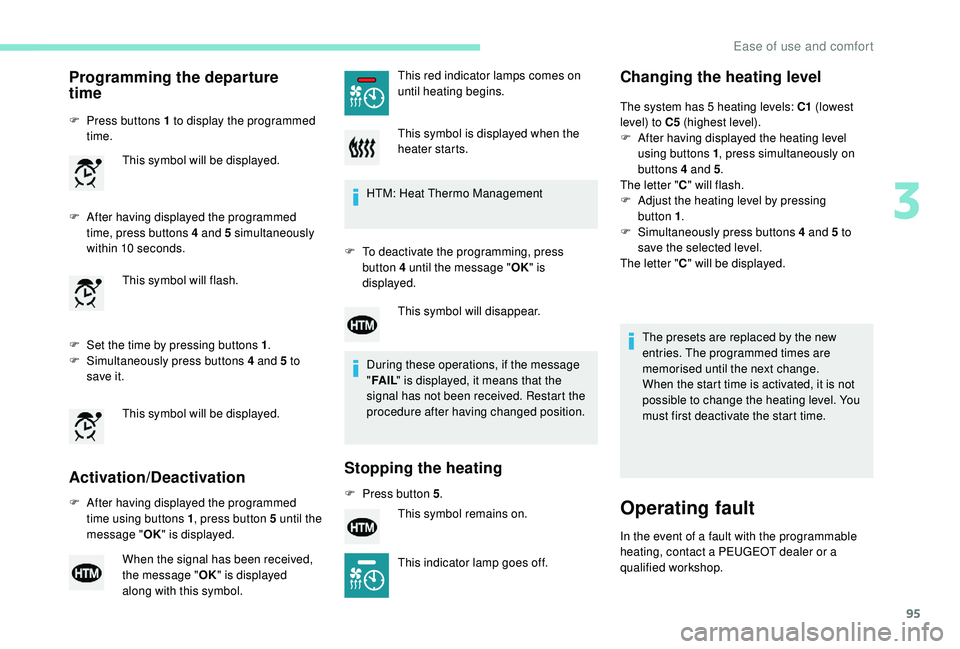
The heater starts and this symbol is
displayed.
This red indicator flashes during
heating.
This symbol and the indicator lamp
will turn off.
This symbol will be displayed.
This symbol will flash.This symbol will be displayed.
Ease of use and comfort
Page 97 of 360
95
Programming the departure
time
F Press buttons 1 to display the programmed time.
F
A
fter having displayed the programmed
time, press buttons 4 and 5 simultaneously
within 10
seconds.
F
S
et the time by pressing buttons 1 .
F
S
imultaneously press buttons 4 and 5 to
save it.
Activation/Deactivation
F After having displayed the programmed time using buttons 1 , press button 5 until the
message " OK" is displayed. HTM: Heat Thermo Management
F
T
o deactivate the programming, press
button 4 until the message " OK" is
displayed.
During these operations, if the message
" FA I L " is displayed, it means that the
signal has not been received. Restart the
procedure after having changed position.
Stopping the heating
F Press button 5 .
Changing the heating level
The system has 5 heating levels: C1 (lowest
level) to C5 (highest level).
F
A
fter having displayed the heating level
using buttons 1 , press simultaneously on
buttons 4 and 5 .
The letter " C" will flash.
F
A
djust the heating level by pressing
button
1.
F
S
imultaneously press buttons 4 and 5 to
save the selected level.
The letter " C" will be displayed.
This symbol will be displayed.
This symbol will flash.
This symbol will be displayed.
When the signal has been received,
the message "
OK" is displayed
along with this symbol. This red indicator lamps comes on
until heating begins.
This symbol is displayed when the
heater starts.
This symbol will disappear.
This symbol remains on.
This indicator lamp goes off.
The presets are replaced by the new
entries. The programmed times are
memorised until the next change.
When the start time is activated, it is not
possible to change the heating level. You
must first deactivate the start time.
Operating fault
In the event of a fault with the programmable
heating, contact a PEUGEOT dealer or a
qualified workshop.
3
Ease of use and comfort
Page 110 of 360
108
On certain versions, the adjustable boot
floor cannot be fitted in the low position.
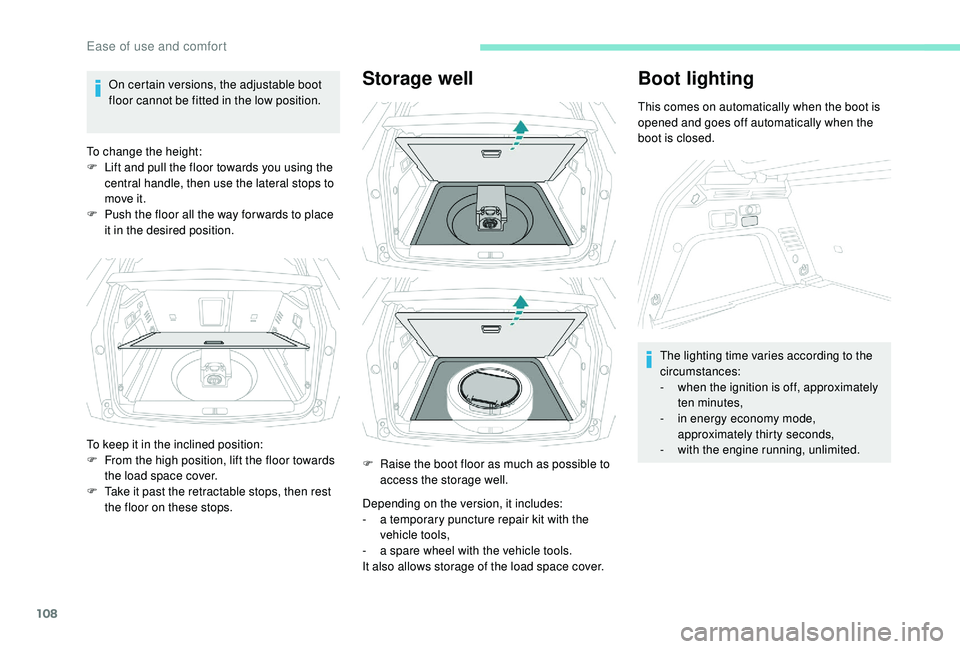
To change the height:
F
L
ift and pull the floor towards you using the
central handle, then use the lateral stops to
move it.
F
P
ush the floor all the way for wards to place
it in the desired position.Storage well
Depending on the version, it includes:
- a t emporary puncture repair kit with the
vehicle tools,
-
a s
pare wheel with the vehicle tools.
It also allows storage of the load space cover.
Boot lighting
This comes on automatically when the boot is
opened and goes off automatically when the
boot is closed.
The lighting time varies according to the
circumstances:
-
w
hen the ignition is off, approximately
ten minutes,
-
i
n energy economy mode,
approximately thirty seconds,
-
w
ith the engine running, unlimited.
To keep it in the inclined position:
F
F
rom the high position, lift the floor towards
the load space cover.
F
T
ake it past the retractable stops, then rest
the floor on these stops. F
R
aise the boot floor as much as possible to
access the storage well.
Ease of use and comfort
Page 116 of 360
114
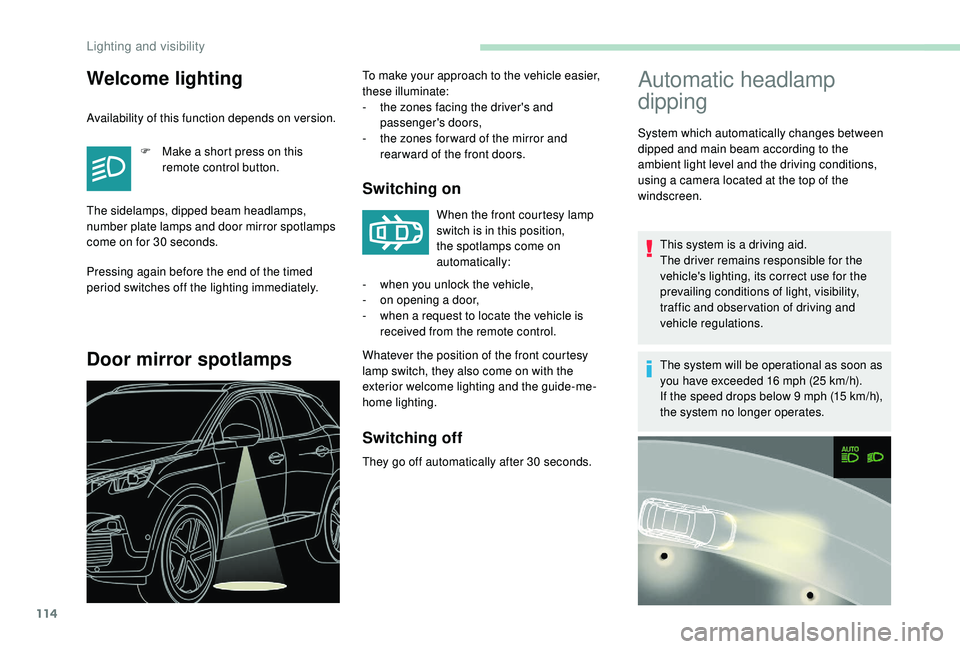
Automatic headlamp
dipping
System which automatically changes between
dipped and main beam according to the
ambient light level and the driving conditions,
using a camera located at the top of the
windscreen.This system is a driving aid.
The driver remains responsible for the
vehicle's lighting, its correct use for the
prevailing conditions of light, visibility,
traffic and obser vation of driving and
vehicle regulations.
The system will be operational as soon as
you have exceeded 16
mph (25 km/h).
If the speed drops below 9
mph (15 km/h),
the system no longer operates.
Welcome lighting
Availability of this function depends on version.
F
M
ake a short press on this
remote control button.
The sidelamps, dipped beam headlamps,
number plate lamps and door mirror spotlamps
come on for 30
seconds.
Pressing again before the end of the timed
period switches off the lighting immediately.
Door mirror spotlamps
To make your approach to the vehicle easier,
these illuminate:
-
t
he zones facing the driver's and
passenger's doors,
-
t
he zones for ward of the mirror and
rear ward of the front doors.
Switching on
When the front courtesy lamp
switch is in this position,
the spotlamps come on
automatically:
Whatever the position of the front courtesy
lamp switch, they also come on with the
exterior welcome lighting and the guide-me-
home lighting. -
w
hen you unlock the vehicle,
-
o
n opening a door,
-
w
hen a request to locate the vehicle is
received from the remote control.
Switching off
They go off automatically after 30 seconds.
Lighting and visibility