2018 PEUGEOT 108 air condition
[x] Cancel search: air conditionPage 41 of 180

39
passenger compartment temperature, air flow
and air distribution.
This system is designed to operate effectively
in all seasons, with the windows and the
electric fabric roof closed.
For your convenience the settings are retained
between vehicle starts.
When the engine is cold, the air flow will only
reach its optimum level gradually to prevent too
much cold air being distributed.
F
P
ress button 6 " AUTO". The symbol AUTO
goes off.
By pressing button 6 " AUTO" again, you can
choose the following modes in succession:
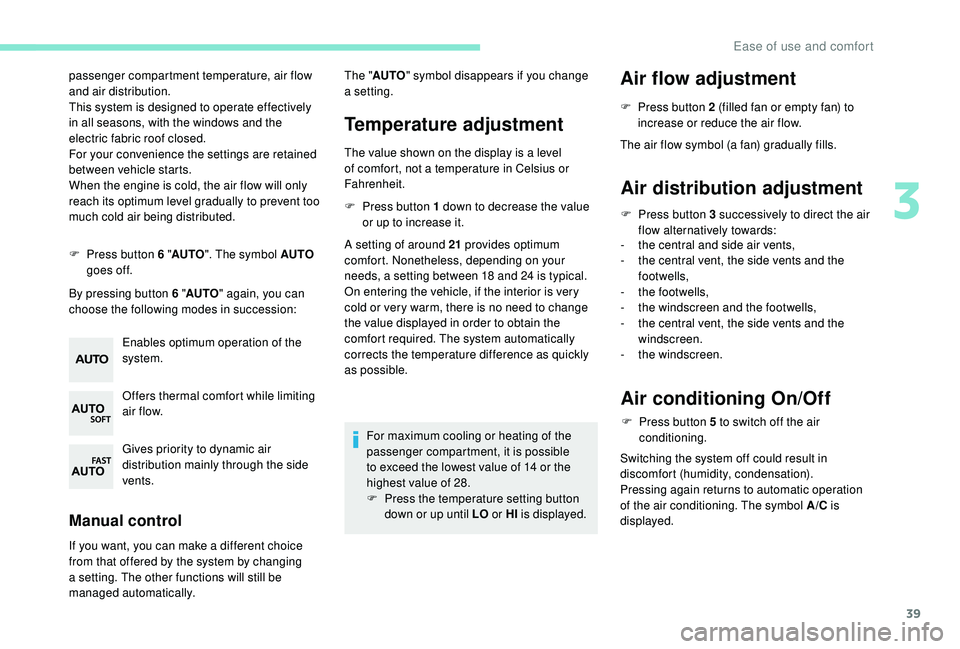
Enables optimum operation of the
system.
Offers thermal comfort while limiting
air f low.
Gives priority to dynamic air
distribution mainly through the side
vents.
Manual control
If you want, you can make a different choice
f rom that offered by the system by changing
a
setting. The other functions will still be
managed automatically.
Temperature adjustment
The value shown on the display is a level
o f comfort, not a temperature in Celsius or
Fahrenheit.
F
P
ress button 1 down to decrease the value
or up to increase it.
A setting of around 21
provides optimum
comfort. Nonetheless, depending on your
needs, a setting between 18
and 24 is typical.
On entering the vehicle, if the interior is very
cold or very warm, there is no need to change
the value displayed in order to obtain the
comfort required. The system automatically
corrects the temperature difference as quickly
as possible.
For maximum cooling or heating of the
passenger compartment, it is possible
to exceed the lowest value of 14
or the
highest value of 28.
F
P
ress the temperature setting button
down or up until LO or HI is displayed.
Air flow adjustment
F Press button 2 (filled fan or empty fan) to
increase or reduce the air flow.
The air flow symbol (a fan) gradually fills.
Air distribution adjustment
F Press button 3 successively to direct the air
flow alternatively towards:
-
t
he central and side air vents,
-
t
he central vent, the side vents and the
footwells,
-
t
he footwells,
-
t
he windscreen and the footwells,
-
t
he central vent, the side vents and the
windscreen.
-
t
he windscreen.
Air conditioning On/Off
F Press button 5 to switch off the air
conditioning.
Switching the system off could result in
discomfort (humidity, condensation).
Pressing again returns to automatic operation
of the air conditioning. The symbol A/C is
displayed.
The "
AUTO " symbol disappears if you change
a
setting.
3
Ease of use and comfort
Page 42 of 180

40
Deactivating the system
F Press air flow button 2 (empty fan) until the fan symbol disappears.
This action deactivates all functions of the air
conditioning system.
Temperature is no longer regulated. A slight air
flow can still be felt however, resulting from the
for ward movement of the vehicle.
Pressing the 6 " AUTO" button again reactivates
the system with the values in use at the time it
was switched off.
Avoid driving for long periods with the
system deactivated (risk of misting and
deterioration of air quality).
Recirculation of interior air
Recirculation of interior air isolates the
passenger compartment from exterior odours
and fumes.
Return to exterior air intake as soon as possible
to avoid deterioration of the air quality and the
formation of mist.Avoid using recirculation of interior air for
prolonged periods – Risk of misting and
deterioration of the air quality!
With a manual air conditioning
system
F Move the manual control 4 to the left to be
in the "Recirculation of interior air" position
or to the right to return to the "Exterior air
intake" position.
With an automatic air
conditioning system
F Press button 4 to recirculate the interior air
or to allow the intake of exterior air.
Pressing button 4
again or the "AUTO" button
6
returns to automatic management of the
intake of air. The air recirculation symbol goes
of f.
Front demist – defrost
These markings on the control
panels indicate the control positions
for rapid demisting or defrosting of
the windscreen and side windows.
During the winter period, direct
the side air vents towards the side
windows to optimise their demisting
and defrosting. With Stop & Start, when demisting –
defrosting has been activated, STOP
mode is not available.
With the heating/ventilation
system
F Put the temperature and air flow controls to
the dedicated marked position.
F
S
et the air distribution control to the
"Windscreen" position.
With the manual air
conditioning system
F Put the temperature and air flow controls to the dedicated marked position.
F
P
ut the air intake control to the "Exterior air
intake" position (manual control moved to
the right).
F
S
et the air distribution control to the
"Windscreen" position.
F
S
witch on the air conditioning by pressing
the A /C button; the indicator lamp for the
button comes on.
Ease of use and comfort
Page 43 of 180

41
With the automatic air
conditioning system
F Press the dedicated button, its indicator lamp comes on.
F
T
o switch it off, press this button again; its
indicator lamp goes off.
The other settings (air flow, air distribution,
etc.) are controlled automatically.
Rear screen demist –
defrost
The control button is located
on the heating/ventilation or air
conditioning system control panel.
Switching on
The rear screen demist – defrost can only
operate when the engine is running.
F
P
ress this button to demist /defrost the rear
screen and, depending on version, the door
mirrors. The indicator lamp associated with
the button comes on.
Switching off
F Press this button again to switch off the demisting/defrosting. The indicator lamp
associated with the button goes off.
Switch off the demisting/defrosting of
the rear screen and door mirrors, if
fitted, as soon as appropriate, as lower
current consumption results in reduced
fuel consumption.
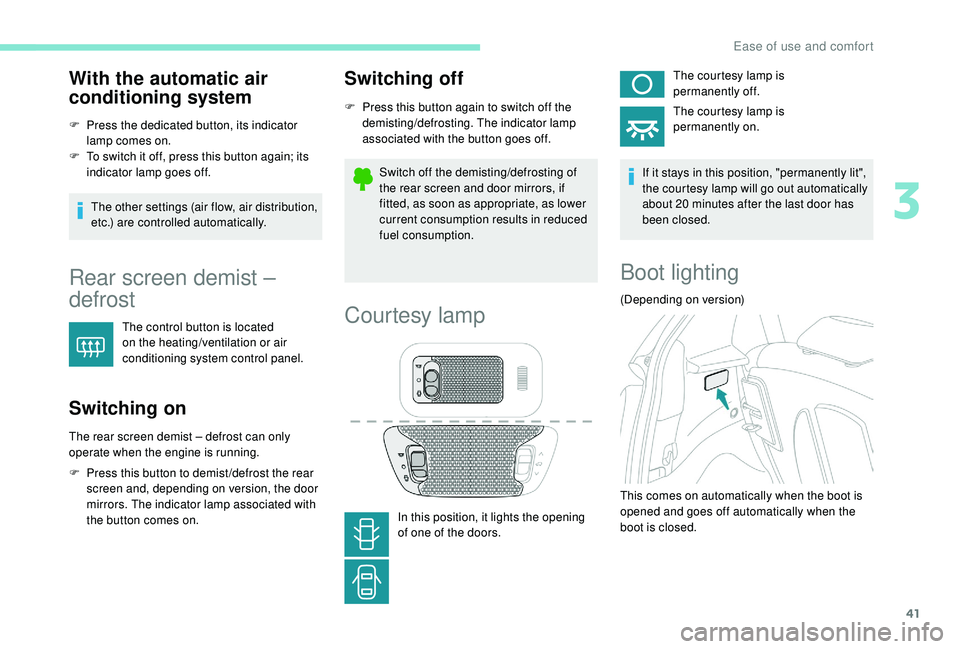
Courtesy lamp
In this position, it lights the opening
of one of the doors. The courtesy lamp is
permanently off.
The courtesy lamp is
permanently on.
If it stays in this position, "permanently lit",
the courtesy lamp will go out automatically
about 20 minutes after the last door has
been closed.
Boot lighting
(Depending on version)
This comes on automatically when the boot is
opened and goes off automatically when the
boot is closed.
3
Ease of use and comfort
Page 58 of 180

56
Advice
In order to be effective, a seat belt must:
-
b
e tightened as close to the body as
possible,
-
b
e pulled in front of you with a smooth
movement, checking that it does not
twist,
-
b
e used to restrain only one person,
-
n
ot show any signs of cuts or fraying,
-
n
ot be converted or modified to avoid
affecting its performance.
In accordance with current safety
regulations, for all repairs on your
vehicle's seat belts, go to a
qualified
workshop with the skills and equipment
needed, which a
PEUGEOT dealer is able
to provide.
Have your seat belts checked regularly
by a
PEUGEOT dealer or a qualified
workshop, particularly if the straps show
signs of damage.
Clean the seat belt straps with soapy
water or a
textile cleaning product, sold by
PEUGEOT dealers.
After folding or moving a
seat or rear
bench seat, ensure that the seat belt is
positioned and reeled in correctly. Instructions for children
Use a
suitable child seat, if the passenger
is less than 12
years old or shorter than
one and a
half metres.
Never use the same seat belt to secure
more than one person.
Never allow a
child to travel on your lap.
For more information on Child seats , refer
to the corresponding section.
In case of impact
Depending on the nature and
seriousness of the impact , the
pyrotechnic system may be deployed
before and independent of the airbags.
Deployment of the pretensioners is
accompanied by a
slight discharge of
harmless smoke and a
noise, due to the
activation of the pyrotechnic cartridge
incorporated in the system.
In all cases, the airbag warning lamp is lit.
After an impact, get the seat belt system
checked and if necessary have it replaced
by a
PEUGEOT dealer or a qualified
workshop.Airbags
Designed to contribute to the safety of the
occupants in case of violent collisions. The
airbags supplement the action of the force-
limiting seat belts.
If a
collision occurs, the electronic detectors
record and analyse the front and side impacts
sustained in the impact detection zones:
-
I
n the event of violent impact, the
airbags are deployed instantly and help
better protect occupants of the vehicle;
immediately after the impact, the airbags
deflate rapidly in order not to hinder
the visibility or the possible exit of the
occupants.
-
I
n the event of a slight impact, an impact
at the rear of the vehicle and under certain
conditions of rollover, the airbags may not
deploy; only the seat belt helps to protect
you in these situations.
The airbags do not operate when the
ignition is switched off.
This equipment will only deploy once. If
a
second impact occurs (during the same
or a
subsequent accident), the airbag will
not be deployed again.
Safety
Page 83 of 180

81
Operation
Going into engine STOP mode
This indicator lamp comes on in the
instrument panel and the engine
goes into standby automatically:
-
w
hen the vehicle is stationary, you put the
gearbox into neutral and release the clutch
pedal.
Stop & Starttime counters
A partial time counter counts the periods in
STOP mode during a journey. For your convenience during parking
manoeuvres, STOP mode is not available
for a
few seconds after coming out of
reverse gear.
Stop & Start does not change features
of the vehicle such as braking, power
steering…
Never refuel with the engine in STOP
mode; you must switch off the ignition.
Special cases: STOP mode not
available
Stop & Start
The Stop & Start system puts the engine
temporarily into standby – STOP mode – during
traffic stops (red lights, traffic jams, etc.). The
engine restarts automatically – START mode
– as soon as you want to move off. Restarting
occurs instantly, quickly and silently.
Per fect for urban use, the Stop & Start system
reduces fuel consumption and exhaust
emissions as well as the noise level when
stationary. -
t
he engine is needed to maintain
a comfortable temperature in the passenger
compartment,
-
d
emisting is active,
-
s
ome special conditions (battery charge,
engine temperature, braking assistance,
vehicle stopped on a
steep slope, high
altitude…) where the engine is needed to
assure control of a
system.
Going into engine START mode
This indicator lamp goes off and the
engine restarts automatically:
-
w
hen you fully depress the clutch pedal.
Special case: START invoked
automatically
START mode is invoked automatically if:
- y
ou open the driver's door,
-
y
ou open the bonnet,
-
y
ou unfasten the driver's seat belt,
-
s
ome temporary conditions apply (battery
charge, engine temperature, braking
assistance, vehicle on a
steep slope,
adjustment of the air conditioning, …) where
it is necessary for control of a
system or of
the vehicle.
It is displayed in the trip computer as soon as
the Stop & Start acts.
Press one of the "
DISP" buttons to return to the
previous display.
A global time counter counts the periods in
STOP mode since the last reset to zero.
When it is displayed, press for more than two
seconds on one of the " DISP" buttons to reset
to zero.
STOP mode does not activate, mainly when:
-
t
he driver's door is open,
-
t
he driver's seat belt is not fastened,
6
Driving
Page 94 of 180

92
Under-inflation detection
The system monitors the pressure in all four
tyres, once the vehicle is moving.
It compares the information given by the
wheel speed sensors with reference values,
which must be reinitialised after ever y tyre
pressure adjustment or wheel change.
The system triggers an alert as soon as it
detects a
drop in the pressure of one or more
tyres. The tyre under-inflation detection system
does not replace the need for vigilance on
the part of the driver.
This system still requires you to check the
tyre inflation pressure (including the spare
wheel) every month as well as before
a
long journey.
Driving with under-inflated tyres impairs
handling, extends braking distances and
causes early tyre wear, particularly in
adverse conditions (heavy loads, high
speeds, long journeys).
Driving with under-inflated tyres
increases fuel consumption. The tyre pressure specifications for your
vehicle can be found on the tyre pressure
label.
For more information on the
Identification markings
, refer to the
corresponding section.
Tyre pressures should be checked when
the tyres are "cold" (vehicle stopped for
1 hour or after a journey of less than
6 miles (10 km) at moderate speeds).
Other wise (when hot), add 0.3 bar to the
pressures shown on the label.Under-inflation alert
This is shown by the warning lamp
coming on, fixed, accompanied by
an audible signal.
F
R
educe speed immediately, avoid excessive
steering movements and sudden braking.
F
S
top as soon as it is safe to do so.
This system automatically monitors the tyre
pressure while driving.
Detection of loss of pressure does not
always bring about a visible deformation
of the tyre. Do not make do with just
a
visual check.
Driving
Page 95 of 180

93
F If you have a compressor (for example the
one provided in the temporary puncture
repair kit), check the pressure of all four
tyres. If it is not possible to do this check
immediately, drive carefully at reduced
speed.
or
F
I
n the event of a puncture, use the
temporary puncture repair kit or the spare
wheel (depending on equipment).
The alert is kept active until the system is
reinitialised.
Reinitialisation
Before reinitialising the system, ensure
that the pressures of the four tyres
are correct for the conditions of use
of the vehicle and conform to the
recommendations on the tyre pressure
label.
The under-inflation alert can only be relied
on if the reinitialisation of the system has
been done with the pressures in the four
tyres correctly adjusted.
The under-inflation detection system
does not give a
warning if a pressure is
incorrect at the time of reinitialisation. The system must be reset with the ignition on
(switch in the " ON" position or " ON" mode) and
the vehicle stationary.
F
O
pen the glove box.
F
P
ress the reinitialisation button.F
W
hen the indicator flashes
3
times in the instrument panel,
the reinitialisation is complete.
F
W
ait a few minutes before switching off
the ignition (switch to " ACC" or " LOCK "
position, or " OFF" m o d e).
The new pressure parameters saved are
treated as reference values by the system.
Snow chains
The system does not have to be
reinitialised after fitting or removing snow
chains.
The under-inflation alert can only be relied
on if the reinitialisation of the system has
been done with the pressures in the four
tyres correctly adjusted.
The system must be reinitialised after any
adjustment to the pressures of one or more
tyres, and after changing one or more wheels.
A label on the driver's side centre pillar reminds
you of this.
6
Driving
Page 98 of 180

96
Fuel tank
The capacity of the tank is about 35 litres.
Low fuel level
When the fuel in the tank reaches
a low level, this warning lamp
comes on in the instrument panel,
accompanied by an audible warning.
The message "LO FUEL" is displayed instead
of the range.
You have about 5
litres of fuel left.
In certain driving conditions and depending on
the engine in your vehicle, your range may be
less than 30
miles (50 km).
If you run out of fuel, the emission
control warning lamp may come on
in the instrument panel. It will go out
automatically after several engine starts.
Refuelling
Refuelling must be done with the engine and
ignition off (ignition switch to " LOCK" or
" OFF "). Opening the filler cap may create a
noise
caused by an inrush of air. This is entirely
normal and results from the sealing of the fuel
system.
To refuel in complete safety:
F
Y
ou must stop the engine and turn off
the ignition (switch to LOCK or OFF
mode) .
F
P
ull the control on the lower part of the
dashboard, driver's side, to unlock the fuel
filler flap.
F
O
pen the fuel filler flap.
A label inside the fuel flap reminds you of the
type of fuel to use.
Additions of fuel must be of at least 5 litres, in
order to be registered by the fuel gauge. F
U
nscrew the cap and place it on its support
(on the flap).
F
I
ntroduce the filler nozzle and push it in as
far as possible before starting to refuel (risk
of blowback).
F
K
eep it in this position during the whole
filling operation.
Once you have finished refuelling:
F
S
crew the cap back on again until you hear
a click. When you release the cap, it will
turn slightly in the opposite direction.
F
P
ush the fuel flap to close it.
When filling the tank, do not continue
beyond the 3
rd cut off of the nozzle; this
could cause malfunctions.
Your vehicle is fitted with a
catalytic converter,
which helps to reduce the level of harmful
emissions in the exhaust gases.
The filler neck is narrower, allowing only
unleaded petrol nozzles to be introduced.
Practical information