2018 MERCEDES-BENZ SLC ROADSTER air condition
[x] Cancel search: air conditionPage 112 of 298
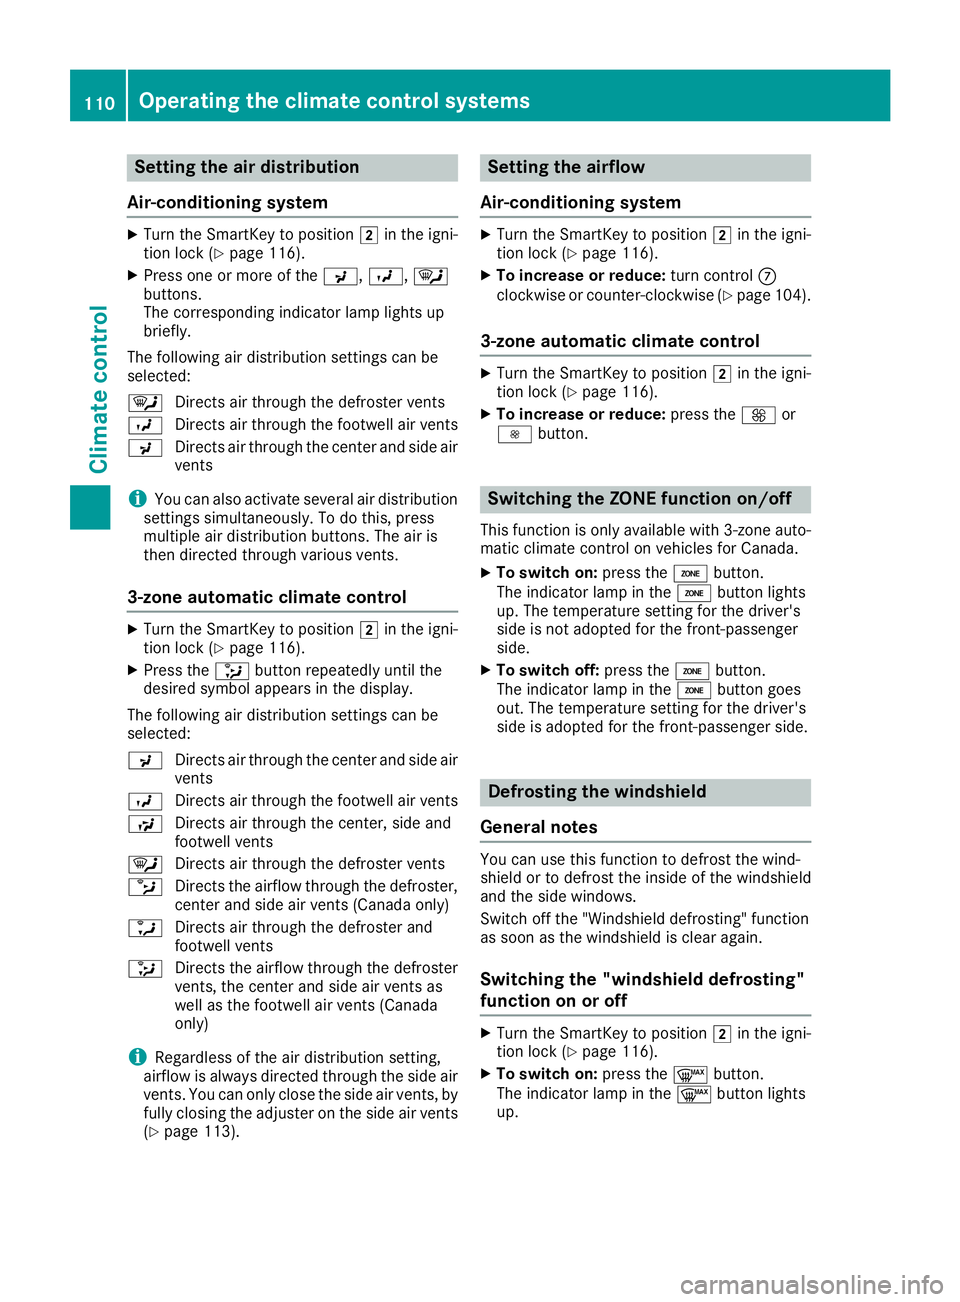
Setting the air distribution
Air-conditioning system
XTurn the SmartKey to position 2in the igni-
tion lock (Ypage 116).
XPress one or more of the P,O,¯
buttons.
The correspondingi ndicator lamp lights up
briefly.
The following air distribution settings can be
selected:
¯ Directsa ir through the defroster vents
O Directsa ir through the footwell air vents
P Directsa ir through the center and side air
vents
iYou can also activate several air distribution
settings simultaneously. To do this, press
multiple air distribution buttons. The air is
then directed through various vents.
3-zone automatic climate control
XTurn the SmartKey to position 2in the igni-
tion lock (Ypage 116).
XPress the _button repeatedly until the
desired symbol appears in the display.
The following air distribution settings can be
selected:
P Directsa ir through the center and side air
vents
O Directsa ir through the footwell air vents
S Directsa ir through the center, side and
footwell vents
¯ Directsa ir through the defroster vents
b Directst he airflow through the defroster,
center and side air vents( Canada only)
a Directsa ir through the defroster and
footwell vents
_ Directst he airflow through the defroster
vents, the center and side air ventsa s
well as the footwell air vents( Canada
only)
iRegardless of the air distribution setting,
airflow is always directed through the side air
vents. You can only close the side air vents, by fully closing the adjuster on the side air vents
(
Ypage 113).
Setting the airflow
Air-conditioning system
XTurn the SmartKey to position 2in the igni-
tion lock (Ypage 116).
XTo increase or reduce: turn controlC
clockwise or counter-clockwise (Ypage 104).
3-zone automatic climate control
XTurn the SmartKey to position 2in the igni-
tion lock (Ypage 116).
XTo increase or reduce: press theKor
I button.
Switching the ZONE function on/off
This function is only available with 3-zone auto-
matic climate control on vehicles for Canada.
XTo switch on: press theábutton.
The indicator lamp in the ábutton lights
up. The temperature settingf or the driver's
side is not adopted for the front-passenger
side.
XTo switch off: press theábutton.
The indicator lamp in the ábutton goes
out. The temperature settingf or the driver's
side is adopted for the front-passenger side.
Defrosting the windshield
General notes
You can use this function to defrost the wind-
shield or to defrost the inside of the windshield
and the side windows.
Switch off the "Windshield defrosting" function
as soon as the windshield is clear again.
Switching the "windshield defrosting"
function on or off
XTurn the SmartKey to position 2in the igni-
tion lock (Ypage 116).
XTo switch on: press the¬button.
The indicator lamp in the ¬button lights
up.
110Operating the climate control systems
Climatec ontrol
Page 113 of 298
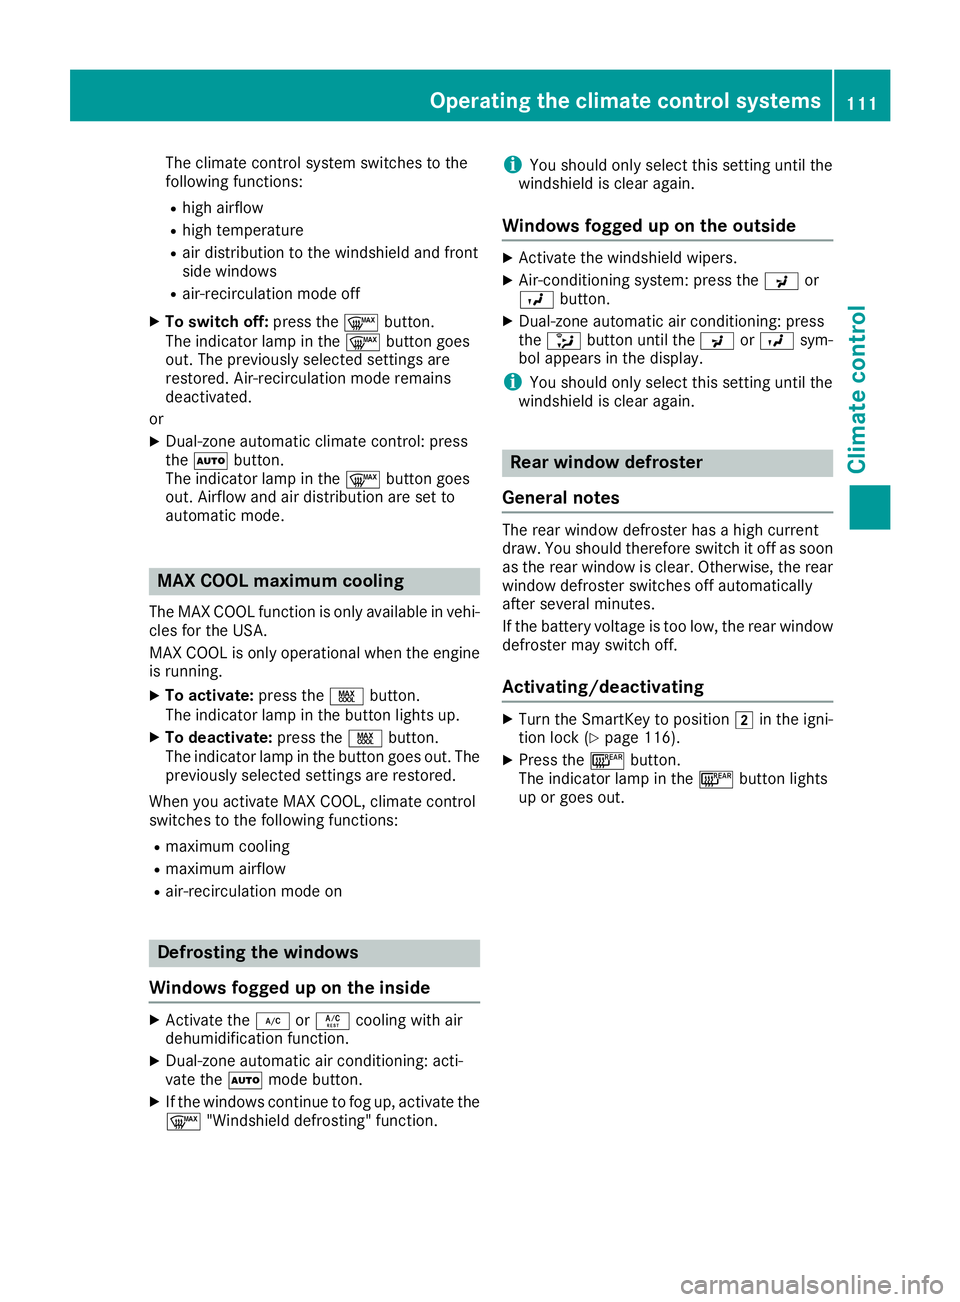
The climate control system switches to the
following functions:
Rhigh airflow
Rhigh temperature
Rair distribution to the windshield and front
side windows
Rair-recirculation mode off
XTo switch off:press the¬button.
The indicator lamp in the ¬button goes
out. The previously selected settings are
restored. Air-recirculation mode remains
deactivated.
or
XDual-zon eautomatic climate control: press
the à button.
The indicator lamp in the ¬button goes
out. Airflow and air distribution are set to
automatic mode.
MAX COOL maximum cooling
The MAX COOL function is only availableinv ehi-
cles for the USA.
MAX COOL is only operational when the engine
is running.
XTo activate: press theÙbutton.
The indicator lamp in the button lights up.
XTo deactivate: press theÙbutton.
The indicator lamp in the button goes out. The
previously selected settings are restored.
When you activate MAX COOL, climate control
switches to the following functions:
Rmaximum cooling
Rmaximum airflow
Rair-recirculation mode on
Defrosting the windows
Windows fogged up on the inside
XActivate the ¿orÁ cooling with air
dehumidification function.
XDual-zon eautomatic air conditioning: acti-
vate the Ãmode button.
XIf the windows continue to fog up, activate the
¬ "Windshield defrosting" function.
iYou should only select this setting until the
windshield is clear again.
Windows fogged up on the outside
XActivate the windshield wipers.
XAir-conditioning system: press the Por
O button.
XDual-zon eautomatic air conditioning: press
the _ button until the PorO sym-
bol appears in the display.
iYou should only select this setting until the
windshield is clear again.
Rear window defroster
General notes
The rear window defroster has ahigh current
draw. You should therefor eswitch it off as soon
as the rear window is clear. Otherwise, the rear window defroster switches off automatically
after several minutes.
If the battery voltage is too low, the rear window
defroster may switch off.
Activating/deactivating
XTurn the SmartKey to position 2in the igni-
tion lock (Ypage 116).
XPress the ¤button.
The indicator lamp in the ¤button lights
up or goes out.
Operating the climate control systems111
Climate control
Page 121 of 298
Important safety notes
GWARNING
If th eengineiss witched off automatically and
you exit th evehicle, th eengineisr estarte d
automatically. The vehicl emay begi nmoving .
Ther eisar iskofa cciden tand injury.
If you wish to exit th evehicle, always tur noff
th ei gnition and secure th evehicl eagainst
rollin gaway.
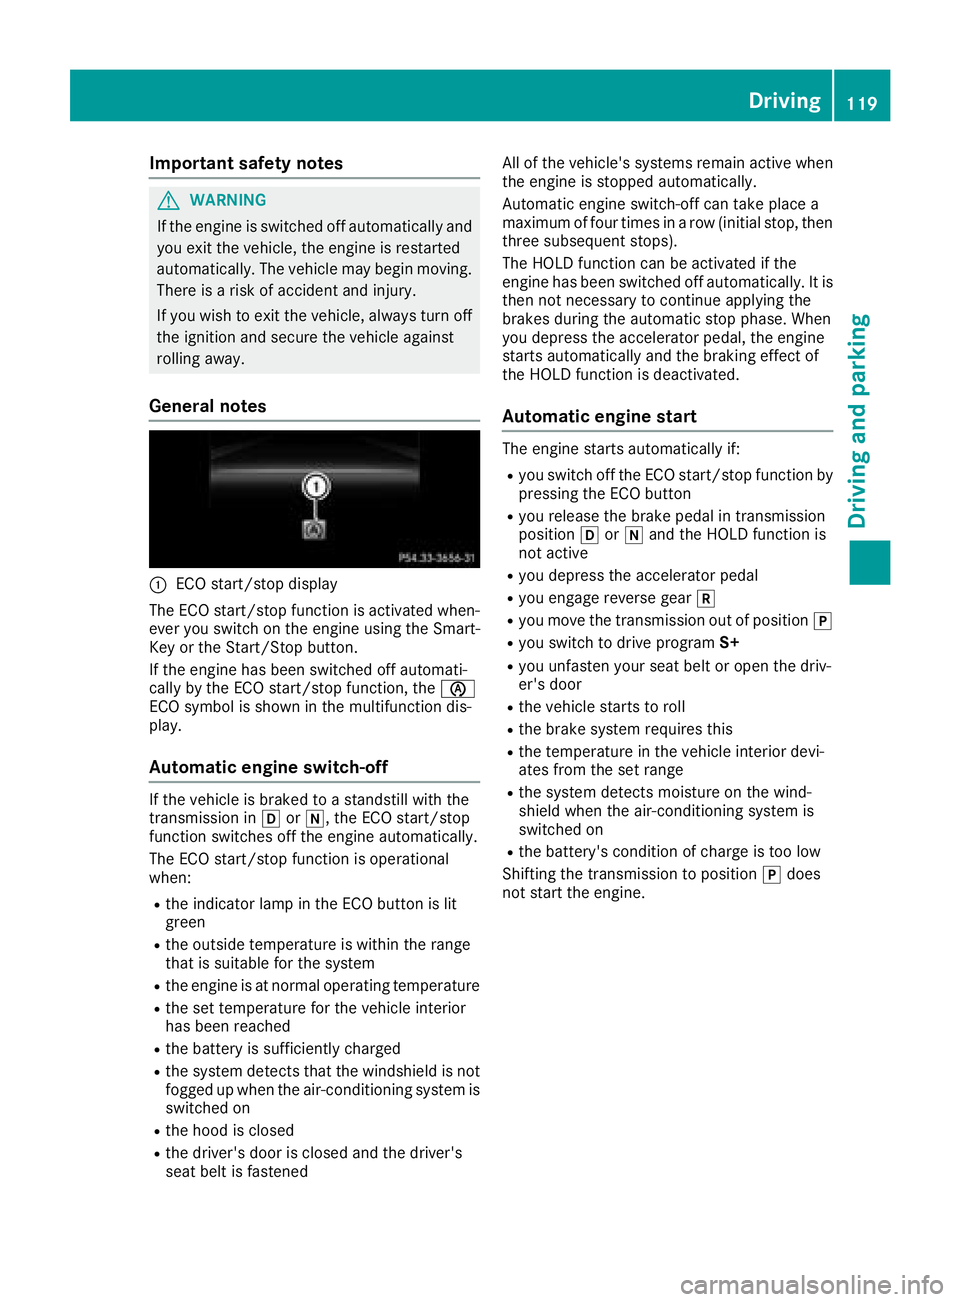
General notes
:ECO start/sto pdisplay
The ECO start/sto pfunction is activated when -
eve ryou switch on th eengineu singthe Smart -
Key or th eStart/Sto pbutton.
If th eengineh as been switched off automati-
call ybyt heECO start/sto pfunction ,the è
ECO symbol is shown in th emultifunction dis-
play.
Automati cengines witch-off
If thevehicl eisb raked to astandstill wit hthe
transmission in hori,t heECO start/sto p
function switches off th eenginea utomatically.
The ECO start/sto pfunction is operational
when :
Rthei ndicator lamp in th eECO butto nislit
green
Rth eo utside temperature is within th erange
that is suitable for th esystem
Rthee ngineisatn ormaloperating temperature
Rthes et temperature for th evehicl einterior
has been reached
Rth eb attery is sufficientl ycharge d
Rthes ystem detects that th ewindshield is no t
fogged up when th eair-conditioning system is
switched on
Rth eh oodisc losed
Rthed river' sdoor is closed and th edriver' s
seat belt is fastene d All of th
evehicle's systems remain active when
th ee ngineiss toppe dautomatically.
Automatic engin eswitch-off can tak eplacea
maximum of four times in arow (initial stop, then
three subsequen tstops).
The HOLD function can be activated if th e
engin ehas been switched off automatically. It is
then no tneces sarytoc ontin ue applyin gthe
brakes during th eautomatic stop phase. When
you depress th eaccelerato rpedal ,the engin e
start sautomatically and th ebraking effec tof
th eH OLDf unction is deactivated.
Automati cengines tart
The engin estartsa utomatically if:
Ryou switch off th eECO start/sto pfunction by
pressin gthe ECO butto n
Ryou release th ebrak epedal in transmission
position hori and th eHOLDf unction is
no ta ctive
Ryou depress th eaccelerato rpedal
Ryou engage revers egear k
Ryou mov ethe transmission out of position j
Ryou switch to driveprogram S+
Ryou unfasten your seat belt or open th edriv-
er' sd oor
Rthev ehicl estartstor oll
Rth eb rak esystem require sthis
Rth et em perature in th evehicl einterior devi-
ate sfromt heset range
Rthes ystem detects moisture on th ewind-
shield when th eair-conditioning system is
switched on
Rth eb attery's condition of charge is to olow
Shifting th etransmission to position jdoes
no tstart th eengine.
Driving119
Driving and parking
Z
Page 138 of 298
In addition to driving style, the actual consump-
tion is affected by other factors, such as:
Rload
Rtire pressure
Rcold start
Rchoice of route
Ractive electrical consumers
These factors are not includedint he ECO dis-
play.
An economical driving style specially requires
driving at moderate engine speeds.
Achieving ahigher valueint he categories
"Acceleration" and "Constant":
Robserve the gearshift recommendations.
Rdrive the vehicle in drive program Cor E.
In urbant raffic and stop-start traffic, drive pro-
gram Cis recommended.
On long journeys at aconstant speed,e .g. on the
highway, only the outer area for "constant" will
change.
The ECO display summarizes the driving style
from the start of the journey to its completion.
Therefore, there are more marked changes in
the outer areasatt he start ofajourney. On lon-
ger journeys, there are fewer changes. For more
marked changes, perform amanua lrest
(
Ypage 167).
Further information on the ECO display
(
Ypage 166).
Braking
Important safety notes
GWARNING
If you shift down on aslippery road surface in
an attempt to increase the engine's braking
effect, the drive wheelsc ould lose their grip.
There is an increased danger of skidding and
accidents.
Do not shift down for additional engine brak-
ing on aslippery road surface.
Downhill gradients
!On long, steep gradients, you must reduce
the load on the brakes. To use engine braking,
shift to alowerg ear in good time. This helps you to avoid overheating the brakes and wear-
ing them out excessively.
When making use of the engine braking
effect, it is possible that
adrive wheel may not
turn for some time, e.g. in the case of sud-
denly changing or slippery road surface con-
ditions. This could cause damage to the drive
train. This type of damage is not covered by
the Mercedes-Benz warranty.
Change into alowerg ear in good time on long
and steep downhill gradients. This is especially
important if the vehicle is laden.
This also applies if you have activated cruise
control or Distance PilotD ISTRONIC.
Heavy and light loads
GWARNING
If you rest you rfoot on the brake pedalw hile
driving, the braking system can overheat. This increases the stopping distance and can even
cause the braking system to fail.T here is a
risk of an accident.
Never use the brake pedalasaf ootrest. Never
depresst he brake pedala nd the accelerator
pedalatt he same time.
!Depressing the brake pedalc onstantly
results in excessive and premature weart o
the brake pads.
If the brakes have been subjected to aheavy
load,don ot stop the vehicle immediately,b ut
drive on for ashort while. This allows the airflow
to cool the brakes more quickly.
Wet roads
If you have driven for along time in heavy rain
withoutb raking, there may be adelayed reac-
tion from the brakes when braking for the first
time. This may also occur after the vehicle has
been washed or driven through deep water.
You then have to depresst he brake pedalmore
firmly.M aintainagreater distance from the
vehicle in front.
After driving on awet road or having the vehicle
washed, brake firmly whilep aying attention to
the traffic conditions. This willw arm up the
brake discs, thereby drying them more quickly
and protecting them against corrosion.
136Driving tips
Driving and parking
Page 140 of 298
Drivingonw et road s
Hydroplaning
If water has accumulated to acertai ndept hon
th er oads urface, there is adanger of hydro-
planin goccurring.
Fo rthisr eason ,intheevent of heav yrain or in
condition sinwhichh ydroplaning may occur ,
you mus tdrive in th efollowin gmanner:
Rlowe ryour speed
Ravoid rut s
Ravoid sudden steerin gmovements
Rbrake carefully
Drivin gonflooded road s
!Do notdrive through floode dareas. Chec k
th ed ept hofa ny water befor edrivin gthrou gh
it .D rive slowly through standin gwater. Oth-
erwise ,water could ente rthe vehicle interio r
or engin ecom partment. It can then damage
th ee ngine's or automatic transmission' s
electronic components. It can also be sucke d
in by th eengine's air intake connection and
cause engin edamage.
Winte rdrivin g
GWARNING
If you shift down on aslipper yroads urfac ein
an attempt to increase th eengine's braking
effect ,the drive wheels could los etheir grip.
There is an increase ddanger of skidding and
accidents .
Do no tshift down fo radditional engin ebrak-
in gonas lipperyroads urface.
GDANGER
If th eexhaus tpipe is blocke doradequat e
ventilation is no tpossible, poisonous gases
suc hasc arbon monoxide (CO) may ente rthe
vehicle. Thi sisthecase, e.g. if th evehicle
becomes trappe dinsnow. There is arisko f
fatal injury.
If you leav ethe engin eortheauxiliar yheatin g
running ,makes uret he exhaus tpipe and are a
around th evehicle are clear of snow. To
ensur eana dequat esupply of fresh air, ope na
window on thesideoft hevehicle that is no t
facin gintot he wind.
Hav eyour vehicle winter-proofed at aqualified
specialis tworkshop at th eonset of winter.
Drive particularly carefully on slipper yroads ur-
faces. Avoid sudden acceleration ,steerin gand
braking maneuvers .Donotuse cruise control.
If th evehicle threatens to skid or canno tbe
stopped when movin gatlow speed:
XShift th etransmissio ntoposition i.
The outsid etem perature indicator is no t
designed to serve as an ice-warnin gdevic eand
is therefore unsuitable fo rtha tp urpose.
Changes in th eoutsid etem perature are dis -
playe dafter ashort delay.
Indicated temperature sjusta bov ethe freezin g
poin tdon otguarantee that th eroads urfac eis
free of ice. The road may still be icy, especially in
wooded areas or on bridges. The vehicle could
skid if you fail to adapt your drivin gstyle. Always
adapt your drivin gstyle and drive at aspeed to
suit th eprevailin gweather conditions.
You should pay special attention to road condi-
tion swhen temperature sare around freezin g
point.
Fo rm orei nformat ion on drivin gwiths now
chains, see (
Ypage 262).
Fo rm orei nfor mati
on on drivin gwiths ummer
tires ,see (Ypage 262).
Observ ethe note sint he"Winte roperation "sec-
tion (
Ypage 262).
Drivin gsystems
Cruis econtro l
General notes
Cruise contro lmaintain saconstan troa ds peed
fo ry ou. It brake sautomatically in order to avoid
exceedin gthe set speed. On lon gand steep
downhill gradients, especially if th evehicle is
laden, you mus tselec talowe rgear in goo dtim e.
By doin gso, you will mak euse of th ebraking
effect of th eengine. Thi srelieves th eload on th e
brake syste mand prevents th ebrake sfrom
overheatin gand wearin gtoo quickly.
Use cruise contro lonlyifr oada nd traffic con-
dition smakeita ppropriat etomaintain asteady
138Driving systems
Driving an dparking
Page 144 of 298
Do not useDistance Pilo tDISTRONIC:
Rin roa dand trafficc onditions which do not
allo wyouto maintain aconstant speed, e.g .in
heav ytrafficoronw inding roads
Ron slippery roa dsurfaces .Braking or accel-
erating could cause the drive wheels to lose
tractio nand the vehicl ecould thens kid
Rwhen there is poor visibility ,e.g.d ue to fog,
heav yrainors now
Distance Pilo tDISTRONICm aynot detect nar-
row vehicles drivin ginfront, e.g .motorcycles, or
vehicles drivin gonadifferent line.
In particular ,the detection of obstacle scan be
impaired if:
Rthere is dirt on the sensor soranything else
coverin gthe sensors
Rthere is snow or heav yrain
Rthere is interferenc ebyotherradar sources
Rthere ar estrong rada rreflections, for exam-
ple, in parkin ggarages
If Distance Pilo tDISTRONICnol ongerd etects a
vehicl einfront, it mayu nexpectedly accelerate
to the spee dstored.
Thi sspeed may:
Rbe too high if yo uaredrivin ginaf ilter lane or
an exi tlan e
Rbe so high when drivin ginthe right-hand lane
thaty ouovertake vehicles in the left-hand
lane
Rbe so high when drivin ginthe left-hand lane
thaty ouovertake vehicles in the right-hand
lane
If there is achange of drivers, advis ethe new
driver of the spee dstored.
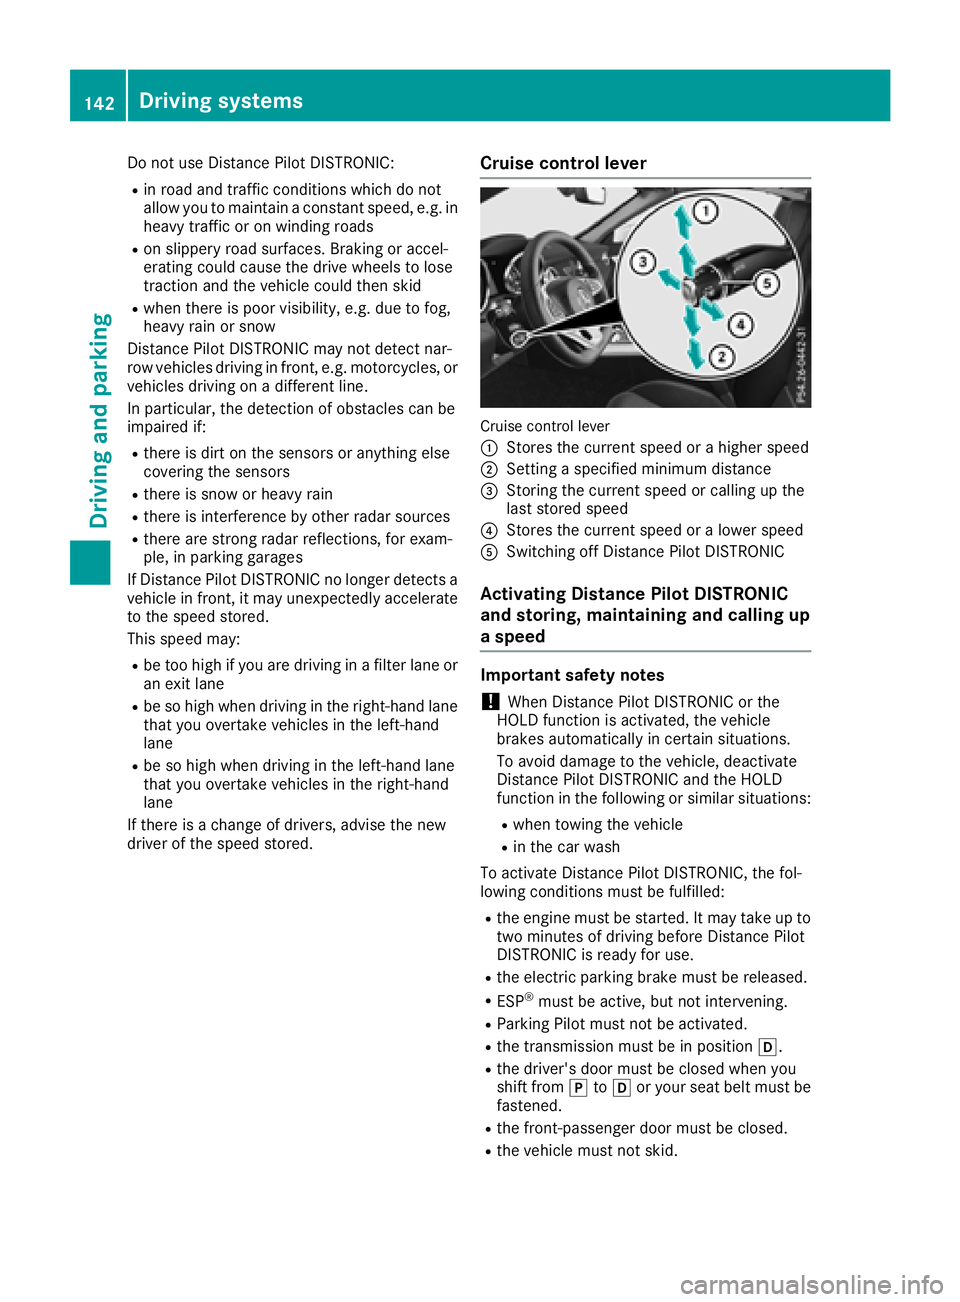
Cruis econtroll ever
Cruise control lever
:
Storest he current spee dorahighe rs peed
;Setting aspecifie dminimu mdistance
=Storing the current spee dorcalling up the
last stored speed
?Storest he current spee doralowerspeed
ASwitching off Distance Pilo tDISTRONIC
Activatin gDistance Pilo tDISTRONIC
and storing, maintainin gand callin gup
as peed
Important safety notes
!When Distance Pilo tDISTRONICort he
HOLD functio nisa ctivated ,the vehicle
brakes automaticall yincertain situations.
To avoi ddamag etothe vehicle, deactivate
Distance Pilo tDISTRONICa nd the HOLD
functio ninthe following or similar situations:
Rwhen towing the vehicle
Rin the car wash
To activate Distance Pilo tDISTRONIC, the fol-
lowing conditions must be fulfilled:
Rthe engine must be started .Itmaytake up to
two minute sofdrivingbefor eD istance Pilot
DISTRONICi sready for use.
Rthe electri cparkin gb rake must be released.
RESP®must be active, bu tnot intervening.
RParkin gPilot must not be activated.
Rthe transmission must be in position h.
Rthe driver's door must be closed when you
shift fromjtoh or your sea tbeltm ustb e
fastened.
Rthe front-passenge rdoorm ustbec losed.
Rthe vehicl emustn ot skid.
142Driving system s
Driving an dparking
Page 157 of 298
Important safety notes
The rear viewcamera is only an aid. It is no ta
replacemen tfor your attention to your immedi-
ate surroundings. You are always responsible
for saf emaneuverin gand parking .Makes ure
that there are no persons, animals or objects in
th em aneuverin garea when you are maneuver-
ing or parking .
Under th efollowin gcircumstances, th erear
vie wc amera will no tfunction ,orwill function in
al imite dmanner:
Rif th etrunk lid is open
Rin heav yrain ,sno worf og
Rat night or in ver ydark places
Rif th ecamera is exposed to ver ybright ligh t
Rif thearea is lit by fluorescent bulbs or LE D
lighting (the display may flicker)
Rif there is asudde nchang eint emperature,
e.g. when driving int oaheated garage in win -
te r
Rif th ecamera len sisdirtyoro bstructed.
Observ ethe note sonc leaning
(
Ypage 242)
Rif th erear of your vehicl eisdamaged. In this
case, hav ethe camera position and setting
checke dataq ualified specialist workshop
The field of vision and other function softherear
vie wc amera may be restricted due to additional
accessories on th erear of th evehicl e(e.g.
license plat eholder, bicycle rack) .
On vehicles wit hheight-adjustable chassis,
leaving th estandard height can result in inac-
curacie sint
he g
uide lines, depending on tech -
nical conditions.
iThe contras tofthedisplay may be affecte d
by th esudde npresence of sunligh torother
ligh tsources, e.g. when exiting agarage. Pay
particular attention in this situation .
iIf usabilityisseverely restricted, e.g. due to
pixel errors ,have th edisplay repaire dor
replaced.
iThe rear vie wcamera is protected from rain -
drops and dust by mean sofaflap.W hen th e
rear vie wcamera is activated, this flap opens.
The flap closes again when :
Ryou havefinishe dthe maneuverin gprocess
Ryou switch off th eengine
Ryou open th etrunk
Observ ethe note sonc leaning (
Ypage 242). Fo
rtechn ical reasons, th eflap may remain
open briefly after th erear vie wcamera has
been deactivated.
Activating/deactivating th erearv iew
camera
XTo activate: makesuret hatthe SmartKey is
in position 2in th eignition lock.
XMak esuret hatthe Activatio nbyRgearfunction is selected in th emultimedia system;
see th eDigital Owner' sManual.
XEngage revers egear .
The rear vie wcamera flap opens. The multi-
media system shows th earea behind th evehi-
cle wit hguide lines.
The imag efromt herear vie wcamera is avail-
able throughout th emaneuverin gprocess.
To deactivate: ther ear vie wcamera deacti -
vates if you driv eforwards ashort distances or
shif tthe transmission to j.
The inner segments of th ewarning indicator are
displayed in red if there is acom plete system
failure. The indicator lamp in th ePARKTRONIC
butto nlights up.
If th erear system fails :
Rther ear segments are displayed in red when
reversing
Rth er ear segments are no tdisplayed when
driving forwards
Display sinthemultimedi asystem
The rear vie wcamera may sho wadistorted vie w
of obstacles, sho wthemi ncorrectl yornotat all.
The rear vie wcamera does no tsho wo bjects in
th ef ollowin gpositions:
Rver yclose to th erear bumper
Runder th erear bumper
Rin close range abov ethe handle on th etrunk
lid
!Objects no tatground level may appear to
be further away than they actually are, e.g. :
Rtheb umper of aparked vehicl e
Rthed rawbar of atrailer
Rth eb all couplin gofatrailer to whitch
Rther ear section of an HGV
Ras lante dpost
Driving systems155
Driving and parking
Z
Page 161 of 298
When ATTENTION ASSIST is deactivated, the
ésymbol appears in the multifunction dis-
play in the assistanc egraphics display.
Vehicles with COMAND: ifaw arning is output
in the multifunction display, aservice station
search is performed in the multimedia system.
You can select aservice station and navigation
to this service station will then begin. This func-
tion can be activated and deactivated in the
multimedia system.
Lane Tracking package
General notes
The Lane Tracking package consists of Blind
Spot Assist (Ypage 159) and Lane Keeping
Assist (Ypage 161).
Blind Spot Assist
General notes
Blind Spot Assist monitors the areas on either
side of the vehicle that are not visible to the
driver with two lateral, rear-facing radar sen-
sors. Awarning display in the exterior mirrors
draws your attention to vehicles detected in the
monitored area. If you then switch on the cor-
respondingt urn signal to change lane, you will
also receive an optical and audible warning.
Blind Spot Assist supports you from aspeed of
approximately 20 mph (30 km/h).
For Blind Spot Assist to assist you, the radar
sensor system must be operational.
Important safety notes
GWARNING
Blind Spot Assist does not react to:
Rvehicles overtaken too closely on the side,
placing them in the blind spot area
Rvehicles which approach with alarge speed
differential and overtake your vehicle
As aresult, Blind Spot Assist may not give
warnings in such situations .There is arisk of
an accident.
Always observe the traffic conditions care-
fully, and maintain asafe lateral distance.
Blind Spot Assist is only an aid. It may fail to
detect some vehicles and is no substitut efor attentive driving. Always ensure that there is
sufficientd
istancetothe side for other road
users and obstacles.
iUSA only:
This device has been approved by the FCC as
a" Vehicular Radar System". The radar sensor
is intended for use in an automotiv eradar
system only. Removing, tamperin gwith, or
altering the device will void any warranties,
and is not permitted by the FCC. Do not tam-
per with, alter, or use in any non-approved
way.
An yu nauthorized modification to this device
could void the user’s authority to operate the
equipment.
Radar sensors
The radar sensor sfor Blind Spot Assist are inte-
grated into the rear bumper. Make sure that the bumpers are free from dirt, ice or slush. The
sensor smust not be covered, for example by
cycle racks or overhangin gloads. Following a
severe impact or in the event of damage to the
bumpers, have the function of the radar sensors
checked at aqualified specialist workshop.
Blind Spot Assist may no longer work properly.
Monitoring range of the sensors
In particular, the detection of obstacles can be
impaired if:
Rthere is dirt on the sensor soranything else
coveringt he sensors
Rthere is poor visibility, e.g. due to fog, heavy
rain, snow or spray
Rthere are narrow vehicles, e.g. motorcycles or
bicycles
Rthe road has very wide lanes
Rthe road has narrow lanes
Ryou are not driving in the middle of the lane
Rthere are barriers or other road boundaries
Vehicles in the monitoring range are then not
indicated.
Driving systems159
Driving and parking
Z