2018 MERCEDES-BENZ CLA COUPE climate control
[x] Cancel search: climate controlPage 121 of 326
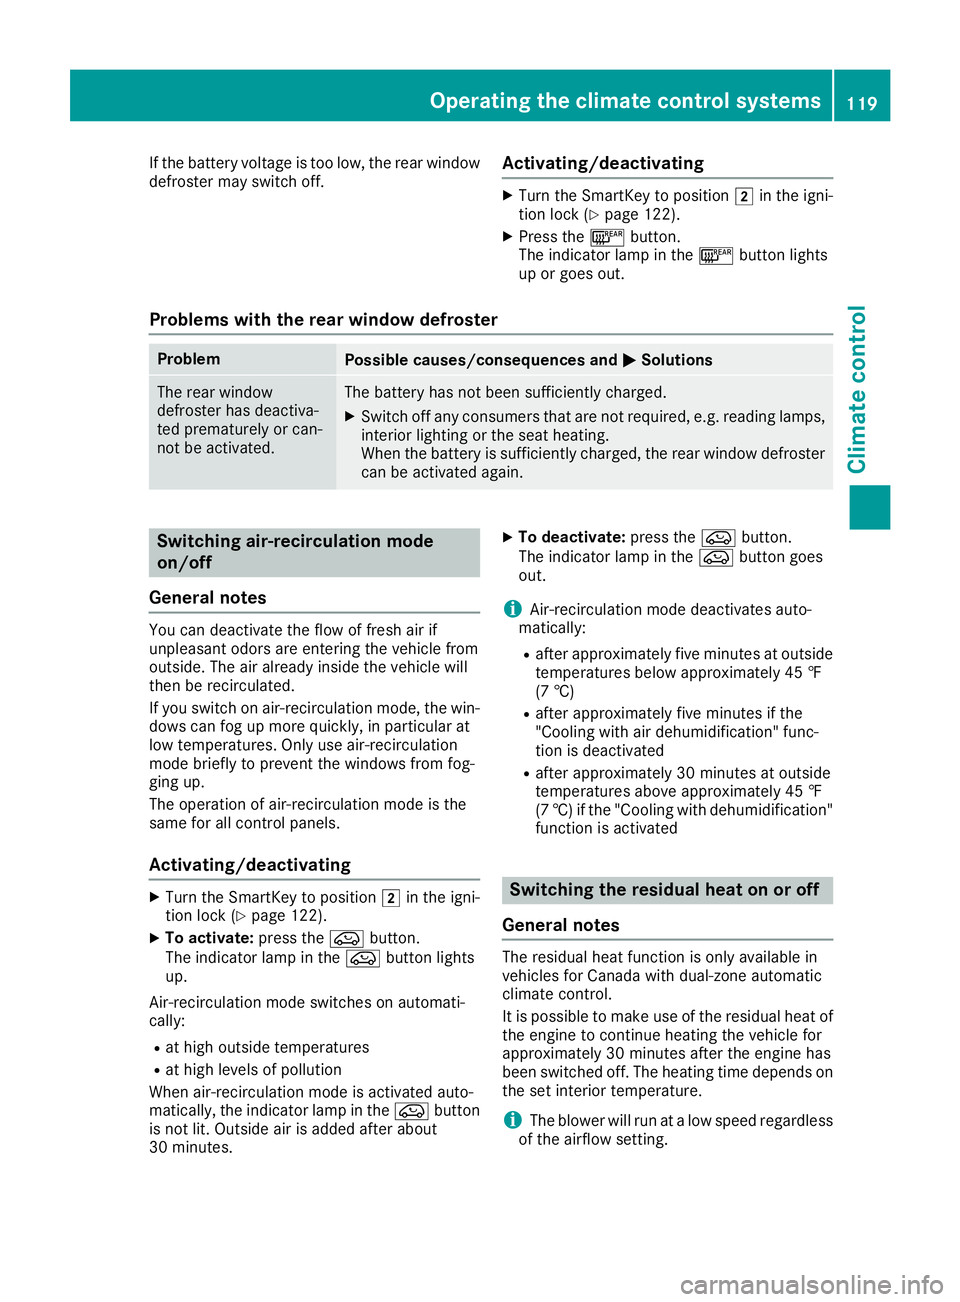
If the battery voltage is too low, the rear window
defroster may switch off.Activating/deactivating
XTurn the SmartKey to position2in the igni-
tion lock (Ypage 122).
XPress the ¤button.
The indicator lamp in the ¤button lights
up or goes out.
Problems with the rear window defroster
ProblemPossible causes/consequences and MSolutions
The rear window
defroster has deactiva-
ted prematurely or can-
not be activated.The battery has not been sufficiently charged.
XSwitch off any consumers that are not required, e.g. reading lamps,
interior lighting or the seat heating.
When the battery is sufficiently charged, the rear window defroster
can be activated again.
Switching air-recirculationmode
on/off
General notes
You can deactivate the flow of fresh air if
unpleasant odors are entering the vehicle from
outside. The air already inside the vehicle will
then be recirculated.
If you switch on air-recirculation mode, the win-
dows can fog up more quickly, in particular at
low temperatures. Only use air-recirculation
mode brieflytop revent the windowsf rom fog-
ging up.
The operation of air-recirculation mode is the
same for all control panels.
Activating/deactivating
XTurn the SmartKey to position 2in the igni-
tion lock (Ypage 122).
XTo activate: press theebutton.
The indicator lamp in the ebutton lights
up.
Air-recirculation mode switches on automati-
cally:
Rat high outsidet emperatures
Rat high levelsofp ollution
When air-recirculation mode is activated auto-
matically, the indicator lamp in the ebutton
is not lit. Outside air is addeda fter about
30 minutes.
XTo deactivate: press theebutton.
The indicator lamp in the ebutton goes
out.
iAir-recirculation mode deactivates auto-
matically:
Rafter approximately five minutes at outside
temperature sbelowa pproximately 45 ‡
(7 †)
Rafter approximately five minutes if the
"Cooling with air dehumidification" func-
tion is deactivated
Rafter approximately 30 minutes at outside
temperature sabove approximately 45 ‡
(7 †) if the "Cooling with dehumidification"
function is activated
Switching the residual heat on or off
General notes
The residual heat function is only available in
vehiclesf or Canada with dual-zone automatic
climate control.
It is possible to make use of the residual heat of
the engine to continue heating the vehicle for
approximately 30 minutes after the engine has
been switched off. The heating time depends on
the set interior temperature.
iThe blower willr un atalow speed regardless
of the airflow setting.
Operating the climatec ontrol systems119
Climate control
Page 122 of 326

iIf you activate the residual heat function at
high temperatures, only the ventilation willb e
activated. The blower runs at mediums peed.
iYou cannot use the ventilation to cool the
vehicle interior to atemperature lowert han
the outsidet emperature.
Activating/deactivating
XTurn the SmartKey to position gin the igni-
tion lock or remove it (Ypage 122).
XPress the Ìbutton.
The indicator lamp in the Ìbutton lights
up or goes out.
The indicator lamp in the button indicates that
the respective function is activated.
iResidualh eat is deactivated automatically:
Rafter approximately 30 minutes
Rwhen the ignition is switched on
Rif the battery voltage drops
Air vents
Important safety notes
GWARNING
Very hot or very cold air can flow from the air
vents. This could resultinb urns or frostbite in
the immediate vicinity of the air vents. There
is ar isk of injury.
Make sure that all vehicle occupants always
maintain asufficient distance to the air out-
lets. If necessary ,redirect the airflow to
another area of the vehicle interior.
In order to ensure the direct flow of fresh air
through the air vents into the vehicle interior,
please observe the following notes:
Rkeep the air inlet between the windshield and
the hood free of blockages, such as ice, snow or leaves.
Rnever cover the air vents or air intake grilles in
the vehicle interior.
iFor optimal climate control in the vehicle,
open the air vents completely and set the
adjusters to the central position.
Setting the air vents
:Side window defroster vent
;Side air vent
XTo open aside air vent: turn the adjuster in
side air vent ;to the left.
XTo close aside air vent: turn the adjuster in
side air vent ;clockwise as far as it willg o.
iThe center and rear air vents are adjusted in
the same way.
120Airv ents
Climate control
Page 126 of 326
GWARNING
Flammable materials introduced through
environmental influence or by animals can
ignite if in contact with the exhaust system or
parts of the engine that heatu p. There isarisk
of fire.
Carry out regular checks to make sure that
there are no flammable foreignm aterials in
the engine compartment or in the exhaust
system.
General notes
During acold start, the engine runs at higher
speeds to enabl ethe catalytic converter to
reach its operating temperature. The sound of
the engine may change during this time.
Automatic transmission
XShift the transmission to position j
(Ypage1 30).
The transmission position display in the mul-
tifunction display shows P(
Ypage1 30).
iYou can start the engine in transmission
position jand i.
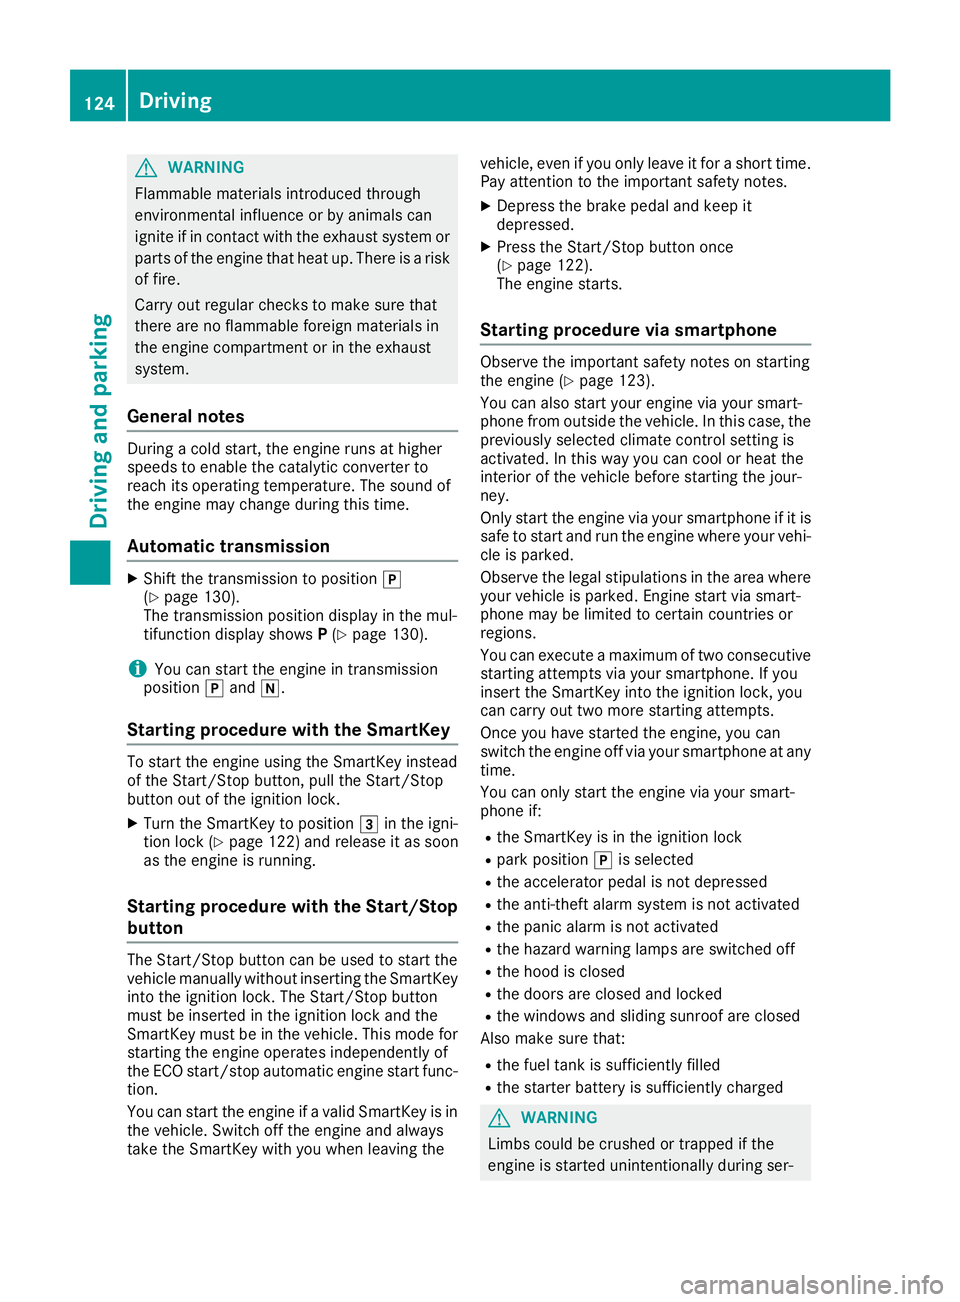
Starting procedure with the SmartKey
To start the engine using the SmartKey instead
of the Start/Stop button, pul lthe Start/Stop
button out of the ignitio nlock.
XTurn the SmartKey to position 3in the igni-
tion lock (Ypage1 22) and release it as soon
as the engine is running.
Starting procedure with the Start/Stop
button
The Start/Stop button can be used to start the
vehiclem anually without inserting the SmartKey
into the ignitio nlock. The Start/Stop button
must be inserted in the ignitio nlock and the
SmartKey must be in the vehicle. This mode for
starting the engine operates independently of
the ECO start/stop automatic engine start func-
tion.
You can start the engine if avalidS martKey is in
the vehicle. Switch off the engine and always
take the SmartKey with you when leaving the vehicle, even if you only leave it for
ashort time.
Pay attention to the important safety notes.
XDepress the brake pedala nd keep it
depressed.
XPress the Start/Stop button once
(Ypag e122).
The engine starts.
Starting procedure via smartphone
Observe the important safety notes on starting
the engine (Ypag e123).
You can als ostart you rengine via you rsmart-
phone from outside the vehicle. In this case, the
previousl yselected climate control setting is
activated. In this way you can cool or heat the
interior of the vehicleb efore starting the jour-
ney.
Only start the engine via you rsmartphone if it is
safe to start and run the engine where you rvehi-
cle is parked.
Observe the legals tipulations in the area where
you rvehicleisp arked.Engine start via smart-
phone may be limited to certain countries or
regions.
You can execute amaximu moftwo consecutive
starting attempts via you rsmartphone. If you
insert the SmartKey into the ignitio nlock, you
can carry out two more starting attempts.
Once you have started the engine, you can
switch the engine off via you rsmartphone at any
time.
You can only start the engine via you rsmart-
phone if:
Rthe SmartKey is in the ignitio nlock
Rpark position jis selected
Rthe accelerator pedalisn ot depressed
Rthe anti-theft alarm system is not activated
Rthe panicalarm is not activated
Rthe hazard warning lamp sare switched off
Rthe hood is closed
Rthe doors are closed and locked
Rthe windows and sliding sunroof are closed
Also make sure that:
Rthe fuel tank is sufficiently filled
Rthe starter battery is sufficiently charged
GWARNING
Limbs coul dbecrushedortrappe difthe
engine is started unintentionally during ser-
124Driving
Driving and parking
Page 130 of 326
ProblemPossible causes/consequences andMSolutions
The engine does not
start. You cannot hear
the starter motor.The on-board voltage is too low because the battery is too weak or
discharged.
XJump-start the vehicle (Ypage 278).
If the engine does not start despite attempt stojump-start it:
XConsult aqualified specialist workshop.
The starter motor was exposed to athermal load that was too high.
XAllow the starter motor to cool down for approximately two minutes.
XTry to start the engine again.
If the engine still does not start:
XConsult aqualified specialist workshop.
The engine is not running
smoothly and is misfir-
ing.There is amalfunction in the engine electronics or in amechanical
componentoft he engine management system.
XOnly depress the accelerator pedal slightly.
Otherwise, non-combusted fuel may get into the catalytic converter
and damage it.
XHave the cause rectified immediately at aqualified specialist work-
shop.
The coolant temperature
gauge shows avalue
above 248 ‡(120 †).
The coolant warning
lamp may also be on and
aw arning tone may
sound.The coolant level is too low. The coolant is too hot and the engine is no
longer being cooled sufficiently.
XStop as soon as possible and allow the engine and the coolant to
cool down.
XCheck the coolant level (Ypage 260). Observe the warning notes
as you do so and add coolant if necessary.
DYNAMIC SELECTb utton (all vehicles
except Mercedes-AMG vehicles)
Use the DYNAMIC SELECT button to change the
drive program. Depending on the drive program
selected the following vehicle characteristics
will change:
Rthe drive (engine and transmission manage-
ment)
Rthe suspension (vehicles with damping sys-
tem or AMG adaptive sport suspension sys-
tem)
Rthe steering
Rthe availability of the ECO start/stop function
Rthe climate control:
Each time you start the engine with the Smart-
Key or the Start/Stop button, drive program Cis
activated. For further information about starting
the engine, see (
Ypage 125).
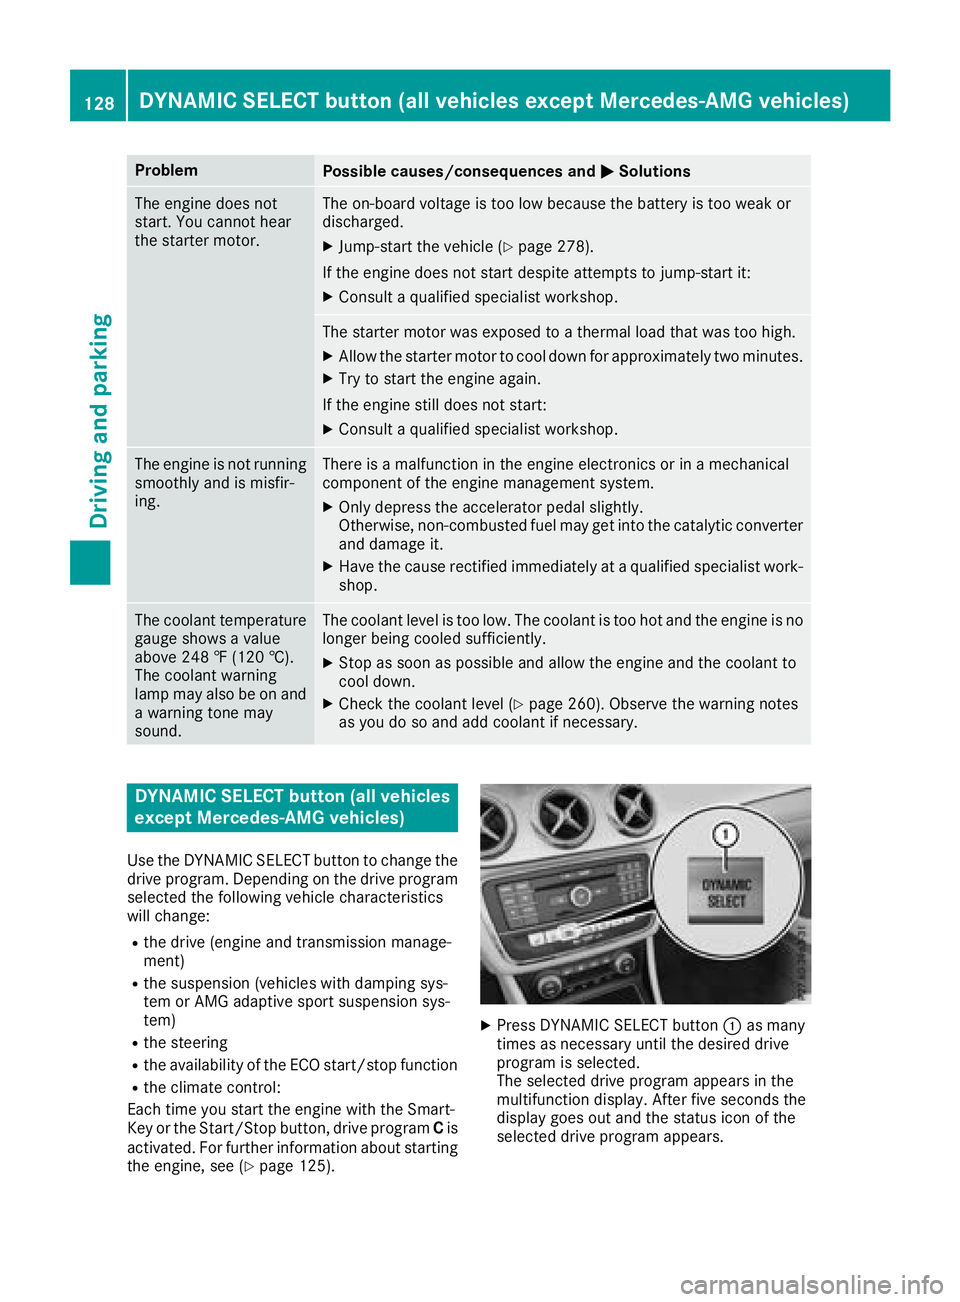
XPress DYNAMIC SELECT button :as many
times as necessary until the desired drive
program is selected.
The selected drive program appears in the
multifunction display.A fter five seconds the
display goes out and the status icon of the
selected drive program appears.
128DYNAMIC SELECT button (all vehicles except Mercedes-AMG vehicles)
Driving and parking
Page 233 of 326
Favorites button
You can assign predefinedfunction susingthe
g favorite sbutto nand call them up by press-
ing th ebutto n(
Ypage 231).
Favorites
Calling up and exiting favorites
XTo call up :press th eg buttonont hecon-
troller .
XSelectafavorite ,e.g.Vehicl e.
The favorite sare displayed.
XTo exit :press th eg buttonagain .
Adding favorites
Adding predefined favorites
XPress th eg button.
XCOMAND: slide6thec ontroll er.
XAudio 20: slide5or6 thec ontroll er.
The men ubar is displayed.
XSelec tReassign.
The categories are displayed.
XSelec tacategory.
The favorite sare displayed.
XSelec tafavorite .
XCOMAND: to add thefavorite to th edesired
position ,tur na nd press th econtroll er.
XAudio 20: to add thefavorite to th edesired
position ,turn, slide 5or6 and press th e
controller.
If af avorite has already been added at this
position ,itwill be overwritten.
Adding youro wn favorites
You can add climat econtro lasa favorite ,for
example.
XSelec tVehicl eQClimate Contro l.
XPress and hold th eg buttonuntil th e
favorite sare displayed.
XAddaf avorite to th edesired position .
If af avorite has already been added at this
position ,itwill be overwritten.
Navigation mode
Important safety notes
GWARNIN G
If you operate information systems and com-
munication equipmen tintegrate dinthevehi-
cle when driving ,you may be distracte dfrom
th et raffic situation .You could also lose con-
trol of th evehicle. Ther eisariskofana cci-
dent.
Only operate this equipmen twhen th etraffic
situation permits. If you are no tsure that this
is possible ,park th evehicl epayin gattention
to traffic condition sand operate th eequip-
men twhen th evehicl eiss tationary.
You must observ ethe legal requirements for th e
country in whic hyou are currentl ydriving when
operating th enavigation system.
General notes
Amon gother things, correct functioning of th e
navigation system depend sonGPS reception .In
certai nsituations, GPS reception may be
impaired ,the re may be interferenc eorthere
may be no reception at all, e.g. in tunnels or
parking garages.
Audio 20 is equipped wit hGarmin
®MAPPILOT
(see th emanufacturer' soperating instructions).
The Garmin
®MA PPILOT operating instruction s
are store dontheSD car dasaP DFfile.The SD
car dbox contains aquickg uide .
The followin gdescription sapply to navigation
wit hC OMAND .Further information can be
foun dint heDigital Operator's Manual.
Selecting aroute type and route options
Multimedia system:
XSelec tNav iQNa vigation.
The map shows th evehicle's curren tposition .
XSlide6thec ontroll er.
XSelectOption sQRouteS ettings.
Notes for rout etypes:
REco Route
RDynami cTraffi cRoute
Operating system231
Multimedia system
Z
Page 257 of 326
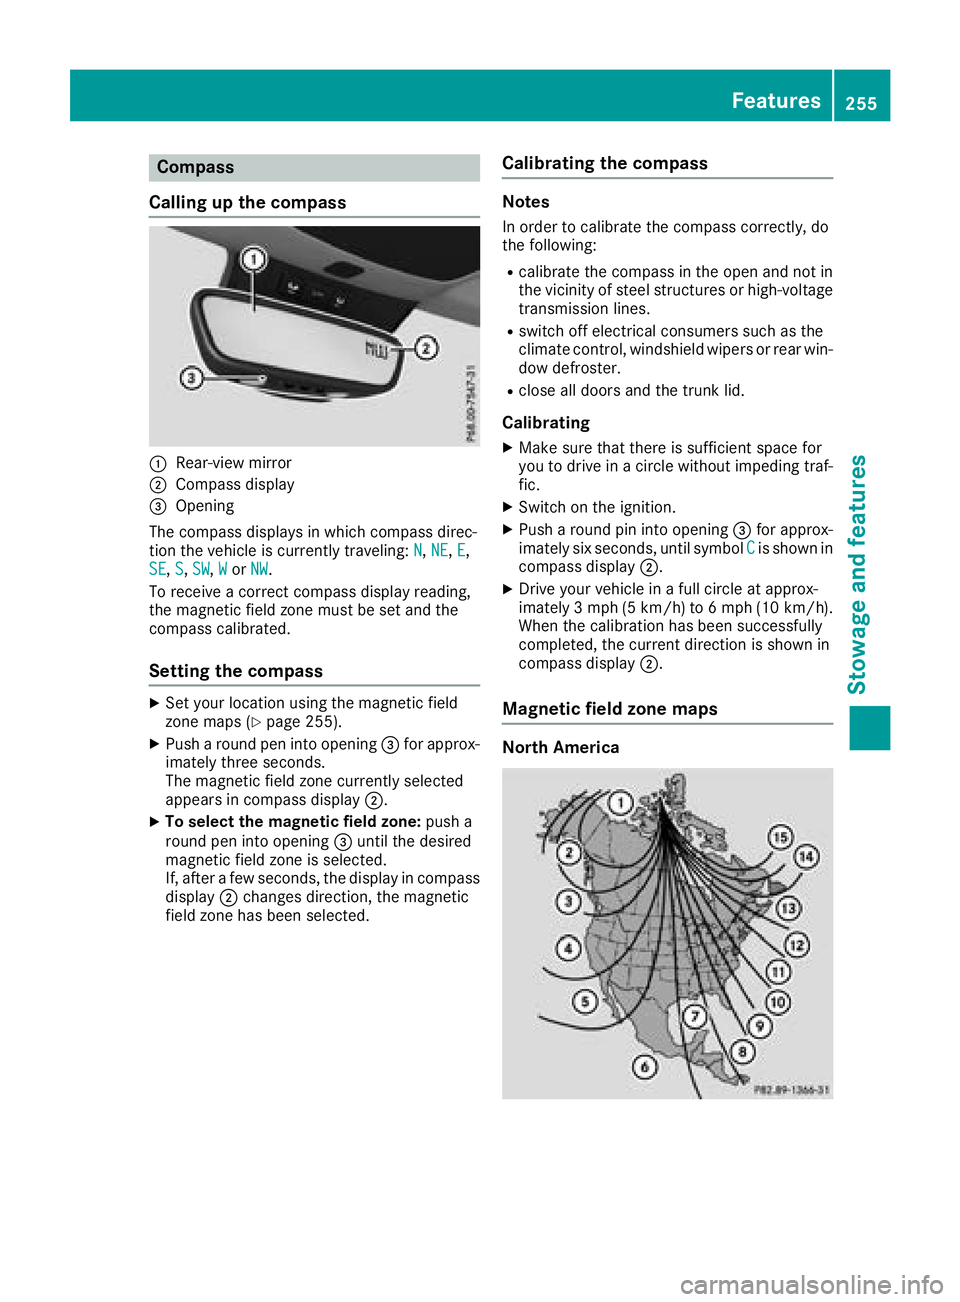
Compass
Callin gupthe compass
:Rear-view mirror
;Compass display
=Opening
The compass displays in whichc ompass direc-
tio nt he vehicle is currently traveling: N
,NE,E,
SE, S,SW,Wor NW.
To receive acorrec tcompass display reading,
th em agnetic fiel dzonem ust be set and the
compass calibrated.
Settin gthe compass
XSet your locatio nusingt hemagnetic field
zone maps (Ypage 255).
XPush aroun dpen int oopening =for approx-
imately three seconds.
The magnetic fiel dzonec urrently selected
appearsinc ompass display ;.
XTo select themagnetic field zone: push a
roun dpen int oopening =until th edesired
magnetic fiel dzoneiss elected.
If,a fter afew seconds, th edisplay in compass
display ;changes direction,t hemagnetic
fiel dzoneh as been selected.
Calibratin gthe compass
Notes
In order to calibrat ethe compass correctly, do
th ef ollowing:
Rcalibrat ethe compass in th eopen and no tin
th ev icinity of steel structures or high-voltage
transmission lines.
Rswitch off electrical consumers suchast he
climate control, windshield wipersorr ear win-
dow defroster.
Rclose all doorsa nd thetrunk lid.
Calibrating
XMakes ure that there is sufficient spacef or
you to driv einacircle without impedingt raf-
fic.
XSwitch on th eignition.
XPush aroun dpin int oopening =for approx-
imately six seconds, until symbol Cis shown in
compass display ;.
XDrive your vehicle in afull circle at approx-
imately 3mph (5 km/h )to6mph (10 km/h).
When th ecalibration has been successfully
completed, th ecurren tdirection is shown in
compass display ;.
Magnetic field zone maps
North America
Features255
Stowage and features
Z
Page 317 of 326

differentfor every vehicle and can deviate
from the data shown here. You can find the
data applicable to your vehicle on the vehicle
identification plate.
Vehicle identification number (VIN)
XSlide the right-han dfronts eat to its rearmost
position.
XFold floor covering :upwards.
You will see VIN ;.
The VIN can also be found on the vehicle iden-
tification plate (
Ypage 314).
The VIN can also be found at the lower edge of
the windshield (
Ypage 315).
Engine number
:Emission control information plate, includ-
ing the certification of both federal and Cali-
fornian emissionss tandards
;VIN (on the lower edge of the windshield)
=Engine number (stamped int othe crank-
case)
Service productsa nd filling capaci-
ties
Important safetyn otes
GWARNING
Service product smay be poisonous and haz-
ardous to health. There is arisk of injury.
Comply with instructions on the use, storage
and disposal of servicep roductsonthe labels
of the respective original containers. Always
stor eservicep roductss ealed in their original
containers. Always keep servicep roductsout
of the reach of children.
HEnvironmental note
Dispose of servicep roductsinanenviron-
mentally responsible manner.
Service product sinclude the following:
RFuels
RLubricants (e.g. engin eoil, transmission oil)
RCoolant
RBrakef luid
RWindshield washer fluid
RClimate control system refrigerant
Components and servicep roductsmust match.
Only use productsr ecommended by Mercedes-
Benz. Damage which is caused by the use of
productsw hich have not been recommended is
not covered by the Mercedes-Benz warrant yor
goodwill gestures .Productsa pproved by
Mercedes-Benz are listed in this Operator's
Manual in the appropriate section.
Information on tested and approved products
can be obtained at aMercedes-Benz Service
Center or on the Internet at
http://bevo.mercedes-benz.co m.
You can recogniz eservice products approvedb y
Mercedes-Ben zbythe followingi nscription on
the containers:
RMB-Freigabe (e.g. MB-Freigabe 229.51)
RMB-Approval (e.g. MB-Approval 229.51)
Other designation sorrecommendations indi-
cat eal evel of quality or aspecification in
accordanc ewith an MB Shee tNumber (e.g. MB
229.5). They have not necessarily been
approvedbyM ercedes-Benz.
Service productsa nd filling capacities315
Technical data
Z
Page 321 of 326
The antifreeze concentrate/corrosion inhibitor
concentration in the engine cooling system
should:
Rbe at least 50%. This will protectthe engine
cooling system against freezin gdown to
approximately -35 ‡(-37 †)
Rnot exceed 55% (antifreez eprotection down
to -49 ‡[-45 †]) .Otherwise ,hea tw ill no tbe
dissipated as effectively
Mercedes-Ben zrecommends acoolan torc or-
rosio ninh ibitor/antifreez econcentrat ein
accordance wit h
MB Specification sfor Servic eProducts 310. 1.
iWhen the vehicle is first delivered, it is filled
with acoolant mixture that ensures adequate
antifreeze and anti-corrosion protection.
iThe coolant is checked with every mainte-
nanc einterval at aqualified specialist work-
shop.
Filling capacities
ModelCapacity
Mercedes ‑AMG
vehiclesApprox .12.6USq t
(11.9l )
Allo ther modelsApprox. 8.2 US qt
(7.8 l)
Windshield washe rsystem
Important safety notes
GWARNING
Windshieldw asher concentrate coul dignite if
it comes into contact with hot engine compo-
nents or the exhaust system .There is arisk of
fire and injury.
Make sure that no windshield washer con-
centrate is spilled next to the filler neck.
!Only MB SummerFi tand MB WinterFit
washer flui dshould be mixed together. The
sprayn ozzles may otherwise become
blocked.
Do not use distille dorde-ionized water. Other-
wise, the levels ensor may giveafals ereading. When handling washer fluid, observe the impor-
tant safety notes on service products
(
Ypag
e315).
At temperatures above freezing:
XFill the washer flui dreservoir with amixture of
water and windshield washer fluid, e.g. MB
SummerFit.
Add 1part MB SummerFi tto100 parts water.
At temperatures below freezing:
XFill the washer flui dreservoir with amixture of
water and washer fluid, e.g. MB WinterFit.
For the correct mixing ratio refer to the infor-
mation on the antifreeze reservoir.
iAdd windshield washer fluid, e.g. MB Sum-
merFit or MB WinterFit, to the washer flui dall
yea rround.
Climate control system refrigerant
Important safety notes
The climate control system of you rvehicleisf il-
led with refrigerant R ‑134a.
The instruction label regarding the refrigerant
type use dcan be found on the left, on the under-
side of the hood.
!Only the refrigerant R ‑134a and the PAG oil
approved by Mercedes-Benz may be used.
The approved PAG oil may not be mixed with
any other PAG oil that is not approved for
R-134a refrigerant. Otherwise, the climate
control system may be damaged.
Service work, such as refilling with refrigerant or
replacing component parts, may only be carried
out by aqualified specialist workshop. All appli-
cabl eregulations, as wellasS AE standard J639,
must be adhered to.
Always have work on the climate control system
carrie dout at aqualified specialist workshop.
Service products and filling capacities319
Technical data
Z