2018 MERCEDES-BENZ AMG GT R-ROADSTER key
[x] Cancel search: keyPage 137 of 473
App
lying/releasing the electric pa rking
brake manually
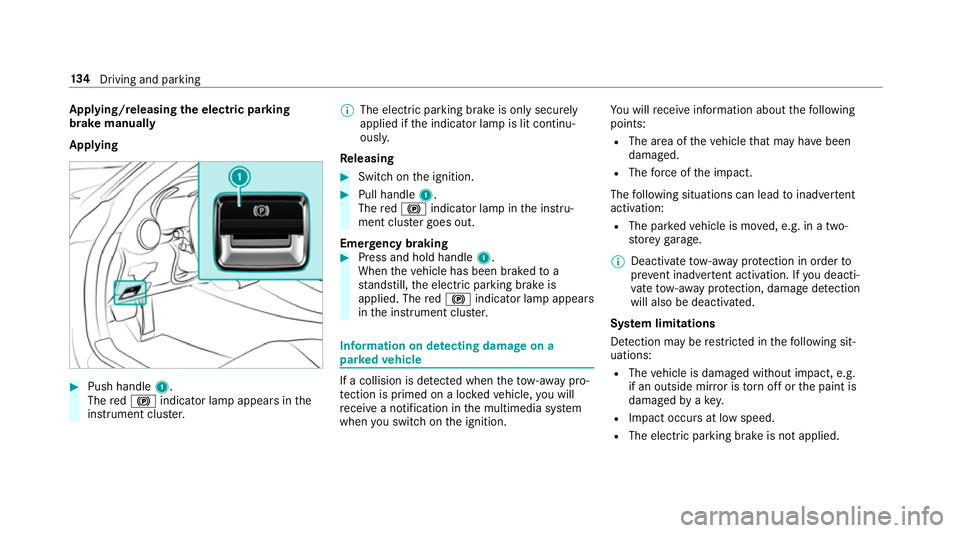
Applying #
Push handle 1.
The red! indicator lamp appears in the
instrument clus ter. %
The electric parking brake is only securely
applied if the indicator lamp is lit continu‐
ously.
Re leasing #
Swit chon the ignition. #
Pull handle 1.
The red! indicator lamp in the instru‐
ment clus ter goes out.
Emer gency braking #
Press and hold handle 1.
When theve hicle has been braked to a
st andstill, the electric parking brake is
applied. The red! indicator lamp appears
in the instrument clus ter. Information on de
tecting dama geon a
pa rked vehicle If a collision is de
tected when theto w- aw ay pro‐
te ction is primed on a loc kedve hicle, you will
re cei vea notification in the multimedia sy stem
when you swit chon the ignition. Yo
u will recei veinformation about thefo llowing
points:
R The area of theve hicle that may ha vebeen
damaged.
R The forc e of the impact.
The following situations can lead toinadver tent
acti vation:
R The pa rked vehicle is mo ved, e.g. in a two-
st or ey garage.
% Deactivate tow- aw ay protection in order to
pr eve nt inadver tent acti vation. If you deacti‐
va te tow- aw ay protection, damage de tection
will also be deactivated.
Sy stem limitations
De tection may be restricted in thefo llowing sit‐
uations:
R The vehicle is damaged without impact, e.g.
if an outside mir ror is torn off or the paint is
damaged byakey.
R Impact occurs at low speed.
R The electric parking brake is not applied. 134
Driving and pa rking
Page 209 of 473
Yo
u can use Blue tooth®
to connect your mobile
phone tothe multimedia sy stem and use thefo l‐
lowing functions, forex ample:
R hands-free sy stem with access tothefo llow‐
ing options:
- con tacts (/ page 254)
- call lists (/ page 256)
- text messa ges
R Internet connection
R listening tomusic via Blue tooth®
audio
(/ page 289)
R transfer ring business cards (vCards) into the
ve hicle
Blue tooth ®
is a regis tere d trademark of Blue‐
toot h Special Interest Group (SIG) Inc.
% Internet connection via Blue tooth®
is not
av ailable in all countries.
Ac tivating/deactivating Blue tooth ®
Re quirements for switching off Blue tooth ®
:
R Apple CarPl ay™ is not active. Multimedia sy
stem:
4 System 5
ö Connectivity #
Activate Oor deacti vate ª Bluetoo th®
.
If Android Autois active, a prom ptappears ask‐
ing whe ther Blue tooth®
should be deactivated. #
Select Yes.
Android Autois closed and Blue tooth®
is
deactivated. Wi
-Fi Wi
-Fi connection overview
Yo u can use Wi-Fi toestablish a connection with
a Wi -Fi network and toaccess the Internet or
ot her network devices.
The following connection options are available:
R Wi-Fi connection
The Wi-Fi connection toaWi -Fi-capable
device, e.g. the cus tomer's mobile phone or
a ta blet PC is es tablished.
R Multimedia sy stem as a Wi-Fi hotspot Using
this function, a tablet PC or no tebook
can be connec ted, forex ample.
To establish a connection, you can use thefo l‐
lowing me thods:
R WPS PIN
The connection toa secure Wi-Fi network is
made via a PIN.
R WPS PBC
The connection toa secure Wi-Fi network is
made bypressing a button (push button).
R Security key
The connection toa secure Wi-Fi network is
made via a secu rity key.
Setting up Wi-Fi
Requ irements:
R The device tobe connec ted supports one of
th eth re e means of connection described
(/ page 206). 206
Multimedia sy stem
Page 210 of 473
Multimedia sy
stem:
4 System 5
ö Connectivity
Ac tivating/deactivating Wi-Fi #
Switch Wi-FionO or off ª.
If Wi-Fi is deactivated ª, communication via
Wi -Fi toall devices is inter rupte d. This also
means that a connection tothe HERMES
communication module cann otbe es tab‐
lished. Then functions such as dynamic route
guidance with Live Traf fic Information are not
av ailable.
Connecting the multimedia sy stem with a
device via Wi-Fi
This function is available if a HERMES communi‐
cation module is not ins talled.
The type of connection es tablished must be
selected on the multimedia sy stem and on the
device tobe connec ted.
% The connection procedure may dif fer
depending on the device. Follow the instruc‐
tions that are shown in the displa y.Fu rther
information (see the manufacturer's operat‐
ing instructions). #
Select Internet settings . #
Select Search for Wi-Fi networks.
Using a security key #
Select a Wi-Fi network in the list. #
Have the security key displa yed on the device
to be connec ted (see the manufacturer's
operating instructions). #
Ente rth is security key on the multimedia sys‐
te m. #
Confirm the entry with¡.
% All devices support a security key as a
means of connection.
Using a WPS PIN #
Highlight a Wi-Fi network in the list. #
Select ¥Connect using WPS PIN input.
The multimedia sy stem generates an eight-
digit PIN. #
Enter this PIN on the device tobe connec ted. #
Confirm the entry. Using a button
%
This function is only available in a Wi-Fi fre‐
qu ency of 2.4 GHz. #
Highlight a Wi-Fi network in the list. #
Select ¥Connect via WPS PBC. #
Select "Connect via WPS PBC" in the options
on the device tobe connec ted. #
Press the WPS button on the device tobe
connec ted. #
Select Continue inthe multimedia sy stem.
Device has already been connected: #
Toautomatically connect: highlight aWi-Fi
network in the list. #
Activate ¥ Connect automaticallyO. #
Toconnect: highlight a Wi-Fi network in the
list. #
Select ¥Connect.
The connection is es tablished again. These
functions are possible when the device has
already been connected totheWi -Fi networ k. Multimedia sy
stem 207
Page 211 of 473
Setting up a
Wi-Fi hotspot
Multimedia sy stem:
4 System 5
ö Connectivity
Configuring the multimedia sy stem as a Wi-
Fi hotspot
The type of connection es tablished depends on
th e device tobe connec ted. The function must
be suppor tedby the multimedia sy stem and by
th e device tobe connec ted. The type of connec‐
tion es tablished must be selected on the multi‐
media sy stem and on the device tobe connec‐
te d. #
Select Set up hotspot. #
Highlight Connect device to vehicle hotspot.
Generating a WPS PIN #
Select ¥Connect using WPS PIN genera-
tion . #
Ente rth e PIN shown in the media display on
th e device tobe connec ted and con firm.
Connecting using a WPS PIN #
Select ¥Connect using WPS PIN input. #
Select Enter WPS PIN. #
Enterth e PIN that is shown on theex tern al
device's display on the multimedia sy stem. #
Select Continue.
Connecting using a button
Re quirements:
R This function is only available in a Wi-Fi fre‐
qu ency of 2.4 GHz. #
Select ¥Connect via WPS PBC. #
Press the WPS button on the device tobe
connec ted or select Connect. #
Select Continue inthe multimedia sy stem.
Connecting using a security key #
Select Connect device to vehicle hotspot .
A secu rity key is displa yed. #
Select theve hicle from the device tobe con‐
nec ted. The vehicle is displa yed with the
SSID MB Hotspot XXXXX . #
Enter the security key which is shown in the
media display on the device tobe connec ted. #
Confirm the entry. Genera
ting a new security key: #
Select Set up hotspot . #
Select Generate security key .
A connection will be es tablished with the
newly crea ted security key. #
Tosave a security key:select Save.
When a new security key is sa ved, all existing
Wi -Fi connections are then disconnected. If
th eWi -Fi connections are being re-es tab‐
lished, the new security key must be en tere d. Managing COMAND
Touch devices Re
quirements:
R The COMAND Touch app is ins talled on the
ex tern al device (e.g. tablet or smartphone).
R Wi-Fi is acti vated (/ page 206) and the mul‐
timedia sy stem is confi gured as a Wi-Fi hot‐
spot (/ page 208). 208
Multimedia sy stem
Page 212 of 473
Multimedia sy
stem:
4 System 5
COMAND Touch
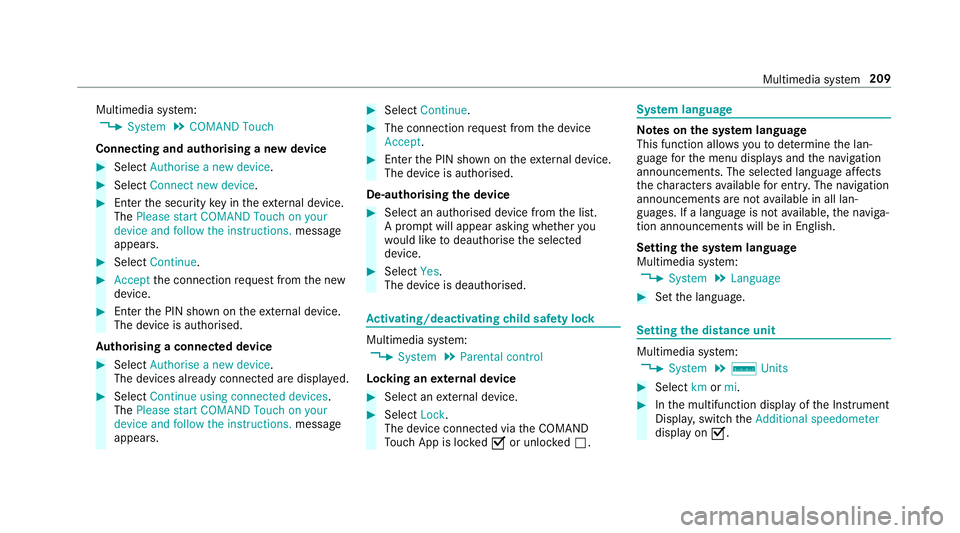
Connecting and authorising a new device #
Select Authorise a new device. #
Select Connect new device. #
Ente rth e security key in theex tern al device.
The Please start COMAND Touch on your
device and follow the instructions. message
appears. #
Select Continue. #
Accept the connection requ est from the new
device. #
Ente rth e PIN shown on theex tern al device.
The device is authorised.
Au thorising a connected device #
Select Authorise a new device.
The devices already connec ted are displa yed. #
Select Continue using connected devices.
The Please start COMAND Touch on your
device and follow the instructions. message
appears. #
Select Continue. #
The connection requ est from the device
Accept. #
Ente rth e PIN shown on theex tern al device.
The device is authorised.
De-authorising the device #
Select an authorised device from the list.
A prom ptwill appear asking whe ther you
wo uld like todeauthorise the selected
device. #
Select Yes.
The device is deauthorised. Ac
tivating/deactivating child saf ety lock Multimedia sy
stem:
4 System 5
Parental control
Locking an extern al device #
Select an extern al device. #
Select Lock.
The device connec ted via theCO MAND
To uch App is loc kedO or unloc kedª. Sy
stem language Note
s onthe sy stem language
This function allo wsyouto determ ine the lan‐
guage forth e menu displa ysand the navigation
announcements. The selected language af fects
th ech aracters available for entr y.The navigation
announcements are not available in all lan‐
guages. If a language is not available, the naviga‐
tion announcements will be in Engl ish.
Setting the sy stem language
Multimedia sy stem:
4 System 5
Language #
Set the language. Setting
the distance unit Multimedia sy
stem:
4 System 5
% Units #
Select kmormi. #
Inthe multifunction display of the Instrument
Displa y,switch theAdditional speedometer
display on O. Multimedia sy
stem 209
Page 255 of 473
%
If a new mobile phone is connected and
defined as Phone 1,forex ample, this ov er‐
writes the pr eviously connec ted mobile
phone in thefo re ground of the sy stem.
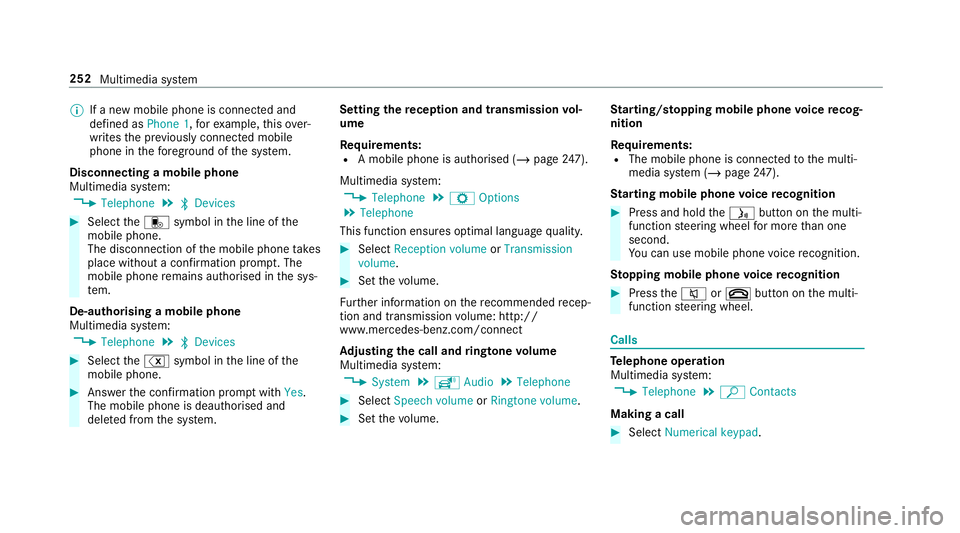
Disconnecting a mobile phone
Multimedia sy stem:
4 Telephone 5
ª Devices #
Select thei symbol in the line of the
mobile phone.
The disconnection of the mobile phone takes
place without a con firm ation prom pt. The
mobile phone remains auth orised inthe sys‐
te m.
De-authorising a mobile phone
Multimedia sy stem:
4 Telephone 5
ª Devices #
Select the% symbol in the line of the
mobile phone. #
Answer the confi rmation prom ptwith Yes.
The mobile phone is deauthorised and
dele ted from the sy stem. Setting
there ception and transmission vol‐
ume
Re quirements:
R A mobile phone is authorised (/ page247).
Multimedia sy stem:
4 Telephone 5
Z Options
5 Telephone
This function ensures optimal language qualit y. #
Select Reception volume orTransmission
volume. #
Set thevo lume.
Fu rther information on there commended recep‐
tion and transmission volume: http://
www.me rcedes-benz.com/connect
Ad justing the call and ringtone volume
Multimedia sy stem:
4 System 5
õ Audio 5
Telephone #
Select Speech volume orRingtone volume . #
Set thevo lume. St
arting/ stopping mobile phone voice recog‐
nition
Re quirements:
R The mobile phone is connec tedto the multi‐
media sy stem (/ page247).
St arting mobile phone voice recognition #
Press and hold theó button on the multi‐
function steering wheel for more than one
second.
Yo u can use mobile phone voice recognition.
St opping mobile phone voice recognition #
Press the8 or~ button on the multi‐
function steering wheel. Calls
Te
lephone operation
Multimedia sy stem:
4 Telephone 5
ª Contacts
Making a call #
Select Numerical keypad. 252
Multimedia sy stem
Page 256 of 473
#
Enter the number. #
Select w.
The call is made.
Ac cepting a call #
Select Accept.
Re jecting a call #
Select Reject.
Ending a call #
Select =.
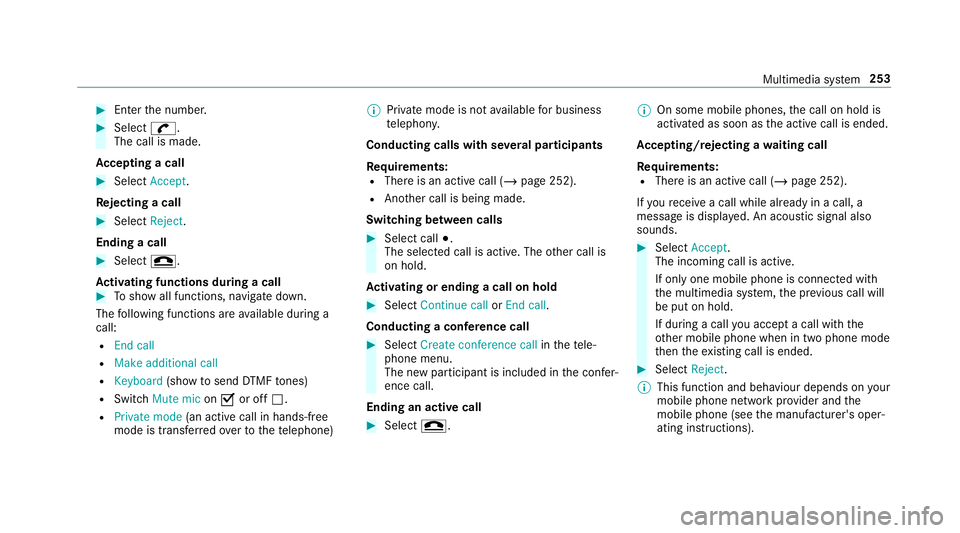
Ac tivating functions during a call #
Toshow all functions, navigate down.
The following functions are available during a
call:
R End call
R Make additional call
R Keyboard (showtosend DTMF tones)
R Switch Mute mic onO or off ª.
R Private mode (an activecall in hands-free
mode is transfer redove rto thete lephone) %
Private mode is not available for business
te lephon y.
Conducting calls with se veral participants
Re quirements:
R There is an active call (/ page 252).
R Another call is being made.
Switching between calls #
Select call #.
The selected call is active. The other call is
on hold.
Ac tivating or ending a call on hold #
Select Continue call orEnd call.
Conducting a conference call #
Select Create conference call inthete le‐
phone menu.
The new participant is included in the confe r‐
ence call.
Ending an active call #
Select =. %
On some mobile phones, the call on hold is
activated as soon as the active call is ended.
Ac cepting/rejecting a waiting call
Re quirements:
R There is an active call (/ page 252).
If yo ure cei vea call while already in a call, a
message is displa yed. An acoustic signal also
sounds. #
Select Accept.
The incoming call is active.
If only one mobile phone is connec ted with
th e multimedia sy stem, the pr evious call will
be put on hold.
If during a call you accept a call with the
ot her mobile phone when in two phone mode
th en theex isting call is ended. #
Select Reject.
% This function and behaviour depends on your
mobile phone network pr ovider and the
mobile phone (see the manufacturer's oper‐
ating instructions). Multimedia sy
stem 253
Page 289 of 473
Ac
tivating/deactivating full-screen mode
Multimedia sy stem:
4 Media 5
à Media sources #
Select a data storage medium.
Pla yable video files are pla yed bac k. #
Toactivate full-screen mode: select#
Full screen. #
Todeactivate full-sc reen mode: pressthe
to uchpad.
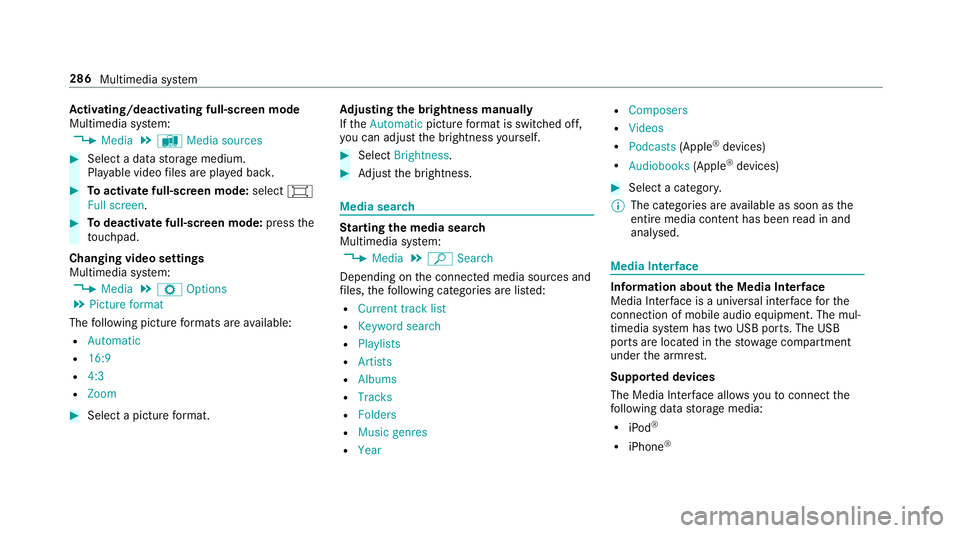
Changing video settings
Multimedia sy stem:
4 Media 5
Z Options
5 Picture format
The following picture form ats are available:
R Automatic
R 16:9
R 4:3
R Zoom #
Select a picture form at. Ad
justing the brightness manually
If th eAutomatic pictureform at is swit ched off,
yo u can adjust the brightness yourself. #
Select Brightness. #
Adjust the brightness. Media sear
ch St
arting the media sear ch
Multimedia sy stem:
4 Media 5
ª Search
Depending on the connected media sources and
fi les, thefo llowing categories are lis ted:
R Current track list
R Keyword search
R Playlists
R Artists
R Albums
R Tracks
R Folders
R Music genres
R Year R
Composers
R Videos
R Podcasts (Apple®
devices)
R Audiobooks (Apple®
devices) #
Select a categor y.
% The categories are available as soon as the
entire media conte nt has beenread in and
anal ysed. Media Inter
face Information about
the Media Inter face
Media In terface is a universal inter face forthe
connection of mobile audio equipment. The mul‐
timedia sy stem has two USB ports. The USB
ports are located in thestow age compartment
under the armrest.
Suppor ted devices
The Media Inter face allo wsyouto connect the
fo llowing data storage media:
R iPod ®
R iPhone ® 286
Multimedia sy stem