2018 MERCEDES-BENZ AMG GT COUPE jump start
[x] Cancel search: jump startPage 5 of 294
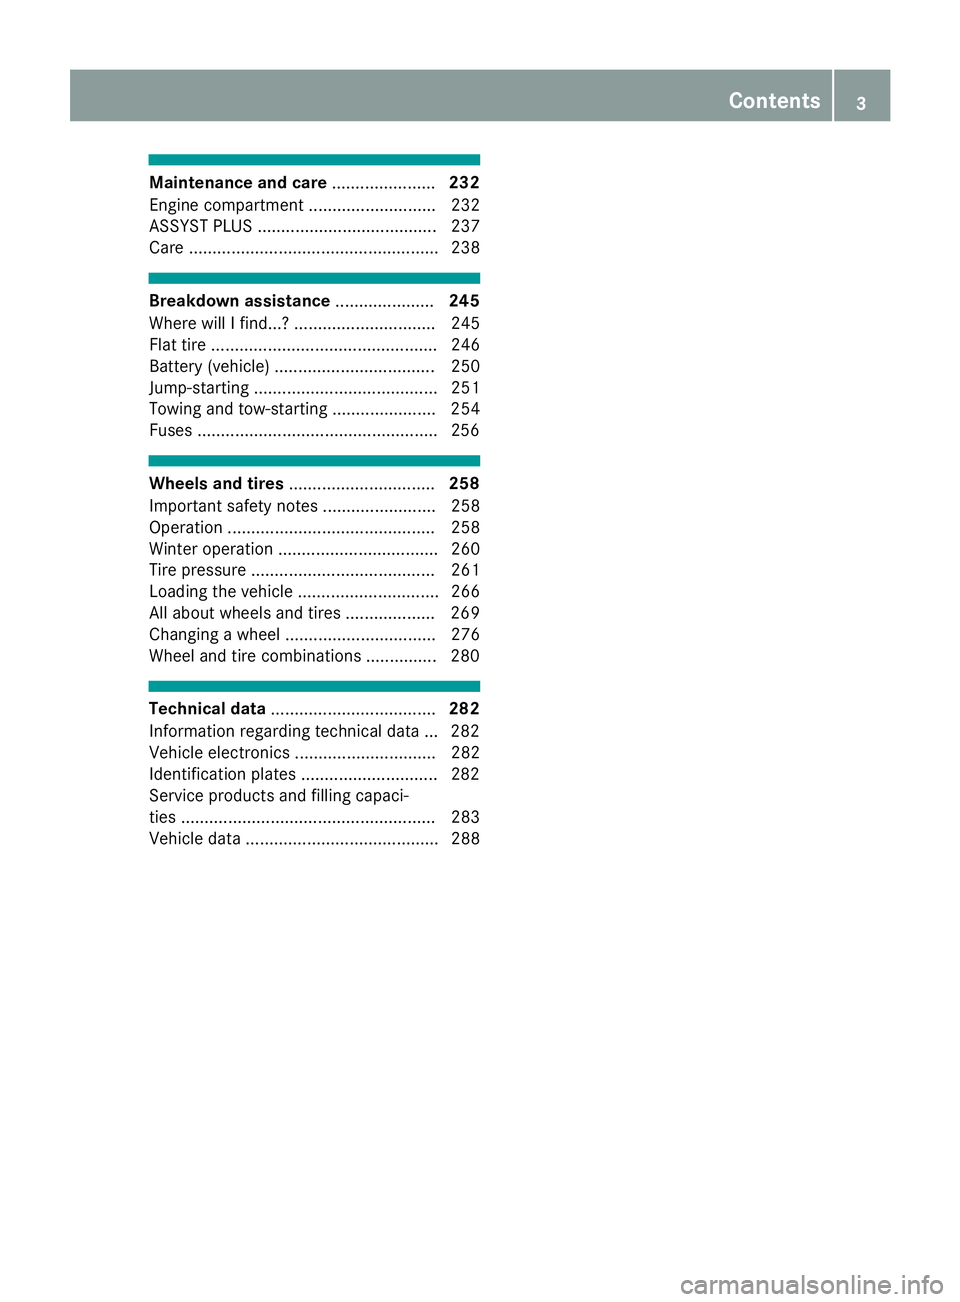
Maintenance and care......................232
Engine compartment ........................... 232
ASSYST PLUS ...................................... 237
Care ..................................................... 238
Breakdown assistance .....................245
Where will I find...? .............................. 245
Flat tire ................................................ 246
Battery (vehicle) .................................. 250
Jump-starting ....................................... 251
Towing and tow-starting ...................... 254
Fuses ...................................................2 56
Wheels and tires............................... 258
Important safety notes ........................ 258
Operation ............................................ 258
Winter operation .................................. 260
Tire pressure ....................................... 261
Loading the vehicle .............................. 266
All about wheels and tires ................... 269
Changing a wheel ................................ 276
Wheel and tire combinations ...............2 80
Technical data................................... 282
Information regarding technical data ... 282
Vehicle electronics .............................. 282
Identification plates .............................2 82
Service products and filling capaci-
ties ...................................................... 283
Vehicle data ......................................... 288
Contents3
Page 7 of 294

Anti-skid chainssee Snow chains
Anti-theft ala rmsystem
see ATA (Anti-Theft Alarm system)
Asht ray.............................................. .217
Assistance display (on-board com-
puter) ..................................................1 62
Assistance menu (on-board com-
puter) ..................................................1 63
Assistance system
see Driving systems
ASSYST PLUS
Displaying a service message ........2 38
Hiding a service message .............. 237
Resetting the service interval dis-
play ................................................ 238
Service message ............................ 237
Special service requirements ......... 238
ATA (Anti-Theft Alarm system)
Activating/deactivating ................... 63
Function ...........................................6 3
Switching off the alarm .................... 63
ATTENTION ASSIST
Activating/deactivating ................. 163
Display message ............................ 183
Function/notes ............................. 148
Authorized Mercedes-Benz Center
see Qualified specialist workshop
Authorized workshop
see Qualified specialist workshop
AUTO lights
Display message ............................ 180
see Lights
Automatic car wash (care) ............... 239
Automatic engine start (ECO start/
stop function) .................................... 109
Automatic engine switch-off (ECO
start/stop function) .......................... 108
Automatic headlamp mode ................ 91
Automatic transmission
Accelerator pedal position ............. 115
Automatic drive program ............... 117
Changing gear ............................... 115
Display message ............................ 188
Double-clutch function .................. 115
Drive program display .................... 114
Driving tips .................................... 115 Emergency running mode
.............. 120
Eng
aging neutral ............................ 113
Engaging park position automati-
cally ............................................... 113
Engaging reverse gear ................... 113
Engaging the park position ............ 113
Gearshift recommendation ............ 118
Gliding mode ................................. 115
Important safety notes .................. 112
Kickdown ....................................... 115
Manual drive program .................... 117
Manual mode ................................. 118
Oil temperature (on-board com-
puter) ............................................. 165
Overview ........................................ 112
Problem (malfunction) ................... 120
Pulling away ................................... 107
Rocking the vehicle free ................ 115
Shift override ................................. 119
Starting the engine ........................ 107
Steering wheel paddle shifters ...... 116
Transmission position display ........ 114
Transmission positions .................. 114
Automatic transmission emer-
gency mode ....................................... 120
B
Back button ....................................... 205
BAS (Brake Assist System) ................. 58
Basic settings
see Settings
Battery (SmartKey)
Checking .......................................... 68
Important safety notes .................... 67
Replacing ......................................... 68
Battery (vehicle)
Charging ........................................ 251
Display message ............................ 182
Important safety notes .................. 250
Jump starting ................................. 251
Belt
see Seat belts
Belt warning ......................................... 43
Blind Spot Assist
Activating/deactivating (on-
board computer) ............................ 163
Display message ............................ 184
Index5
Page 12 of 294

Emergency Tensioning DevicesActivation ........................................ .51
Emergency unlocking
Tailgate ............................................ 75
Emissions control
Service and warranty information .... 25
Engine
Check Engine warning lamp .......... .199
Display message ............................ 181
ECO start/stop function ................ 108
Engine number ............................... 283
Irregular running ............................ 110
Jump-starting ................................. 251
Starting problems .......................... 110
Starting the engine with the
SmartKey ....................................... 107
Starting with the Start/Stop but-
ton ................................................. 107
Switching off .................................. 123
Tow-starting (vehicle) ..................... 256
Engine electronics
Notes ............................................. 282
Problem (malfunction) ................... 110
Engine oil
Adding ...........................................2 35
Additives ........................................ 286
Checking the oil level ..................... 233
Checking the oil level using the
dipstick .......................................... 233
Checking the oil level using the
on-board computer ........................ 234
Display message ............................ 182
Filling capacity ............................... 286
Notes about oil grades ................... 286
Notes on oil level/consumption .... 233
Temperature (on-board com-
puter) ............................................. 165
Engine oil additives
see Additives (engine oil)
Entering an address
see also Digital Operator's Man-
ual ..................................................2 04
ESC (Electronic Stability Control)
see ESP
®(Electronic Stability Program)
ESP®(Electronic Stability Pro-
gram)
AMG menu (on-board computer) ... 166
Characteristics ....... .......................... 61 Dea
ctivating/activating ................... 61
Deactivating/activating (button
in AMG vehicles) .............................. 62
Display message ............................ 170
Function/notes ................................ 61
General notes .................................. 61
Important safety information ........... 61
Warning lamp ................................. 196
ETS (Electronic Traction System) ....... 61
Exhaust check ................................... 126
Exhaust pipe (cleaning instruc-
tions) ..................................................2 42
Exterior lighting
Cleaning ......................................... 242
see Lights
Exterior mirror
Calling up a stored setting (mem-
ory function) ....................................9 0
Exterior mirrors
Adjusting ........................................ .87
Dipping (automatic) .........................8 8
Folding in/out (automatically) ......... 87
Folding in/out (electrically) ............. 87
Out of position (troubleshooting) ..... 88
Setting ............................................. 87
Storing settings (memory func-
tion) ................................................. 89
Storing the parking position ............. 88
F
Favorites
Overview ........................................ 207
Features ............................................. 216
Filler cap
see Refueling
Flat tire
Changing a wheel/mounting the
spare wheel ................................... 276
Preparing the vehicle ..................... 246
TIREFIT kit ...................................... 247
Floormats ........................................... 231
Frequencies
Mobile phone ................................. 282
Two-way radio ................................ 282
Front-passenger seat
see Seat
10Index
Page 14 of 294

I
Ignition keysee SmartKey
Ignition lock
see Key positions
Immobilizer .......................................... 63
Indicator lamps
see Warning and indicator lamps
Indicators
see Turn signals
Inspection
see ASSYST PLUS
Instrument cluster
Overview .......................................... 34
Warning and indicator lamps .......... .34
Instrument cluster lighting .............. 164
Interior lighting
Automatic control ............................ 95
Overview .......................................... 94
Reading lamp .................................. .94
Setting the brightness of the dis-
play/switch (on-board computer) .. 164
iPod
®
see also Digital Operator's Man-
ual .................................................. 204
J
Jack Using ............................................. 277
Jump starting (engine) ...................... 251
K
Key positions
SmartKey ....................................... 106
Start/Stop button .......................... 105
KEYLESS-GO
Convenience closing feature ............ 77
Deactivation ..................................... 66
Locking ............................................ 66
Start function ................................... 66
Unlocking ......................................... 66
KEYLESS-GO start function
Start/Stop button .......................... 105
Kickdown
Driving tips .................................... 115
Knee bag .............................................. 45
L
Lamps
see Warning and indicator lamps
Lane detection (automatic)
see Lane Keeping Assist
Lane Keeping Assist
Activating/deactivating (on-
board computer) ............................ 164
Display message ............................ 184
Function/information .................... 152
Lane Tracking package ..................... 150
Lap time (RACETIMER) ...................... 167
License plate lamp (display mes-
sage) ................................................... 180
Light sensor (display message) ....... 180
Lights
Automatic headlamp mode .............. 91
Fogged up headlamps ...................... 94
Hazard warning lamps ..................... 93
High beam flasher ............................ 92
High-beam headlamps ..................... 92
Light switch ..................................... 91
Low-beam headlamps ...................... 92
Parking lamps .................................. 92
Rear fog lamp .................................. 92
Setting exterior lighting ................... 91
Setting the brightness of the dis-
play/switch (on-board computer) .. 164
Standing lamps ................................ 92
Switching the daytime running
lamps on/off (on-board com-
puter) ............................................. 164
Turn signals ..................................... 92
see Interior lighting
Loading guidelines ............................ 213
Locking (doors)
Automatic ........................................ 72
Emergency locking ........................... 72
From inside (central locking but-
ton) .................................................. 71
see KEYLESS-GO
Locking centrally
see Central locking
Low-beam headlamps
Display message ............................ 180
Switching on/off .............................. 92
12Index
Page 72 of 294
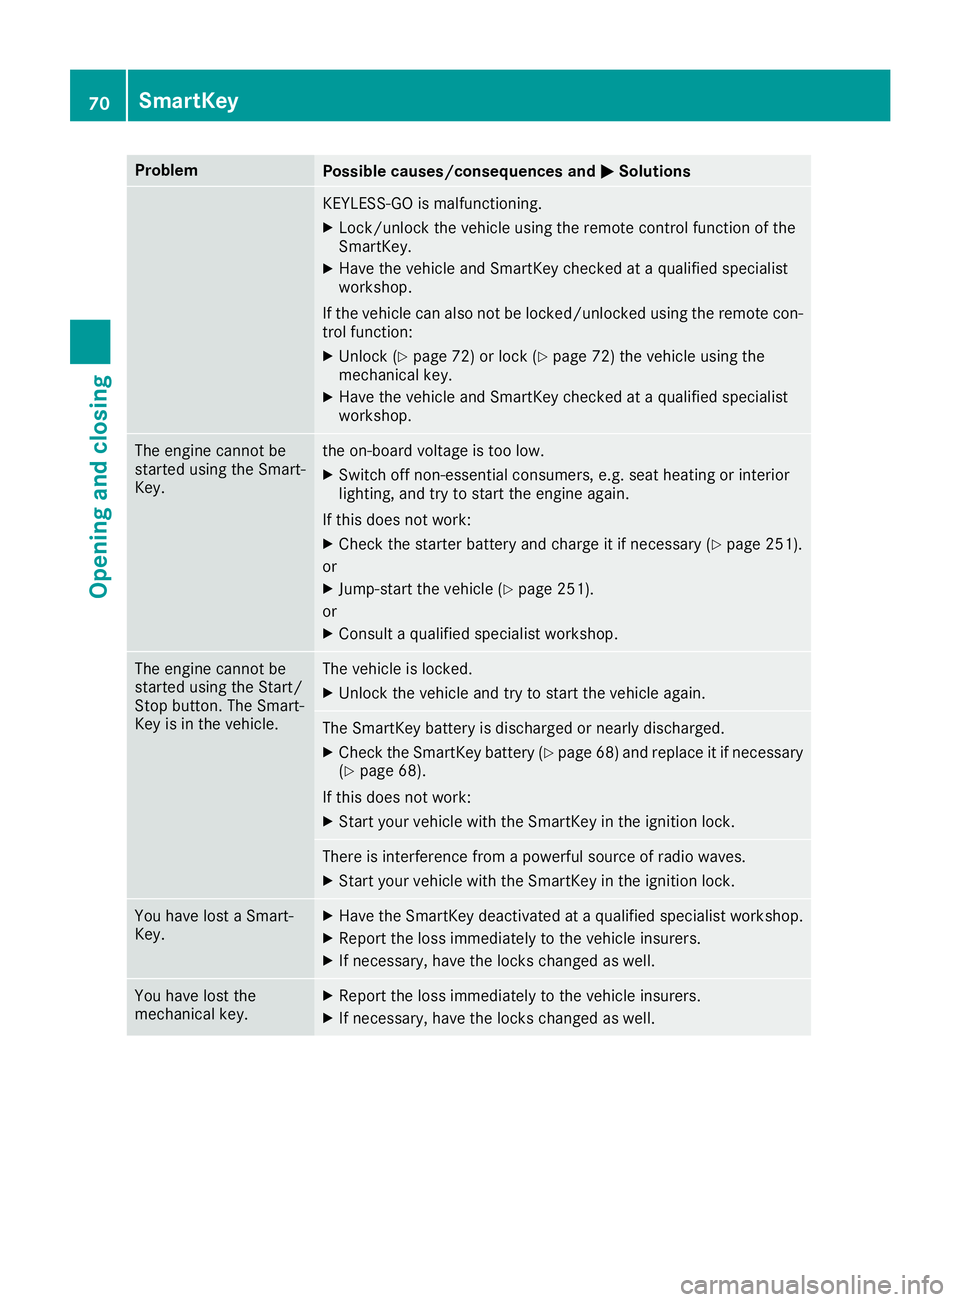
ProblemPossible causes/consequences andMSolutions
KEYLESS-GO is malfunctioning.
XLock/unlock the vehicle using the remote control function of the
SmartKey.
XHave the vehicle and SmartKey checked at a qualified specialist
workshop.
If the vehicle can also not be locked/unlocked using the remote con-
trol function:
XUnlock (Ypage 72) or lock (Ypage 72) the vehicle using the
mechanical key.
XHave the vehicle and SmartKey checked at a qualified specialist
workshop.
The engine cannot be
started using the Smart-
Key.the on-board voltage is too low.
XSwitch off non-essential consumers, e.g. seat heating or interior
lighting, and try to start the engine again.
If this does not work:
XCheck the starter battery and charge it if necessary (Ypage 251).
or
XJump-start the vehicle (Ypage 251).
or
XConsult a qualified specialist workshop.
The engine cannot be
started using the Start/
Stop button. The Smart-
Key is in the vehicle.The vehicle is locked.
XUnlock the vehicle and try to start the vehicle again.
The SmartKey battery is discharged or nearly discharged.
XCheck the SmartKey battery (Ypage 68) and replace it if necessary
(Ypage 68).
If this does not work:
XStart your vehicle with the SmartKey in the ignition lock.
There is interference from a powerful source of radio waves.
XStart your vehicle with the SmartKey in the ignition lock.
You have lost a Smart-
Key.XHave the SmartKey deactivated at a qualified specialist workshop.
XReport the loss immediately to the vehicle insurers.
XIf necessary, have the locks changed as well.
You have lost the
mechanical key.XReport the loss immediately to the vehicle insurers.
XIf necessary, have the locks changed as well.
70SmartKey
Opening and closing
Page 112 of 294
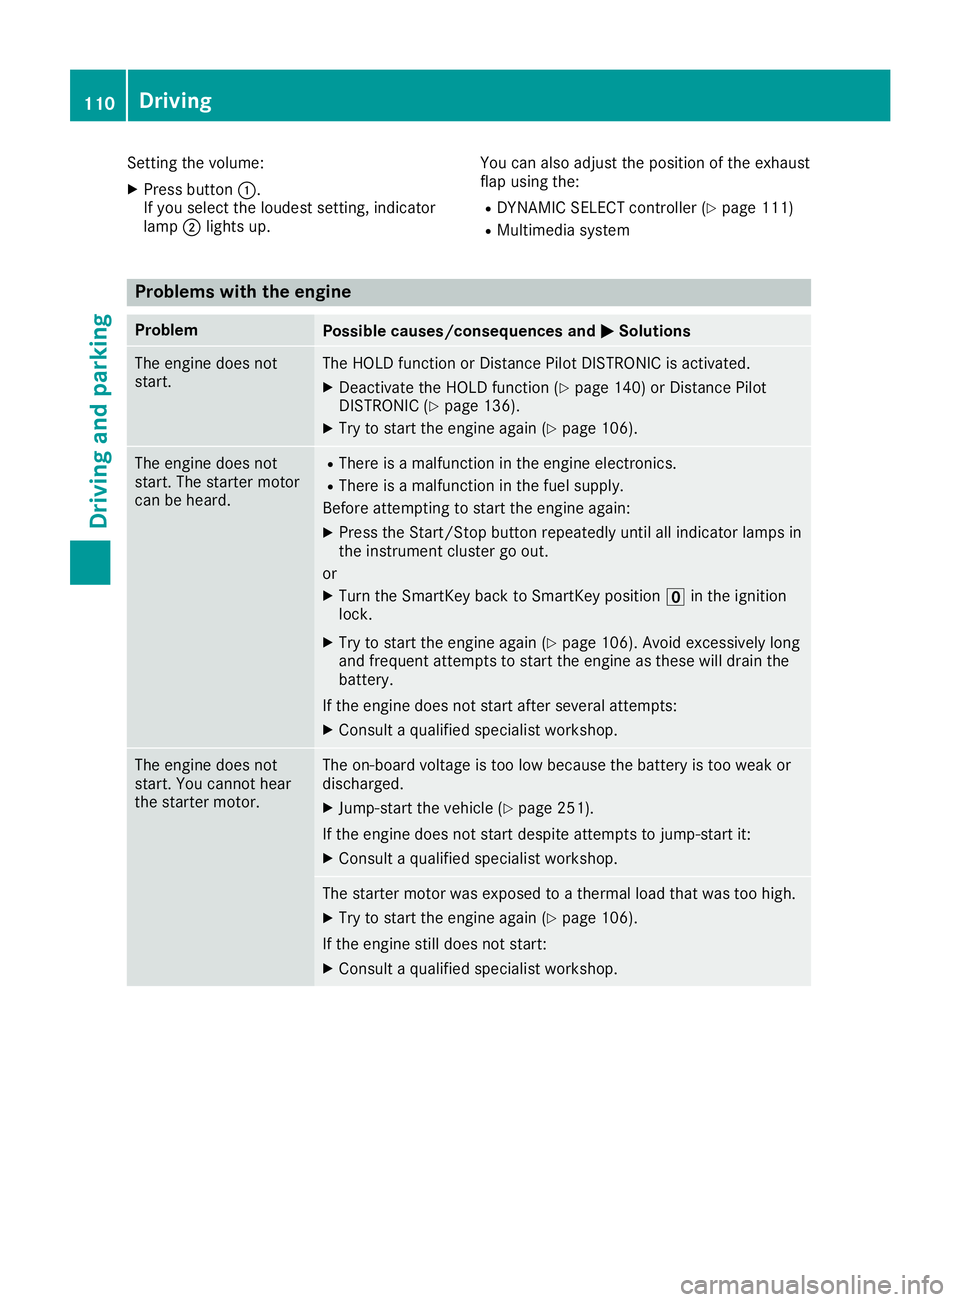
Setting the volume:
XPress button:.
If you select the loudest setting, indicator
lamp ;lights up. You can also adjust the position of the exhaust
flap using the:RDYNAMIC SELECT controller (Ypage 111)
RMultimedia system
Problems with the engine
ProblemPossible causes/consequences and
MSolutions
The engine does not
start.The HOLD function or Distance Pilot DISTRONIC is activated.
XDeactivate the HOLD function (Ypage 140) or Distance Pilot
DISTRONIC (Ypage 136).
XTry to start the engine again (Ypage 106).
The engine does not
start. The starter motor
can be heard.RThere is a malfunction in the engine electronics.
RThere is a malfunction in the fuel supply.
Before attempting to start the engine again:
XPress the Start/Stop button repeatedly until all indicator lamps in
the instrument cluster go out.
or
XTurn the SmartKey back to SmartKey position uin the ignition
lock.
XTry to start the engine again (Ypage 106). Avoid excessively long
and frequent attempts to start the engine as these will drain the
battery.
If the engine does not start after several attempts:
XConsult a qualified specialist workshop.
The engine does not
start. You cannot hear
the starter motor.The on-board voltage is too low because the battery is too weak or
discharged.
XJump-start the vehicle (Ypage 251).
If the engine does not start despite attempts to jump-start it:
XConsult a qualified specialist workshop.
The starter motor was exposed to a thermal load that was too high.
XTry to start the engine again (Ypage 106).
If the engine still does not start:
XConsult a qualified specialist workshop.
110Driving
Driving and parking
Page 253 of 294
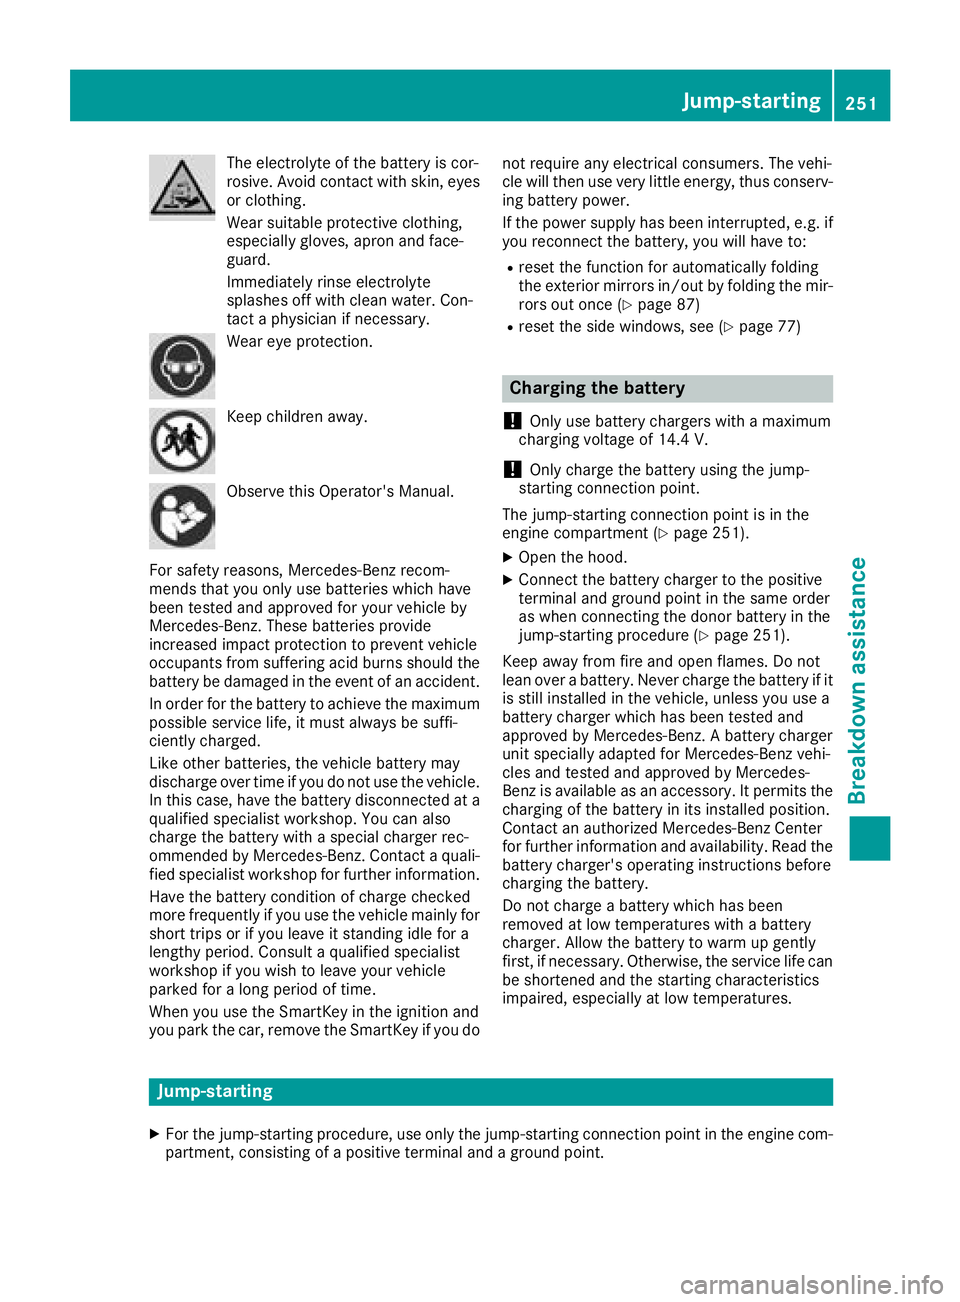
The electrolyte of the battery is cor-
rosive. Avoid contact with skin, eyes
or clothing.
Wear suitable protective clothing,
especially gloves, apron and face-
guard.
Immediately rinse electrolyte
splashes off with clean water. Con-
tact a physician if necessary.
Wear eye protection.
Keep children away.
Observe this Operator's Manual.
For safety reasons, Mercedes-Benz recom-
mends that you only use batteries which have
been tested and approved for your vehicle by
Mercedes-Benz. These batteries provide
increased impact protection to prevent vehicle
occupants from suffering acid burns should the
battery be damaged in the event of an accident.
In order for the battery to achieve the maximum
possible service life, it must always be suffi-
ciently charged.
Like other batteries, the vehicle battery may
discharge over time if you do not use the vehicle.
In this case, have the battery disconnected at a
qualified specialist workshop. You can also
charge the battery with a special charger rec-
ommended by Mercedes-Benz. Contact a quali- fied specialist workshop for further information.
Have the battery condition of charge checked
more frequently if you use the vehicle mainly for
short trips or if you leave it standing idle for a
lengthy period. Consult a qualified specialist
workshop if you wish to leave your vehicle
parked for a long period of time.
When you use the SmartKey in the ignition and
you park the car, remove the SmartKey if you do not require any electrical consumers. The vehi-
cle will then use very little energy, thus conserv-
ing battery power.
If the power supply has been interrupted, e.g. if
you reconnect the battery, you will have to:
Rreset the function for automatically folding
the exterior mirrors in/out by folding the mir-
rors out once (
Ypage 87)
Rreset the side windows, see (Ypage 77)
Charging the battery
!
Only use battery chargers with a maximum
charging voltage of 14.4 V.
!Only charge the battery using the jump-
starting connection point.
The jump-starting connection point is in the
engine compartment (
Ypage 251).
XOpen the hood.
XConnect the battery charger to the positive
terminal and ground point in the same order
as when connecting the donor battery in the
jump-starting procedure (
Ypage 251).
Keep away from fire and open flames. Do not
lean over a battery. Never charge the battery if it
is still installed in the vehicle, unless you use a
battery charger which has been tested and
approved by Mercedes-Benz. A battery charger
unit specially adapted for Mercedes-Benz vehi-
cles and tested and approved by Mercedes-
Benz is available as an accessory. It permits the
charging of the battery in its installed position.
Contact an authorized Mercedes-Benz Center
for further information and availability. Read the
battery charger's operating instructions before
charging the battery.
Do not charge a battery which has been
removed at low temperatures with a battery
charger. Allow the battery to warm up gently
first, if necessary. Otherwise, the service life can
be shortened and the starting characteristics
impaired, especially at low temperatures.
Jump-starting
XFor the jump-starting procedure, use only the jump-starting connection point in the engine com- partment, consisting of a positive terminal and a ground point.
Jump-starting251
Breakdown assistance
Z
Page 254 of 294
!Avoid repeated and lengthy starting attempts. Otherwise, the catalytic converter could be
damaged by the non-combusted fuel.
XDo not start the vehicle using a rapid charging device.
If your vehicle's battery is discharged, the engine can be jump-started from another vehicle or
from a donor battery using jumper cables.
The battery is not accessible in all vehicles. If the other vehicle's battery is not accessible, jump-start
the vehicle using a donor battery or a jump-starting device.
Observe the following during the jump-starting procedure:
Rthe jumper cables must not come into contact with parts that can move when the engine is
running, such as the V-belt pulley or the fan.
Rnon-insulated parts of the terminal clamps must not come into contact with other metal parts
while the jumper cables are connected to the battery and the jump-starting connection point.
Ronly use jumper cables that are not damaged and have a sufficient cross-section and insulated
terminal clamps.
Rjump-starting may be performed only using batteries with a nominal voltage of 12 V.
Ryou may only jump-start the vehicle when the engine and exhaust system are cold.
Rthe vehicles must not touch each other.
RIf the battery is fully discharged, leave the battery that is being used to jump-start connected for
a few minutes before attempting to start. This charges the battery slightly.
XSecure the vehicle by applying the electric parking brake.
XShift the transmission to position j.
XMake sure the ignition and all electrical consumers are switched off.
All indicator lamps in the instrument cluster must be off. When using the SmartKey, turn the
SmartKey to positionuin the ignition lock and remove it (
Ypage 106).
XOpen the hood.
iRight-hand-drive vehicle: the jump-starting connection points may be located on the other
side of the vehicle.
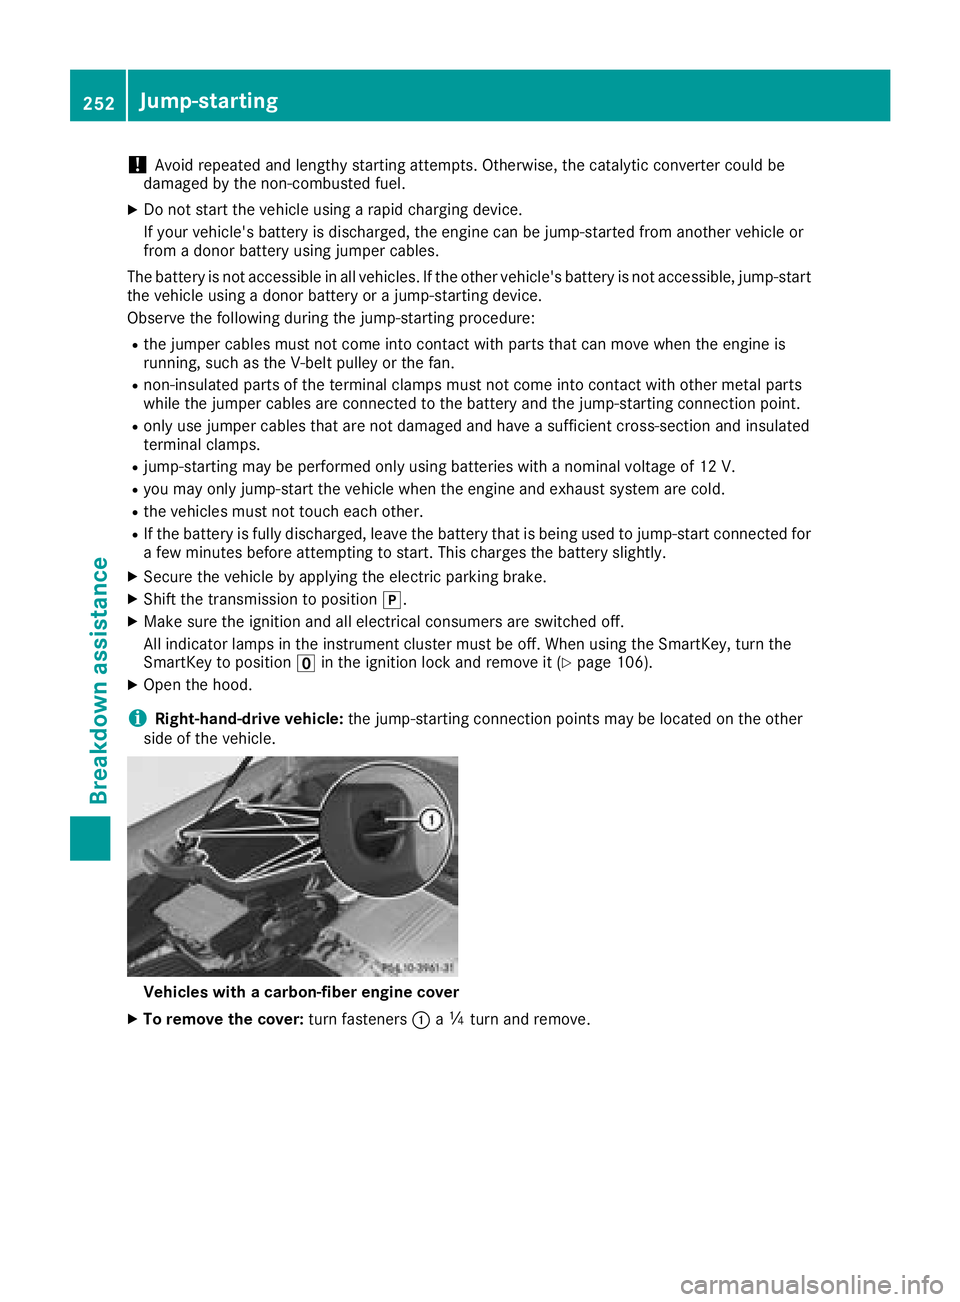
Vehicles with a carbon-fiber engine cover
XTo remove the cover: turn fasteners:aÕ turn and remove.
252Jump-starting
Breakdown assistance