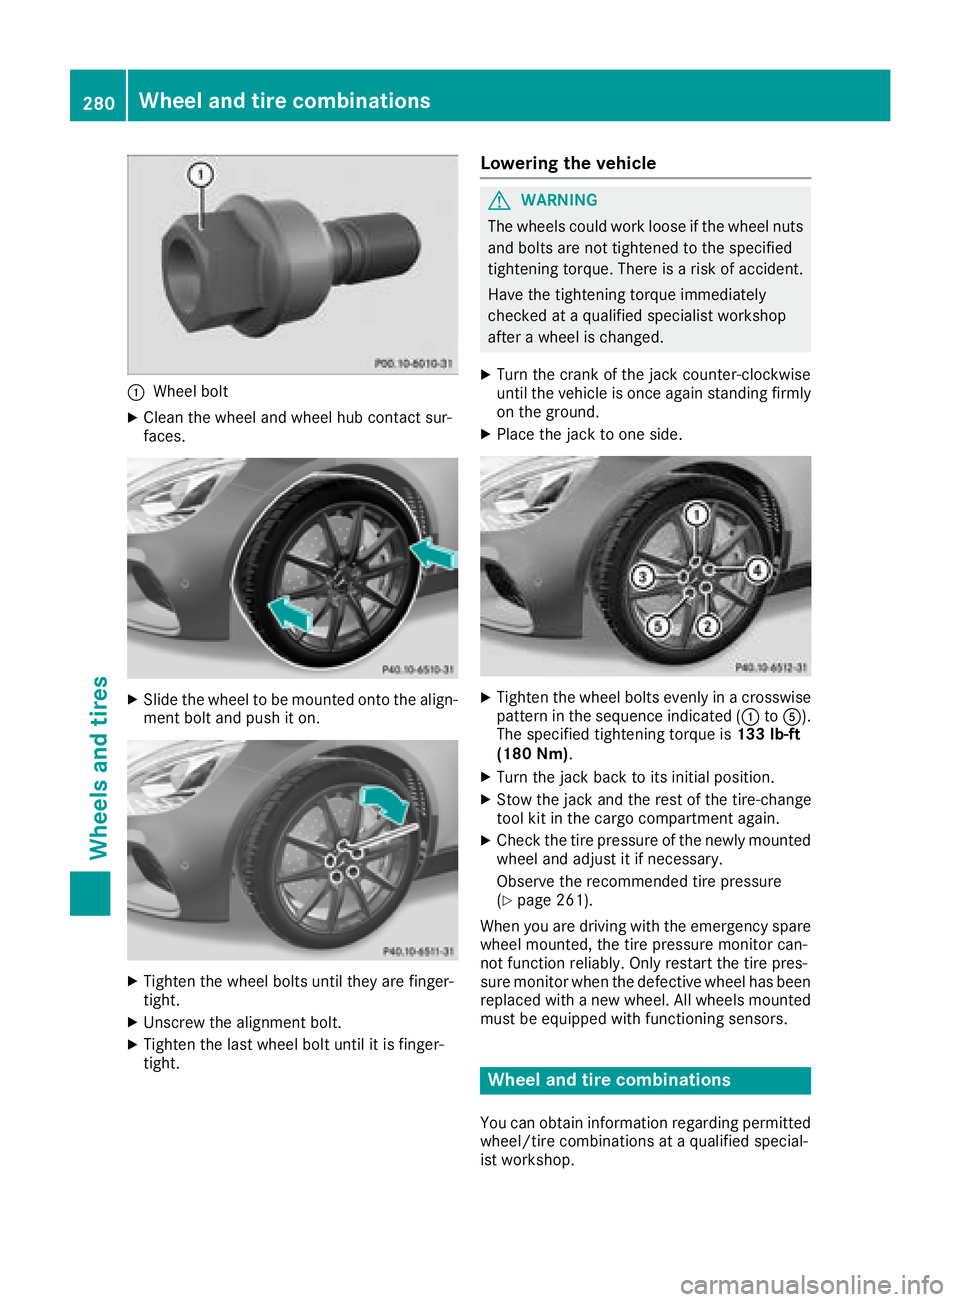
:Wheel bolt
XClean the wheel and wheel hub contact sur-
faces.
XSlide the wheel to be mounted onto the align-
ment bolt and push it on.
XTighten the wheel bolts until they are finger-
tight.
XUnscrew the alignment bolt.
XTighten the last wheel bolt until it is finger-
tight.
Lowering the vehicle
GWARNING
The wheels could work loose if the wheel nuts and bolts are not tightened to the specified
tightening torque. There is a risk of accident.
Have the tightening torque immediately
checked at a qualified specialist workshop
after a wheel is changed.
XTurn the crank of the jack counter-clockwise
until the vehicle is once again standing firmly
on the ground.
XPlace the jack to one side.
XTighten the wheel bolts evenly in a crosswisepattern in the sequence indicated (: toA).
The specified tightening torque is 133 lb-ft
(180 Nm).
XTurn the jack back to its initial position.
XStow the jack and the rest of the tire-change
tool kit in the cargo compartment again.
XCheck the tire pressure of the newly mounted
wheel and adjust it if necessary.
Observe the recommended tire pressure
(
Ypage 261).
When you are driving with the emergency spare
wheel mounted, the tire pressure monitor can-
not function reliably. Only restart the tire pres-
sure monitor when the defective wheel has been replaced with a new wheel. All wheels mounted
must be equipped with functioning sensors.
Wheel and tire combinations
You can obtain information regarding permitted
wheel/tire combinations at a qualified special-
ist workshop.
280Wheel and tire combinations
Wheels and tires