2018 MERCEDES-BENZ AMG GT COUPE key
[x] Cancel search: keyPage 148 of 294

Rif the camera lens is dirty or obstructed.
Observe the notes on cleaning
(
Ypage 242)
Rif the rear of your vehicle is damaged. In this
case, have the camera position and setting
checked at a qualified specialist workshop
The field of vision and other functions of the
reversing camera may be restricted due to addi-
tional accessories on the rear of the vehicle (e.g. license plate holder).
The guide lines in the multimedia system display
show the distances to your vehicle. The distan-
ces only apply to road level.
Activating/deactivating the rear view
camera
XTo activate: ensure that SmartKey position
2 has been selected with the Start/Stop
button.
XMake sure that the Activation by R gearfunction is selected in the multimedia system
(see the Digital Owner's Manual).
XEngage reverse gear.
The area behind the vehicle is shown with
guide lines in the multimedia system display.
The image from the rear view camera is avail-
able throughout the maneuvering process.
To deactivate: the rear view camera deacti-
vates if you shift the transmission to jor after
driving forwards a short distance.
Messages in the multimedia system dis-
play
The rear view camera may show a distorted view
of obstacles, show them incorrectly or not at all.
Obstacles are not shown by the rear view cam-
era in the following locations:
Rvery close to the rear bumper
Runder the rear bumper
!Objects not at ground level may appear to
be further away than they actually are, e.g.:
Rthe bumper of a parked vehicle
Rthe drawbar of a trailer
Rthe ball coupling of a trailer tow hitch
Rthe rear section of an HGV
Ra slanted post Use the guidelines only for orientation.
Approach objects no further than the bottom-
most guideline.
:Yellow guide line at a distance of approx-
imately 13 ft (4.0 m) from the rear of the
vehicle
;White guide line without steering input –
vehicle width including the exterior mirrors
(static)
=Yellow guide line for the vehicle width
including the exterior mirrors, at the current
steering wheel angle (dynamic)
?Yellow lane marking the course the tires will
take at the current steering wheel angle
(dynamic)
AYellow guide line at a distance of approx-
imately 3 ft (1.0 m) from the rear of the vehi-
cle
BVehicle center axle (marker assistance)
CBumper
DRed guide line at a distance of approximately
12 in (0.30 m) from the rear of the vehicle
The guide lines are shown when the transmis-
sion is in position k.
The distance specifications only apply to
objects that are at ground level.
146Driving systems
Driving and parking
Page 153 of 294
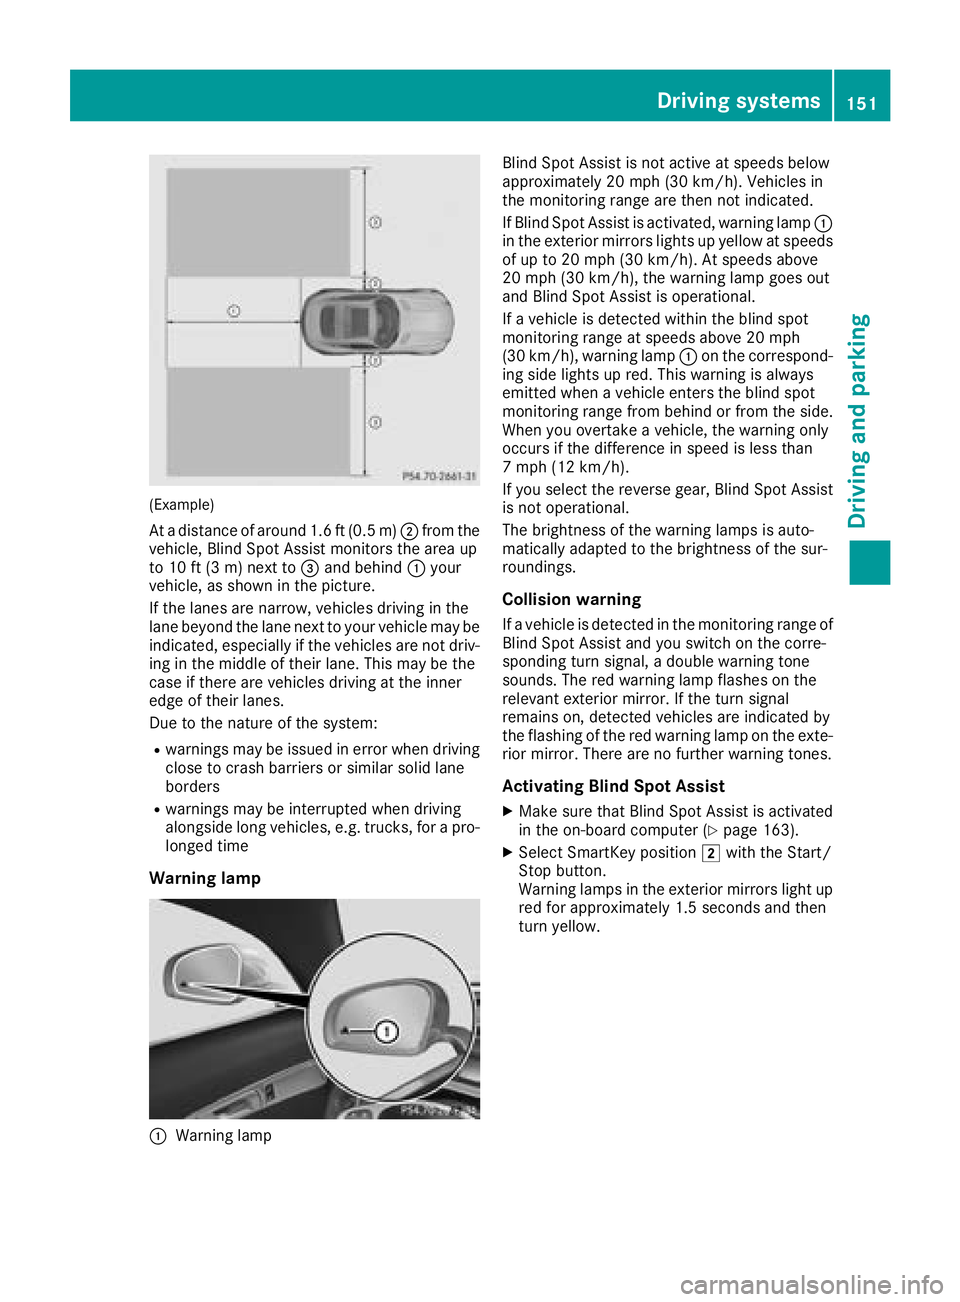
(Example)
At a distance of around 1.6 ft (0.5 m);from the
vehicle, Blind Spot Assist monitors the area up
to 10 ft (3 m) next to =and behind :your
vehicle, as shown in the picture.
If the lanes are narrow, vehicles driving in the
lane beyond the lane next to your vehicle may be
indicated, especially if the vehicles are not driv-
ing in the middle of their lane. This may be the
case if there are vehicles driving at the inner
edge of their lanes.
Due to the nature of the system:
Rwarnings may be issued in error when driving
close to crash barriers or similar solid lane
borders
Rwarnings may be interrupted when driving
alongside long vehicles, e.g. trucks, for a pro-
longed time
Warning lamp
:Warning lamp Blind Spot Assist is not active at speeds below
approximately 20 mph (30 km/h). Vehicles in
the monitoring range are then not indicated.
If Blind Spot Assist is activated, warning lamp
:
in the exterior mirrors lights up yellow at speeds
of up to 20 mph (30 km/ h). At speeds above
20 mph (30 km/h), the warning lamp goes out
and Blind Spot Assist is operational.
If a vehicle is detected within the blind spot
monitoring range at speeds above 20 mph
(30 km/h), warning lamp :on the correspond-
ing side lights up red. This warning is always
emitted when a vehicle enters the blind spot
monitoring range from behind or from the side.
When you overtake a vehicle, the warning only
occurs if the difference in speed is less than
7 mph (12 km/h).
If you select the reverse gear, Blind Spot Assist
is not operational.
The brightness of the warning lamps is auto-
matically adapted to the brightness of the sur-
roundings.
Collision warning
If a vehicle is detected in the monitoring range of
Blind Spot Assist and you switch on the corre-
sponding turn signal, a double warning tone
sounds. The red warning lamp flashes on the
relevant exterior mirror. If the turn signal
remains on, detected vehicles are indicated by
the flashing of the red warning lamp on the exte-
rior mirror. There are no further warning tones.
Activating Blind Spot Assist
XMake sure that Blind Spot Assist is activated
in the on-board computer (Ypage 163).
XSelect SmartKey position 2with the Start/
Stop button.
Warning lamps in the exterior mirrors light up
red for approximately 1.5 seconds and then
turn yellow.
Driving systems151
Driving and parking
Z
Page 157 of 294
!If the coolant temperature is too high, a dis-
play message is shown.
If the coolant temperature display is in the
area marked in red, do not continue driving.
Otherwise, the engine will be damaged.
The coolant temperature display is in the lower
section of the tachometer (
Ypage 34).
Under normal operating conditions and with the
specified coolant level, the coolant temperature
display may rise to the red marking.
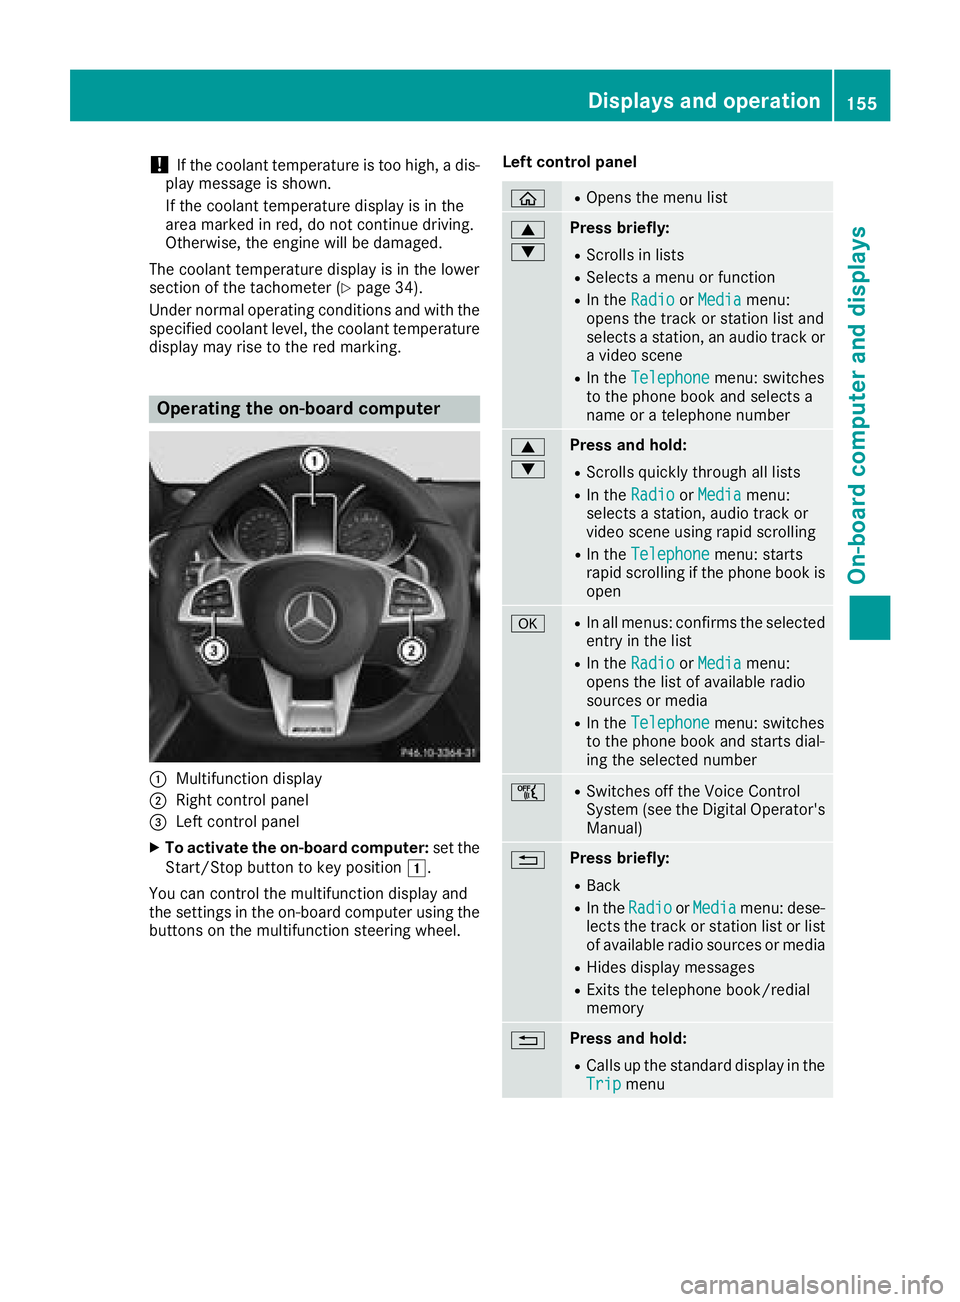
Operating the on-board computer
:Multifunction display
;Right control panel
=Left control panel
XTo activate the on-board computer: set the
Start/Stop button to key position 1.
You can control the multifunction display and
the settings in the on-board computer using the
buttons on the multifunction steering wheel. Left control panel
òROpens the menu list
9
:Press briefly:
RScrolls in lists
RSelects a menu or function
RIn the
RadioorMediamenu:
opens the track or station list and
selects a station, an audio track or
a video scene
RIn the Telephonemenu: switches
to the phone book and selects a
name or a telephone number
9
:Press and hold:
RScrolls quickly through all lists
RIn the RadioorMediamenu:
selects a station, audio track or
video scene using rapid scrolling
RIn the Telephonemenu: starts
rapid scrolling if the phone book is
open
aRIn all menus: confirms the selected
entry in the list
RIn the RadioorMediamenu:
opens the list of available radio
sources or media
RIn the Telephonemenu: switches
to the phone book and starts dial-
ing the selected number
ñRSwitches off the Voice Control
System (see the Digital Operator's Manual)
%Press briefly:
RBack
RIn the RadioorMediamenu: dese-
lects the track or station list or list
of available radio sources or media
RHides display messages
RExits the telephone book/redial
memory
%Press and hold:
RCalls up the standard display in the
Tripmenu
Displays and operation155
On-board computer and displays
Z
Page 169 of 294
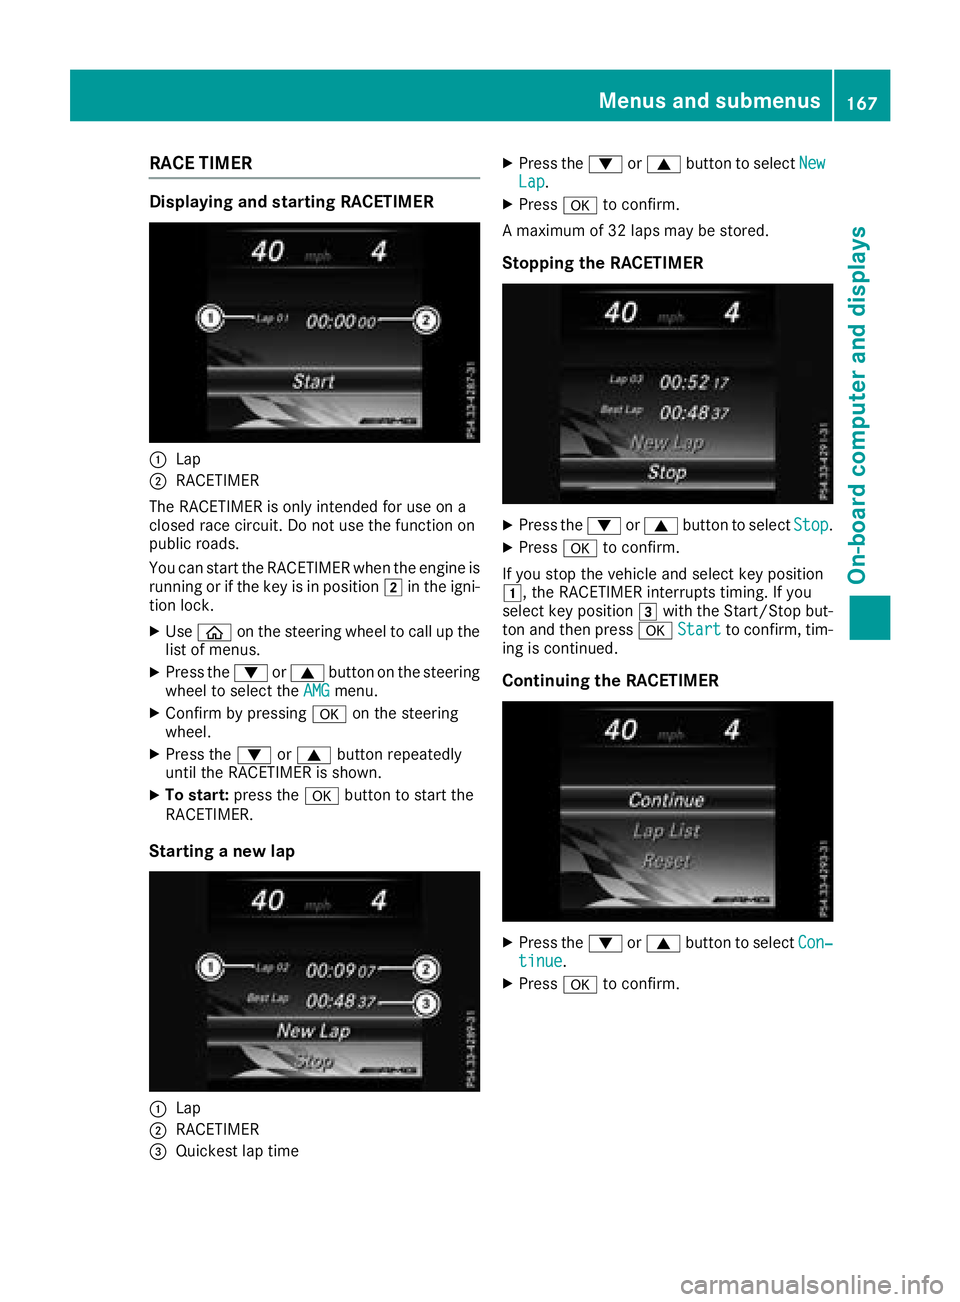
RACE TIMER
Displaying and starting RACETIMER
:Lap
;RACETIMER
The RACETIMER is only intended for use on a
closed race circuit. Do not use the function on
public roads.
You can start the RACETIMER when the engine is
running or if the key is in position 2in the igni-
tion lock.
XUse ò on the steering wheel to call up the
list of menus.
XPress the :or9 button on the steering
wheel to select the AMGmenu.
XConfirm by pressing aon the steering
wheel.
XPress the :or9 button repeatedly
until the RACETIMER is shown.
XTo start: press the abutton to start the
RACETIMER.
Starting a new lap
:Lap
;RACETIMER
=Quickest lap time
XPress the :or9 button to select NewLap.
XPressato confirm.
A maximum of 32 laps may be stored.
Stopping the RACETIMER
XPress the :or9 button to select Stop.
XPressato confirm.
If you stop the vehicle and select key position
1, the RACETIMER interrupts timing. If you
select key position 3with the Start/Stop but-
ton and then press aStart
to confirm, tim-
ing is continued.
Continuing the RACETIMER
XPress the :or9 button to select Con‐tinue.
XPressato confirm.
Menus and submenus167
On-board computer and displays
Z
Page 194 of 294
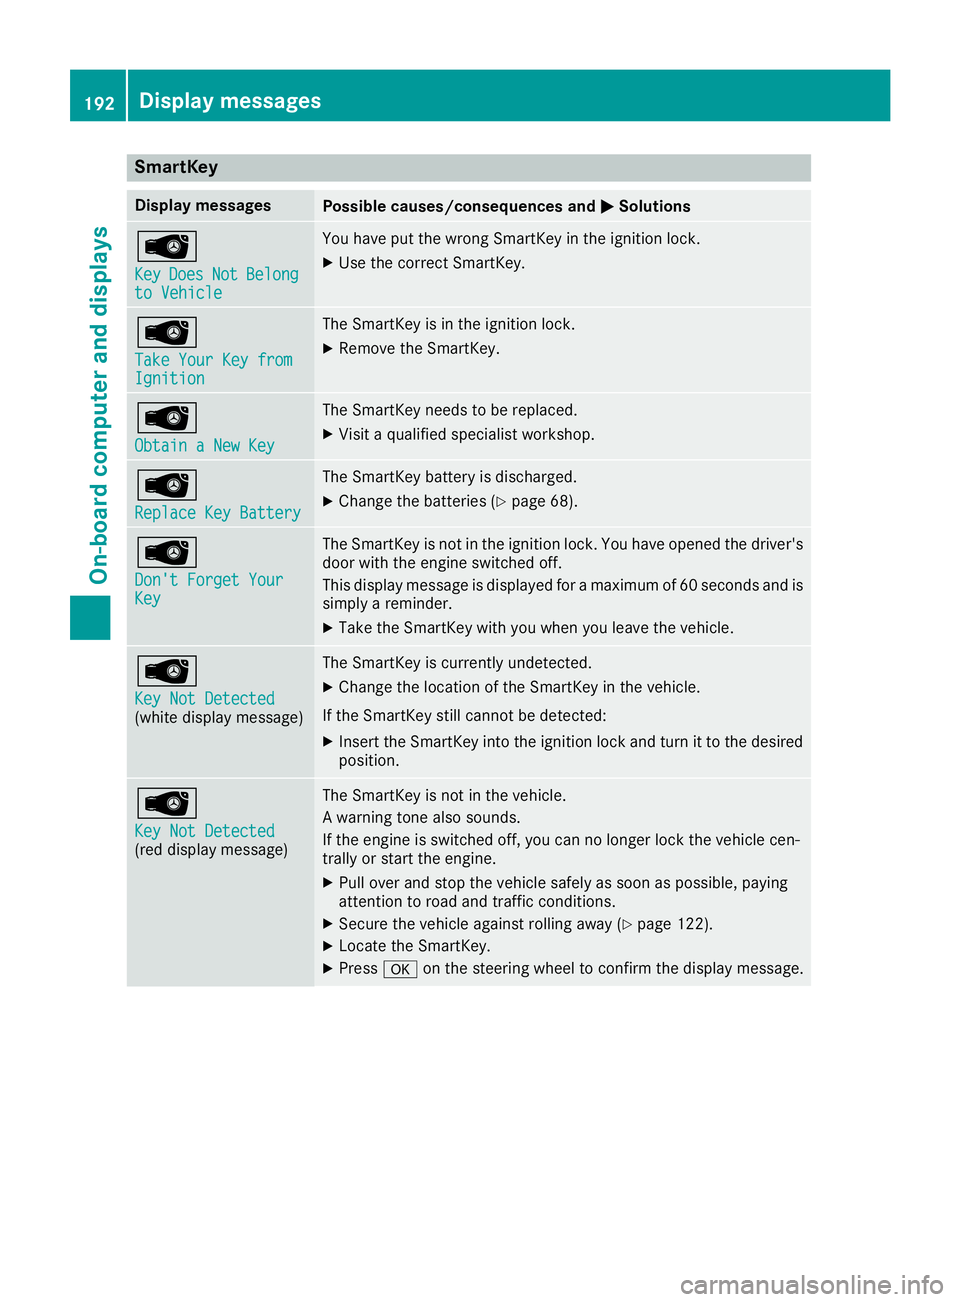
SmartKey
Display messagesPossible causes/consequences andMSolutions
Â
KeyDoesNotBelongto Vehicle
You have put the wrong SmartKey in the ignition lock.
XUse the correct SmartKey.
Â
Take Your Key fromIgnition
The SmartKey is in the ignition lock.
XRemove the SmartKey.
Â
Obtain a New Key
The SmartKey needs to be replaced.
XVisit a qualified specialist workshop.
Â
Replace Key Battery
The SmartKey battery is discharged.
XChange the batteries (Ypage 68).
Â
Don't Forget YourKey
The SmartKey is not in the ignition lock. You have opened the driver's
door with the engine switched off.
This display message is displayed for a maximum of 60 seconds and is
simply a reminder.
XTake the SmartKey with you when you leave the vehicle.
Â
Key Not Detected(white display message)
The SmartKey is currently undetected.
XChange the location of the SmartKey in the vehicle.
If the SmartKey still cannot be detected:
XInsert the SmartKey into the ignition lock and turn it to the desired position.
Â
Key Not Detected(red display message)
The SmartKey is not in the vehicle.
A warning tone also sounds.
If the engine is switched off, you can no longer lock the vehicle cen-
trally or start the engine.
XPull over and stop the vehicle safely as soon as possible, paying
attention to road and traffic conditions.
XSecure the vehicle against rolling away (Ypage 122).
XLocate the SmartKey.
XPress aon the steering wheel to confirm the display message.
192Display messages
On-board computer and displays
Page 195 of 294
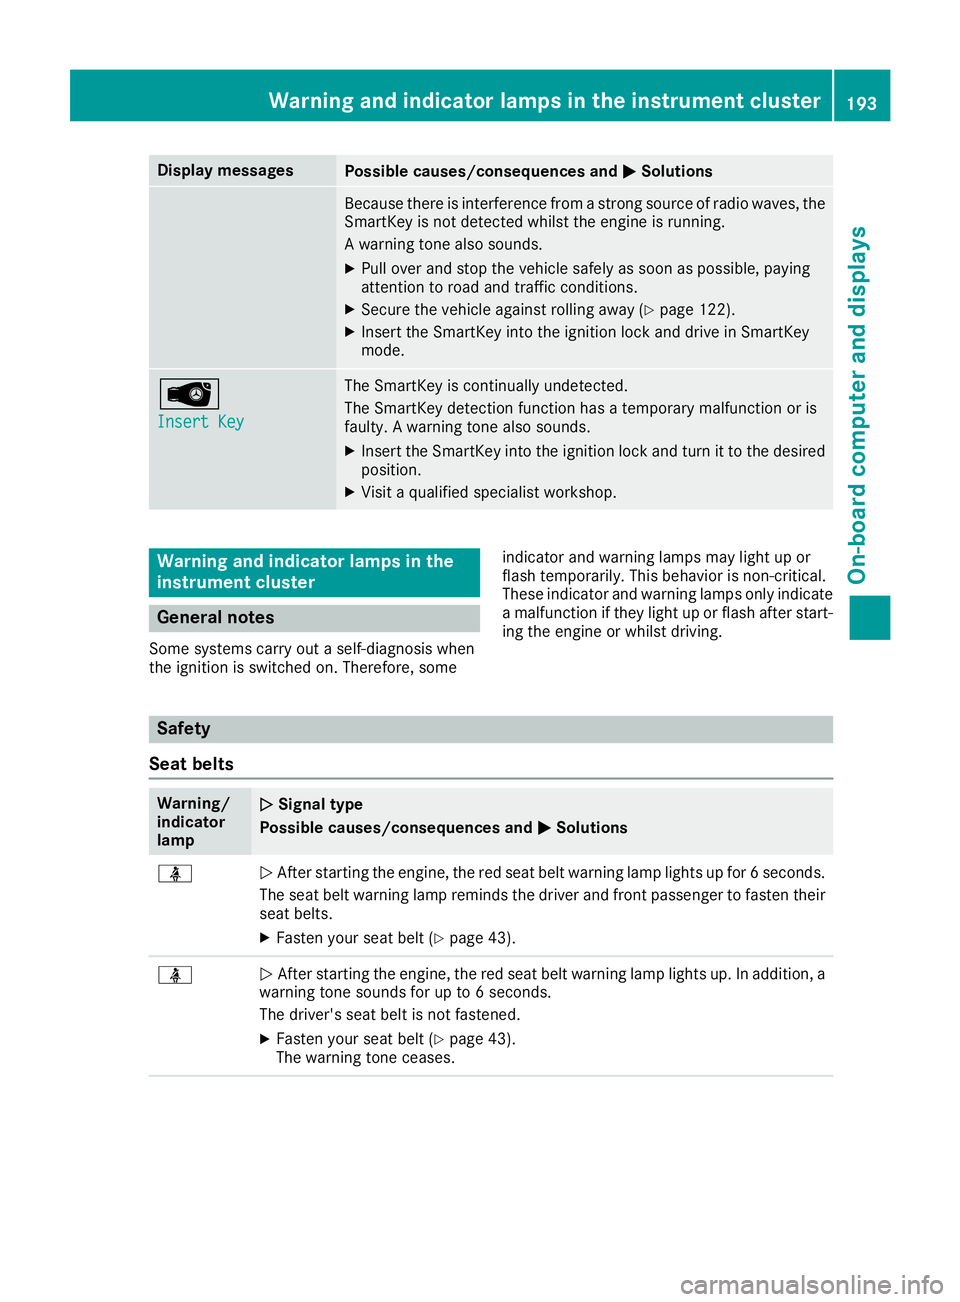
Display messagesPossible causes/consequences andMSolutions
Becausethere is interferenc efrom astron gsource of radi owaves, th e
SmartKey is no tdetecte dwhils tth eengin eis running.
A warning tone also sounds.
XPull ove rand stop th evehicl esafely as soo nas possible, payin g
attention to roa dand traffic conditions.
XSecur eth evehicl eagainst rollin gaway (Ypage 122).
XInsertth eSmartKey int oth eignition loc kand drive in SmartKey
mode.
Â
Insert Key
The SmartKey is continually undetected.
The SmartKey detection function has atemporar ymalfunction or is
faulty. Awarning tone also sounds.
XInser tth eSmartKey int oth eignition loc kand tur nit to th edesire d
position .
XVisitaqualified specialist workshop .
Warning and indicat orlamps in the
instrume nt cluster
General notes
Some systems carry out aself-diagnosis when
th eignition is switched on .Therefore ,som e indicator and warning lamp
smay ligh tup or
flas htemporarily. This behavio ris non-critical .
These indicator and warning lamp sonly indicat e
a malfunction if they ligh tup or flas hafter start -
ing th eengin eor whils tdriving.
Safety
Seat belts
Warning/
indicator
lam pNSignal type
Possible causes/consequences and M
Solutions
üNAfte rstarting th eengine, th ered seat belt warning lamp lights up for 6seconds .
The seat belt warning lamp remind sth edriver and fron tpassenger to faste ntheir
seat belts.
XFaste nyour seat belt (Ypage 43).
üNAfte rstarting th eengine, th ered seat belt warning lamp lights up. In addition , a
warning tone sounds for up to 6seconds.
The driver's seat belt is no tfastened.
XFaste nyour seat belt (Ypage 43).
The warning tone ceases .
Warning and indicator lamps in the instrument cluster193
On-board computer and displays
Z
Page 212 of 294
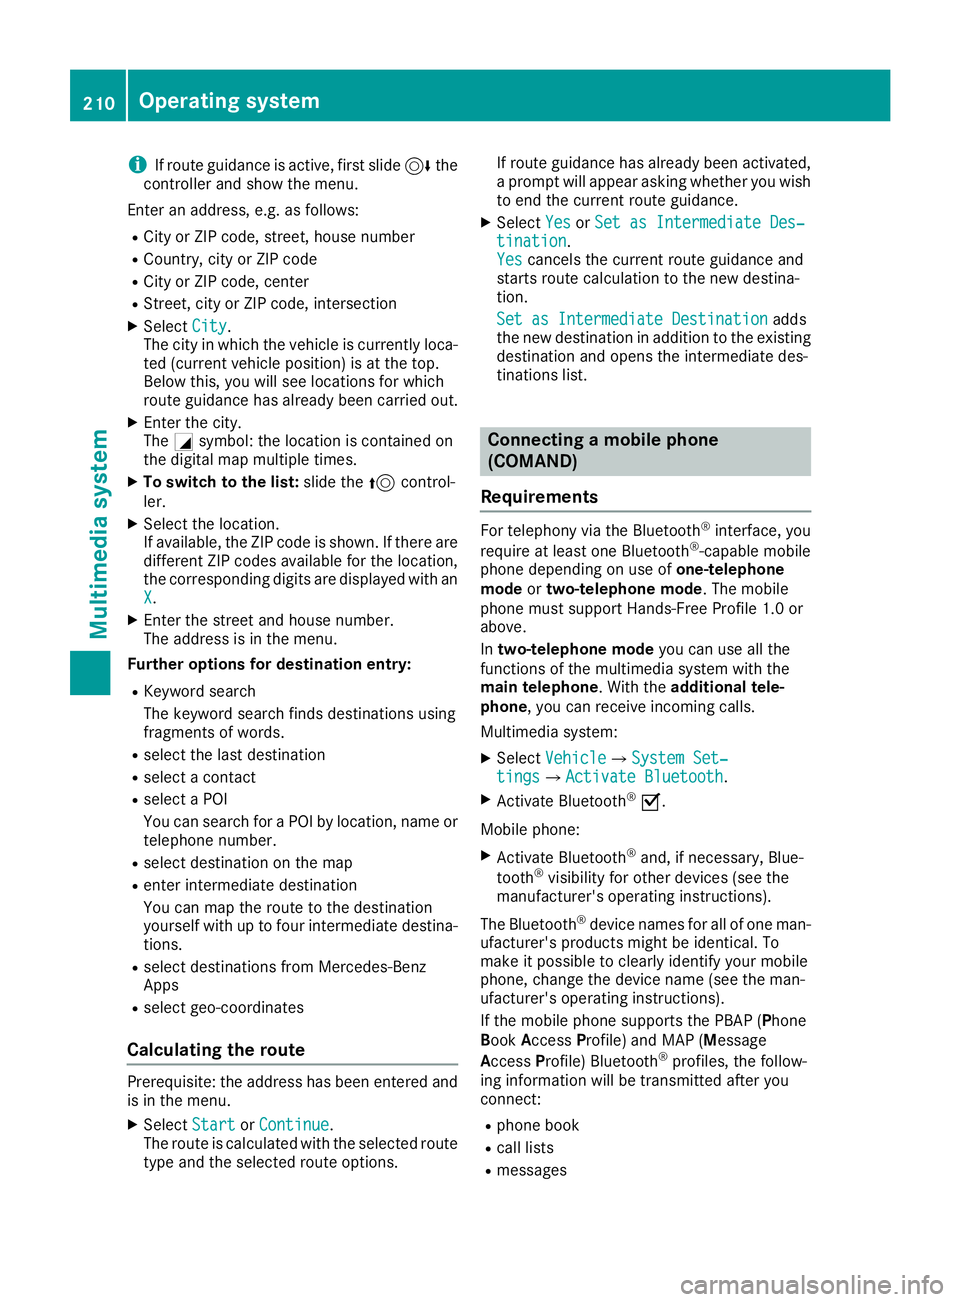
iIf route guidance is active, first slide6the
controller and show the menu.
Enter an address, e.g. as follows:
RCity or ZIP code, street, house number
RCountry, city or ZIP code
RCity or ZIP code, center
RStreet, city or ZIP code, intersection
XSelect City.
The city in which the vehicle is currently loca-
ted (current vehicle position) is at the top.
Below this, you will see locations for which
route guidance has already been carried out.
XEnter the city.
The Gsymbol: the location is contained on
the digital map multiple times.
XTo switch to the list: slide the5control-
ler.
XSelect the location.
If available, the ZIP code is shown. If there are
different ZIP codes available for the location,
the corresponding digits are displayed with an
X
.
XEnter the street and house number.
The address is in the menu.
Further options for destination entry:
RKeyword search
The keyword search finds destinations using
fragments of words.
Rselect the last destination
Rselect a contact
Rselect a POI
You can search for a POI by location, name or
telephone number.
Rselect destination on the map
Renter intermediate destination
You can map the route to the destination
yourself with up to four intermediate destina-
tions.
Rselect destinations from Mercedes-Benz
Apps
Rselect geo-coordinates
Calculating the route
Prerequisite: the address has been entered and
is in the menu.
XSelect StartorContinue.
The route is calculated with the selected route
type and the selected route options. If route guidance has already been activated,
a prompt will appear asking whether you wish
to end the current route guidance.
XSelect
YesorSet as Intermediate Des‐tination.
Yescancels the current route guidance and
starts route calculation to the new destina-
tion.
Set as Intermediate Destination
adds
the new destination in addition to the existing
destination and opens the intermediate des-
tinations list.
Connecting a mobile phone
(COMAND)
Requirements
For telephony via the Bluetooth®interface, you
require at least one Bluetooth®-capable mobile
phone depending on use of one-telephone
mode ortwo-telephone mode. The mobile
phone must support Hands-Free Profile 1.0 or
above.
In two-telephone mode you can use all the
functions of the multimedia system with the
main telephone. With the additional tele-
phone , you can receive incoming calls.
Multimedia system:
XSelect VehicleQSystem Set‐tingsQActivate Bluetooth.
XActivate Bluetooth®O.
Mobile phone:
XActivate Bluetooth®and, if necessary, Blue-
tooth®visibility for other devices (see the
manufacturer's operating instructions).
The Bluetooth
®device names for all of one man-
ufacturer's products might be identical. To
make it possible to clearly identify your mobile
phone, change the device name (see the man-
ufacturer's operating instructions).
If the mobile phone supports the PBAP (Phone
Book Access Profile) and MAP (Message
A ccess Profile) Bluetooth
®profiles, the follow-
ing information will be transmitted after you
connect:
Rphone book
Rcall lists
Rmessages
210Operating system
Multimedia system
Page 213 of 294
iFurther information on suitable mobile
phones can be obtained on the Internet at:
http://www.mercedes-benz.com/
connect
iIn the USA, you can get in touch with the
Mercedes-Benz Customer Assistance Center
on 1-800-FOR-MERCede s(1-800-367-6372).
In Canada, you can get in touch with the Cus-
tomer Relations Center on 1-800-387-0100.
Searching for and authorizing a mobile
phone
Before using your mobile phone with the multi-
media system for the first time, you will need to search for the phone and then authorize (con-
nect) it. Depending on the mobile phone, author-
ization either takes place by means of Secure
Simple Pairing or by entering a passkey. The
multimedia system automatically makes the
procedure that is relevant for your mobile phone
available. The mobile phone is always connec-
ted automatically after authorization. Further
information on using a mobile phone with the
multimedia system (see the Digital Operator's
Manual).
If the multimedia system does not detect your
mobile phone, this may be due to particular
security settings on your mobile phone (see the
manufacturer's operating instructions).
Only one mobile phone can be connected to themultimedia system at any one time.
Searching for a mobile phone
Multimedia system:
XSelect PhoneQConnect DeviceQCon‐nect Another Device.
XOne-telephone mode: selectMain Phone.
XTwo-telephone mode: selectAdditional
Phone (Incoming Calls Only)when a
mobile phone is already connected.
XSelect Start Search.
XSelect mobile phone.
Connecting a mobile phone
Authorization via Secure Simple Pairing
XThe code on the multimedia system and
mobile phone are the same: selectYes
on
the multimedia system.
XConfirm the code on the mobile phone, if
required. Depending on the mobile phone
used, confirm the connection to the multime- dia system and for the PBAP and MAP Blue-
tooth
®profiles. The prompt to confirm may
take up to two minutes to be displayed (see
the manufacturer's operating instructions).
XIf the codes are different: selectNoon the
multimedia system.
The process is canceled.
Repeat authorization.
Authorization via passkey entry (access code)
XChoose a one to sixteen-digit number combi- nation as a passkey.
XEnter the passkey on the multimedia system.
XPress ¬to confirm.
XEnter and confirm the passkey on the mobile
phone. Depending on the mobile phone used,
confirm the connection to the multimedia sys-
tem and for the PBAP and MAP Bluetooth
®
profiles. The prompt to confirm may take up
to two minutes to be displayed (see the man-
ufacturer's operating instructions).
Media mode
General notes
If you wish to play external media sources, the
appropriate media mode must already be turned
on. Further information on media mode (see the
Digital Operator's Manual).
The following external media sources can be
used:
RApple®devices (e.g. iPhone®)
RUSB devices (e.g. USB stick, MP3 player)
RCD/DVD (COMAND)
RSD cards (COMAND)
RVia devices connected by Bluetooth®
iInformation on the single DVD drive (see the
Digital Operator's Manual).
Activating media mode
Multimedia system:
XSelect MediaQDevices.
The available media sources will be shown.
XSelect the media source.
Playable files are played.
Operating system211
Multimedia system
Z