Page 381 of 497

6-19
What to do in an emergency
6
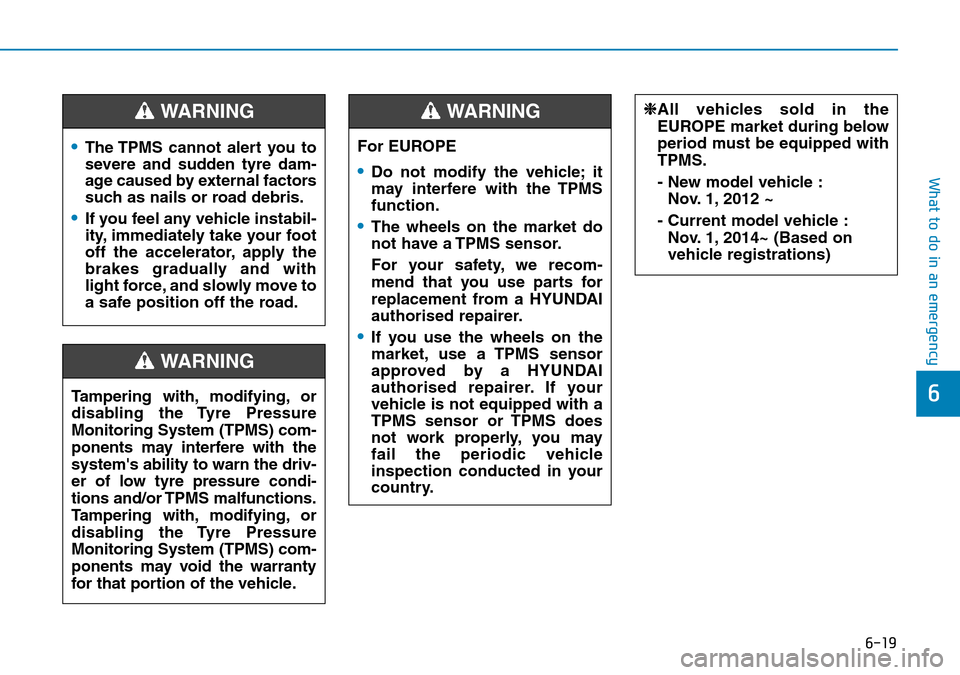
•The TPMS cannot alert you to
severe and sudden tyre dam-
age caused by external factors
such as nails or road debris.
•If you feel any vehicle instabil-
ity, immediately take your foot
off the accelerator, apply the
brakes gradually and with
light force, and slowly move to
a safe position off the road.
WARNING
Tampering with, modifying, or
disabling the Tyre Pressure
Monitoring System (TPMS) com-
ponents may interfere with the
system's ability to warn the driv-
er of low tyre pressure condi-
tions and/or TPMS malfunctions.
Tampering with, modifying, or
disabling the Tyre Pressure
Monitoring System (TPMS) com-
ponents may void the warranty
for that portion of the vehicle.
WARNING
For EUROPE
•Do not modify the vehicle; it
may interfere with the TPMS
function.
•The wheels on the market do
not have a TPMS sensor.
For your safety, we recom-
mend that you use parts for
replacement from a HYUNDAI
authorised repairer.
•If you use the wheels on the
market, use a TPMS sensor
approved by a HYUNDAI
authorised repairer. If your
vehicle is not equipped with a
TPMS sensor or TPMS does
not work properly, you may
fail the periodic vehicle
inspection conducted in your
country.
❈All vehicles sold in the
EUROPE market during below
period must be equipped with
TPMS.
- New model vehicle :Nov. 1, 2012 ~
- Current model vehicle : Nov. 1, 2014~ (Based on
vehicle registrations)WARNING
Page 396 of 497

6-34
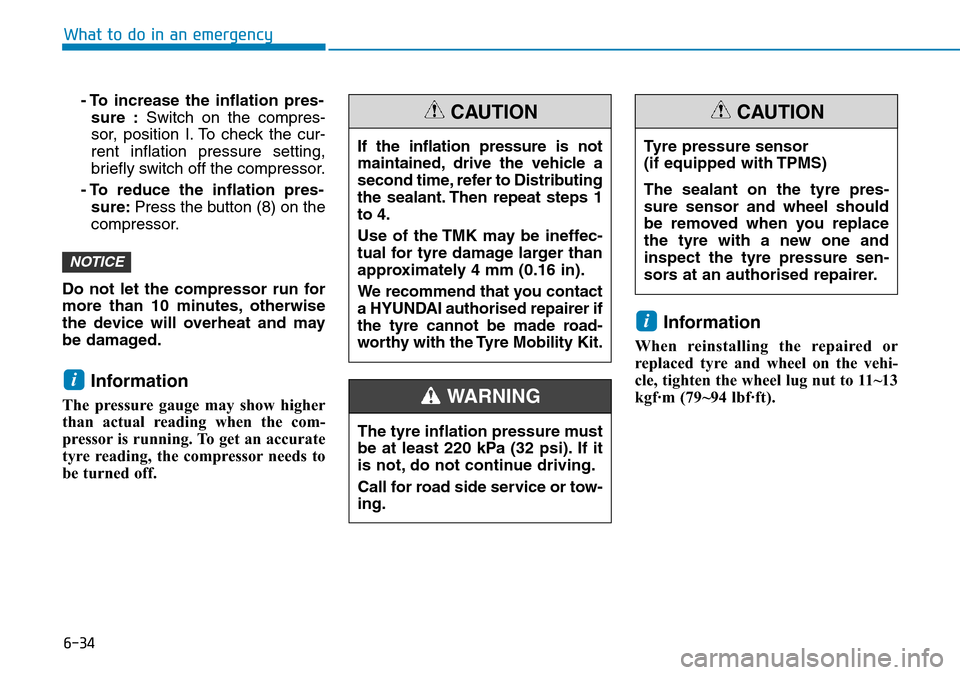
What to do in an emergency- To increase the inflation pres-sure : Switch on the compres-
sor, position I. To check the cur-
rent inflation pressure setting,
briefly switch off the compressor.
- To reduce the inflation pres- sure: Press the button (8) on the
compressor.
Do not let the compressor run for
more than 10 minutes, otherwise
the device will overheat and may
be damaged.
Information
The pressure gauge may show higher
than actual reading when the com-
pressor is running. To get an accurate
tyre reading, the compressor needs to
be turned off.
Information
When reinstalling the repaired or
replaced tyre and wheel on the vehi-
cle, tighten the wheel lug nut to 11~13
kgf·m (79~94 lbf·ft).
i
i
NOTICE
The tyre inflation pressure must
be at least 220 kPa (32 psi). If it
is not, do not continue driving.
Call for road side service or tow-
ing.
WARNING
If the inflation pressure is not
maintained, drive the vehicle a
second time, refer to Distributing
the sealant. Then repeat steps 1
to 4.
Use of the TMK may be ineffec-
tual for tyre damage larger than
approximately 4 mm (0.16 in).
We recommend that you contact
a HYUNDAI authorised repairer if
the tyre cannot be made road-
worthy with the Tyre Mobility Kit.
CAUTION
Tyre pressure sensor
(if equipped with TPMS)
The sealant on the tyre pres-
sure sensor and wheel should
be removed when you replace
the tyre with a new one and
inspect the tyre pressure sen-
sors at an authorised repairer.
CAUTION
Page 403 of 497
![Hyundai Kona 2018 Owners Manual - RHD (UK, Australia) 6-41
What to do in an emergency
6
Information
When reinstalling the repaired or
replaced tyre and wheel on the vehi-
cle, tighten the wheel lug nut to 11~13
kgf·m (79~94 lbf·ft).
Towing service
[A] Hyundai Kona 2018 Owners Manual - RHD (UK, Australia) 6-41
What to do in an emergency
6
Information
When reinstalling the repaired or
replaced tyre and wheel on the vehi-
cle, tighten the wheel lug nut to 11~13
kgf·m (79~94 lbf·ft).
Towing service
[A]](/manual-img/35/16232/w960_16232-402.png)
6-41
What to do in an emergency
6
Information
When reinstalling the repaired or
replaced tyre and wheel on the vehi-
cle, tighten the wheel lug nut to 11~13
kgf·m (79~94 lbf·ft).
Towing service
[A] : Dollies
If emergency towing is necessary,
we recommend having it done by a
HYUNDAI authorised repairer or a
commercial tow-truck service.
Proper lifting and towing procedures
are necessary to prevent damage to
the vehicle. The use of wheel dollies
or flatbed is recommended.On 2WD vehicles, it is acceptable to
tow the vehicle with the rear wheels
on the ground (without dollies) and
the front wheels off the ground.
If any of the loaded wheels or sus-
pension components are damaged
or the vehicle is being towed with the
front wheels on the ground, use a
towing dolly under the front wheels.
When being towed by a commercial
tow truck and wheel dollies are not
used, the front of the vehicle should
always be lifted, not the rear.
i
Tyre pressure sensor
(if equipped with TPMS)
The sealant on the tyre pres-
sure sensor and wheel should
be removed when you replace
the tyre with a new one and
inspect the tyre pressure sen-
sors at an authorised repairer.
CAUTION
The tyre inflation pressure must
be at least 220 kPa (32 psi). If it
is not, do not continue driving.
Call for road side service or
towing.
WARNING
TOWING
OOS067007L
The 4WD vehicle should never
be towed with the wheels on the
ground. This can cause serious
damage to the transaxle or the
4WD system.
CAUTION
Page 404 of 497
6-42
What to do in an emergencyWhen towing your vehicle in an
emergency without wheel dollies:
1. Place the ignition switch in theACC position.
2. Place the shift lever in N (Neutral).
3. Release the parking brake.
Removable towing hook
1. Open the tailgate, and remove the towing hook from the tool case.
•Do not tow the vehicle with the
front wheels on the ground as
this may cause damage to the
vehicle.
•Do not tow with sling-type
equipment. Use wheel lift or
flatbed equipment.
CAUTION
OOS067022
OOS067021
Failure to place the shift lever in
N (Neutral) may cause internal
damage to the transmission.
CAUTION
If your vehicle is equipped with
a rollover sensor, place the igni-
tion switch in the LOCK/OFF or
ACC position when the vehicle
is being towed. The side impact
and curtain air bag may deploy
if the sensor detects the situa-
tion as a rollover.
WARNING
OOS067023
OOS067041
■Front
■Rear
Page 426 of 497

7-19
7
Maintenance
Information
If the vehicle is operated in extremely
dusty or sandy areas, replace the element
more often than the usual recommended
intervals.
• Do not drive with the air cleanerfilter removed. This will result in
excessive engine wear.
• When removing the air cleaner filter, be careful that dust or dirt
does not enter the air intake, or
damage may result.
• Use HYUNDAI genuine parts. Use of non-genuine parts could
damage the air flow sensor.
Filter inspection
If the vehicle is operated in the
severely air-polluted cities or on
dusty rough roads for a long period,
it should be inspected more fre-
quently and replaced earlier. When
you, the owner, replace the climate
control air filter, replace it performing
the following procedure, and be care-
ful to avoid damaging other compo-
nents.
Replace the filter according to the
Maintenance Schedule.
Filter replacement
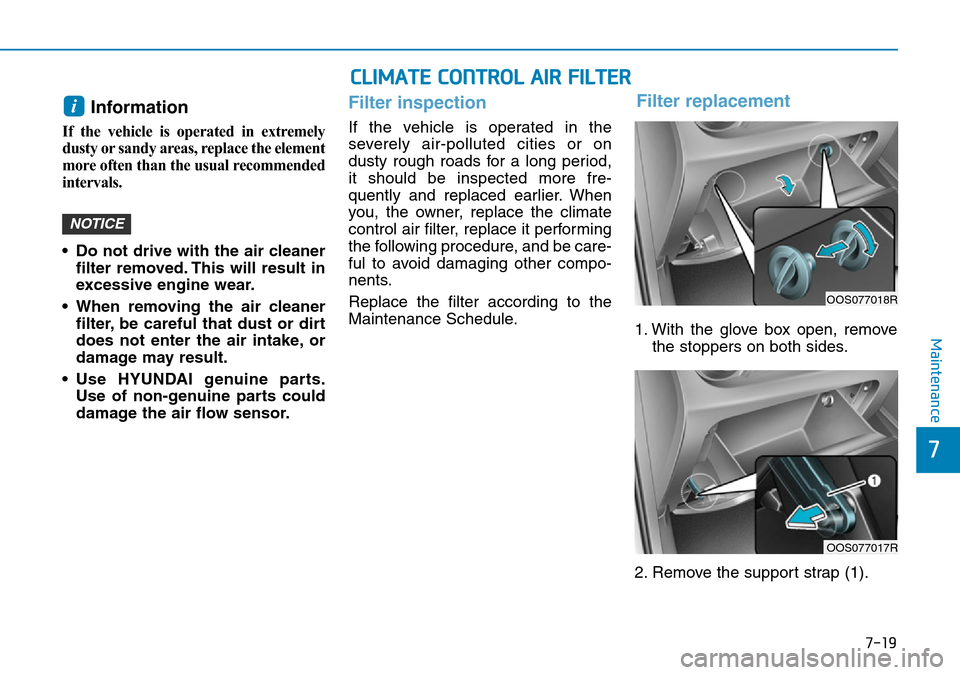
1. With the glove box open, remove the stoppers on both sides.
2. Remove the support strap (1).
NOTICE
i
CLIMATE CONTROL AIR FILTER
OOS077018R
OOS077017R
Page 450 of 497
7-43
7
Maintenance
Driver's side fuse Panel
Fuse NameSymbolFuse RatingCircuit Protected
ROOM LP7.5AGlove Box Lamp, Vanity Lamp LH/RH, Room Lamp, Overhead Console Lamp,
Wiresess Charger Unit, Driver Console Switch (With Wiresess), Luggage Lamp
SpareSpare7.5ASpare
B/Alarm10AICM Relay Box (Burglar Alarm Horn Relay)
MEMORYMEMORY10AA/C Control Module, Head Up Display, Instrument Cluster, BCM,
ICM Relay Box (Outside Folding/Unfoling Relay), Rain Sensor
SpareSpare20ASpare
AMPAMP30AISG DC-DC Convertor, AMP
MODULE6MODULE67.5ASmart Key Control Module, BCM
MDPS17.5AMDPS Unit
MODULE1MODULE17.5AActive Air Flap, Driver Console Switch (W/O Wiresess Charger),
Hazard Switch, Data Link Connector
MODULE7MODULE77.5AFront Air Ventilation Seat Module, Front Seat Warmer Module
A/BAG INDIND7.5AInstrument Cluster, A/C Control Modulee
BRAKE
SWITCHBRAKE
SWITCH7.5AStop Lamp Switch, Smart Key Control Module
Page 457 of 497
7-50
Maintenance
Fuse NameSymbolFuse RatingCircuit Protected
SENSOR2S210APCB Block (A/CON Relay), E/R Junction Block (RLY.9), Purge Control Solenoid Valve,
RCV Control Solenoid Valve, Oil Control Valve #1~#2
ECU2E210AECM
ECU1E120AECM
INJECTORINJECTOR15A-
SENSOR1S115AOxygen Sensor (Up), Oxygen Sensor (Down)
IGN COILIGN COIL20AIgnition Coil #1~#4
ECU3E315AECM
A/CON10APCB Block (A/CON Relay)
ECU5E510AECM
SENSOR4S415AVacuum Pump
ABS3310AESC Control Module, Multipurpose Check Connector
TCM2T215ATCM, Transaxle Range Switch
Engine compartment fuse panel
■ Gamma 1.6 T-GDI
Page 458 of 497
7-51
7
Maintenance
Fuse NameSymbolFuse RatingCircuit Protected
SENSOR3S310AE/R Junction Block (RLY.7)
ECU4E415AECM
H/LAMP10APCB Block (Head Lamp(High) Relay)
HORN15APCB Block (Horn Relay)
Engine compartment fuse panel
■ Kappa 1.0 T-GDI
Fuse NameSymbolFuse RatingCircuit Protected
SENSOR2S210APCB Block (A/CON Relay), E/R Junction Block (RLY.9), RCV Control Solenoid Valve,
Purge Control Solenoid Valve, Oil Control Valve #1~#3
ECU2E210AECM
ECU1E120AECM
INJECTORINJECTOR15A-
SENSOR1S115AOxygen Sensor (Up), Oxygen Sensor (Down)