2018 FORD F250 SUPER DUTY child lock
[x] Cancel search: child lockPage 38 of 656
Recommendations for attaching child safety restraints for children
Use any attachment method as indicated below by X
Combined weight ofchild and
child seat
Restraint
Type Safety belt
only
Safety belt
and LATCH
(lower
anchors and top tether
anchor)
Safety belt
and toptether
anchor
LATCH
(lower
anchors only)
LATCH
(lower
anchors and top tether
anchor)
X
X
Up to 65 lb
(29.5 kg)
Rear facing
child seat
X
Over
65 lb
(29.5 kg)
Rear facing
child seat
X
X
X
Up to
65 lb
(29.5 kg)
Forward
facing
child seat
X
X
Over
65 lb
(29.5 kg)
Forward
facing
child seat
Note: The child seat must rest tightly
against the vehicle seat upon which it is
installed. It may be necessary to lift or
remove the head restraint. See Seats (page
156
).
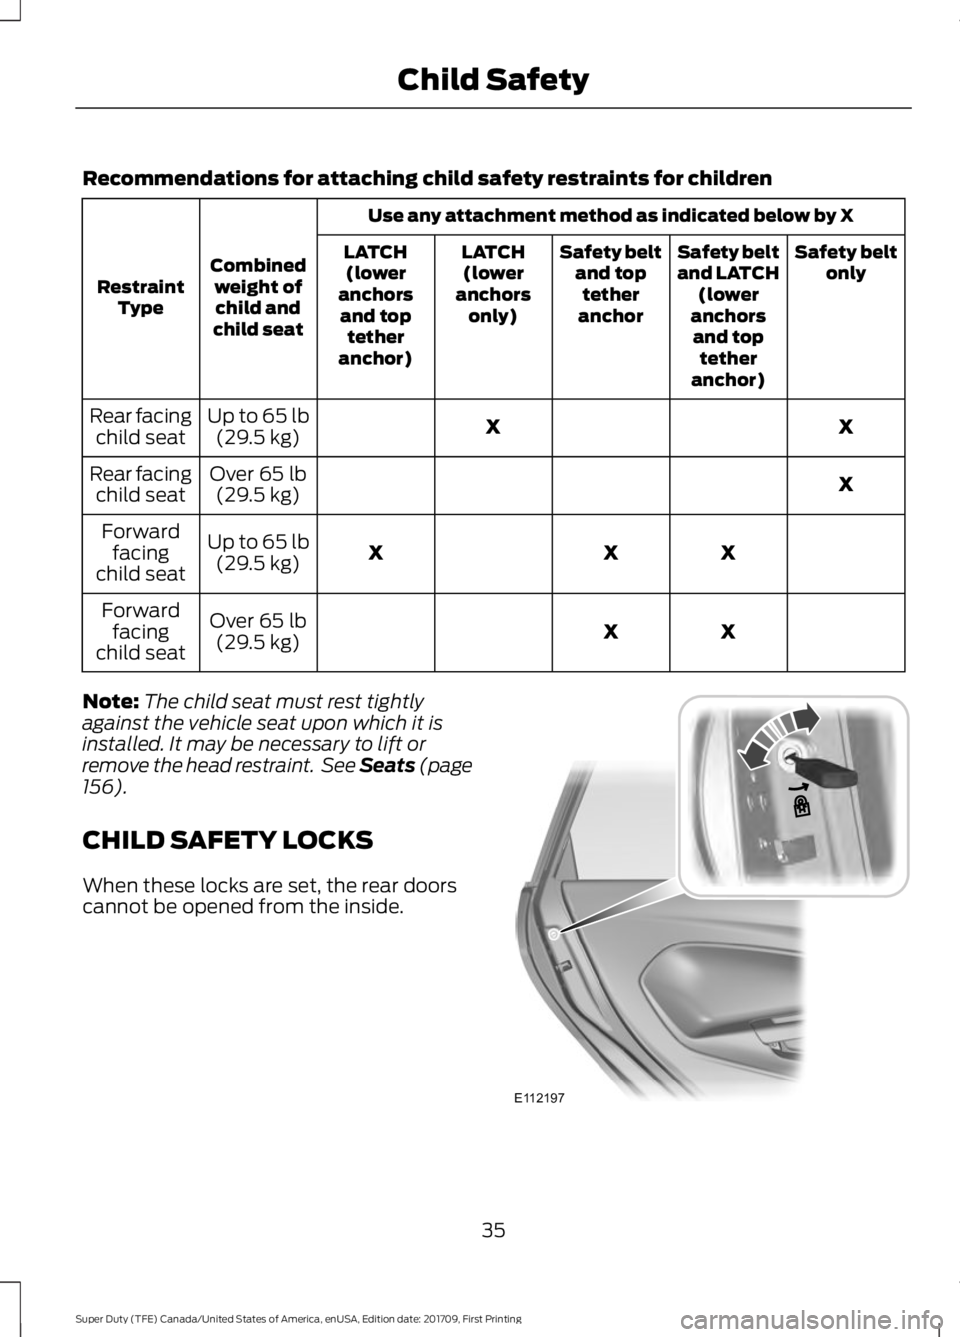
CHILD SAFETY LOCKS
When these locks are set, the rear doors
cannot be opened from the inside. 35
Super Duty (TFE) Canada/United States of America, enUSA, Edition date: 201709, First Printing Child SafetyE112197
Page 39 of 656
The childproof locks are located on the
rear edge of each rear door and must be
set separately for each door.
Left-Hand Side
Turn counterclockwise to lock and
clockwise to unlock.
Right-Hand Side
Turn clockwise to lock and
counterclockwise to unlock.
36
Super Duty (TFE) Canada/United States of America, enUSA, Edition date: 201709, First Printing Child Safety
Page 40 of 656

PRINCIPLE OF OPERATION
WARNINGS
Always drive and ride with the
seatback upright and the lap belt
snug and low across the hips.
To reduce the risk of injury, make
sure children sit where they can be
properly restrained.
Never let a passenger hold a child on
his or her lap while your vehicle is
moving. The passenger cannot
protect the child from injury in a crash
which may result in serious injury or death. All occupants of the vehicle,
including the driver, should always
properly wear their seatbelts, even
when an airbag supplemental restraint
system is provided. Failure to properly wear
your seatbelt could seriously increase the
risk of injury or death. It is extremely dangerous to ride in a
cargo area, inside or outside of a
vehicle. In a crash, people riding in
these areas are more likely to be seriously
injured or killed. Do not allow people to ride
in any area of your vehicle that is not
equipped with seats and seatbelts. Be sure
everyone in your vehicle is in a seat and
using a seatbelt properly. In a rollover crash, an unbelted
person is significantly more likely to
die than a person wearing a seatbelt.
Each seating position in your vehicle
has a specific seatbelt assembly
which is made up of one buckle and
one tongue that are designed to be used
as a pair. 1) Use the shoulder belt on the
outside shoulder only. Never wear the
shoulder belt under the arm. 2) Never
swing the seatbelt around your neck over
the inside shoulder. 3) Never use a single
belt for more than one person. WARNINGS
When possible, all children 12 years
old and under should be properly
restrained in a rear seating position.
Failure to follow this could seriously
increase the risk of injury or death. Seatbelts and seats can become hot
in a vehicle that has been closed up
in sunny weather; they could burn a
small child. Check seat covers and buckles
before you place a child anywhere near
them. Front and rear seat occupants,
including pregnant women, should
wear seatbelts for optimum
protection in an accident. All seating positions in this vehicle have
lap and shoulder belts. All occupants of
the vehicle should always properly wear
their seatbelts, even when an airbag
supplemental restraint system is provided.
The seatbelt system consists of:
•
Lap and shoulder seatbelts.
• Shoulder seatbelt with automatic
locking mode, (except driver seatbelt).
• Height adjuster at the front outboard
seating positions.
• Seatbelt pretensioner at the front
outboard seating positions. •
Seatbelt warning light and chime. •
Crash sensors and monitoring system
with readiness indicator.
37
Super Duty (TFE) Canada/United States of America, enUSA, Edition date: 201709, First Printing SeatbeltsE71880 E67017
Page 43 of 656
Seatbelt Locking Modes
WARNING
If your vehicle is involved in a crash,
have the seatbelts and associated
components inspected as soon as
possible. Failure to follow this instruction
could result in personal injury or death. All safety restraints in the vehicle are
combination lap and shoulder belts. The
driver seatbelt has the first type of locking
mode, and the front outboard passenger
and rear seat seatbelts have both types of
locking modes described as follows:
Vehicle Sensitive Mode
This is the normal retractor mode, which
allows free shoulder belt length
adjustment to your movements and
locking in response to vehicle movement.
For example, if the driver brakes suddenly,
turns a corner sharply, or the vehicle
receives an impact of about 5 mph
(8 km/h) or more, the combination
seatbelts lock to help reduce forward
movement of the driver and passengers.
In addition, the retractor is designed to lock
if you pull the webbing out too quickly. If
the seatbelt retractor locks, slowly lower
the height adjuster to allow the seatbelt
to retract. If the retractor does not unlock,
pull the seatbelt out slowly then feed a
small length of webbing back toward the
stowed position. For rear seatbelts, recline
the rear seat backrest or push the seat
backrest cushion away from the seatbelt.
Feed a small length of webbing back
toward the stowed position.
Automatic Locking Mode
In this mode, the shoulder belt
automatically pre-locks. The belt still
retracts to remove any slack in the
shoulder belt. The automatic locking mode
is not available on the driver seatbelt. When to Use the Automatic Locking
Mode
Use this mode any time you install a child
safety seat in a front outboard passenger
seating position in a Regular Cab,
SuperCab, SuperCrew or any rear seating
position of a SuperCab or SuperCrew. The
optional front seat's center seatbelt has a
cinch mechanism. Properly restrain
children 12 years old and under in a rear
seat whenever possible. See
Child Safety
(page 19).
How to Use the Automatic Locking
Mode
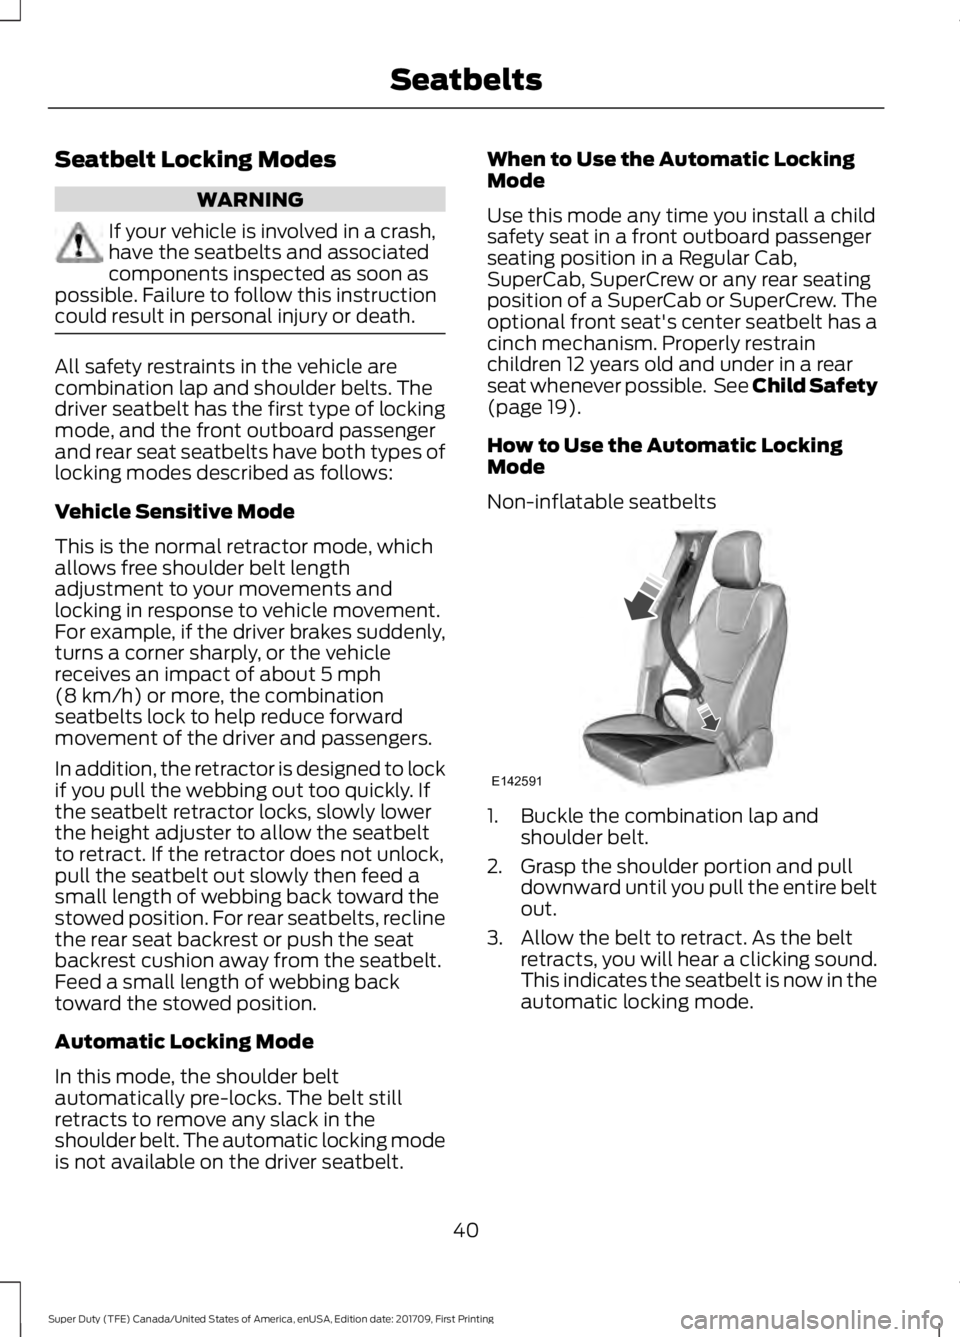
Non-inflatable seatbelts 1. Buckle the combination lap and
shoulder belt.
2. Grasp the shoulder portion and pull downward until you pull the entire belt
out.
3. Allow the belt to retract. As the belt retracts, you will hear a clicking sound.
This indicates the seatbelt is now in the
automatic locking mode.
40
Super Duty (TFE) Canada/United States of America, enUSA, Edition date: 201709, First Printing SeatbeltsE142591
Page 44 of 656

Rear outboard inflatable seatbelts
(second row only
– if equipped)1. Buckle the combination lap and
shoulder belt.
2. Grasp the lap portion of the belt and pull upward until you pull the entire
belt out.
3. Allow the belt to retract. As the belt retracts, you will hear a clicking sound.
This indicates the seatbelt is now in the
automatic locking mode.
How to Disengage the Automatic
Locking Mode
Unbuckle the combination lap and
shoulder belt and allow it to retract
completely to disengage the automatic
locking mode and activate the vehicle
sensitive (emergency) locking mode.
Rear Inflatable Seatbelt (If Equipped) WARNING
Do not attempt to service, repair, or
modify the supplementary restraint
system or associated components.
Failure to follow this instruction could
result in personal injury or death. The rear inflatable seatbelts are in the
shoulder portion of the seatbelts of the
second-row outboard seating positions.
Note:
The rear inflatable seatbelts are
compatible with most infant and child
safety car seats and belt positioning booster
seats when properly installed. This is
because they are designed to fill with a
cooled gas at a lower pressure and at a
slower rate than traditional airbags. After
inflation, the shoulder portion of the
seatbelt remains cool to the touch.
The rear inflatable seatbelt consists of the
following:
• An inflatable bag in the shoulder
seatbelt webbing.
• Lap seatbelt webbing with automatic
locking mode.
• The same warning light, electronic
control and diagnostic unit as used for
the front seatbelts.
• Impact sensors in various parts of the
vehicle.
How does the rear inflatable seatbelt
system work? WARNING
If a supplementary restraint system
component has deployed, it will not
function again. Have the system and
associated components inspected as soon
as possible. Failure to follow this
instruction could result in personal injury
or death. The rear inflatable seatbelts function like
standard restraints in everyday usage.
41
Super Duty (TFE) Canada/United States of America, enUSA, Edition date: 201709, First Printing SeatbeltsE146363
Page 105 of 656
Pull the tab below the mirror toward you
to reduce the effect of bright light from
behind.
Automatic Dimming Mirror (If Equipped)
WARNING
Do not adjust the mirrors when your
vehicle is moving. This could result
in the loss of control of your vehicle,
serious personal injury or death. The mirror dims to reduce the effect of
bright light from behind. It returns to
normal when the bright light from behind
is no longer present or if you shift into
reverse (R).
Do not block the sensors on the front and
back of the mirror.
Note:
A rear center passenger or raised rear
center head restraint could prevent light
from reaching the sensor.
SLIDING WINDOWS (If Equipped)
Power Sliding Back Window
(If
Equipped) WARNINGS
When operating the power sliding
back window, you must make sure
all rear seat occupants and cargo are
not in the proximity of the back window. Do not leave children unattended in
your vehicle and do not let them play
with the power sliding back window.
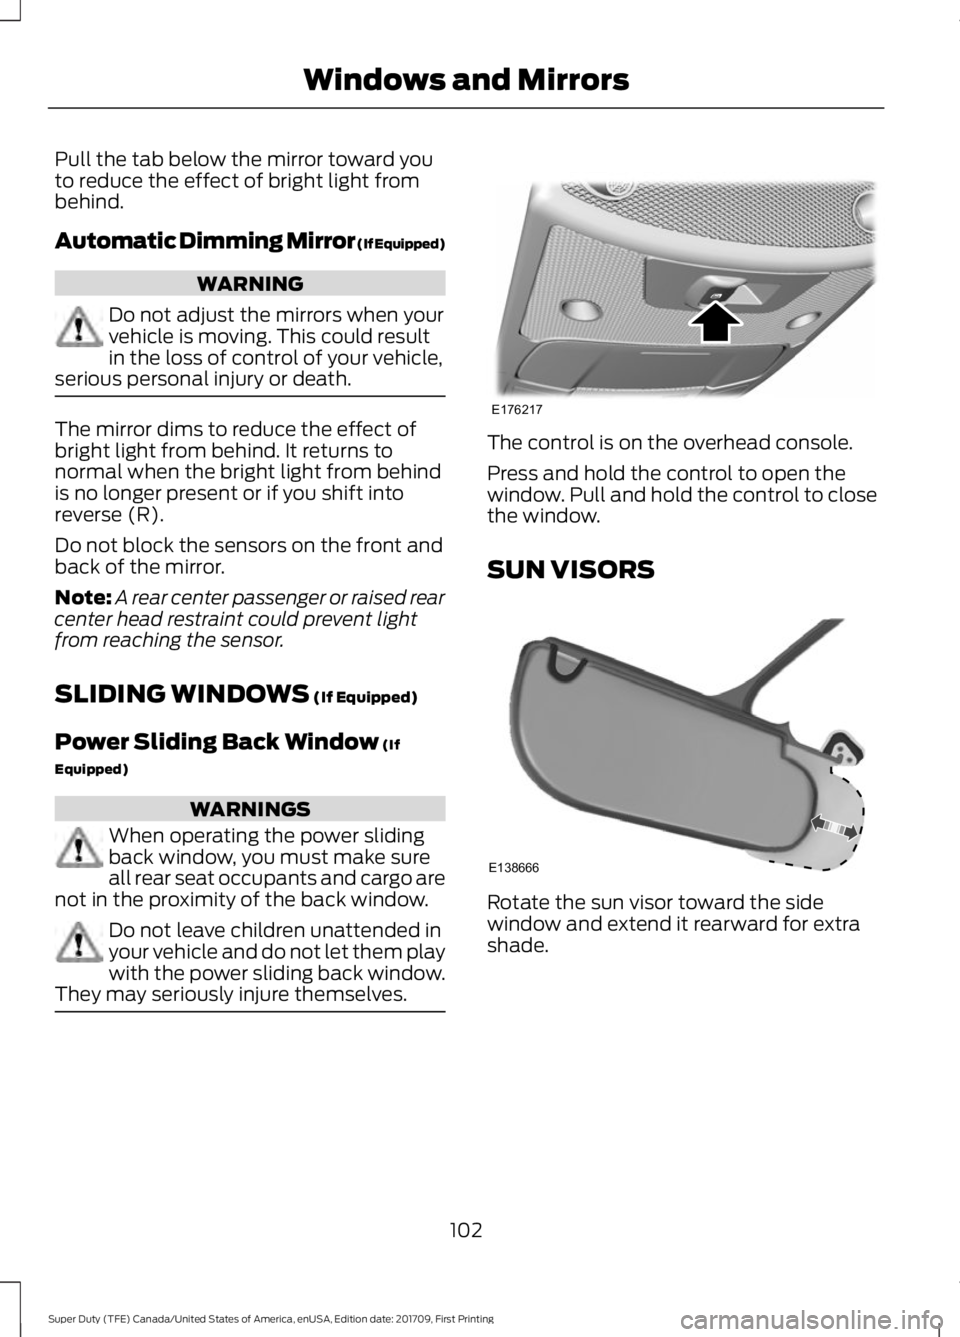
They may seriously injure themselves. The control is on the overhead console.
Press and hold the control to open the
window. Pull and hold the control to close
the window.
SUN VISORS
Rotate the sun visor toward the side
window and extend it rearward for extra
shade.
102
Super Duty (TFE) Canada/United States of America, enUSA, Edition date: 201709, First Printing Windows and MirrorsE176217 E138666
Page 196 of 656
Use the following guidelines to avoid
electrostatic charge build-up when filling
an ungrounded fuel container:
•
Place approved fuel container on the
ground.
• Do not fill a fuel container while it is in
the vehicle (including the cargo area).
• Keep the fuel pump nozzle in contact
with the fuel container while filling.
• Do not use a device that would hold
the fuel pump handle in the fill position.
Fuel Filler Cap WARNINGS
The fuel system may be under
pressure. If you hear a hissing sound
near the fuel filler door, do not refuel
until the sound stops. Otherwise, fuel may
spray out, which could cause serious
personal injury. If you do not use the proper fuel filler
cap, excessive pressure or vacuum
in the fuel tank may damage the fuel
system or cause the fuel cap to disengage
in a collision, which may result in possible
personal injury. Note:
If you must replace the fuel filler cap,
replace it with a fuel filler cap that is
designed for your vehicle. The customer
warranty may be void for any damage to the
fuel tank or fuel system if the correct
genuine Ford, Motorcraft or other certified
fuel filler cap is not used.
Your fuel tank filler cap has an indexed
design with a 1/4th turn on and off feature.
When fueling your vehicle:
1. Put your vehicle in park (P).
2. Switch the engine off.
3. Carefully turn the filler cap counterclockwise until it spins off.
4. Pull to remove the cap from the fuel filler pipe. 5.
To install the cap, align the tabs on the
cap with the notches on the filler pipe.
6. Turn the filler cap clockwise 1/4 of a turn clockwise until it clicks at least
once.
If the Check Fuel Cap light or a Check Fuel
Cap message appears in the instrument
cluster and stays on after you start the
engine, you may not have installed the fuel
filler properly.
If the fuel cap light remains on, at the next
opportunity, safely pull off of the road,
remove the fuel filler cap, align the cap
properly and reinstall it. The check fuel cap
light or Check fuel cap message may not
reset immediately. It may take several
driving cycles for the indicators to turn off.
A driving cycle consists of an engine
start-up (after four or more hours with the
engine off) followed by normal city and
highway driving.
REFUELING - DIESEL WARNINGS
Read and follow all the instructions
on the pump island.
Stay outside your vehicle and do not
leave the fuel pump unattended
when refueling your vehicle.
Keep children away from the fuel
pump. Never let children pump fuel.
Wait at least 10 seconds before
removing the fuel pump nozzle to
allow any residual fuel to drain into
the fuel tank. Do not remove the fuel pump nozzle
from its fully inserted position when
refueling.
193
Super Duty (TFE) Canada/United States of America, enUSA, Edition date: 201709, First Printing Fuel and Refueling
Page 362 of 656
1.
Switch all of the lamps and the ignition
off.
2. Disconnect the electrical connector.
3. Turn the bulb holder counterclockwise
and remove it.
Note: You cannot separate the bulb from
the bulb holder.
Note: Handle a halogen headlamp bulb
carefully and keep out of children ’s reach.
Grasp the bulb only by its plastic base and
do not touch the glass. The oil from your
hand could cause the bulb to break the next
time the headlamps are operated.
Fog Lamp Bulbs (If Equipped) 1.
Switch all of the lamps and the ignition
off.
2. To access the bulb, reach behind the bumper.
3. Disconnect the electrical connector.
4. Turn the bulb holder counterclockwise
and remove it.
Note: You cannot separate the bulb from
the bulb holder.
Note: Handle a halogen bulb carefully and
keep out of children ’s reach. Grasp the bulb
only by its plastic base and do not touch the
glass. The oil from your hand could cause
the bulb to break the next time the fog
lamps are operated.
Rear Lamps, Brake Lamps, Rear
Direction Indicator and Reversing
Lamp Bulbs
Pickup Models - Vehicles without Blind
Spot Information System 1.
Switch all of the lamps and the ignition
off.
2. Open the tailgate to expose the lamp assemblies.
359
Super Duty (TFE) Canada/United States of America, enUSA, Edition date: 201709, First Printing MaintenanceE224991 E163826 E223775
5