Page 454 of 553
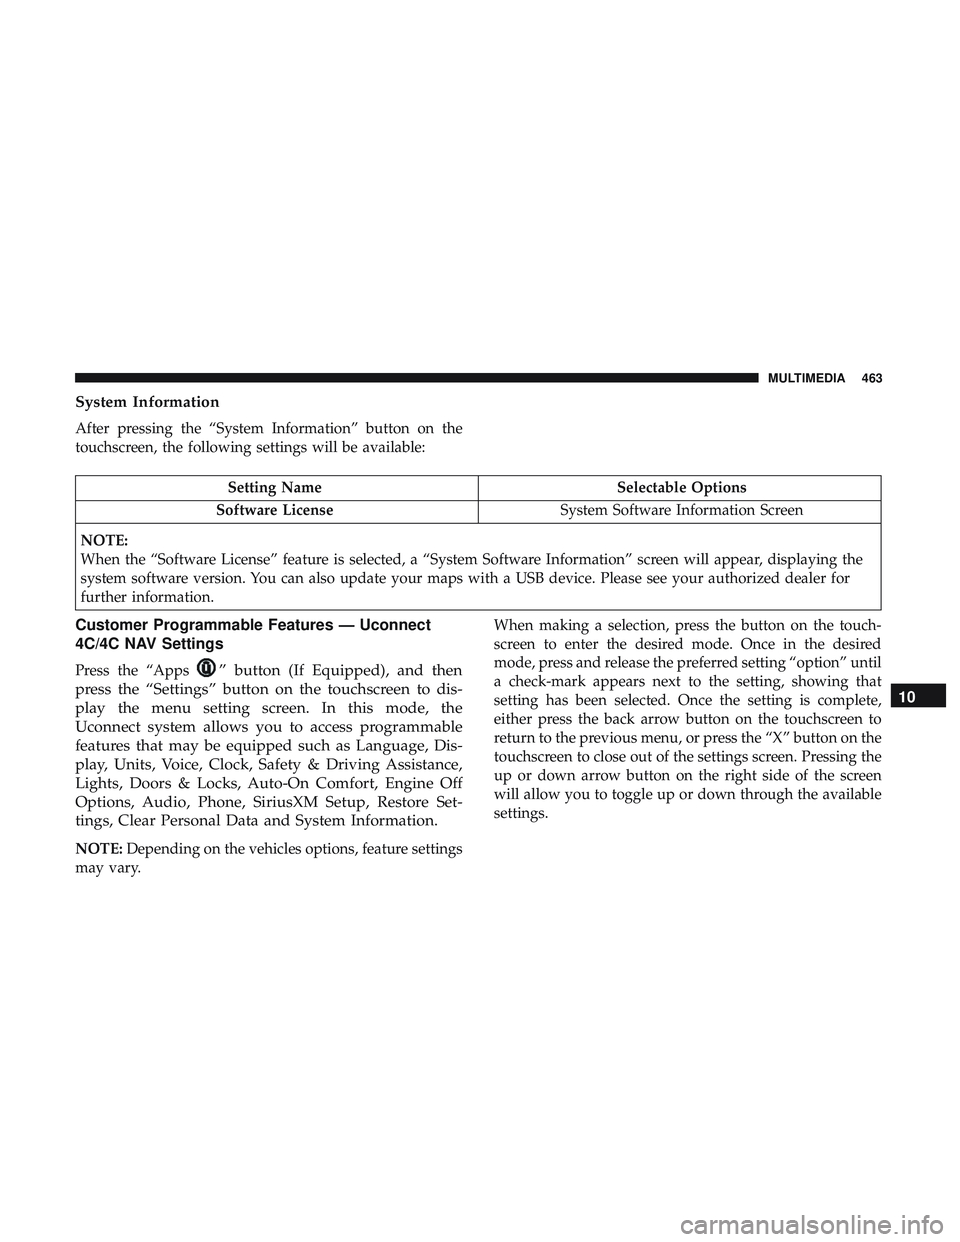
Doors & Locks
After pressing the “Doors & Locks” button on the touch-
screen, the following settings will be available:
Setting NameSelectable Options
Auto Door Locks — If Equipped On
Off
Auto Unlock On Exit On Off
Flash Lights With Lock On Off
NOTE:
When this feature is selected, the exterior lights flashes when the doors are locked or unlocked with the key fob. This
feature may be selected with or without the sound horn on lock feature selected. Sound Horn With Lock Off1st Press 2nd Press
Sound Horn With Remote Start On
Off
1st Press of Key Fob Un- locks All
Driver
NOTE:
This feature allows you to program your remote door locks to open “All doors” or only the “Driver door” with the
first push of the key fob or grabbing the Passive Entry door handle.
452 MULTIMEDIA
Page 465 of 553

System Information
After pressing the “System Information” button on the
touchscreen, the following settings will be available:
Setting NameSelectable Options
Software License System Software Information Screen
NOTE:
When the “Software License” feature is selected, a “System Software Information” screen will appear, displaying the
system software version. You can also update your maps with a USB device. Please see your authorized dealer for
further information.
Customer Programmable Features — Uconnect
4C/4C NAV Settings
Press the “Apps” button (If Equipped), and then
press the “Settings” button on the touchscreen to dis-
play the menu setting screen. In this mode, the
Uconnect system allows you to access programmable
features that may be equipped such as Language, Dis-
play, Units, Voice, Clock, Safety & Driving Assistance,
Lights, Doors & Locks, Auto-On Comfort, Engine Off
Options, Audio, Phone, SiriusXM Setup, Restore Set-
tings, Clear Personal Data and System Information.
NOTE: Depending on the vehicles options, feature settings
may vary. When making a selection, press the button on the touch-
screen to enter the desired mode. Once in the desired
mode, press and release the preferred setting “option” until
a check-mark appears next to the setting, showing that
setting has been selected. Once the setting is complete,
either press the back arrow button on the touchscreen to
return to the previous menu, or press the “X” button on the
touchscreen to close out of the settings screen. Pressing the
up or down arrow button on the right side of the screen
will allow you to toggle up or down through the available
settings.
10
MULTIMEDIA 463
Page 466 of 553
Language
After pressing the “Language” button on the touchscreen,
the following settings will be available:
Setting NameSelectable Options
Set Language EnglishFrançais Español
Display
After pressing the “Display” button on the touchscreen, the
following settings will be available:
Setting Name Selectable Options
Display Mode AutoManual
Display Brightness With Headlights ON +–
NOTE:
•When in the “Display Brightness With Headlights ON” display, you may select the brightness with the headlights
on.
•To make changes to the �Display Brightness with Headlights ON� setting, the headlights must be on and the inte-
rior dimmer switch must not be in the �party�or�parade� positions.
464 MULTIMEDIA
Page 467 of 553

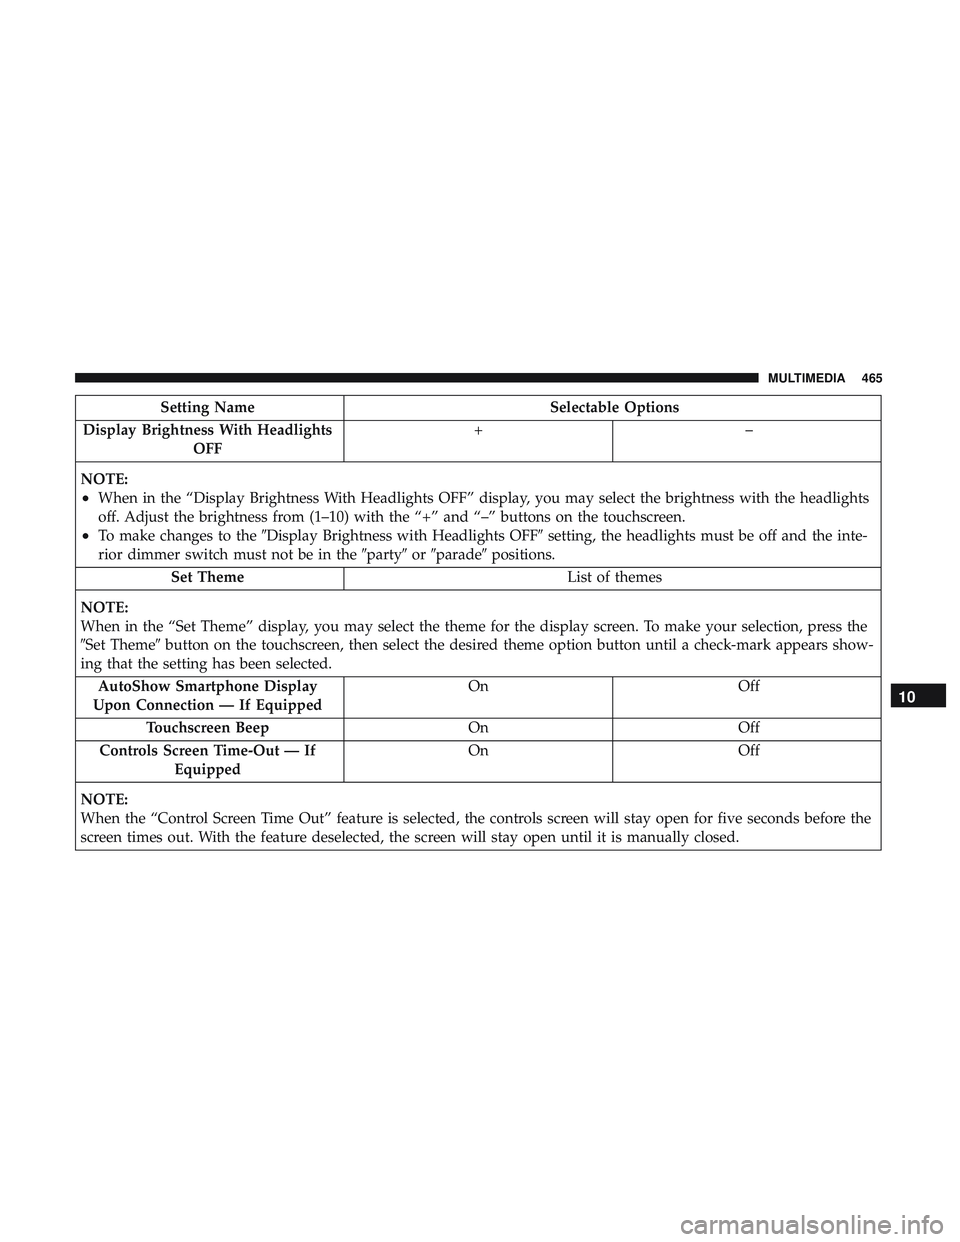
Setting NameSelectable Options
Display Brightness With Headlights OFF +–
NOTE:
•When in the “Display Brightness With Headlights OFF” display, you may select the brightness with the headlights
off. Adjust the brightness from (1–10) with the “+” and “–” buttons on the touchscreen.
•To make changes to the �Display Brightness with Headlights OFF� setting, the headlights must be off and the inte-
rior dimmer switch must not be in the �party�or�parade� positions.
Set Theme List of themes
NOTE:
When in the “Set Theme” display, you may select the theme for the display screen. To make your selection, press the
�Set Theme� button on the touchscreen, then select the desired theme option button until a check-mark appears show-
ing that the setting has been selected.
AutoShow Smartphone Display
Upon Connection — If Equipped On
Off
Touchscreen Beep OnOff
Controls Screen Time-Out — If Equipped On
Off
NOTE:
When the “Control Screen Time Out” feature is selected, the controls screen will stay open for five seconds before the
screen times out. With the feature deselected, the screen will stay open until it is manually closed.
10
MULTIMEDIA 465
Page 474 of 553

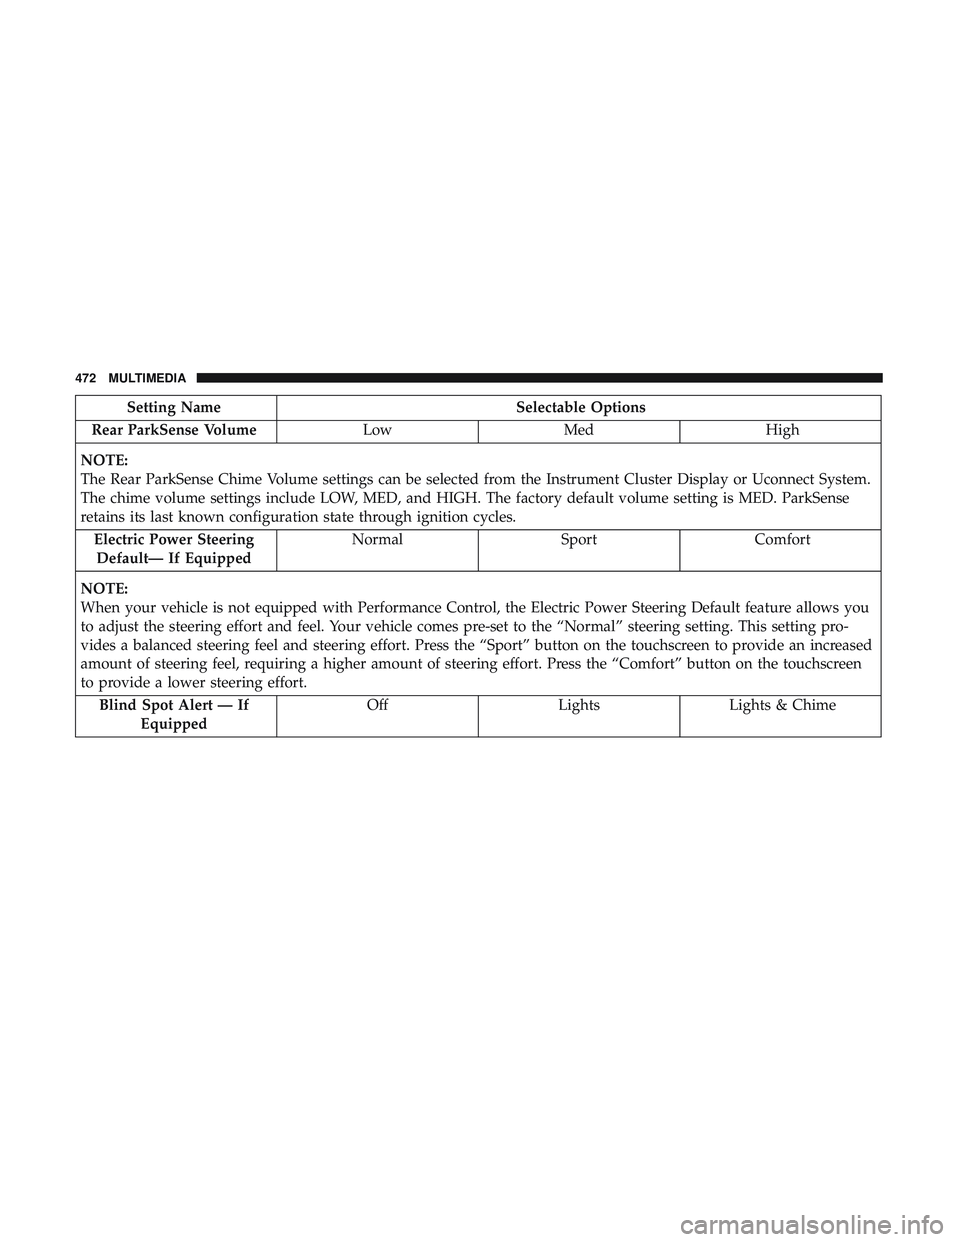
Setting NameSelectable Options
Rear ParkSense Volume LowMed High
NOTE:
The Rear ParkSense Chime Volume settings can be selected from the Instrument Cluster Display or Uconnect System.
The chime volume settings include LOW, MED, and HIGH. The factory default volume setting is MED. ParkSense
retains its last known configuration state through ignition cycles. Electric Power SteeringDefault— If Equipped Normal
SportComfort
NOTE:
When your vehicle is not equipped with Performance Control, the Electric Power Steering Default feature allows you
to adjust the steering effort and feel. Your vehicle comes pre-set to the “Normal” steering setting. This setting pro-
vides a balanced steering feel and steering effort. Press the “Sport” button on the touchscreen to provide an increased
amount of steering feel, requiring a higher amount of steering effort. Press the “Comfort” button on the touchscreen
to provide a lower steering effort. Blind Spot Alert — If Equipped Off
LightsLights & Chime
472 MULTIMEDIA
Page 475 of 553

Setting NameSelectable Options
NOTE:
•When the “Blind Spot Alert” feature is selected, the Blind Spot Alert feature Provides alerts, visual and/or audible,
to indicate objects in your blind spot. The Blind Spot Alert feature can be activated in “Lights” mode. When this
mode is selected, the Blind Spot Monitor (BSM) system is activated and only shows a visual alert in the exterior
mirrors. When “Lights & Chime” mode is activated, the Blind Spot Monitor (BSM) will show a visual alert in the
exterior mirrors as well as an audible alert when the turn signal is on.
•If your vehicle has experienced any damage in the area where the sensor is located, even if the fascia is not dam-
aged, the sensor may have become misaligned. Take your vehicle to an authorized dealer to verify sensor align-
ment. Having a sensor that is misaligned results in the BSM not operating to specification. Hill Start Assist — If Equipped On Off
NOTE:
When the “Hill Start Assist” feature is selected, the Hill Start Assist (HSA) system is active.
10
MULTIMEDIA 473
Page 476 of 553
Mirrors & Wipers
After pressing the “Mirror and Wipers” button on the
touchscreen, the following settings will be available:
Setting NameSelectable Options
Rain Sensing Auto Wipers — If Equipped On
Off
NOTE:
When this feature is selected and the wipers are on, the system will automatically activate the windshield wipers if it
senses moisture on the windshield. Tilt Side Mirrors in Reverse — If Equipped On
Off
NOTE:
When the “Tilt Side Mirror In Reverse” feature is selected, the exterior sideview mirrors will tilt downward when the
ignition is in the RUN position and the transmission gear selector is in the REVERSE position. The mirrors will move
back to their previous position when the transmission is shifted out of REVERSE. Headlights with Wipers OnOff
474 MULTIMEDIA
Page 477 of 553
Lights
After pressing the “Lights” button on the touchscreen, the
following settings will be available:
Setting NameSelectable Options
Headlight Off Delay “0 sec, 30 sec” etc.
Headlight Illumination On Ap- proach 03
0
60 90
Headlights With Wipers — If Equipped On
Off
Auto Dim High Beams — If Equipped On
Off
Daytime Running Lights — If Equipped On
Off
Steering Directed Lights — If Equipped On
Off
Flash Lights With Lock OnOff
10
MULTIMEDIA 475