Page 356 of 553

Once A Month Or Before A Long Trip:
•Check engine oil level.
• Check windshield washer fluid level.
• Check tire pressure and look for unusual wear or
damage. Rotate tires at the first sign of irregular wear,
even if it occurs before your next scheduled service.
• Check the fluid levels of the coolant reservoir, brake
master cylinder, and power steering (if equipped) and
fill as needed.
• Check function of all interior and exterior lights.Maintenance Plan — 3.6L And 5.7L
Required Maintenance Intervals:
Refer to the maintenance schedules on the following page
for the required maintenance intervals.
At Every Oil Change Interval As Indicated By Oil
Change Indicator System:
•Change oil and filter
• Rotate the tires
Rotate at the first sign of irregular wear, even if it
occurs before your next scheduled service
• Inspect battery and clean and tighten terminals as
required
• Inspect brake pads, shoes, rotors, drums, hoses and
park brake
• Inspect engine cooling system protection and hoses
• Inspect exhaust system
• Inspect engine air cleaner if using in dusty or
off-road conditions
354 SERVICING AND MAINTENANCE
Page 360 of 553

NOTE:
•The oil change indicator message will not monitor the
time since the last oil change. Change your vehicle’s oil
if it has been six months since your last oil change, even
if the oil change indicator message is NOT illuminated.
• Change your engine oil more often if you drive your
vehicle off-road/track usage for an extended period of
time.
• Under no circumstances should oil change intervals
exceed 6,000 miles (10,000 km) or six months, whichever
comes first.
An authorized dealer will reset the oil change indicator
message after completing the scheduled oil change. If a
scheduled oil change is performed by someone other than
an authorized dealer, the message can be reset by referring
to the steps described under “Instrument Cluster Display”
in “Getting To Know Your Instrument Panel” for further
information. At Each Stop For Fuel
•
Check the engine oil level. Refer to “Engine Compart-
ment” in this chapter for further information.
• Check the windshield washer solvent and add if re-
quired.
Once A Month
• Check tire pressure and look for unusual wear or
damage.
• Inspect the battery, and clean and tighten the terminals
as required.
• Check the fluid levels of the coolant reservoir, brake
master cylinder, and add as needed.
• Check all lights and other electrical items for correct
operation.
358 SERVICING AND MAINTENANCE
Page 416 of 553

What Causes Corrosion?
Corrosion is the result of deterioration or removal of paint
and protective coatings from your vehicle.
The most common causes are:
•Road salt, dirt and moisture accumulation.
• Stone and gravel impact.
• Insects, tree sap and tar.
• Salt in the air near seacoast localities.
• Atmospheric fallout/industrial pollutants.
Body And Underbody Maintenance
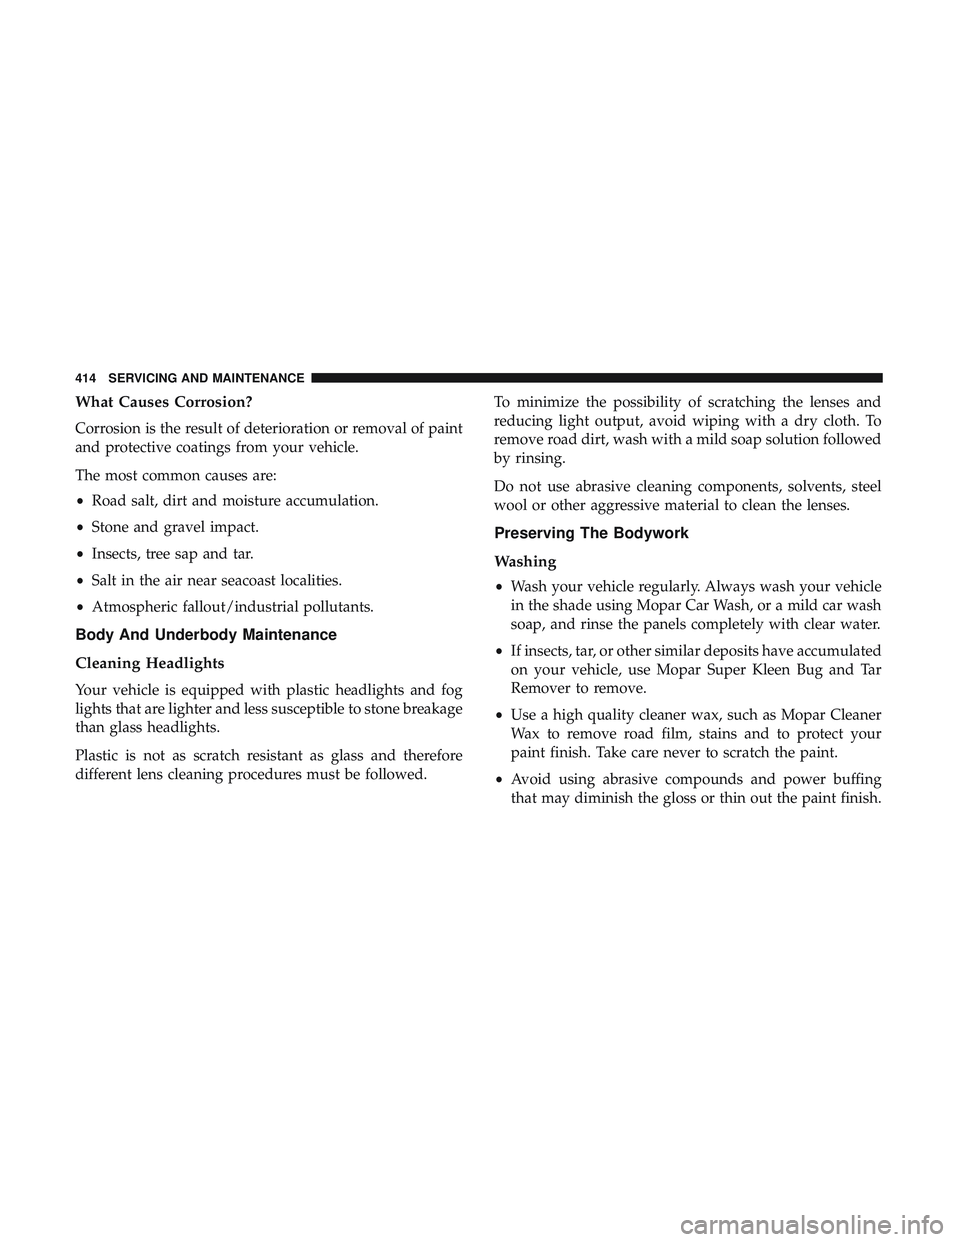
Cleaning Headlights
Your vehicle is equipped with plastic headlights and fog
lights that are lighter and less susceptible to stone breakage
than glass headlights.
Plastic is not as scratch resistant as glass and therefore
different lens cleaning procedures must be followed. To minimize the possibility of scratching the lenses and
reducing light output, avoid wiping with a dry cloth. To
remove road dirt, wash with a mild soap solution followed
by rinsing.
Do not use abrasive cleaning components, solvents, steel
wool or other aggressive material to clean the lenses.
Preserving The Bodywork
Washing
•
Wash your vehicle regularly. Always wash your vehicle
in the shade using Mopar Car Wash, or a mild car wash
soap, and rinse the panels completely with clear water.
• If insects, tar, or other similar deposits have accumulated
on your vehicle, use Mopar Super Kleen Bug and Tar
Remover to remove.
• Use a high quality cleaner wax, such as Mopar Cleaner
Wax to remove road film, stains and to protect your
paint finish. Take care never to scratch the paint.
• Avoid using abrasive compounds and power buffing
that may diminish the gloss or thin out the paint finish.
414 SERVICING AND MAINTENANCE
Page 443 of 553

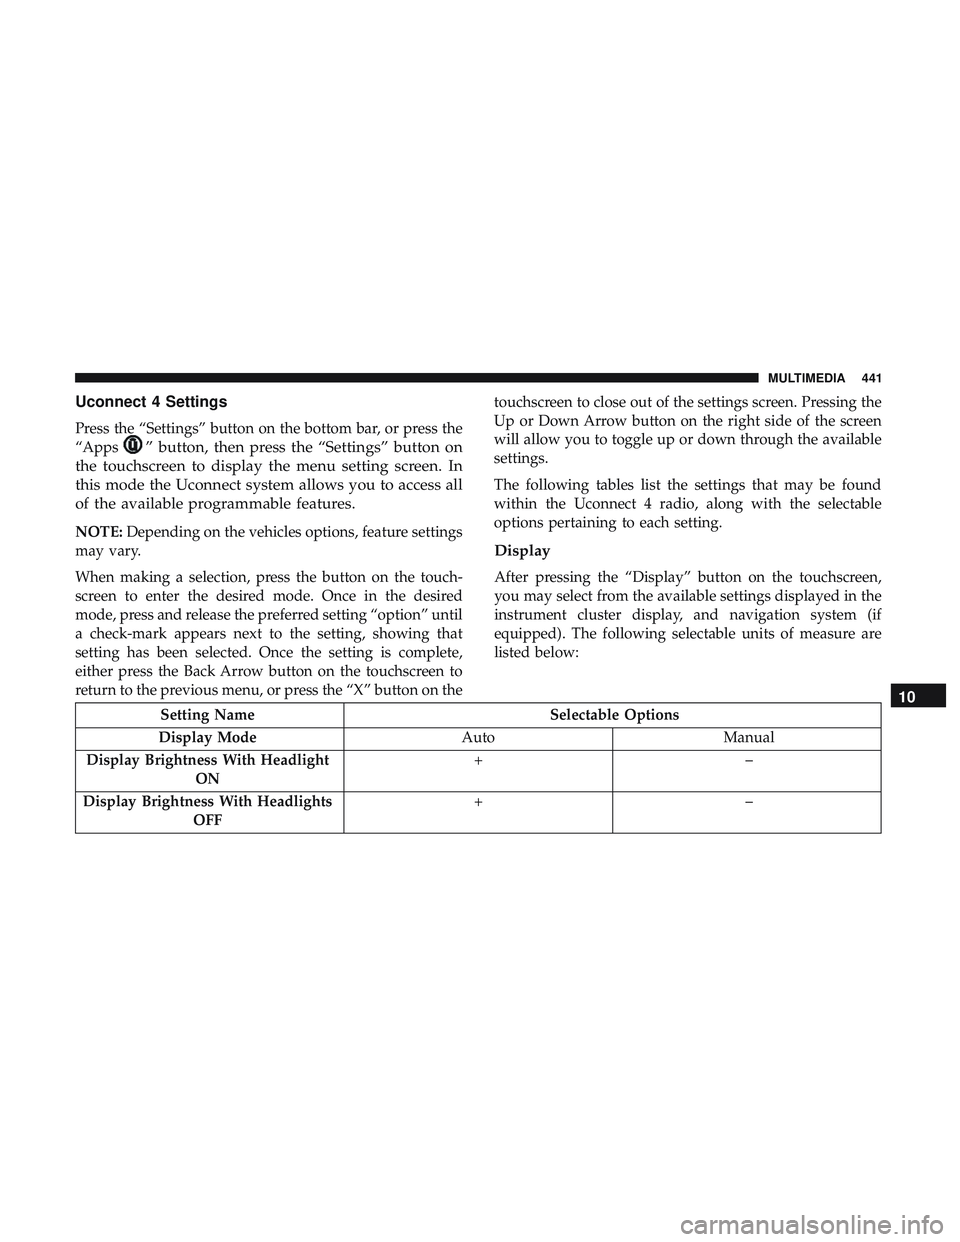
Uconnect 4 Settings
Press the “Settings” button on the bottom bar, or press the
“Apps
” button, then press the “Settings” button on
the touchscreen to display the menu setting screen. In
this mode the Uconnect system allows you to access all
of the available programmable features.
NOTE: Depending on the vehicles options, feature settings
may vary.
When making a selection, press the button on the touch-
screen to enter the desired mode. Once in the desired
mode, press and release the preferred setting “option” until
a check-mark appears next to the setting, showing that
setting has been selected. Once the setting is complete,
either press the Back Arrow button on the touchscreen to
return to the previous menu, or press the “X” button on the touchscreen to close out of the settings screen. Pressing the
Up or Down Arrow button on the right side of the screen
will allow you to toggle up or down through the available
settings.
The following tables list the settings that may be found
within the Uconnect 4 radio, along with the selectable
options pertaining to each setting.
Display
After pressing the “Display” button on the touchscreen,
you may select from the available settings displayed in the
instrument cluster display, and navigation system (if
equipped). The following selectable units of measure are
listed below:
Setting Name
Selectable Options
Display Mode AutoManual
Display Brightness With Headlight ON +–
Display Brightness With Headlights OFF +–
10
MULTIMEDIA 441
Page 450 of 553
Setting NameSelectable Options
ParkView Backup Camera Delay On
Off
NOTE:
When the vehicle is shifted out of REVERSE (with camera delay turned off), the rear camera mode is exited and the
navigation or audio screen appears again. When the vehicle is shifted out of REVERSE (with camera delay turned
on), the rear view image with dynamic grid lines will be displayed for up to ten seconds after shifting out of “RE-
VERSE” unless the forward vehicle speed exceeds 8 mph (12 km/h), the transmission is shifted into PARK or the ig-
nition is switched to the off position. To set the ParkView Backup Camera Delay press the “Controls” button on the
touchscreen, the “settings” button on the touchscreen, then the “Safety & Assistance” button on the touchscreen. Blind Spot Alert — If Equipped Off
LightsLights & Chime
448 MULTIMEDIA
Page 451 of 553

Setting NameSelectable Options
NOTE:
•When the feature “Blind Spot Alert” is selected, the Blind Spot Alert feature Provides alerts, visual and/or audible,
to indicate objects in your blind spot. The Blind Spot Alert feature can be activated in “Lights” mode. When this
mode is selected, the Blind Spot Monitor (BSM) system is activated and only shows a visual alert in the exterior
mirrors. When “Lights & Chime” mode is activated, the Blind Spot Monitor (BSM) shows a visual alert in the exte-
rior mirrors as well as an audible alert when the turn signal is on. When “Off” is selected, the Blind Spot Monitor
(BSM) system is deactivated.
•If your vehicle has experienced any damage in the area where the sensor is located, even if the fascia is not dam-
aged, the sensor may have become misaligned. Take your vehicle to an authorized dealer to verify sensor align-
ment. Having a sensor that is misaligned results in the BSM not operating to specification. Hill Start Assist — If Equipped On Off
NOTE:
When the “Hill Start Assist” feature is selected, the Hill Start Assist (HSA) system is active. To enable or disable,
press the “Hill Start Assist” button on the touchscreen, and select “On” or “Off.”
10
MULTIMEDIA 449
Page 452 of 553

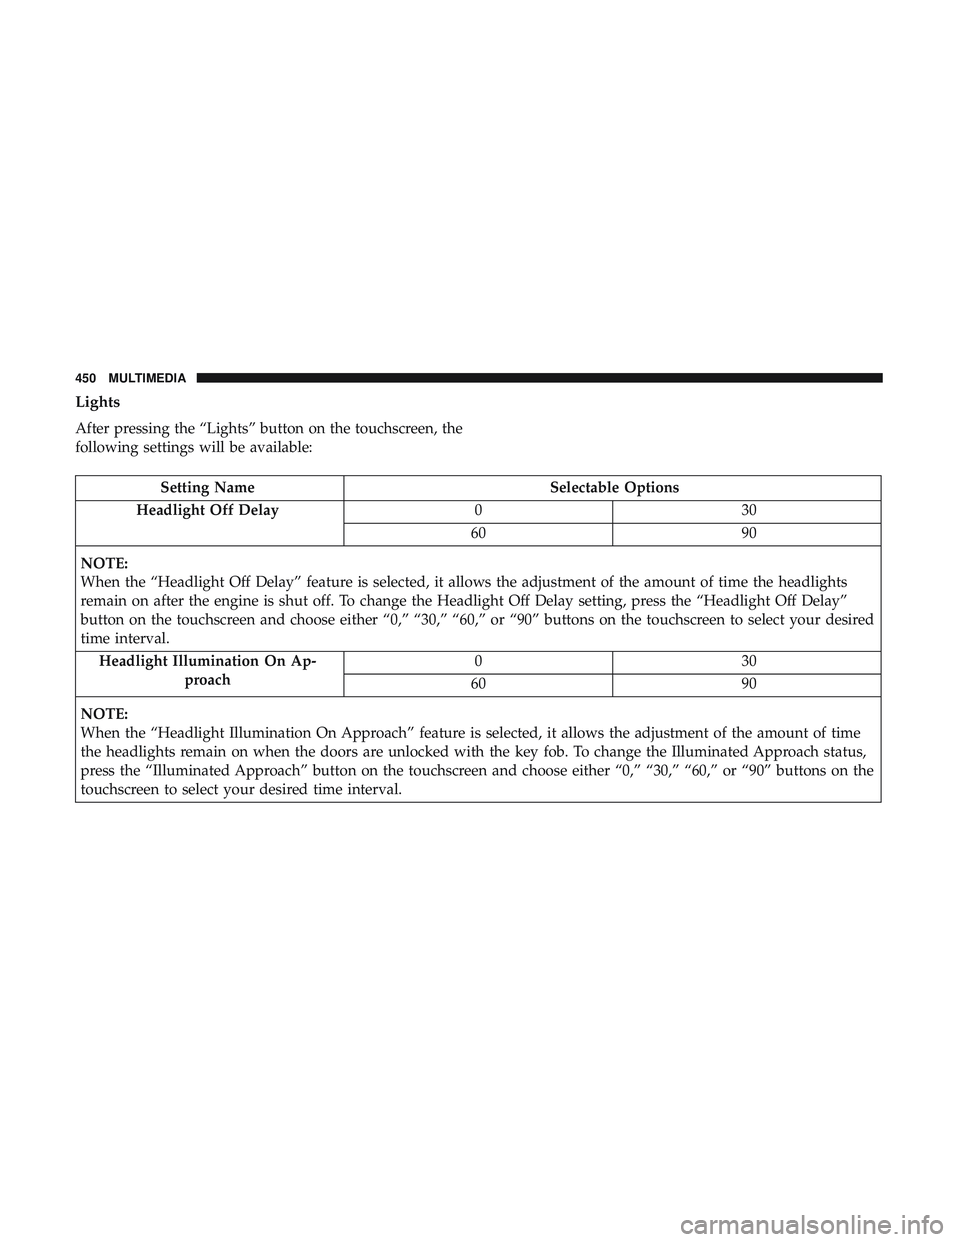
Lights
After pressing the “Lights” button on the touchscreen, the
following settings will be available:
Setting NameSelectable Options
Headlight Off Delay 030
60 90
NOTE:
When the “Headlight Off Delay” feature is selected, it allows the adjustment of the amount of time the headlights
remain on after the engine is shut off. To change the Headlight Off Delay setting, press the “Headlight Off Delay”
button on the touchscreen and choose either “0,” “30,” “60,” or “90” buttons on the touchscreen to select your desired
time interval. Headlight Illumination On Ap- proach 03
0
60 90
NOTE:
When the “Headlight Illumination On Approach” feature is selected, it allows the adjustment of the amount of time
the headlights remain on when the doors are unlocked with the key fob. To change the Illuminated Approach status,
press the “Illuminated Approach” button on the touchscreen and choose either “0,” “30,” “60,” or “90” buttons on the
touchscreen to select your desired time interval.
450 MULTIMEDIA
Page 453 of 553
Setting NameSelectable Options
Headlights With Wipers — If Equipped On
Off
NOTE:
When the “Headlights With Wipers” feature is selected, and the headlight switch is in the AUTO position, the head-
lights will turn on approximately ten seconds after the wipers are turned on. The headlights will also turn off when
the wipers are turned off, if they were turned on by this feature. Daytime Running Lights — If Equipped On
Off
NOTE:
When the “Daytime Running Lights” feature is selected, the headlights will turn on whenever the engine is running. Flash Lights With Lock OnOff
NOTE:
When the “Flash Lights With Locks” feature is selected, the exterior lights will flash when the doors are locked or
unlocked with the key fob. This feature may be selected with or without the sound horn on lock feature selected.
10
MULTIMEDIA 451