2018 CITROEN DS3 change time
[x] Cancel search: change timePage 157 of 248

155
3A i r f i l t e r.
4 Brake fluid reser voir.
5 Battery.
6 Fusebox.
7 Engine oil dipstick.
8 Engine oil filler cap.
9 Priming pump (on diesel filter)*.
The Diesel circuit is under very high
pressure.
All work on this circuit must be carried out
only in the dealer network or a
qualified
workshop.
*
D
epending on engine.
Checking levels
Check all of these levels regularly, in line with
the manufacturer's service schedule. Top them
up if necessary, unless other wise indicated.
If a level drops significantly, have the
corresponding system checked by the dealer
network or a
qualified workshop.
The liquids must comply with the
manufacturer's recommendations and with
the vehicle's engine. Take care when working under the bonnet,
as certain areas of the engine may be
extremely hot (risk of burns) and the
cooling fan could start at any time (even
with the ignition off).
Used products
Avoid prolonged contact of used oil or
fluids with the skin.
Most of these fluids are harmful to health
or indeed very corrosive.
Do not discard used oil or fluids into
sewers or onto the ground.
Return used oil to the dealer network or
a
qualified workshop and dispose of it in
the containers reser ved for this purpose.
Engine oil level
The check is carried out either when
the ignition is switched on using the
oil level indicator in the instrument
panel for vehicles equipped with an
electric gauge, or using the dipstick. To ensure that the reading is correct, your
vehicle must be parked on a
level sur face
with the engine stopped for more than
30
minutes.
It is normal to top up the oil level between two
ser vices (or oil changes). We recommend that
you check the level, and top up if necessary,
every 3,000 miles (5,000 km).
Checking using the dipstick
The location of the dipstick is shown in the
corresponding underbonnet layout view.
F
H
old the dipstick by its coloured grip and
pull it out completely.
F
W
ipe the end of the dipstick using a clean
non-fluffy cloth.
F
R
efit the dipstick and push fully down, then
pull it out again to make the visual check:
the correct level is between marks A and B .
07
Practical information
Page 160 of 248
158
Air filter
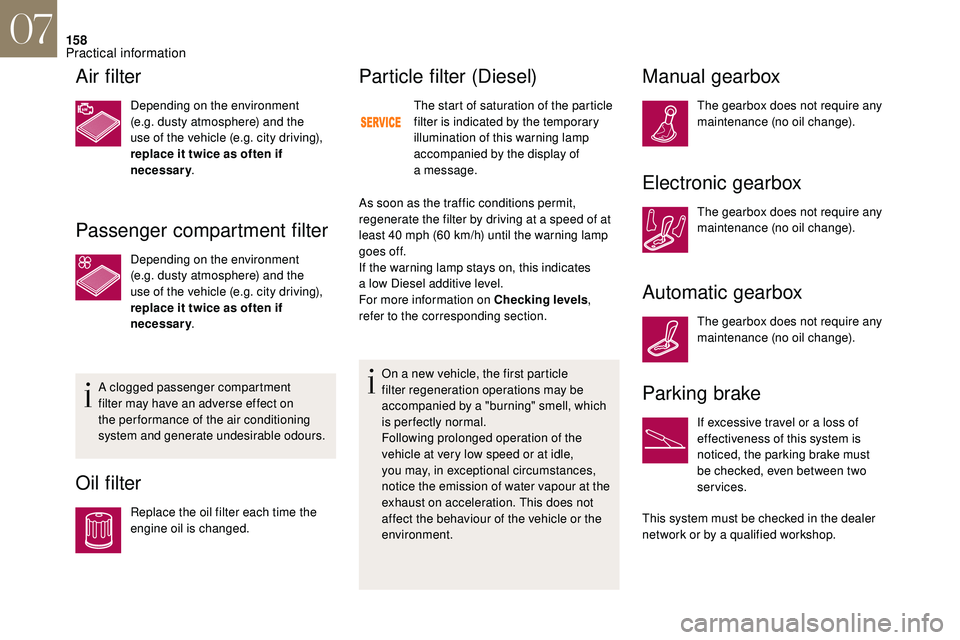
Depending on the environment
(e.g. dusty atmosphere) and the
use of the vehicle (e.g. city driving),
replace it twice as often if
necessary.
Passenger compartment filter
Depending on the environment
(e.g. dusty atmosphere) and the
use of the vehicle (e.g. city driving),
replace it twice as often if
necessary.
A clogged passenger compartment
filter may have an adverse effect on
the per formance of the air conditioning
system and generate undesirable odours.
Oil filter
Replace the oil filter each time the
engine oil is changed.
Particle filter (Diesel)
The start of saturation of the particle
filter is indicated by the temporary
illumination of this warning lamp
accompanied by the display of
a
message.
As soon as the traffic conditions permit,
regenerate the filter by driving at a
speed of at
least 40
mph (60 km/h) until the warning lamp
goes off.
If the warning lamp stays on, this indicates
a
low Diesel additive level.
For more information on Checking levels ,
refer to the corresponding section.
On a
new vehicle, the first particle
filter regeneration operations may be
accompanied by a "burning" smell, which
is per fectly normal.
Following prolonged operation of the
vehicle at very low speed or at idle,
you may, in exceptional circumstances,
notice the emission of water vapour at the
exhaust on acceleration. This does not
affect the behaviour of the vehicle or the
environment.
Manual gearbox
The gearbox does not require any
maintenance (no oil change).
Electronic gearbox
The gearbox does not require any
maintenance (no oil change).
Automatic gearbox
The gearbox does not require any
maintenance (no oil change).
Parking brake
If excessive travel or a loss of
e ffectiveness of this system is
noticed, the parking brake must
be checked, even between two
services.
This system must be checked in the dealer
network or by a
qualified workshop.
07
Practical information
Page 176 of 248
174
Changing a bulb
The headlamps have polycarbonate
lenses with a
protective coating:
F
d
o not clean them using a dr y or
abrasive cloth, nor with a
detergent
or solvent product,
F
u
se a sponge and soapy water or a pH
neutral product,
F
w
hen using a high pressure washer
on persistent marks, do not keep the
lance directed towards the lamps or
their edges for too long, so as not to
damage their protective coating and
seals.
Changing a
bulb must only be done with
the ignition off and after the headlamp has
been switched off for several minutes –
Risk of serious burns!
F
D
o not touch the bulb directly with your
fingers, use a
lint-free cloth.
It is essential only to use anti-ultraviolet
(UV) type bulbs, so as not to damage the
headlamp.
Always replace a
failed bulb with a new
bulb with the same type and specification.
Front lamps
Halogen headlamps
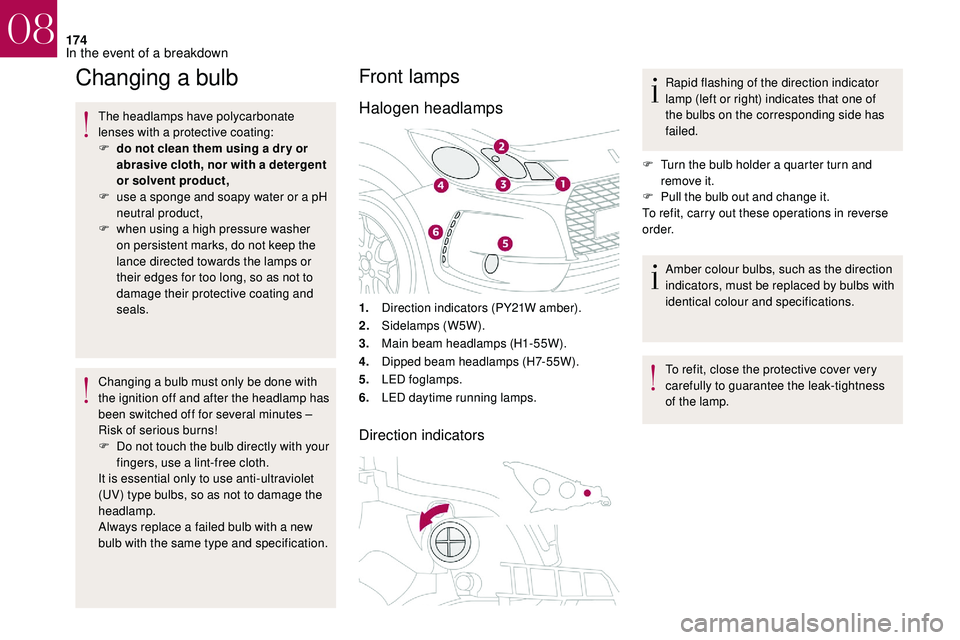
1. Direction indicators (PY21W amber).
2. Sidelamps (W5W).
3. Main beam headlamps (H1-55W).
4. Dipped beam headlamps (H7-55W).
5. LED foglamps.
6. LED daytime running lamps.
Direction indicators
Rapid flashing of the direction indicator
lamp (left or right) indicates that one of
the bulbs on the corresponding side has
failed.
F
T
urn the bulb holder a quarter turn and
remove it.
F
P
ull the bulb out and change it.
To refit, carry out these operations in reverse
o r d e r.
Amber colour bulbs, such as the direction
indicators, must be replaced by bulbs with
identical colour and specifications.
To refit, close the protective cover very
carefully to guarantee the leak-tightness
of the lamp.
08
In the event of a breakdown
Page 177 of 248

175
Dipped beam headlamps
Main beam headlampsF Remove the protective cover by pulling the tab.
F
D
isconnect the bulb connector.
F
S
pread the springs to release the bulb.
F
P
ull the bulb out and change it.
To refit, carry out these operations in reverse
o r d e r.
Sidelamps
F Remove the protective cover by pulling the tab.
F
D
isconnect the bulb connector.
F
S
pread the springs to release the bulb.
F
P
ull the bulb out and change it.
To refit, carry out these operations in reverse
o r d e r.
F
R
emove the protective cover by pulling the
tab.
F
P
ull the bulb holder by pressing the tabs on
both sides.
F
P
ull the bulb out and change it.
To refit, carry out these operations in reverse
o r d e r.
LED/Xenon headlamps
(LED: light-emitting diodes.)
1. Direction indicators (LED).
2. Sidelamps (LED).
3. Dipped beam headlights (Xenon).
4. Main beam headlamps (LED/Xenon).
5. LED daytime running lamps.
6. LED foglamps.
For the replacement of this type of lamp
(LED/Xenon), contact the dealer network or
a
qualified workshop.
08
In the event of a breakdown
Page 213 of 248
9
DAB (Digital Audio
Broadcasting) radio
Digital radio
Digital radio provides higher quality
reception and also the graphical display
of current information on the radio station
being listened to. Select "List" in the
primary page.
The different multiplexes offer a choice
of radio stations arranged in alphabetical
o r d e r.
Press Radio Media to display the
primary page.
Select change of source. Select "DAB Radio ".
Select " List" in the primary page.
or
Select " Radio list " on the
secondary page.
Select a
radio station from the list offered.
DAB/FM station tracking
"DAB" does not cover 100% of the
te r r i to r y.
When the digital radio signal is poor,
the "DAB/FM station tracking" allows
you to continue listening to the same
station, by automatically switching to the
corresponding FM analogue station (if
there is one). Press Radio Media to display the
primary page.
Press on the secondary page. Select "Settings ".
Select " Radio".
Select " Digital/FM auto tracking " then
" Confirm ".
If "DAB/FM station tracking" is enabled,
there is a
lag of a few seconds when the
system switches to analogue radio "FM",
sometimes with a
change in volume.
Once the digital signal quality is restored,
the system automatically changes back
to " DA B ". If the "DAB" station being listened to is
not available on "FM" ("
DAB/FM" option
greyed out), or "DAB/FM station tracking"
is not activated, the sound will cut out
while the digital signal is too weak.
Media
USB port
Insert the USB memory stick into the USB port
or connect the USB device to the USB port
using a
suitable cable (not supplied).
To protect the system, do not use a
USB
hub.
The system builds playlists (in temporary
memory), an operation which can take from
a
few seconds to several minutes at the first
connection.
7-inch touch screen tablet
Page 214 of 248
10
Reduce the number of non-music files and the
number of folders to reduce the waiting time.
The playlists are updated every time the
ignition is switched off or a USB memory stick
is connected. The lists are memorised: if they
are not modified, the subsequent loading time
will be shorter.
Auxiliary socket (AUX)
This source is only available if the "Auxiliary
socket" option has been activated in the
"Media" settings.
Connect a
portable device (MP3 player, etc.) to
the AUX Jack socket using the audio cable (not
supplied).
First adjust the volume on your portable device
(to a
high level). Then adjust the volume of your
audio system.
Display and management of the controls are
via the portable device.
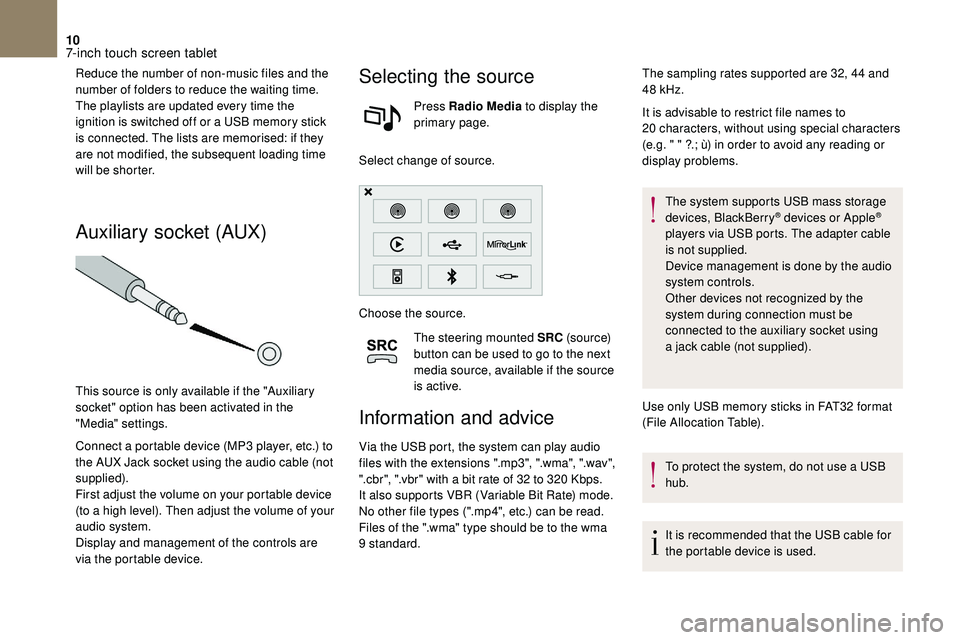
Selecting the source
Press Radio Media to display the
primary page.
Select change of source.
Choose the source. The steering mounted SRC (s o u r c e)
button can be used to go to the next
media source, available if the source
is active.
Information and advice
Via the USB port, the system can play audio
files with the extensions ".mp3", ".wma", ".wav",
".cbr", ".vbr" with a
bit rate of 32 to 320 Kbps.
It also supports VBR (Variable Bit Rate) mode.
No other file types (".mp4", etc.) can be read.
Files of the ".wma" type should be to the wma
9
standard. It is advisable to restrict file names to
20
characters, without using special characters
(e.g. " " ?.; ù) in order to avoid any reading or
display problems.
The system supports USB mass storage
devices, BlackBerry
® devices or Apple®
players via USB ports. The adapter cable
is not supplied.
Device management is done by the audio
system controls.
Other devices not recognized by the
system during connection must be
connected to the auxiliary socket using
a
jack cable (not supplied).
Use only USB memory sticks in FAT32
format
(File Allocation Table).
To protect the system, do not use a
USB
hub.
It is recommended that the USB cable for
the portable device is used.
The sampling rates supported are 32, 44
and
48
kHz.
7-inch touch screen tablet
Page 216 of 248
12
- "Ambience " (choice of 6 musical ambiences).- "Bass ".- "Tr e b l e ".- "Loudness " (Activate/Deactivate).- "Balance " ("Driver ", "All passengers ",
" Front only ").
- "Audible response from touch screen ".- "Volume linked to speed " (Activate/
Deactivate).
Onboard audio: Arkamys© Sound Staging
optimises the distribution of sound in the
passenger compartment.
Modifying system settings
Press Settings to display the
primary page.
Press on the secondary page. Select "System Settings ".
Select " Units" to change the units of distance,
fuel consumption and temperature.
Select " Delete data " to delete the list of recent
destinations, personal points of interest,
contacts in the list. Check the settings then select
"
Delete ".
Select " Factory settings " to return to the
original settings.
Press Settings to display the
primary page.
Press on the secondary page. Select "Screen settings ".
Activate or deactivate: " Activate
automatic text scrolling " and
" Activate animations ".
Press Settings to display the
primary page.
Press on the secondary page. Select "Time/Date " to change the
time zone, synchronisation with
GPS, the time and its format, then
the date.
The system does not automatically
manage the change between winter and
summer time (depending on country). Select "
Languages " to change the
language.
Select " Calculator " to display
a
calculator.
Select " Calendar " to display
a
calendar.
Connected services
MirrorLinkTM
MirrorLink™ smartphone
connection
As a safety measure and because it
r equires sustained attention by the driver,
using a
smartphone when driving is
prohibited.
All operations must be done with the
vehicle stationary .
7-inch touch screen tablet