Page 7 of 696

HOW TO USE THIS MANUAL
Essential Information
Consult the Table of Contents to determine which section
contains the information you desire.
Since the specification of your vehicle depends on the items
of equipment ordered, certain descriptions and illustra-
tions may differ from your vehicle’s equipment.
The detailed index at the back of this Owner’s Manual
contains a complete listing of all subjects.
Symbols
Some vehicle components have colored labels whose sym-
bols indicate precautions to be observed when using this
component. Refer to “Warning Lights and Messages” in
“Getting To Know Your Instrument Panel” for further
information on the symbols used in your vehicle.
WARNINGS AND CAUTIONS
This Owner ’s Manual containsWARNINGSagainst oper-
ating procedures that could result in a collision, bodily
injury and/or death. It also contains CAUTIONSagainst
procedures that could result in damage to your vehicle. If
you do not read this entire Owner ’s Manual, you may miss
important information. Observe all Warnings and Cau-
tions.
VEHICLE MODIFICATIONS/ALTERATIONS
WARNING!
Any modifications or alterations to this vehicle could
seriously affect its roadworthiness and safety and may
lead to a collision resulting in serious injury or death.
1
INTRODUCTION 5
Page 10 of 696
FRONT VIEW
Front View
1 — Hood/Engine Compartment
2 — Windshield
3 — Exterior Mirrors4 — Doors
5 — Wheels/Tires
6 — Headlights
8 GRAPHICAL TABLE OF CONTENTS
Page 12 of 696
INSTRUMENT PANEL
Instrument Panel
1 — Multifunction Lever9 — Switch Panel
2 — Instrument Cluster Display Controls 10 — Electronic Park Brake Switch
3 — Instrument Cluster 11 — Gear Selector
4 — Windshield Wiper Lever 12 — Ignition
5 — Uconnect System 13 — Speed Controls
6 — Glove Compartment 14 — Steering Wheel
7 — Front Center Stack AUX Jack and USB Port 15 — Hood Release
8 — Climate Controls 16 — Headlight Switch
10 GRAPHICAL TABLE OF CONTENTS
Page 17 of 696

▫Conversation Mirror .....................91
▫ Power Mirrors — If Equipped ..............91
▫ Outside Mirrors Folding Feature ............92
▫ Heated Mirrors — If Equipped .............92
▫ Tilt Side Mirrors In Reverse (Available With
Memory Seat Only) — If Equipped ...........92
▫ Power Folding Mirrors — If Equipped .........92
▫ Illuminated Vanity Mirrors — If Equipped .....93
� EXTERIOR LIGHTS .......................94
▫ Multifunction Lever .....................94
▫ Headlight Switch ........................94
▫ Daytime Running Lights — If Equipped .......95
▫ High/Low Beam Switch ...................95
▫ Automatic High Beam — If Equipped ........95
▫ Flash-To-Pass ..........................96
▫ Automatic Headlights — If Equipped .........96
▫ Headlights On With Wipers — If Equipped .....96▫
Headlight Delay — If Equipped .............96
▫ Lights-On Reminder .....................97
▫ Front Fog Lights — If Equipped .............97
▫ Turn Signals ...........................97
▫ Lane Change Assist — If Equipped ..........98
▫ Battery Protection .......................98
� INTERIOR LIGHTS .......................98
▫ Courtesy/Interior Lighting ................98
� WINDSHIELD WIPER AND WASHERS ........101
▫ Windshield Wiper Operation ..............101
▫ Rain Sensing Wipers — If Equipped .........102
▫ Rear Wiper And Washer ..................103
� CLIMATE CONTROLS ....................104
▫ Manual Climate Controls Overview .........104
▫ Automatic Uconnect 4 Climate Control
Overview ............................117
3
GETTING TO KNOW YOUR VEHICLE 15
Page 19 of 696
▫Sun Screens — If Equipped ................168
▫ Power Outlets ........................ .168
▫ Power Inverter — If Equipped .............171
▫ Cigar Lighter — If Equipped ..............172
▫ Smoker’s Package Kit — If Equipped ........172▫
Overhead Sunglass Storage ...............173
� ROOF LUGGAGE RACK — IF EQUIPPED ......173
▫ Deploying The Crossbars .................174
▫ Stowing The Crossbars ...................177
3
GETTING TO KNOW YOUR VEHICLE 17
Page 22 of 696
To Unlock The Doors
NOTE:Uconnect Settings lets you program the system to
unlock either the driver’s side doors on the first push
(default) or unlock all doors on the first push of the unlock
button on the key fob. To change the default setting, refer
to “Uconnect Settings” in “Multimedia” for further infor-
mation.
1st Push Of Key Fob Unlocks
Push and release the unlock button on the key fob once to
unlock the driver front door and sliding door or twice
within five seconds to unlock all doors and liftgate. The
hazard lights will flash to acknowledge the unlock signal.
The illuminated entry system will be activated. 2nd Push Of Key Fob Unlocks
Push and release the unlock button on the key fob twice
within five seconds to unlock all doors and liftgate. The
turn signal lights will flash to acknowledge the unlock
signal. The illuminated entry system will be activated.
First Push Unlock
20 GETTING TO KNOW YOUR VEHICLE
Page 24 of 696

To Lock The Doors And Liftgate
Push and release the lock button on the key fob to lock all
doors and liftgate. The hazard lights will flash once and the
horn will chirp once to acknowledge the signal. Settings in
radio can change to lights only, chirp only, or both.
If the vehicle is equipped with Passive Entry, refer to
“Keyless Enter-N-Go — Passive Entry” in “Getting To
Know Your Vehicle” for further information.
Key Fob With Remote Control And Integrated Vehicle
Key
If one or more doors are open or the liftgate is open, the
doors can be locked. This is signaled by a quick flash of the
turn signals.
Vehicles Equipped With Keyless Enter-N-Go — Passive
Entry
If one or more doors are open, or the liftgate is open, the
doors can be locked. The doors will unlock again only if the
key is inside the passenger compartment.
Key Fob Battery Replacement
The recommended replacement battery is one CR2032
battery.
NOTE:
•Batteries contain harmful chemicals. Dispose old batter-
ies by placing them in correct containers according to the
law or by taking them to a dealership, where they will be
handled appropriately.
• Perchlorate Material — special handling may apply. See
www.dtsc.ca.gov/hazardouswaste/perchlorate
• Do not touch the battery terminals that are on the back
housing or the printed circuit board.
1. Remove the emergency key by pushing the mechanical release button on the side of the key fob with your
thumb and then pull the key out with your other hand.
22 GETTING TO KNOW YOUR VEHICLE
Page 27 of 696

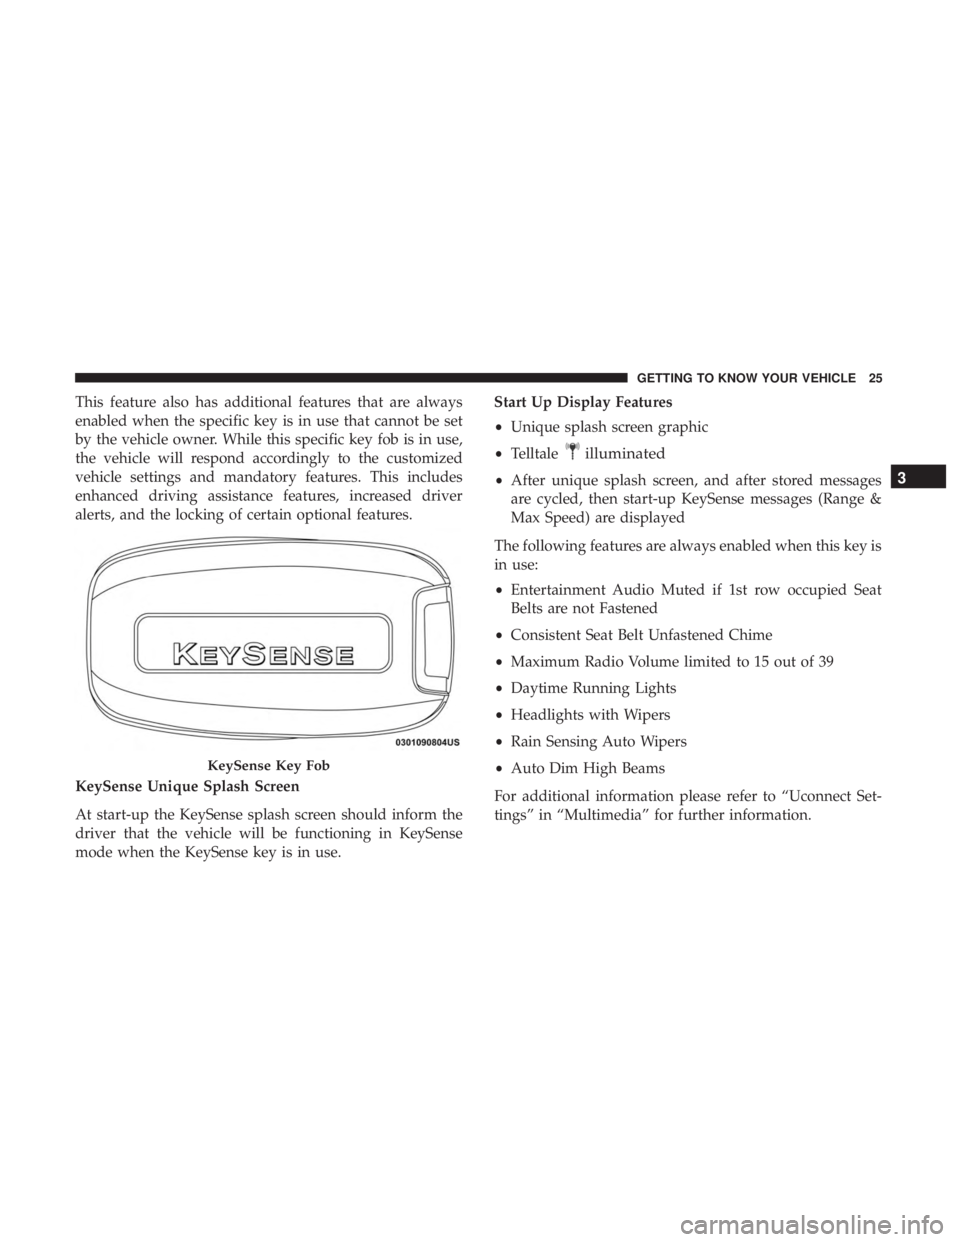
This feature also has additional features that are always
enabled when the specific key is in use that cannot be set
by the vehicle owner. While this specific key fob is in use,
the vehicle will respond accordingly to the customized
vehicle settings and mandatory features. This includes
enhanced driving assistance features, increased driver
alerts, and the locking of certain optional features.
KeySense Unique Splash Screen
At start-up the KeySense splash screen should inform the
driver that the vehicle will be functioning in KeySense
mode when the KeySense key is in use.Start Up Display Features
•
Unique splash screen graphic
• Telltale
illuminated
•After unique splash screen, and after stored messages
are cycled, then start-up KeySense messages (Range &
Max Speed) are displayed
The following features are always enabled when this key is
in use:
• Entertainment Audio Muted if 1st row occupied Seat
Belts are not Fastened
• Consistent Seat Belt Unfastened Chime
• Maximum Radio Volume limited to 15 out of 39
• Daytime Running Lights
• Headlights with Wipers
• Rain Sensing Auto Wipers
• Auto Dim High Beams
For additional information please refer to “Uconnect Set-
tings” in “Multimedia” for further information.
KeySense Key Fob
3
GETTING TO KNOW YOUR VEHICLE 25