Page 38 of 614
Power Flow paths are indicated by the direction of the
arrows on the touchscreen.
Driving History
The second screen in the “Hybrid Electric Pages” App is
the Driving History screen. The Driving History screen
shows the miles (km) driven in both Full Electric and
Hybrid modes for both the previous week and the current
week. The data is displayed in a bar graph: Electric Mode
miles in teal and Hyrbid Mode miles in blue.
On the bar graph, miles (km) driven on the same day in
Electric mode (battery only) are always shown below miles
(km) driven in Hybrid mode. When one day of the week
exceeds 100 miles (160 km) driven, the values of miles (km)
driven in Electric and Hybrid modes will be listed above
the bar graph in respective colors (teal for Electric and blue
for Hybrid).
Power Flow Screen
36 GETTING TO KNOW YOUR VEHICLE
Page 108 of 614

IconDescription
Front Defrost Button
Press and release to change the current airflow setting to Defrost mode. The indicator illumi-
nates when this feature is on. Air comes from the windshield and side window demist outlets.
When the defrost button is selected, the blower level may increase. Use Defrost mode with
maximum temperature settings for best windshield and side window defrosting and defogging.
Performing this function will cause the ATC to switch into manual mode. If the front defrost
mode is turned off the climate system will return the previous setting.
Rear Defrost Button
Push and release the Rear Defrost Control button to turn on the rear window defroster and the
heated outside mirrors (if equipped). An indicator will illuminate when the rear window de-
froster is on. The rear window defroster automatically turns off after ten minutes.
Rear Climate Rear Climate Control Button Press and release this button to access the rear climate controls. The indicator will illuminate
when the rear climate controls are on.
Driver And Passenger Temperature Up And Down Buttons
Provides the driver and passenger with independent temperature control. Push the red button
on the faceplate or touchscreen or press and slide the temperature bar towards the red arrow
button on the touchscreen for warmer temperature settings. Push the blue button on the face-
plate or touchscreen or press and slide the temperature bar towards the blue arrow button on
the touchscreen for cooler temperature settings.
106 GETTING TO KNOW YOUR VEHICLE
Page 159 of 614

GETTING TO KNOW YOUR INSTRUMENT PANEL
CONTENTS
�INSTRUMENT CLUSTER ..................158
▫ Instrument Cluster Descriptions ............159
� INSTRUMENT CLUSTER DISPLAY ...........160
▫ Instrument Cluster Display Location
And Controls ......................... .160
▫ Oil Life Reset ........................ .161
▫ Fuel And Oil Refresh Mode ................162
▫ KeySense Cluster Messages — If Equipped .....163
▫ Instrument Cluster Display Menu Items .......164
▫ Battery Saver On/Battery Saver Mode Message —
Electrical Load Reduction Actions —
If Equipped ......................... .170�
WARNING LIGHTS AND MESSAGES .........172
▫ Red Warning Lights .....................173
▫ Yellow Warning Lights ...................177
▫ Yellow Indicator Lights ...................182
▫ Green Indicator Lights ...................182
▫ White Indicator Lights ...................183
▫ Blue Indicator Lights ....................184
� ONBOARD DIAGNOSTIC SYSTEM — OBD II . . .184
▫ Onboard Diagnostic System (OBD II)
Cybersecurity ........................ .184
� EMISSIONS INSPECTION AND MAINTENANCE
PROGRAMS .......................... .1854
Page 161 of 614

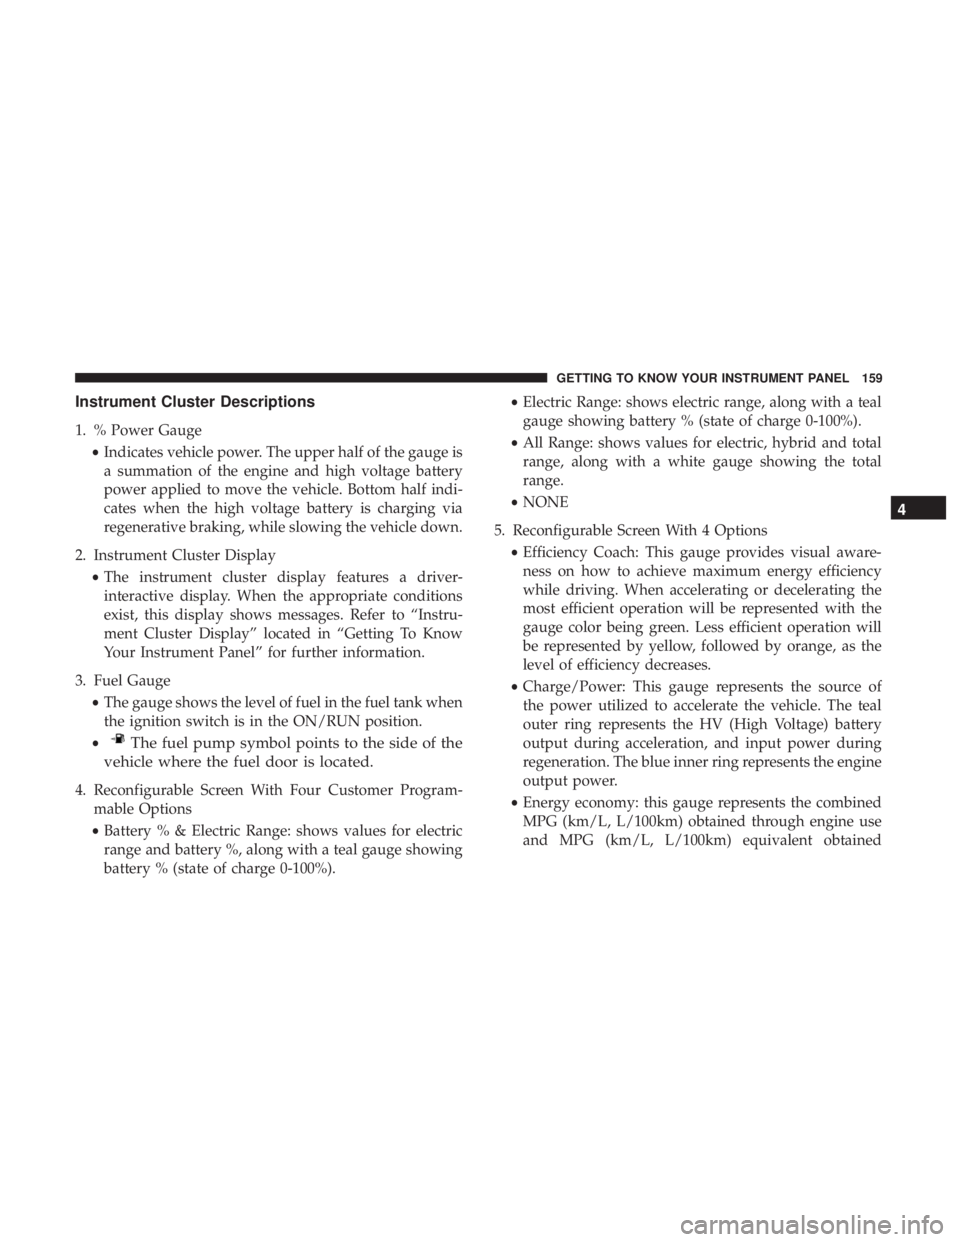
Instrument Cluster Descriptions
1. % Power Gauge•Indicates vehicle power. The upper half of the gauge is
a summation of the engine and high voltage battery
power applied to move the vehicle. Bottom half indi-
cates when the high voltage battery is charging via
regenerative braking, while slowing the vehicle down.
2. Instrument Cluster Display •The instrument cluster display features a driver-
interactive display. When the appropriate conditions
exist, this display shows messages. Refer to “Instru-
ment Cluster Display” located in “Getting To Know
Your Instrument Panel” for further information.
3. Fuel Gauge •The gauge shows the level of fuel in the fuel tank when
the ignition switch is in the ON/RUN position.
•
The fuel pump symbol points to the side of the
vehicle where the fuel door is located.
4. Reconfigurable Screen With Four Customer Program- mable Options
• Battery % & Electric Range: shows values for electric
range and battery %, along with a teal gauge showing
battery % (state of charge 0-100%). •
Electric Range: shows electric range, along with a teal
gauge showing battery % (state of charge 0-100%).
• All Range: shows values for electric, hybrid and total
range, along with a white gauge showing the total
range.
• NONE
5. Reconfigurable Screen With 4 Options •Efficiency Coach: This gauge provides visual aware-
ness on how to achieve maximum energy efficiency
while driving. When accelerating or decelerating the
most efficient operation will be represented with the
gauge color being green. Less efficient operation will
be represented by yellow, followed by orange, as the
level of efficiency decreases.
• Charge/Power: This gauge represents the source of
the power utilized to accelerate the vehicle. The teal
outer ring represents the HV (High Voltage) battery
output during acceleration, and input power during
regeneration. The blue inner ring represents the engine
output power.
• Energy economy: this gauge represents the combined
MPG (km/L, L/100km) obtained through engine use
and MPG (km/L, L/100km) equivalent obtained
4
GETTING TO KNOW YOUR INSTRUMENT PANEL 159
Page 186 of 614

Blue Indicator Lights
— High Beam Indicator Light
This indicator shows that the high beam headlights are on.
With the low beams activated, push the multifunction lever
forward (toward the front of the vehicle) to turn on the
high beams. Pull the multifunction lever rearward (toward
the rear of the vehicle) to turn off the high beams. If the
high beams are off, pull the lever toward you for a
temporary high beam on,�flash to pass�scenario.
ONBOARD DIAGNOSTIC SYSTEM — OBD II
Your vehicle is equipped with a sophisticated Onboard
Diagnostic system called OBD II. This system monitors the
performance of the emissions, engine, and automatic trans-
mission control systems. When these systems are operating
properly, your vehicle will provide excellent performance
and fuel economy, as well as emissions well within current
government regulations.
If any of these systems require service, the OBD II system
will turn on the Malfunction Indicator Light (MIL). It will
also store diagnostic codes and other information to assist
your service technician in making repairs. Although your vehicle will usually be drivable and not need towing, see
an authorized dealer for service as soon as possible.
CAUTION!
•
Prolonged driving with the MIL on could cause
further damage to the emission control system. It
could also affect fuel economy and driveability. The
vehicle must be serviced before any emissions tests
can be performed.
• If the MIL is flashing while the vehicle is running,
severe catalytic converter damage and power loss
will soon occur. Immediate service is required.
Onboard Diagnostic System (OBD II) Cybersecurity
Your vehicle is required to have an Onboard Diagnostic
system (OBD II) and a connection port to allow access to
information related to the performance of your emissions
controls. Authorized service technicians may need to ac-
cess this information to assist with the diagnosis and
service of your vehicle and emissions system.
184 GETTING TO KNOW YOUR INSTRUMENT PANEL
Page 394 of 614
Underhood Fuses
The Power Distribution Center is located in the engine
compartment near the battery. This center contains car-
tridge fuses, mini-fuses, micro-fuses, circuit breakers and
relays. A label that identifies each component is printed on
the inside of the cover.
Before any procedure is done on the PDC, make sure
engine is turned off.
Remove the cover by unlatching the two locks located at
each side of the PDC cover, avoid the usage of screw
drivers or any other tool to remove the cover, since they
may apply excessive force and result on a broken/
damaged part.After service is done, secure the cover with its two locks.
Cavity
Cartridge Fuse Blade FuseDescription
F06 –15 Amp Blue Low Temp Active Pump
F07 –25 Amp Clear Ignition Coil/Fuel Injector
F08 –25 Amp Clear Amplifier / ANC
F09 ––Not Used
F10 –15 Amp Blue High Temp Aux Pump &
HV Electric Coolant Htr Enable
Power Distribution Center
392 IN CASE OF EMERGENCY
Page 395 of 614
CavityCartridge Fuse Blade FuseDescription
F11 –15 Amp Blue ELCM / FTIV
F12 –5 Amp Tan Battery Sensor (IBS)
F13 ––Not Used
F14A –10 Amp Red Media Hub 1, 2, 3
F14B – Pwr Lumbar Switch
F15 40 Amp Green –CBC / Power Locks
F16 –20 Amp Yellow ECM
F17 ––Not Used
F18 40 Amp Green –CBC Feed #4 (Exterior
Lights #1)
F19 ––Not Used
F20 –10 Amp RedLow Temp Passive Pump
F21 20 Amp Blue –PIM - Park PAWL Motor
F22 ––Not Used
F23 ––Not used
F24 –20 Amp Yellow RR Wiper
F25A –10 Amp Red Handsfree (Lt & Rt Rear
Door Release Module)
F25B – Active Grill Shutter
F26 40 Amp Green –Front HVAC Blower Motor
7
IN CASE OF EMERGENCY 393
Page 396 of 614
CavityCartridge Fuse Blade FuseDescription
F27 25 Amp Clear –RR Slide Door Module - RT
F28A –10 Amp Red Diagnostic Port
F28B – USB + AUX (UCI) Port (IP)
/ Video USB Port
F29 ––Not Used
F30A –10 Amp Red ECM / PIM
F30B – Not Used
F31 –10 Amp Red 3, 4 way Valves
F32 20 Amp Blue –ECM
F33 30 Amp Pink –Power Liftgate Module
F34 25 Amp Clear –
Rear Door Control Module -
Lt
F35 25 Amp Clear –Sunroof Control Module
F36 ––Not Used
F37 40 Amp Green –CBC Feed #4 (Exterior
Lighting / PCM #2)
F38 ––Not Used
F39 25 Amp Clear –Rear HVAC Blower Motor
F40 20 Amp Blue –Trans Oil Pump
F41 ––Not Used
394 IN CASE OF EMERGENCY