Page 109 of 614
IconDescription
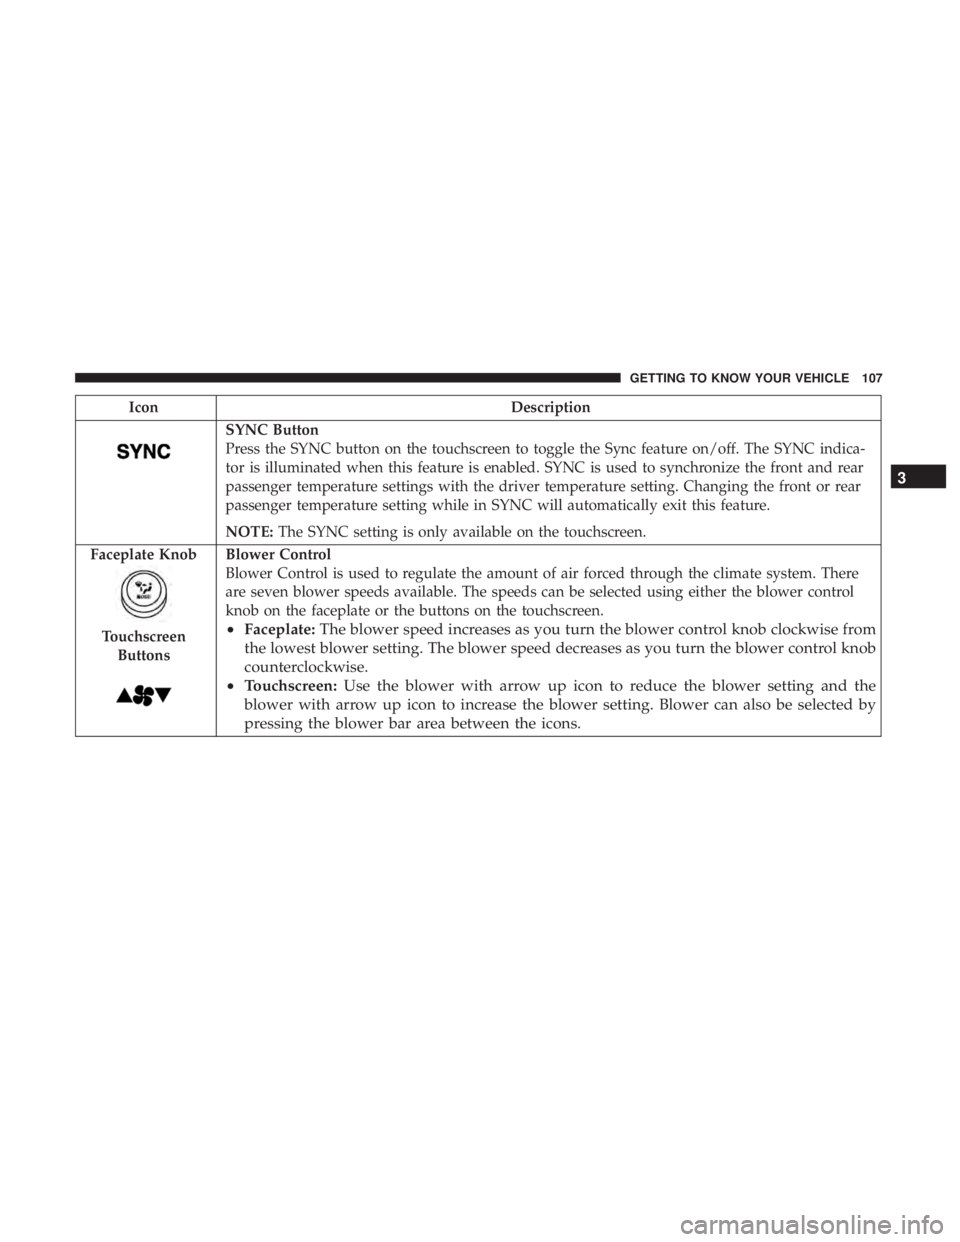
SYNC Button
Press the SYNC button on the touchscreen to toggle the Sync feature on/off. The SYNC indica-
tor is illuminated when this feature is enabled. SYNC is used to synchronize the front and rear
passenger temperature settings with the driver temperature setting. Changing the front or rear
passenger temperature setting while in SYNC will automatically exit this feature.
NOTE:The SYNC setting is only available on the touchscreen.
Faceplate Knob
Touchscreen Buttons
Blower Control
Blower Control is used to regulate the amount of air forced through the climate system. There
are seven blower speeds available. The speeds can be selected using either the blower control
knob on the faceplate or the buttons on the touchscreen.
• Faceplate: The blower speed increases as you turn the blower control knob clockwise from
the lowest blower setting. The blower speed decreases as you turn the blower control knob
counterclockwise.
• Touchscreen: Use the blower with arrow up icon to reduce the blower setting and the
blower with arrow up icon to increase the blower setting. Blower can also be selected by
pressing the blower bar area between the icons. 3
GETTING TO KNOW YOUR VEHICLE 107
Page 114 of 614
IconDescription
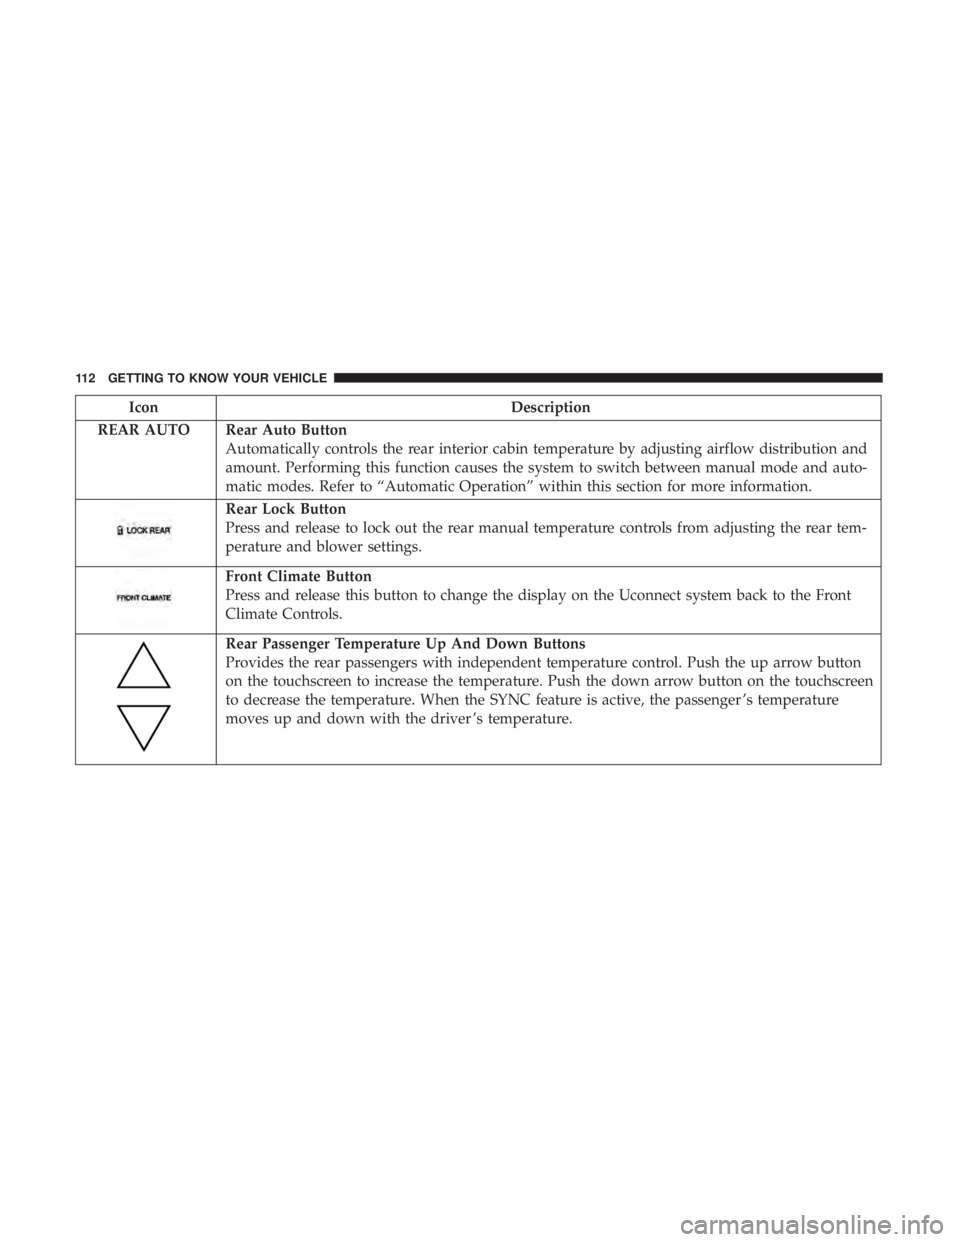
REAR AUTO Rear Auto Button Automatically controls the rear interior cabin temperature by adjusting airflow distribution and
amount. Performing this function causes the system to switch between manual mode and auto-
matic modes. Refer to “Automatic Operation” within this section for more information.
Rear Lock Button
Press and release to lock out the rear manual temperature controls from adjusting the rear tem-
perature and blower settings.
Front Climate Button
Press and release this button to change the display on the Uconnect system back to the Front
Climate Controls.
Rear Passenger Temperature Up And Down Buttons
Provides the rear passengers with independent temperature control. Push the up arrow button
on the touchscreen to increase the temperature. Push the down arrow button on the touchscreen
to decrease the temperature. When the SYNC feature is active, the passenger ’s temperature
moves up and down with the driver ’s temperature.
112 GETTING TO KNOW YOUR VEHICLE
Page 116 of 614
IconDescription
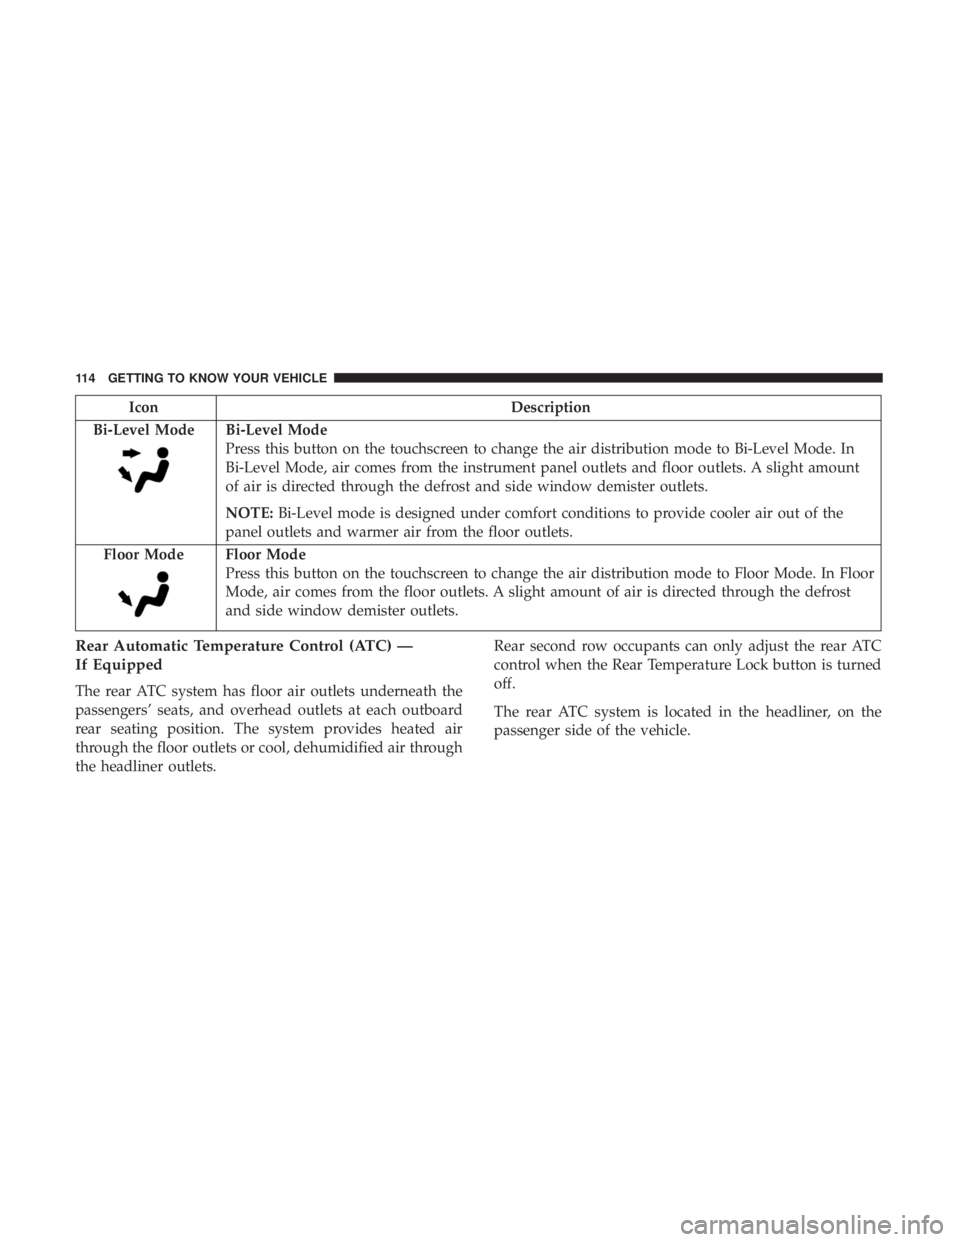
Bi-Level Mode
Bi-Level Mode
Press this button on the touchscreen to change the air distribution mode to Bi-Level Mode. In
Bi-Level Mode, air comes from the instrument panel outlets and floor outlets. A slight amount
of air is directed through the defrost and side window demister outlets.
NOTE: Bi-Level mode is designed under comfort conditions to provide cooler air out of the
panel outlets and warmer air from the floor outlets.
Floor Mode
Floor Mode
Press this button on the touchscreen to change the air distribution mode to Floor Mode. In Floor
Mode, air comes from the floor outlets. A slight amount of air is directed through the defrost
and side window demister outlets.
Rear Automatic Temperature Control (ATC) —
If Equipped
The rear ATC system has floor air outlets underneath the
passengers’ seats, and overhead outlets at each outboard
rear seating position. The system provides heated air
through the floor outlets or cool, dehumidified air through
the headliner outlets. Rear second row occupants can only adjust the rear ATC
control when the Rear Temperature Lock button is turned
off.
The rear ATC system is located in the headliner, on the
passenger side of the vehicle.
114 GETTING TO KNOW YOUR VEHICLE
Page 122 of 614
WINDOWS
Power Windows
You can control either the front or rear windows using
controls located on the driver’s door trim panel.
The driver may lock out the rear power windows by
pushing the bar control just below the power window
controls.
The controls will operate only when the ignition switch is
in the ON/RUN or ACC position and during power
accessory delay.
Driver ’s Power Window Controls
1 — Front Driver And Passenger Window Controls
2 — Rear Passenger Window Controls
3 — Power Window Lockout Switch — If Equipped
120 GETTING TO KNOW YOUR VEHICLE
Page 123 of 614
NOTE:Power Window controls will also remain active for
up to 10 minutes after the ignition switch has been turned
to OFF, depending upon the accessory delay setting. Open-
ing a front door will cancel this feature.
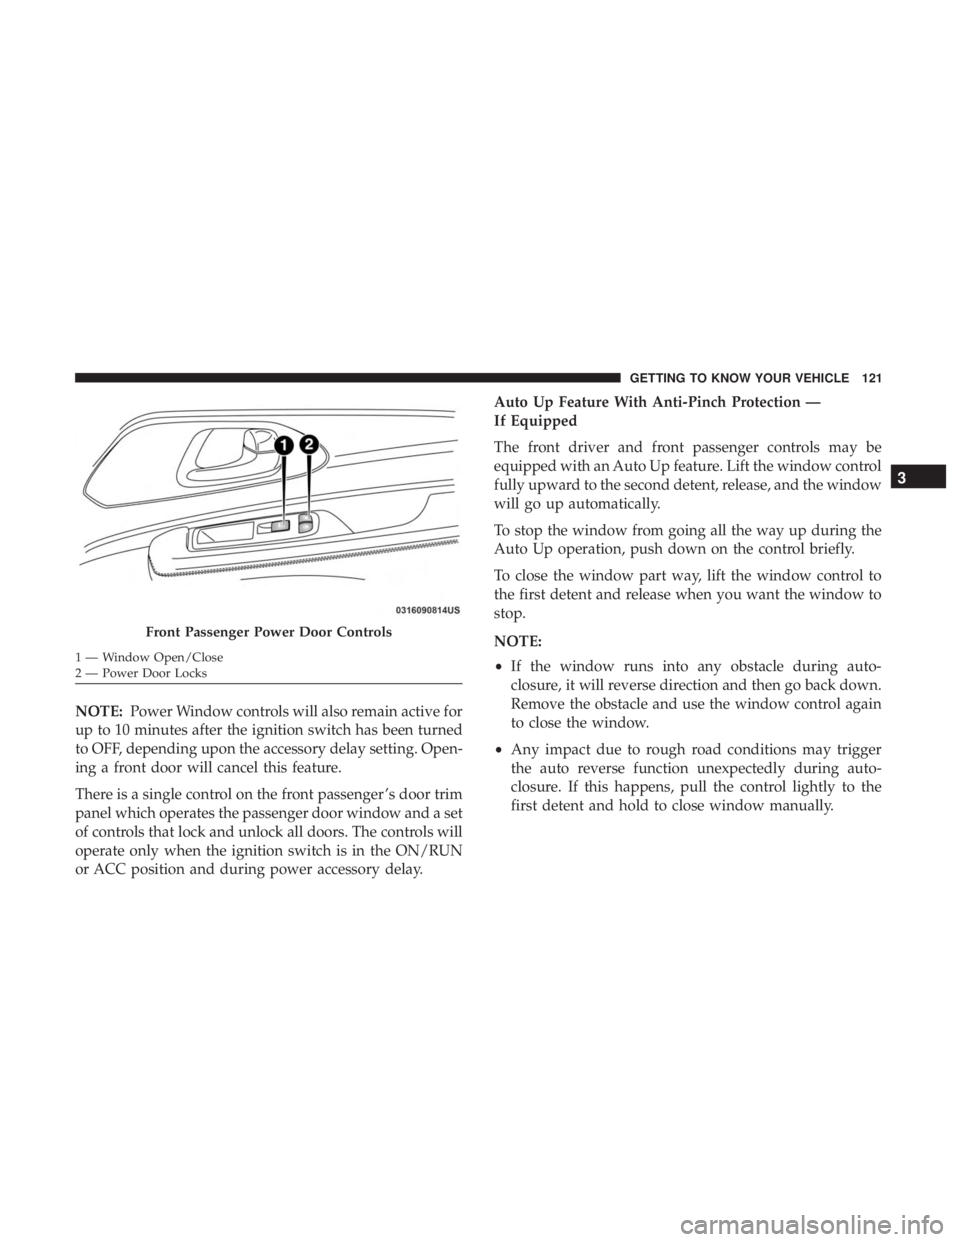
There is a single control on the front passenger ’s door trim
panel which operates the passenger door window and a set
of controls that lock and unlock all doors. The controls will
operate only when the ignition switch is in the ON/RUN
or ACC position and during power accessory delay. Auto Up Feature With Anti-Pinch Protection —
If Equipped
The front driver and front passenger controls may be
equipped with an Auto Up feature. Lift the window control
fully upward to the second detent, release, and the window
will go up automatically.
To stop the window from going all the way up during the
Auto Up operation, push down on the control briefly.
To close the window part way, lift the window control to
the first detent and release when you want the window to
stop.
NOTE:
•
If the window runs into any obstacle during auto-
closure, it will reverse direction and then go back down.
Remove the obstacle and use the window control again
to close the window.
• Any impact due to rough road conditions may trigger
the auto reverse function unexpectedly during auto-
closure. If this happens, pull the control lightly to the
first detent and hold to close window manually.
Front Passenger Power Door Controls
1 — Window Open/Close
2 — Power Door Locks
3
GETTING TO KNOW YOUR VEHICLE 121
Page 124 of 614
WARNING!
There is no anti-pinch protection when the window is
almost closed. To avoid personal injury be sure to clear
your arms, hands, fingers and all objects from the
window path before closing.
Auto Up Reset — If Equipped
To reactivate the Auto Up feature, perform the following
steps after vehicle power is restored:
1. Pull the window control up to close the window com- pletely and continue to hold the control up for an
additional two seconds after the window is closed.
2. Push the window control down firmly to the second detent to open the window completely and continue to
hold the control down for an additional two seconds
after the window is fully open.
Sliding Side Door Power Window Control —
If Equipped
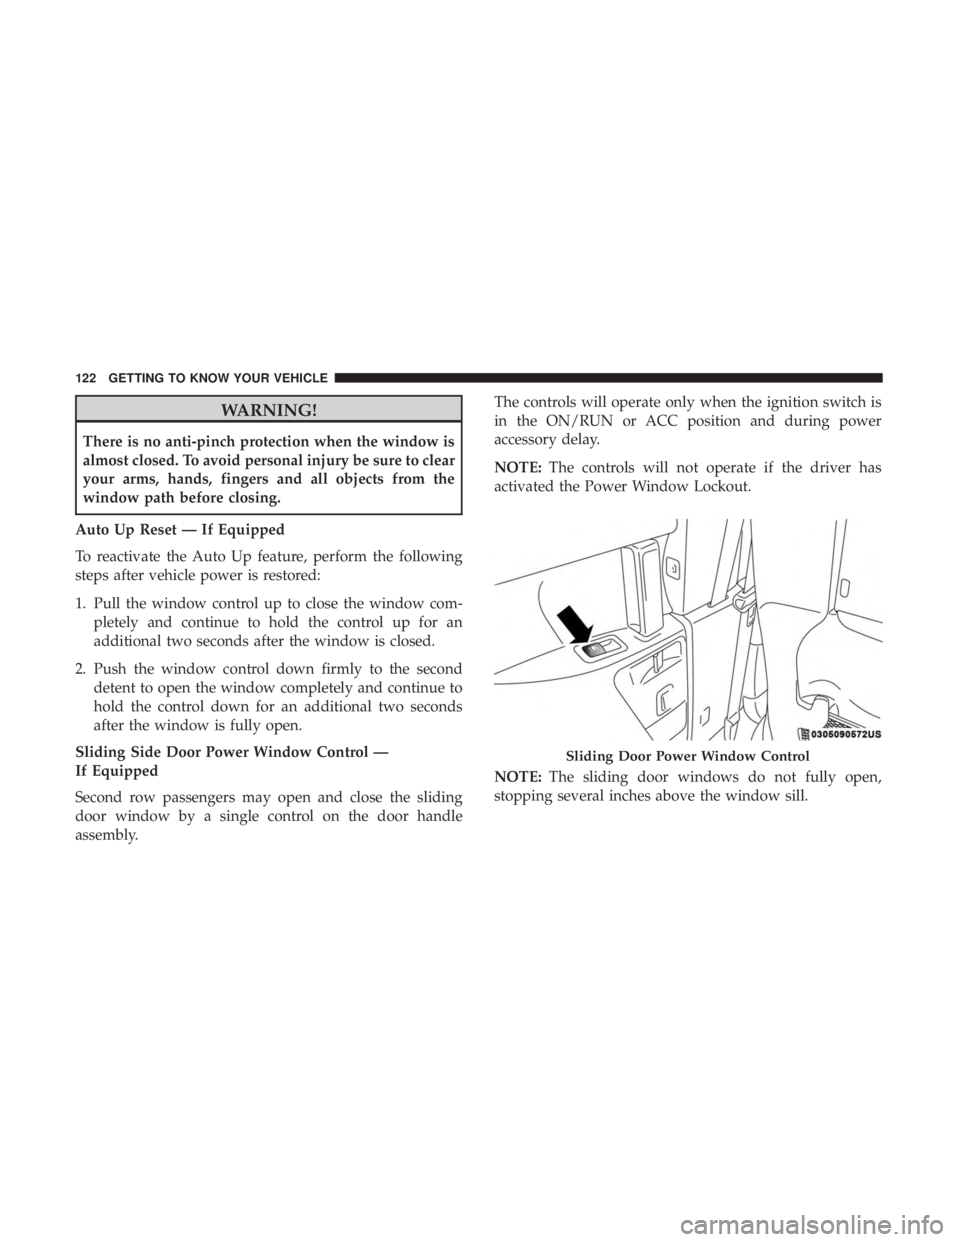
Second row passengers may open and close the sliding
door window by a single control on the door handle
assembly. The controls will operate only when the ignition switch is
in the ON/RUN or ACC position and during power
accessory delay.
NOTE:
The controls will not operate if the driver has
activated the Power Window Lockout.
NOTE: The sliding door windows do not fully open,
stopping several inches above the window sill.
Sliding Door Power Window Control
122 GETTING TO KNOW YOUR VEHICLE
Page 125 of 614
Wind Buffeting
Wind buffeting can be described as the perception of
pressure on the ears or a helicopter-type sound in the ears.
Your vehicle may exhibit wind buffeting with the windows
down, or the sunroof (if equipped) in certain open or
partially open positions. This is a normal occurrence and
can be minimized. If the rear windows are open and
buffeting occurs, open the front and rear windows together
to minimize the buffeting. If the buffeting occurs with the
sunroof open, adjust the sunroof opening to minimize the
buffeting.
TRI-PANE PANORAMIC SUNROOF — IF EQUIPPED
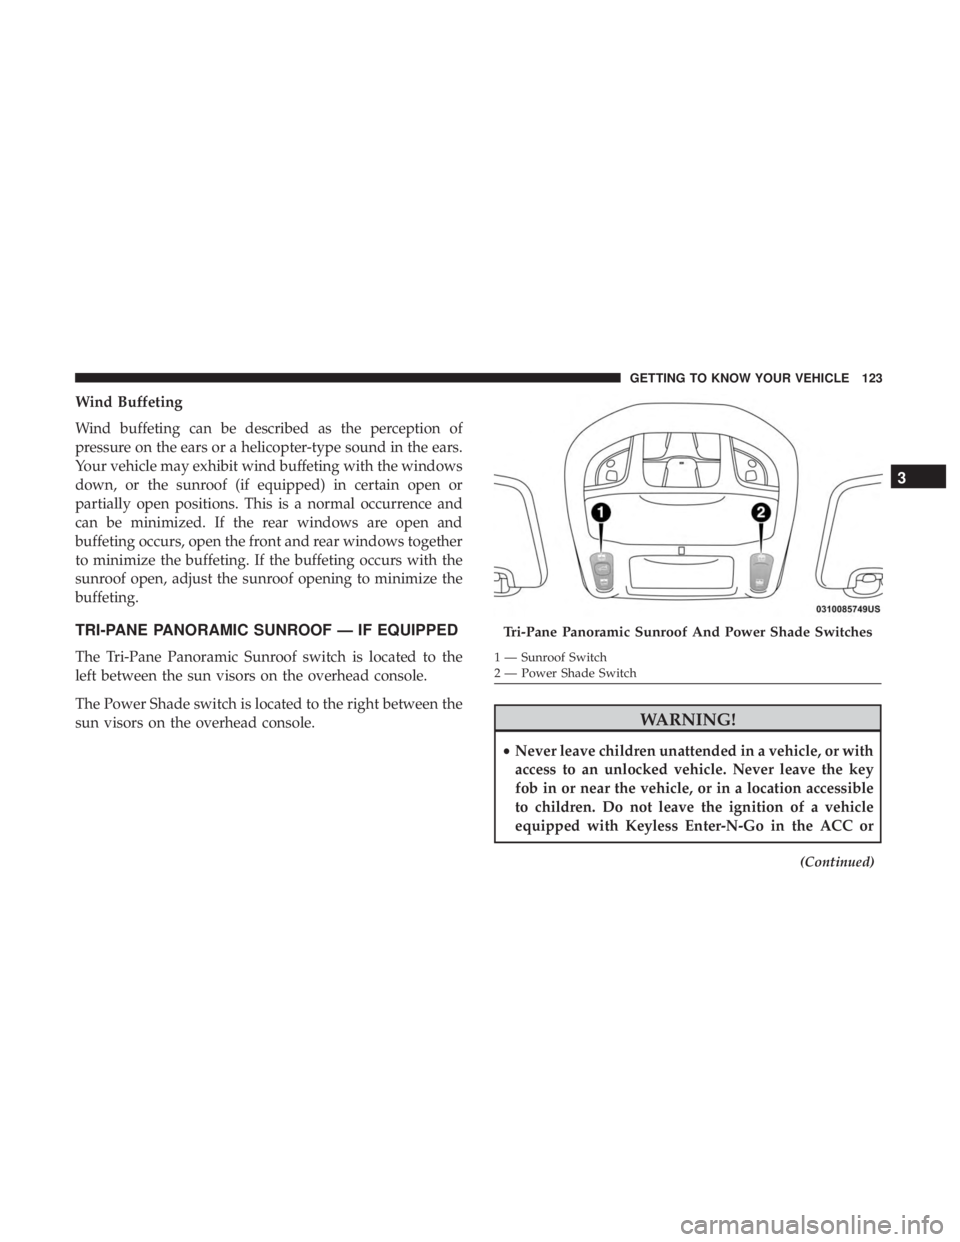
The Tri-Pane Panoramic Sunroof switch is located to the
left between the sun visors on the overhead console.
The Power Shade switch is located to the right between the
sun visors on the overhead console.
WARNING!
•Never leave children unattended in a vehicle, or with
access to an unlocked vehicle. Never leave the key
fob in or near the vehicle, or in a location accessible
to children. Do not leave the ignition of a vehicle
equipped with Keyless Enter-N-Go in the ACC or
(Continued)
Tri-Pane Panoramic Sunroof And Power Shade Switches
1 — Sunroof Switch
2 — Power Shade Switch
3
GETTING TO KNOW YOUR VEHICLE 123
Page 128 of 614
and stop automatically. This is called “Express Close”.
During Express Close operation, any other actuation of the
switch will stop the shade.
NOTE:If the sunroof is open, the shade will close to the
half-open position. Pushing the shade close button again
will automatically close both the sunroof and shade com-
pletely.
Closing Power Shade — Manual Mode
To close the shade, push and hold the switch in the forward
position. Any release of the switch will stop the movement
and the shade will remain in a partially closed condition
until the switch is pushed again.
Pinch Protect Feature
This feature will detect an obstruction in the closing of the
sunroof during the Express Close operation. If an obstruc-
tion in the path of the sunroof is detected, the sunroof will
automatically retract. Remove the obstruction if this oc-
curs.
NOTE: If three consecutive sunroof close attempts result in
Pinch Protect reversals, Pinch Protect will disable and the
sunroof must be closed in Manual Mode.
Sunroof Maintenance
Use only a non-abrasive cleaner and a soft cloth to clean the
glass panel.
Ignition Off Operation
The power sunroof switch will remain active for up to
approximately 10 minutes after the ignition switch is
turned to the OFF/LOCK position. Opening either front
door will cancel this feature.
NOTE: Ignition Off time is programmable through the
Uconnect System. Refer to “Uconnect Settings” in “Multi-
media” for further information.
HOOD
Opening
WARNING!
Always cycle the ignition to OFF mode before opening
the hood. If the ignition is in ON mode and the
Propulsion System is active when the hood is opened,
the engine will automatically start, and persons not
clear of the vehicle could be seriously injured by the
engine’s moving parts.
126 GETTING TO KNOW YOUR VEHICLE