Page 117 of 614
1. Adjust the rear blower, rear temperature and the rearmodes to suit your comfort needs.
2. ATC is selected by pushing the AUTO button. Once the desired temperature is displayed, the ATC System
will automatically achieve and maintain that comfort level.
When the system is set up for your comfort level, it is not
necessary to change the settings. You will experience the
greatest efficiency by simply allowing the system to func-
tion automatically.
NOTE:
•
It is not necessary to move the temperature settings. The
system automatically adjusts the temperature, mode and
fan speed to provide comfort as quickly as possible.
Rear Automatic Climate Controls
3
GETTING TO KNOW YOUR VEHICLE 115
Page 118 of 614
IconDescription
Rear Mode Control
Push this button on the Rear Climate Hard Controls to change the air distribution mode for the
rear passengers to one of the following:
Panel Mode
Panel Mode
Air comes from the outlets in the headliner. Each of these outlets can be individually adjusted to
direct the flow of air. Moving the air vanes of the outlets to one side will shut off the airflow.
Bi-Level Mode
Bi-Level Mode
Air comes from both the headliner outlets and the floor outlets.
NOTE: In many temperature positions, the Bi-Level mode is designed to provide cooler air out of
the headliner outlets and warmer air from the floor outlets.
Floor Mode
Floor Mode
Air comes from the floor outlets.
Rear Temperature Control
•Rear Passenger Temperature Up Button To change the temperature in the rear of the vehicle,
push temperature control up button to raise the temperature. The rear temperature settings are
displayed in control head.
116 GETTING TO KNOW YOUR VEHICLE
Page 119 of 614

IconDescription
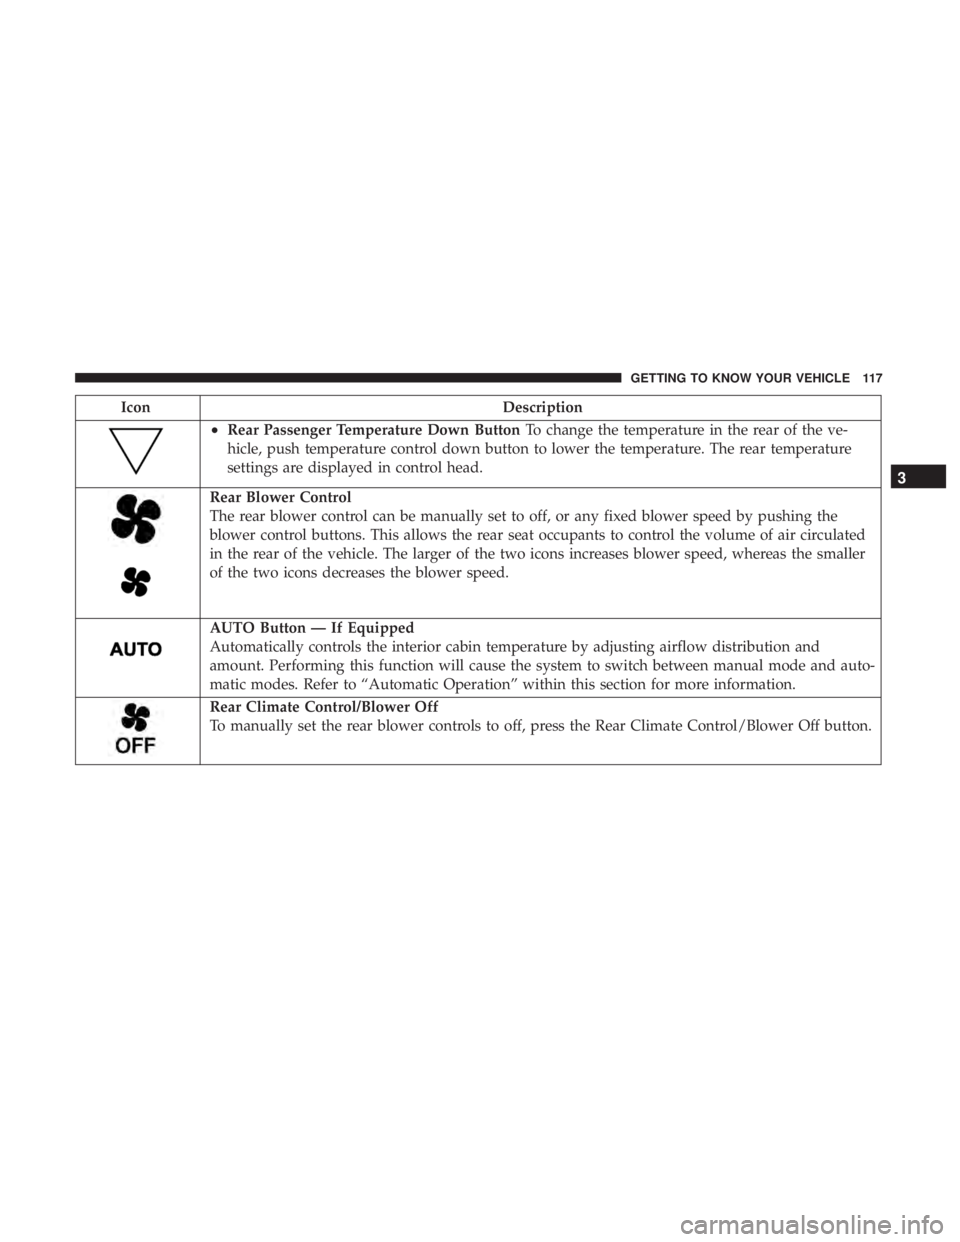
•Rear Passenger Temperature Down ButtonTo change the temperature in the rear of the ve-
hicle, push temperature control down button to lower the temperature. The rear temperature
settings are displayed in control head.
Rear Blower Control
The rear blower control can be manually set to off, or any fixed blower speed by pushing the
blower control buttons. This allows the rear seat occupants to control the volume of air circulated
in the rear of the vehicle. The larger of the two icons increases blower speed, whereas the smaller
of the two icons decreases the blower speed.
AUTO Button — If Equipped
Automatically controls the interior cabin temperature by adjusting airflow distribution and
amount. Performing this function will cause the system to switch between manual mode and auto-
matic modes. Refer to “Automatic Operation” within this section for more information.
Rear Climate Control/Blower Off
To manually set the rear blower controls to off, press the Rear Climate Control/Blower Off button.
3
GETTING TO KNOW YOUR VEHICLE 117
Page 121 of 614
Outside Air Intake
Make sure the air intake, located directly in front of the
windshield, is free of obstructions, such as leaves. Leaves
collected in the air intake may reduce airflow, and if they
enter the plenum, they could plug the water drains. In
Winter months, make sure the air intake is clear of ice,
slush, and snow.
Cabin Air Filter
The climate control system filters out dust and pollen from
the air. Contact an authorized dealer to service your cabin
air filter, and to have it replaced when needed.
Operating Tips Chart
3
GETTING TO KNOW YOUR VEHICLE 119
Page 132 of 614

Closing
To Close The Liftgate
Grasp the liftgate closing handle and initiate lowering the
liftgate. Release the handle when the liftgate takes over the
closing effort.
To Lock The Vehicle
With a valid Passive Entry key fob within 5 ft (1.5 m) of the
liftgate, pushing the passive entry lock button located to
the right of the outside handle will lock the vehicle.
WARNING!
•Driving with the liftgate open can allow poisonous
exhaust gases into your vehicle. You and your pas-
sengers could be injured by these fumes. Keep the
liftgate closed when you are operating the vehicle.
• If you are required to drive with the liftgate open,
make sure that all windows are closed, and the
climate control blower switch is set at high speed. Do
not use the recirculation mode.
Power Liftgate — If Equipped
The power liftgate may be opened or closed in several
ways:
• Overhead console liftgate button
• Key fob
• Outside handle (opens liftgate only)
• Button just inside the liftgate on the upper left trim
(when liftgate is open)
• Hands-Free Liftgate (opens liftgate only) — If Equipped
Using the above ways:
• When the liftgate is fully closed, the liftgate will open
• When the liftgate is fully open, the liftgate will close
• When the liftgate is moving, the liftgate will reverse
Push the Power Liftgate button on the Overhead Console
to open or close the liftgate.
Push the liftgate button on the key fob twice within five
seconds to open or close the liftgate.
130 GETTING TO KNOW YOUR VEHICLE
Page 135 of 614

NOTE:To open the Hands-Free Liftgate requires a valid
Passive Entry key fob within 5 ft (1.5 m) of the door handle.
If a valid Passive Entry key fob is not within 5 ft (1.5 m), the
liftgate will not respond to any kicks.
CAUTION!
The Hands-Free Liftgate feature may be turned on or
off in Uconnect Settings. Refer to “Uconnect Settings”
in “Multimedia” for further information. The Hands-
Free Liftgate feature should be turned off during
Jacking, Tire Changing, and Vehicle Service.
NOTE:
• The Hands-Free Liftgate will only operate when the
transmission is in Park.
• If anything obstructs the Hands-Free liftgate while it is
opening, the liftgate will automatically reverse to the
closed position, provided it meets sufficient resistance.
• There are pinch sensors attached to the side of the
liftgate opening. Light pressure anywhere along these
strips will cause the liftgate to return to the open
position. •
If the power liftgate encounters multiple obstructions
within the same cycle, the system will automatically
stop. If this occurs, the liftgate must be operated manu-
ally.
• The power liftgate will release, but not power open, in
temperatures below �12° F (�24° C). Be sure to remove
any buildup of snow or ice from the liftgate before
opening the liftgate.
• If the liftgate is left open for an extended period of time,
the liftgate may need to be closed manually to reset
power liftgate functionality.
WARNING!
• Driving with the liftgate open can allow poisonous
exhaust gases into your vehicle. You and your pas-
sengers could be injured by these fumes. Keep the
liftgate closed when you are operating the vehicle.
• If you are required to drive with the liftgate open,
make sure that all windows are closed, and the
climate control blower switch is set at high speed. Do
not use the recirculation mode.
3
GETTING TO KNOW YOUR VEHICLE 133
Page 273 of 614

Transporting Pets
Air Bags deploying in the front seat could harm your pet.
An unrestrained pet will be thrown about and possibly
injured, or injure a passenger during panic braking or in a
collision.
Pets should be restrained in the rear seat in pet harnesses or
pet carriers that are secured by seat belts.
SAFETY TIPS
Transporting Passengers
NEVER TRANSPORT PASSENGERS IN THE CARGO
AREA.
WARNING!
•Do not leave children or animals inside parked
vehicles in hot weather. Interior heat build-up may
cause serious injury or death.
• It is extremely dangerous to ride in a cargo area,
inside or outside of a vehicle. In a collision, people
riding in these areas are more likely to be seriously
injured or killed.
(Continued)
WARNING! (Continued)
•Do not allow people to ride in any area of your
vehicle that is not equipped with seats and seat belts.
• Be sure everyone in your vehicle is in a seat and
using a seat belt properly.
Exhaust Gas
WARNING!
Exhaust gases can injure or kill. They contain carbon
monoxide (CO), which is colorless and odorless.
Breathing it can make you unconscious and can even-
tually poison you. To avoid breathing (CO), follow
these safety tips:
• Do not run the engine in a closed garage or in
confined areas any longer than needed to move your
vehicle in or out of the area.
• If you are required to drive with the trunk/liftgate/
rear doors open, make sure that all windows are
closed and the climate control BLOWER switch is set
at high speed. DO NOT use the recirculation mode.
(Continued)
5
SAFETY 271
Page 486 of 614

All passenger vehicle tires must conform to Federal
safety requirements in addition to these grades.
Treadwear
The Treadwear grade is a comparative rating, based on
the wear rate of the tire when tested under controlled
conditions on a specified government test course. For
example, a tire graded 150 would wear one and one-half
times as well on the government course as a tire graded
100. The relative performance of tires depends upon the
actual conditions of their use, however, and may depart
significantly from the norm due to variations in driving
habits, service practices, and differences in road charac-
teristics and climate.
Traction Grades
The Traction grades, from highest to lowest, are AA, A,
B, and C. These grades represent the tire’s ability to stop
on wet pavement, as measured under controlled condi-
tions on specified government test surfaces of asphalt
and concrete. A tire marked C may have poor traction
performance.WARNING!
The traction grade assigned to this tire is based on
straight-ahead braking traction tests, and does not
include acceleration, cornering, hydroplaning, or
peak traction characteristics.
Temperature Grades
The Temperature grades are A (the highest), B, and C,
representing the tire’s resistance to the generation of
heat and its ability to dissipate heat, when tested under
controlled conditions on a specified indoor laboratory
test wheel.
Sustained high temperature can cause the material of
the tire to degenerate and reduce tire life, and excessive
temperature can lead to sudden tire failure. The grade C
corresponds to a level of performance, which all pas-
senger vehicle tires must meet under the Federal Motor
Vehicle Safety Standard No. 109. Grades B and A
represent higher levels of performance on the laboratory
test wheel, than the minimum required by law.
484 SERVICING AND MAINTENANCE