Page 487 of 716

4876-4. Using the other interior features
6
Interior features
HIGHLANDER_HV_U (OM48F12U)
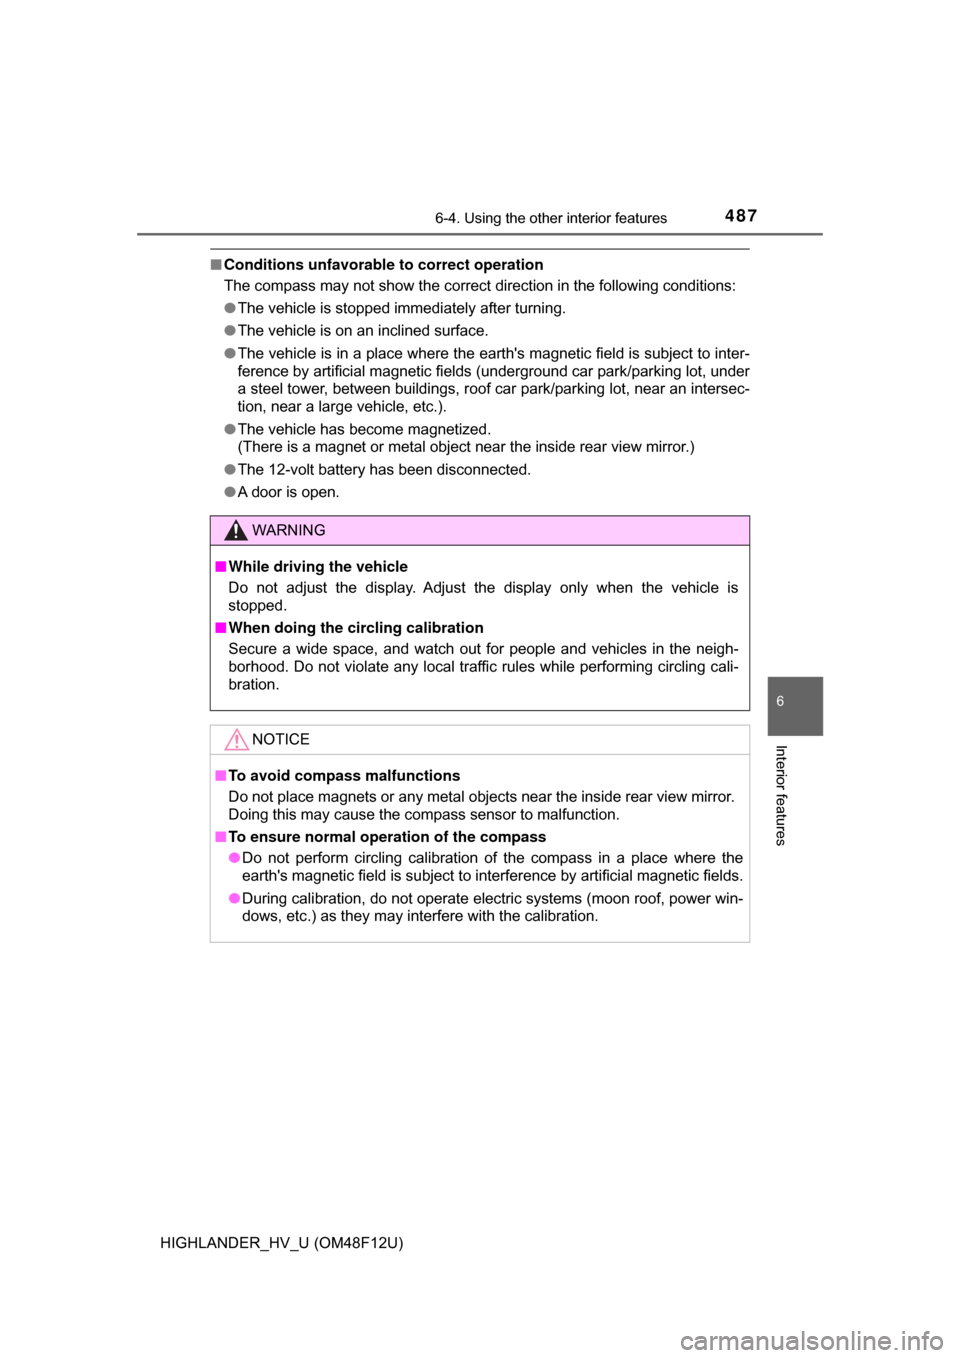
■Conditions unfavorable to correct operation
The compass may not show the correct direction in the following conditions:
●The vehicle is stopped immediately after turning.
● The vehicle is on an inclined surface.
● The vehicle is in a place where the earth's magnetic field is subject to inter-
ference by artificial magnetic fields (underground car park/parking lot, under
a steel tower, between buildings, roof car park/parking lot, near an intersec-
tion, near a large vehicle, etc.).
● The vehicle has become magnetized.
(There is a magnet or metal object near the inside rear view mirror.)
● The 12-volt battery has been disconnected.
● A door is open.
WARNING
■While driving the vehicle
Do not adjust the display. Adjust the display only when the vehicle is
stopped.
■ When doing the circling calibration
Secure a wide space, and watch out for people and vehicles in the neigh-
borhood. Do not violate any local traffic rules while performing circling cali-
bration.
NOTICE
■To avoid compass malfunctions
Do not place magnets or any metal objec ts near the inside rear view mirror.
Doing this may cause the compass sensor to malfunction.
■ To ensure normal op eration of the compass
● Do not perform circling calibration of the compass in a place where the
earth's magnetic field is subject to inte rference by artificial magnetic fields.
● During calibration, do not operate electric systems (moon roof, power win-
dows, etc.) as they may interfere with the calibration.
Page 501 of 716

5017-2. Maintenance
7
Maintenance and care
HIGHLANDER_HV_U (OM48F12U)
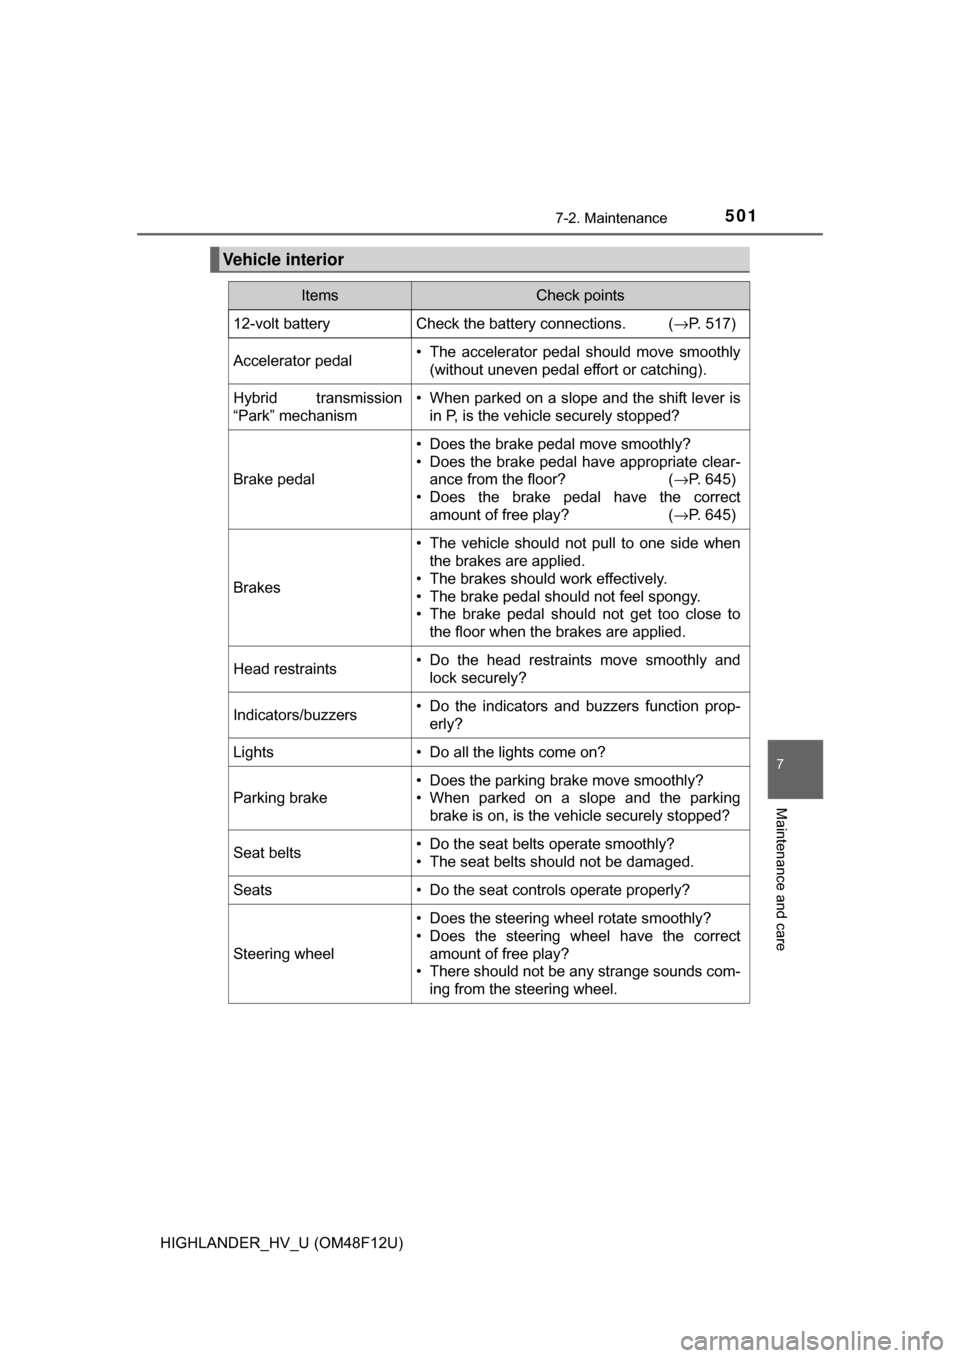
Vehicle interior
ItemsCheck points
12-volt batteryCheck the battery connections. (→P. 517)
Accelerator pedal• The accelerator pedal should move smoothly
(without uneven pedal effort or catching).
Hybrid transmission
“Park” mechanism• When parked on a slope and the shift lever isin P, is the vehicle securely stopped?
Brake pedal
• Does the brake pedal move smoothly?
• Does the brake pedal have appropriate clear-ance from the floor? ( →P. 645)
• Does the brake pedal have the correct amount of free play? ( →P. 645)
Brakes
• The vehicle should not pull to one side when
the brakes are applied.
• The brakes should work effectively.
• The brake pedal should not feel spongy.
• The brake pedal should not get too close to the floor when the brakes are applied.
Head restraints• Do the head restraints move smoothly andlock securely?
Indicators/buzzers• Do the indicators and buzzers function prop-
erly?
Lights • Do all the lights come on?
Parking brake
• Does the parking brake move smoothly?
• When parked on a slope and the parking brake is on, is the vehicle securely stopped?
Seat belts• Do the seat belts operate smoothly?
• The seat belts should not be damaged.
Seats• Do the seat controls operate properly?
Steering wheel
• Does the steering wheel rotate smoothly?
• Does the steering wheel have the correctamount of free play?
• There should not be any strange sounds com- ing from the steering wheel.
Page 507 of 716
5077-3. Do-it-yourself maintenance
7
Maintenance and care
HIGHLANDER_HV_U (OM48F12U)
WARNING
■Pre-driving check
Check that the hood is fully closed and locked.
If the hood is not locked properly, it may open while the vehicle is in motion
and cause an accident, which may result in death or serious injury.
■ After installing the su pport rod into the slot
Make sure the rod supports the hood securely preventing it from falling
down onto your head or body.
NOTICE
■ When closing the hood
Be sure to return the support rod to its clip before closing the hood. Closing
the hood with the support rod not clipped could cause the hood to bend.
Page 530 of 716

5307-3. Do-it-yourself maintenance
HIGHLANDER_HV_U (OM48F12U)■
Tire pressure warning system certification
FCC ID: PAXPMVC010
NOTE:
This device complies with part 15 of
the FCC Rules. Operation is subject
to the following two conditions: (1) This device may not cause harmful
interference, and (2) this device must accept any interference received,
including interference that may cause undesired operation.
FCC WARNING:
Changes or modifications not expressl y approved by the party responsi-
ble for compliance could void the user ’s authority to operate the equip-
ment.
NOTE:
Operation is subject to the following two conditions: (1) this device may
not cause interference, and (2) this device must accept any interference,
including interference that may cause undesired operation of the device.
NOTE:
L’utilisation de ce dispositif est au torisée seulement aux deux conditions
suivantes : (1) il ne doit pas produire de brouillage, et (2) l’utilisateur du
dispositif doit être pr êt à accepter tout brouillage radioé lectrique reçu,
même si ce brouillage est susceptible de comp romettre le fonctionne-
ment du dispositif.
WARNING
■When inspecting or replacing tires
Observe the following precautions to prevent accidents.
Failure to do so may cause damage to parts of the drive train as well as
dangerous handling characteristics, which may lead to an accident
resulting in death or serious injury.
●Do not mix tires of different makes, models or tread patterns.
Also, do not mix tires of remarkably different treadwear.
●Do not use tire sizes other than those recommended by Toyota.
●Do not mix differently constructed ti res (radial, bias-belted or bias-ply
tires).
●Do not mix summer, all season and snow tires.
●Vehicles with a compact spare tire: Do not tow if your vehicle has a
compact spare tire installed.
■When initializing the tire pressure warning system
Do not operate the tire pressure warning reset switch without first
adjusting the tire inflation pressure to the specified level. Otherwise, the
tire pressure warning light may not come on even if the tire inflation
pressure is low, or it may come on when the tire inflation pressure is
actually normal.
Page 548 of 716
5487-3. Do-it-yourself maintenance
HIGHLANDER_HV_U (OM48F12U)
Unplug the connector while
pressing the lock release.
Replace the light bulb, and
install the bulb base.
Align the 3 tabs on the light bulb
with the mounting and insert.
Turn and secure the bulb
base.
Shake the bulb base gently to
check that it is not loose, turn
the headlight low beams on
once and visually confirm that
no light is leaking through the
mounting.
Turn the cover clockwise and
install it.
For the right side only: Install the washer fluid tank.
For the left side only: Install the fuse box.
4
5
6
7
8
Page 549 of 716
5497-3. Do-it-yourself maintenance
7
Maintenance and care
HIGHLANDER_HV_U (OM48F12U)■
Headlight high beams/daytim
e running lights (if equipped)
Turn the bulb base counter-
clockwise.
Unplug the connector while
pressing the lock release.
Replace the light bulb, and
install the bulb base.
Align the 3 tabs on the light bulb
with the mounting, and insert.
Turn and secure the bulb
base.
Shake the bulb base gently to
check that it is not loose, turn
the headlights on once and visu-
ally confirm that no light is leak-
ing through the mounting.
1
2
3
4
Page 553 of 716
5537-3. Do-it-yourself maintenance
7
Maintenance and care
HIGHLANDER_HV_U (OM48F12U)
Turn clockwise and secure
the bulb base.
Install the connector.
Shake the connector gently to
check that it is not loose, turn
the front fog lights on once and
visually confirm that no light is
leaking through the mounting.
When installing the fender liner, install by conducting with the
directions reversed.
Make sure that the fender liner is attached to the inside of the bumper.
5
6
71
Page 558 of 716

5587-3. Do-it-yourself maintenance
HIGHLANDER_HV_U (OM48F12U)■
Replacing the following bulbs
If any of the lights listed below
has burnt out, have it replaced by
your Toyota dealer.
● Side turn signal lights
● Daytime running lights/parking lights (LED type)
● Stop lights
● Rear side marker lights
● Stop/tail lights
● High mounted stoplight
● Outer foot lights (if equipped)
■LED light bulbs
The side turn signal lights, daytime running lights/parking lights (LED type),
stop lights, rear side marker lights, stop/tail lights, high mounted stoplight and
outer foot lights (if equipped) consist of a number of LEDs. If any of the LEDs
burns out, take your vehicle to your Toyota dealer to have the light replaced.
■ Condensation build-up on the inside of the lens
Temporary condensation build-up on the inside of the headlight lens does not
indicate a malfunction.
Contact your Toyota dealer for more information in the following situations:
●Large drops of water have built up on the inside of the lens.
● Water has built up inside the headlight.
■ When replacing light bulbs
→P. 544
WARNING
■Replacing light bulbs
● Turn off the lights. Do not attempt to replace the bulb immediately after
turning off the lights.
The bulbs become very hot and may cause burns.
● Do not touch the glass portion of the light bulb with bare hands. When it is
unavoidable to hold the glass portion, use and hold with a clean dry cloth
to avoid getting moisture and oils on the bulb.
Also, if the bulb is scratched or dropped, it may blow out or crack.
● Fully install light bulbs and any parts used to secure them. Failure to do so
may result in heat damage, fire, or water entering the headlight unit. This
may damage the headlights or cause condensation to build up on the lens.
■ To prevent damage or fire
Make sure bulbs are fully seated and locked.