2017 SUBARU FORESTER lock
[x] Cancel search: lockPage 455 of 634

Starting and operating/Hill start assist system
Dynamics Control OFF indicator light“”
on the combination meter illuminates for
30 seconds and then turns off.
6. Within 5 seconds after the Vehicle
Dynamics Control OFF indicator light
turns off, release the Vehicle Dynamics
Control OFF switch.
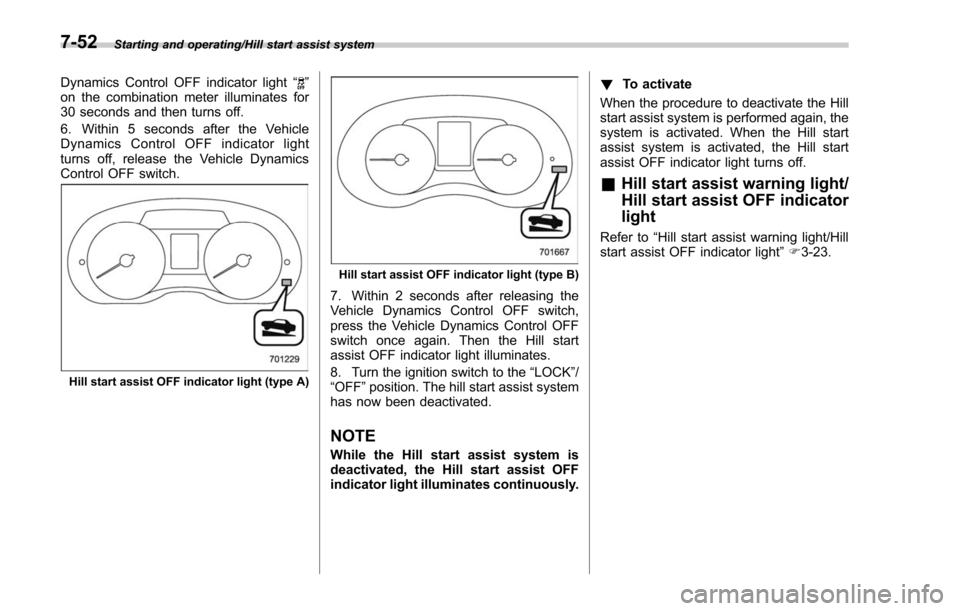
Hill start assist OFF indicator light (type A)
Hill start assist OFF indicator light (type B)
7. Within 2 seconds after releasing the
Vehicle Dynamics Control OFF switch,
press the Vehicle Dynamics Control OFF
switch once again. Then the Hill start
assist OFF indicator light illuminates.
8. Turn the ignition switch to the “LOCK”/
“OFF ”position. The hill start assist system
has now been deactivated.
NOTE
While the Hill start assist system is
deactivated, the Hill start assist OFF
indicator light illuminates continuously. !
To activate
When the procedure to deactivate the Hill
start assist system is performed again, the
system is activated. When the Hill start
assist system is activated, the Hill start
assist OFF indicator light turns off.
& Hill start assist warning light/
Hill start assist OFF indicator
light
Refer to “Hill start assist warning light/Hill
start assist OFF indicator light ”F 3-23.
7-52
Page 458 of 634

&To temporarily cancel the
cruise control
The cruise control can be temporarily
canceled in the following ways.
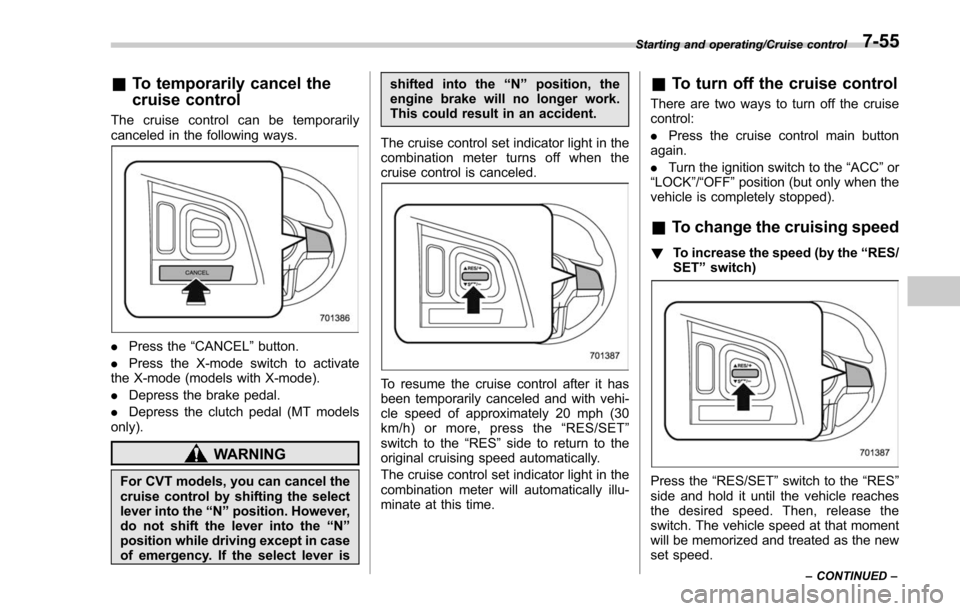
. Press the “CANCEL”button.
. Press the X-mode switch to activate
the X-mode (models with X-mode).
. Depress the brake pedal.
. Depress the clutch pedal (MT models
only).
WARNING
For CVT models, you can cancel the
cruise control by shifting the select
lever into the “N ” position. However,
do not shift the lever into the “N ”
position while driving except in case
of emergency. If the select lever is shifted into the
“N ” position, the
engine brake will no longer work.
This could result in an accident.
The cruise control set indicator light in the
combination meter turns off when the
cruise control is canceled.
To resume the cruise control after it has
been temporarily canceled and with vehi-
cle speed of approximately 20 mph (30
km/h) or more, press the “RES/SET ”
switch to the “RES ”side to return to the
original cruising speed automatically.
The cruise control set indicator light in the
combination meter will automatically illu-
minate at this time.
& To turn off the cruise control
There are two ways to turn off the cruise
control:
. Press the cruise control main button
again.
. Turn the ignition switch to the “ACC”or
“ LOCK ”/“OFF ”position (but only when the
vehicle is completely stopped).
& To change the cruising speed
! To increase the speed (by the “RES/
SET ”switch)
Press the “RES/SET ”switch to the “RES”
side and hold it until the vehicle reaches
the desired speed. Then, release the
switch. The vehicle speed at that moment
will be memorized and treated as the new
set speed.
Starting and operating/Cruise control
–CONTINUED –7-55
Page 463 of 634

Starting and operating/BSD/RCTA
1) The detection range of the radar sensors
2) The out of detection range of the radarsensors
B) Vehicle that may not be detected
WARNING
The approaching vehicle (B) may
not be detected because the vehicle
reversing is blocked by a parked
vehicle. Always be sure to check the
surroundings with your eyes when
reversing the vehicle, because the
detectability of RCTA is limited.
& System operation
! Operating conditions
The BSD/RCTA will operate when all of
the following conditions are met.
. The ignition switch is in the “ON ”
position.
. The BSD/RCTA warning indicator and
BSD/RCTA OFF indicator are turned off.
. The vehicle is driven at speeds above
6 mph (10 km/h) (except when reversing).
. The shift lever/select lever is in the “R”
position (RCTA only).
The BSD/RCTA will not operate in the
following situations.
. The BSD/RCTA OFF indicator is on.
. The vehicle speed is below 6 mph (10
km/h) even when the BSD/RCTA OFF
indicator remains off (except when rever-
sing).
NOTE
. In the following case, the BSD/RCTA
will stop operating and the BSD/RCTA
warning indicator will appear. If the
BSD/RCTA warning indicator appears,
have your vehicle inspected at a
SUBARU dealer as soon as possible.
–When a malfunction occurs in the
system, including the BSD/RCTA
approach indicator light .
In the following cases, the BSD/
RCTA will temporarily stop operating
(or may stop operating) and the BSD/
RCTA warning indicator will appear.
–When the radar sensor becomes
significantly misaligned (If the or-
ientation of the radar sensor is
shifted for any reason, readjust-
ment is required. Have the sensor
adjusted at a SUBARU dealer.)
– When a large amount of snow or
ice sticks to the rear bumper sur-
face around the radar sensors
– When the vehicle is driven on a
snow-covered road or in an envir-
onment in which there are no
objects around (such as in a desert)
for a long time
– When the temperature around
the radar sensors increased exces-
sively due to long driving on uphill
grades in summer, etc.
– When the temperature around
the radar sensors becomes extre-
mely low
– When the vehicle battery voltage
lowers
– When the vehicle battery be-
comes overvoltage
When the above conditions are cor-
rected, the BSD/RCTA will resume
7-60
Page 467 of 634

Starting and operating/BSD/RCTA
!System malfunction indicator
System malfunction indicator (type A)
System malfunction indicator (type B)
1) At first, this message will appear
2) Then this message will appear
This indicator appears when a malfunction occurs in the system. Contact a SUBARU
dealer and have the system inspected.
&
BSD/RCTA OFF switch
BSD/RCTA OFF switch
BSD/RCTA OFF indicator (type A)
BSD/RCTA OFF indicator (type B)
If the BSD/RCTA OFF switch is pressed,
the BSD/RCTA OFF indicator appears on
the multi information display of the combi-
nation meter, and the BSD/RCTA is
deactivated.
Press the switch again to activate the
BSD/RCTA. The BSD/RCTA OFF indica-
tor will disappear.
NOTE
. In the following cases, the system
may not operate properly due to
blocked radar waves. Press the BSD/
RCTA OFF switch to deactivate the
system.
–When towing a trailer
– When a bicycle carrier or other
item is fitted to the rear of the
7-64
Page 468 of 634

vehicle
–When using a chassis dynam-
ometer or free roller device, etc.
– When running the engine and
makingthewheelsrotatewhile
lifting up the vehicle
. If the ignition switch is turned to the
“ LOCK ”/“ OFF ”position, the last known
status of the system is maintained. For
example, if the ignition switch is turned
to the “LOCK ”/“ OFF ”position with the
BSD/RCTA deactivated, the BSD/RCTA
will remain deactivated the next time
the ignition switch is turned to the
“ ON ”position.
. If the vehicle battery is disconnected
due to situations such as battery
terminal or fuse replacement, after the
battery is reconnected, the BSD/RCTA
will be activated.
& Certification for the BSD/
RCTA
. U.S.-spec. models
FCC ID: OAYSRR2A
CAUTION
FCC WARNING
Changes or modifications not ex-
pressly approved by the party re- sponsible for compliance could void
the user
’s authority to operate the
equipment.
This device complies with part 15 of the
FCC Rules. Operation is subject to the
following two conditions: (1) This device
may not cause harmful interference, and
(2) this device must accept any interfer-
ence received, including interference that
may cause undesired operation.
. Canada-spec. models
This device complies with Industry
Canada licence-exempt RSS standard
(s). Operation is subject to the following
two conditions: (1) this device may not
cause interference, and (2) this device
must accept any interference, including
interference that may cause undesired
operation of the device.
Le présent appareil est conforme aux
CNR d ’Industrie Canada applicables aux
appareils radio exempts de licence. L ’ex-
ploitation est autorisée aux deux condi-
tions suivantes: (1) l ’appareil ne doit pas
produire de brouillage, et (2) l ’utilisateur
de l ’appareil doit accepter tout brouillage
radioélectrique subi, même si le brouillage
est susceptible d ’en compromettre le
fonctionnement.
& Handling of radar sensors
Radar sensors
The radar sensors, one on each side of
the vehicle, are mounted inside the rear
bumper.
Starting and operating/BSD/RCTA
–CONTINUED –7-65
Page 471 of 634

Starting and operating/Reverse Automatic Braking System
nated, the Reverse Automatic Braking
system cannot be operated.
.In the following cases, the system
may not be able to properly detect an
obstacle. Promptly contact a SUBARU
dealer to have the system inspected.
–A sticker, paint, or a chemical is
applied to the rear bumper near the
sonar sensor
– The rear bumper is modified
– The rear bumper has been re-
moved and reattached
– The ground clearance is changed
due to the vehicle ’s loading condi-
tion or modification
– Ice, snow or mud is adhered to
the rear bumper near the sonar
sensor
– The rear bumper is exposed to
strong impact, or the rear bumper is
deformed
. On a steep hill, the system ’s auto-
matic braking ability will be reduced.
. The system is designed to avoid
collisions by automatic hard braking
when the vehicle ’s reversing speed is
less than approximately 3 mph (5
km/h). However, the system does not
guarantee that the vehicle will be able
to avoid collisions in any situation.
. If the vehicle is reversed at an
extremely slow speed, the driver ’s operation may be prioritized. In this
case, automatic braking will not oper-
ate.
.
The system may not be able to
detect the following objects
–Sharp or thin objects such as
poles, fences and ropes which may
not reflect the sound wave emitted
from the sonar sensor
– Objects that are too close to the
rear bumper when the select lever is
set to the “R ” position
– Objects with a surface which may
not reflect the sound wave emitted
from the sonar sensor such as a
chain link fence.
. Objects the system is not designed
to detect
–Pedestrians
– Moving objects including moving
vehicles
– Objects which absorb sound
waves such as cloth or snow
– Objects whose surface has a
diagonal angle
– Objects that are low to the
ground such as parking blocks
– Objects that are high above the
ground such as objects hanging
from above
. The system may not be able to
properly detect objects or may cause a system malfunction when the follow-
ing conditions exist
High frequency sound from other
sources are nearby– Horn sound from another vehicle
– Engine sound from other vehi-
cles
– Sound of an air brake
– Vehicle detection equipment or a
sonar from another vehicle
– A sound wave with a frequency
similar to the vehicle ’s system is
transmitted nearby
– A
vehicle equipped with the same
system is reversing toward your
reversing direction
Weather conditions – Extremely high or extremely low
temperatures in which the area near
the sonar sensor becomes too hot
or too cold to operate
– The rear bumper near the sonar
sensors is exposed to heavy rain or
a significant amount of water
– Fog, snow or sandstorm, etc.
– Air is moving rapidly such as
when a strong wind is blowing
7-68
Page 484 of 634

common sense precautions such as those
in the following list should be taken.
.Make certain that you and all of your
passengers are wearing seatbelts.
. Carry some emergency equipment,
such as a towing rope or chain, a shovel,
wheel blocks, first aid kit and cell phone or
citizens band radio.
. Drive carefully. Do not take unneces-
sary risks by driving in dangerous areas or
over rough terrain.
. Slow down and employ extra caution at
all times. When driving off-road, you will
not have the benefit of marked traffic
lanes, banked curves, traffic signs and
the like.
. Do not drive across steep slopes.
Instead, drive either straight up or straight
down the slopes. A vehicle can much
more easily tip over sideways than it can
end over end. Avoid driving straight up or
down slopes that are too steep.
. Avoid sharp turning maneuvers, espe-
cially at higher speeds.
. Do not grip the inside or spokes of the
steering wheel. A bad bump could jerk the
wheel and injure your hands. Instead drive
with your fingers and thumbs on the
outside of the rim.
. If driving through water, such as when
crossing shallow streams, first check the depth of the water and the bottom of the
stream bed for firmness and ensure that
the bed of the stream is flat. Drive slowly
and cross the stream without stopping.
The water should be shallow enough that
it does not reach the vehicle’
s under-
carriage. Water entering the engine air
intake or the exhaust pipe or water
splashing onto electrical parts may da-
mage your vehicle and may cause it to
stall. Never attempt to drive through
rushing water; regardless of its depth, it
can wash away the ground from under
your tires, resulting in possible loss of
traction and even vehicle rollover.
. Always check your brakes for effec-
tiveness immediately after driving in sand,
mud or water. Do this by driving slowly
and stepping on the brake pedal. Repeat
that process several times to dry out the
brake discs and brake pads.
. Do not drive or park over or near
flammable materials such as dry grass or
fallen leaves, as they may burn easily. The
exhaust system is very hot while the
engine is running and right after engine
stops. This could create a fire hazard.
. After driving through tall grass, mud,
rocks, sand, rivers, etc., check that there
is no grass, bush, paper, rags, stones,
sand, etc. adhering to or trapped on the
underbody. Clear off any such matter from the underbody. If the vehicle is used with
these materials trapped or adhering to the
underbody, a mechanical breakdown or
fire could occur.
.
Secure all cargo carried inside the
vehicle and make certain that it is not
piled higher than the seatbacks. During
sudden stops or jolts, unsecured cargo
could be thrown around in the vehicle and
cause injury. Do not pile heavy loads on
the roof. Those loads raise the vehicle’ s
center of gravity and make it more prone
to tip over.
. If you must rock the vehicle to free it
from sand or mud, depress the accelerator
pedal slightly and move the shift lever/
select lever back and forth between “1”/
“D ”and “R”repeatedly. Do not race the
engine. For the best possible traction,
avoid spinning the wheels when trying to
free the vehicle.
. When the road surface is extremely
slippery, you can obtain better traction by
starting the vehicle with the transmission
in 2nd than 1st. For CVT models with
manual mode, refer to “Selection of
manual mode ”F 7-27.
. Never equip your vehicle with tires
larger than those specified in this manual.
. Wash the vehicle’ s underbody after off-
road driving. Suspension components are
particularly prone to dirt buildup, so they
Driving tips/On –road and off –road driving
–CONTINUED –8-7
Page 485 of 634

Driving tips/Winter driving
need to be washed thoroughly.
.Frequent driving of an AWD model
under hard-driving conditions such as
rough roads or off roads will necessitate
more frequent replacement of the follow-
ing items than that specified in the
maintenance schedule described in the
“Warranty and Maintenance Booklet ”.
– Engine oil
– Brake fluid
– Rear differential gear oil
– Manual transmission oil (MT mod-
els)
– Continuously variable transmission
fluid (CVT models)
– Front differential gear oil (CVT
models)
Remember that damage done to your
SUBARU while operating it off-road and
not using common sense precautions
such as those listed above is not eligible
for warranty coverage.Winter driving
& Operation during cold
weather
Carry some emergency equipment, such
as a window scraper, a bag of sand,
flares, a small shovel and jumper cables.
Check the battery and cables. Cold
temperatures reduce battery capacity.
The battery must be in good condition to
provide enough power for cold winter
starts.
It normally takes longer to start the engine
in very cold weather conditions. Use an
engine oil of a proper grade and viscosity
for cold weather. Using heavy summer oil
will make it harder to start the engine.
Keep the door locks from freezing by
squirting them with deicer or glycerin.
Forcing a frozen door open may damage
or separate the rubber weather strips
around the door. If the door is frozen,
use hot water to melt the ice, and after-
wards thoroughly wipe the water away.
Use a windshield washer fluid that con-
tains an antifreeze solution. Do not use
engine antifreeze or other substitutes
because they may damage the paint of
the vehicle. SUBARU Windshield Washer Fluid con-
tains 58.5% methyl alcohol and 41.5%
surfactant, by volume. Its freezing tem-
perature varies according to how much it
is diluted, as indicated in the following
table.
Washer Fluid Con-
centration Freezing Temperature
30% 10.4 8F( −12 8C)
50% −48F( −20 8C)
100% −
49 8F( −45 8C)
In order to prevent freezing of washer
fluid, check the freezing temperatures in
the table above when adjusting the fluid
concentration to the outside temperature.
If you fill the reservoir tank with a fluid with
a different concentration from the one
used previously, purge the old fluid from
the piping between the reservoir tank and
washer nozzles by operating the washer
for a certain period of time. Otherwise, if
the concentration of the fluid remaining in
the piping is too low for the outside
temperature, it may freeze and block the
nozzles.
CAUTION
. Adjust the washer fluid concen-
tration appropriately for the out-
8-8