Page 37 of 334
Introduction 35
Before Use
2Touch (Initialize).
3Touch (Yes).■Language setting
You can change the navigation and audio display language, and the
voice recognition language.
1On the Setup screen, touch (Language).
2Touch the language that you want to use.
Initialize
Yes
Language
Page 38 of 334
36 Introduction
Before Use
3Touch (Yes).
■Checking the Software Version
You can check the version of the navigation and audio software.
Displaying the Software Version screen
1Press .
2To u c h .
• If is not displayed, touch .
3Touch (Software Version).
• The Software Version screen appears.
Yes
Setup
Setup
Software Version
Page 39 of 334
Introduction 37
Before Use
Screen Adjustment and Setting
When Link to Day/Night View on the Settings screen is set to
“Headlight” (See Page 28.), day view or night view is selected based on
whether the lights (sidelights, tail lights, license plate light) are on or off,
to make it easier to view the screen. When “Time” is set (See Page 28.),
the view changes at the set time.
Also, when set to “None” (See Page 29.), you can manually switch to a
day view or a night view screen at any time.
Displaying the picture quality adjustment
screen
The picture quality adjustment screen has different adjustment items
depending on whether it is the operations screen or video screen of the
navigation or audio.
1Press for 1 second or more.
2After completing the adjustment, touch .
Page 45 of 334
Introduction 43
Before Use
7When the registration is complete, “Connection
completed.” appears.
• The cell phone registration is complete.
• After the registration completed message is displayed, “Do you
want to transfer the phonebook from your mobile device?”
appears. Touch ( Yes) or (No). For the procedure
when you touch (Yes), see step 4 in “Transferring the
phone book data from a cell phone” on Page 57.
NOTE
•If the registration fails, “Connection failed.” appears on the screen. If this
happens, perform the registration operation again.
•For details of operations on the cell phone, see the cell phone's instruction
manual.
•When processing a Bluetooth connection, the Bluetooth Audio may skip.
■Deleting a cell phone registration
You can delete cell phones that are registered on the unit.
1Press .
2To u c h .
• If is not displayed, touch .
3To u c h .
4Touch (Registered Devices).
YesNo
Yes
Setup
Setup
Bluetooth
Registered Devices
Page 47 of 334
Introduction 45
Before Use
3Touch (Connect Phone).
4Select the cell phone that you want to connect.
• The Bluetooth mark is displayed for cell phones with an active
Bluetooth connection.
5Touch (Connect).
6When the connection is complete, “Connection
completed.” appears.
• The connection between the cell phone and the unit is
complete.
NOTE
•If the connection fails, “Connection failed.” appears on the screen. If this
happens, perform the connection operation again.
•Connection is not possible if no cell phones are registered.
•On the Connect Phone screen, touch (Add New) to register a cell
phone.
•When processing a Bluetooth connection, the Bluetooth Audio may skip.
■Canceling a cell phone connection
1On the handsfree screen, touch (Settings).
Connect Phone
Bluetooth mark
Connect
Add New
Settings
Page 58 of 334
56 Introduction
Before Use
■Volume setting (handsfree)
You can set the handsfree volume on the Volume Settings screen. You
can perform settings individually for each registered cell phone.
NOTE
For details on switching the cell phone, see “Connecting a cell phone” on Page
44.
Call Volume setting
You can adjust the call volume.
1Adjust by touching or .
•:
Call volume up
:
Call volume down
• Touch for 1 second or more to raise the volume
continuously.
Touch for 1 second or more to lower the volume
continuously.
Ring Tone Volume setting
You can adjust the volume of the ringtone.
1Adjust by touching or .
•:
Ringtone volume up
:
Ringtone volume down
• Touch for 1 second or more to raise the volume
continuously.
Touch for 1 second or more to lower the volume
continuously. CAUTION
Be sure to set the volume of the audio at an appropriate level.
Improper volume setting may result in hearing damage or a
traffic accident.
+-
+
-
+
-
+-
+
-
+
-
Page 60 of 334

58 Introduction
Before Use
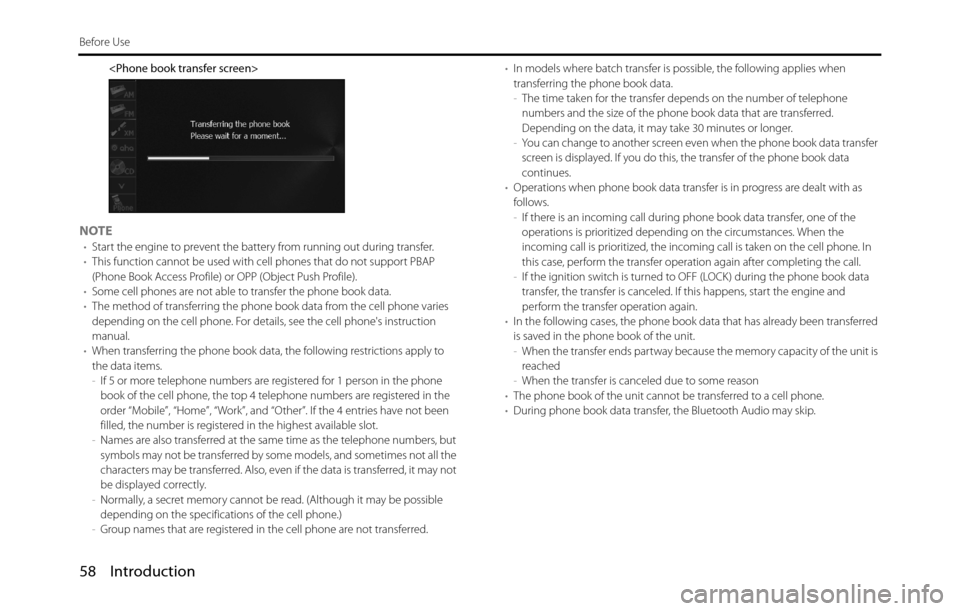
NOTE•Start the engine to prevent the battery from running out during transfer.
•This function cannot be used with cell phones that do not support PBAP
(Phone Book Access Profile) or OPP (Object Push Profile).
•Some cell phones are not able to transfer the phone book data.
•The method of transferring the phone book data from the cell phone varies
depending on the cell phone. For details, see the cell phone's instruction
manual.
•When transferring the phone book data, the following restrictions apply to
the data items.
-If 5 or more telephone numbers are registered for 1 person in the phone
book of the cell phone, the top 4 telephone numbers are registered in the
order “Mobile”, “Home”, “Work”, and “Other”. If the 4 entries have not been
filled, the number is registered in the highest available slot.
-Names are also transferred at the same time as the telephone numbers, but
symbols may not be transferred by some models, and sometimes not all the
characters may be transferred. Also, even if the data is transferred, it may not
be displayed correctly.
-Normally, a secret memory cannot be read. (Although it may be possible
depending on the specifications of the cell phone.)
-Group names that are registered in the cell phone are not transferred.•In models where batch transfer is possible, the following applies when
transferring the phone book data.
-The time taken for the transfer depends on the number of telephone
numbers and the size of the phone book data that are transferred.
Depending on the data, it may take 30 minutes or longer.
-You can change to another screen even when the phone book data transfer
screen is displayed. If you do this, the transfer of the phone book data
continues.
•Operations when phone book data transfer is in progress are dealt with as
follows.
-If there is an incoming call during phone book data transfer, one of the
operations is prioritized depending on the circumstances. When the
incoming call is prioritized, the incoming call is taken on the cell phone. In
this case, perform the transfer operation again after completing the call.
-If the ignition switch is turned to OFF (LOCK) during the phone book data
transfer, the transfer is canceled. If this happens, start the engine and
perform the transfer operation again.
•In the following cases, the phone book data that has already been transferred
is saved in the phone book of the unit.
-When the transfer ends partway because the memory capacity of the unit is
reached
-When the transfer is canceled due to some reason
•The phone book of the unit cannot be transferred to a cell phone.
•During phone book data transfer, the Bluetooth Audio may skip.
Page 68 of 334

66 Introduction
Before Use
Using the messaging function
You can read messages that are received on the cell phone or send
messages that are created on the unit.
3 message types can be used on this unit: SMS (Short Message Service),
MMS (Multimedia Messaging Service) and e-mail.
You can also check received messages through audio playback.
This function cannot be used with cell phones that do not support HFP
(Hands Free Profile) and MAP (Message Access Profile). For details, see
the cell phone's instruction manual.
•Supported Profiles
-HFP (Hands Free Profile) Ver.1.0 or later (Conformed Ver.1.5)
-MAP (Message Access Profile)
■Displaying the Messages screen
1On the handsfree screen, touch (Messages).
• The Messages screen appears.
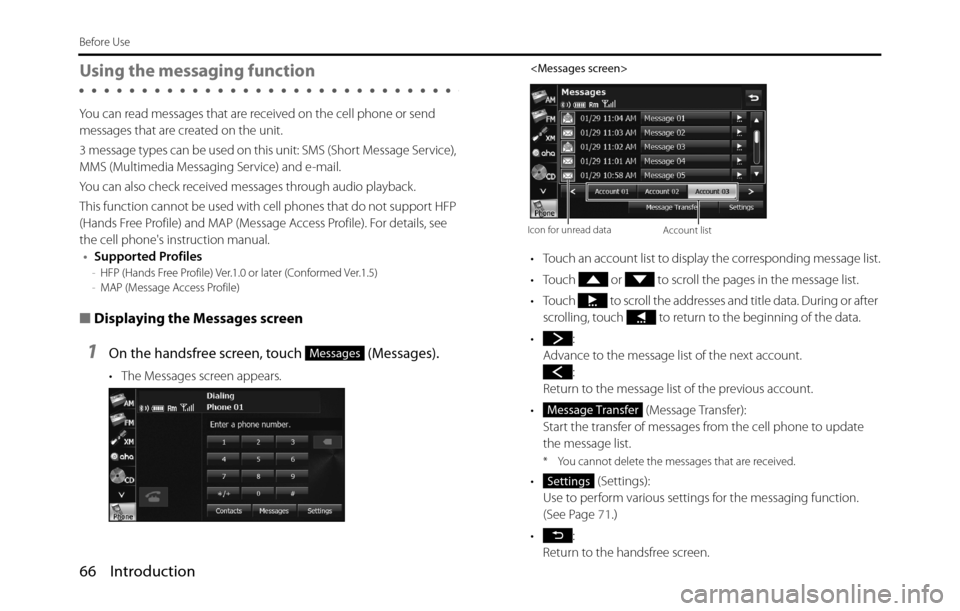
• Touch an account list to display the corresponding message list.
• Touch or to scroll the pages in the message list.
• Touch to scroll the addresses and title data. During or after
scrolling, touch to return to the beginning of the data.
•:
Advance to the message list of the next account.
:
Return to the message list of the previous account.
• (Message Transfer):
Start the transfer of messages from the cell phone to update
the message list.
* You cannot delete the messages that are received.
• (Settings):
Use to perform various settings for the messaging function.
(See Page 71.)
•:
Return to the handsfree screen.
Messages
Icon for unread dataAccount list
Message Transfer
Settings