Page 138 of 542
Lane Change Assist
Tap the lever up or down once, without moving beyond
the detent, and the turn signal (right or left) will flash three
times. Then, the turn signal (right or left) will automatically
turn off.
Flash-To-Pass
You can signal another vehicle with your headlights by
partially pulling the multifunction lever toward the steer-
ing wheel. This will cause the high beam headlights to turn
on until the lever is released.
High/Low Beam Switch
Push the multifunction lever toward the instrument panel
to switch the headlights to high beam. Pulling the multi-
function lever back toward the steering wheel will turn the
low beams back on, or shut the high beams off.
High/Low Beam Switch
136 UNDERSTANDING THE FEATURES OF YOUR VEHICLE
Page 165 of 542
Turning Rear View Camera Image On:
1. Press the�Controls�button located on the bottom of the
Uconnect display.
2. Press the �Backup Camera� button
to turn the Rear
View Camera system on.
NOTE: Once initiated by the �Backup Camera�button, the
Rear View Camera image may be deactivated by pressing
the �X�button on the touchscreen. On deactivation, the
previous selected screen will appear.
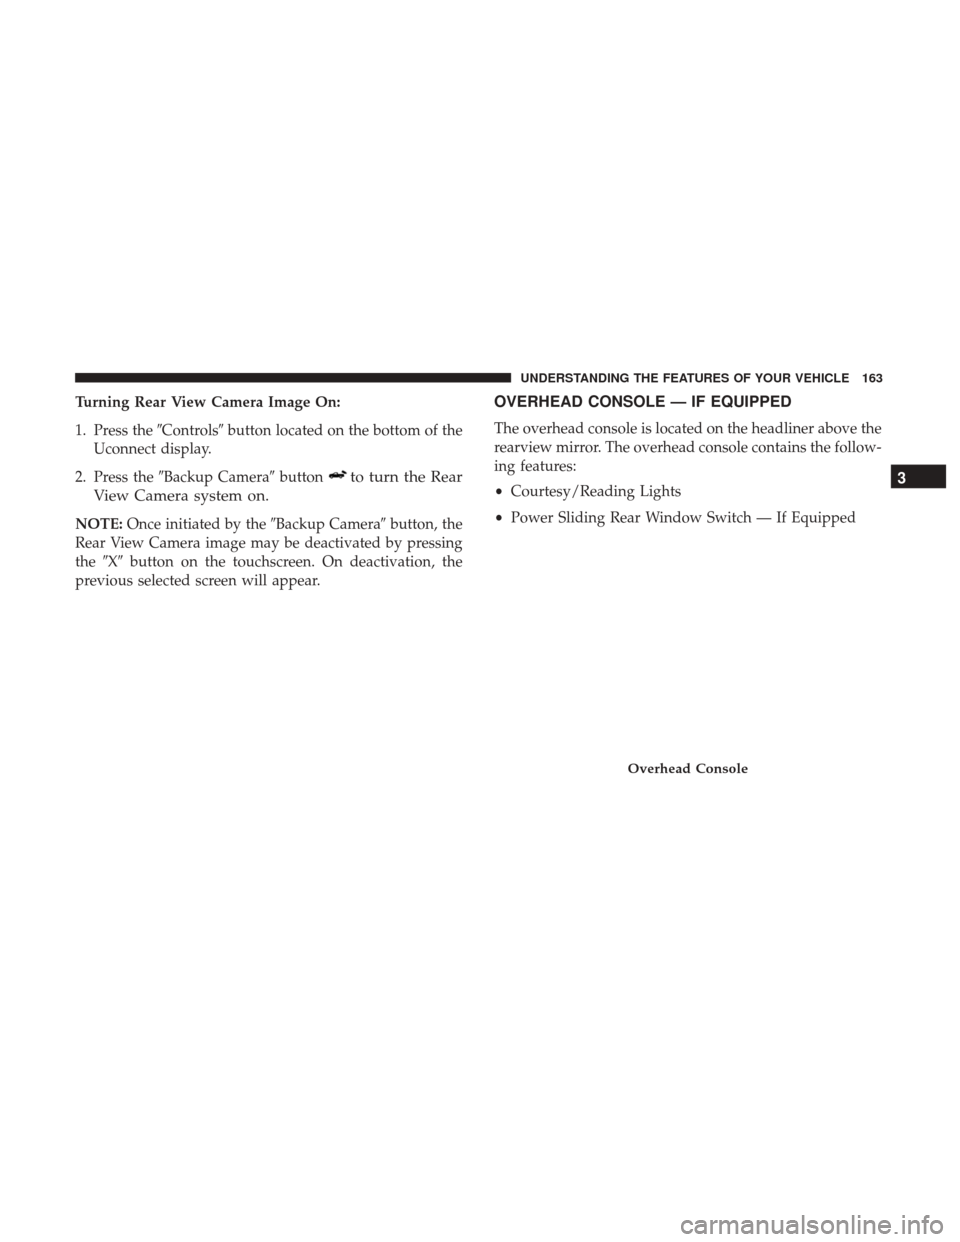
OVERHEAD CONSOLE — IF EQUIPPED
The overhead console is located on the headliner above the
rearview mirror. The overhead console contains the follow-
ing features:
• Courtesy/Reading Lights
• Power Sliding Rear Window Switch — If Equipped
Overhead Console
3
UNDERSTANDING THE FEATURES OF YOUR VEHICLE 163
Page 166 of 542

Courtesy/Reading Lights
Both lights in the overhead console and rear passenger
compartment will illuminate as courtesy lights when a
door is opened, when the dimmer control is rotated to the
courtesy light position (full right position), or when the
unlock button is pushed on the Remote Keyless Entry key
fob, if equipped. These lights are also operated individu-
ally as reading lights by pushing on the corresponding
lens.NOTE:The courtesy/reading lights will remain on until
the switch is pushed a second time, so be sure they have
been turned off before leaving the vehicle. If the interior
lights are left on after the ignition is turned off, they will
automatically turn off after 15 minutes.
GARAGE DOOR OPENER — IF EQUIPPED
HomeLink replaces up to three hand-held transmitters that
operate devices such as garage door openers, motorized
gates, lighting or home security systems. The HomeLink
unit is powered by your vehicles 12 Volt battery.
Front Courtesy/Reading Lights
Rear Passenger Courtesy/Reading Light
164 UNDERSTANDING THE FEATURES OF YOUR VEHICLE
Page 178 of 542
 should be removed or
turned off when the vehicle")
When the vehicle is turned off, be sure to unplug any
equipment as to not drain the battery of the vehicle. All
accessories connected to the outlet(s) should be removed or
turned off when the vehicle is not in use to protect the
battery against discharge.
WARNING!
To avoid serious injury or death:
•Only devices designed for use in this type of outlet
should be inserted into any 12 Volt outlet.
• Do not touch with wet hands.
• Close the lid when not in use and while driving the
vehicle.
• If this outlet is mishandled, it may cause an electric
shock and failure.
CAUTION!
• Many accessories that can be plugged in draw power
from the vehicle’s battery, even when not in use (i.e.,
cellular phones, etc.). Eventually, if plugged in long
enough, the vehicle’s battery will discharge suffi-
ciently to degrade battery life and/or prevent the
engine from starting.
• Accessories that draw higher power (i.e., coolers,
vacuum cleaners, lights, etc.), will discharge the
battery even more quickly. Only use these intermit-
tently and with greater caution.
(Continued)
Power Outlet Fuse Locations
1 — F104 Fuse 20 A Yellow Power Outlet Center Console Bin / USB
Port (Charge Only)
2 — F90–F91 Fuse 20 A Yellow Power Outlet Rear Center Console
3 — F93 Fuse 20 A Yellow Cigar Lighter Instrument Panel 176 UNDERSTANDING THE FEATURES OF YOUR VEHICLE
Page 195 of 542

UNDERSTANDING YOUR INSTRUMENT PANEL
CONTENTS
�INSTRUMENT PANEL FEATURES ...........195
� INSTRUMENT CLUSTER ..................196
� WARNING AND INDICATOR LIGHTS ........200
▫ Red Telltale Indicator Lights ...............201
▫ Yellow Telltale Indicator Lights .............208
▫ Green Telltale Indicator Lights ..............219
▫ Blue Telltale Indicator Lights ...............221
▫ White Telltale Indicator Lights ..............222
� INSTRUMENT CLUSTER DISPLAY ...........223
▫ Instrument Cluster Display Controls .........223
▫ Instrument Cluster Display Screens ..........225
▫ Oil Life Reset ......................... .227
▫ Instrument Cluster Display Selectable Menu
Items .............................. .228▫
Instrument Cluster Display Messages .........235
▫ Battery Saver On/Battery Saver Mode Message —
Electrical Load Reduction Actions —
If Equipped ......................... .237
� CYBERSECURITY ....................... .239
� UCONNECT SETTINGS ...................240
▫ Buttons On The Faceplate .................241
▫ Buttons On The Touchscreen ...............242
▫ Customer Programmable Features —
Uconnect 5.0 Personal Settings ..............242
▫ Customer Programmable Features —
Uconnect 8.4/8.4 NAV Personal Settings ......259
� UCONNECT RADIOS — IF EQUIPPED ........276
� IPOD/USB/MP3 CONTROL — IF EQUIPPED . . . .276
� STEERING WHEEL AUDIO CONTROLS — IF
EQUIPPED ........................... .2774
Page 202 of 542

CAUTION!
Driving with a hot engine cooling system could dam-
age your vehicle. If the temperature gauge reads “H,”
pull over and stop the vehicle. Idle the vehicle with the
air conditioner turned off until the pointer drops back
into the normal range. If the pointer remains on the
“H,” turn the engine off immediately and call an
authorized dealer for service.
WARNING AND INDICATOR LIGHTS
The warning/indicator lights switch on in the instrument
panel together with a dedicated message and/or acoustic
signal when applicable. These indications are indicative
and precautionary and as such must not be considered as
exhaustive and/or alternative to the information contained
in the Owner ’s Manual, which you are advised to read
carefully in all cases. Always refer to the information in this
chapter in the event of a failure indication.
All active telltales will display first if applicable. The
system check menu may appear different based upon
equipment options and current vehicle status. Some tell-
tales are optional and may not appear.
200 UNDERSTANDING YOUR INSTRUMENT PANEL
Page 203 of 542

Red Telltale Indicator Lights
Seat Belt Reminder Warning Light
Red TelltaleLight What It Means
Seat Belt Reminder Warning Light
When the ignition is first placed in the ON/RUN position, if the driver ’s seat belt is unbuckled, a
chime will sound and the light will turn on. When driving, if the driver or front passenger seat
belt remains unbuckled, the Seat Belt Reminder Light will flash or remain on continuously and a
chime will sound. Refer to “Occupant Restraints Systems” in “Things To Know Before Starting
Your Vehicle” for further information.
Air Bag Warning Light
Red Telltale
Light What It Means
Air Bag Warning Light
This light will turn on for four to eight seconds as a bulb check when the ignition is placed in the
ON/RUN position. If the light is either not on during startup, stays on, or turns on while driv-
ing, have the system inspected at an authorized dealer as soon as possible. This light will illumi-
nate with a single chime when a fault with the Air Bag Warning Light has been detected, it will
stay on until the fault is cleared. If the light comes on intermittently or remains on while driving,
have an authorized dealer service the vehicle immediately.
4
UNDERSTANDING YOUR INSTRUMENT PANEL 201
Page 210 of 542

Yellow TelltaleLight What It Means
Engine Check/Malfunction Indicator Light (MIL)
The Engine Check/Malfunction Indicator")
Yellow Telltale Indicator Lights
Engine Check/Malfunction Indicator Light (MIL)
Yellow TelltaleLight What It Means
Engine Check/Malfunction Indicator Light (MIL)
The Engine Check/Malfunction Indicator Light (MIL) is a part of an Onboard Diagnostic System
called OBD II that monitors engine and automatic transmission control systems. The light will
illuminate when the ignition is in the ON/RUN position before engine start. If the bulb does not
come on when turning the key from OFF to ON/RUN, have the condition checked promptly.
Certain conditions, such as a loose or missing gas cap, poor quality fuel, etc., may illuminate the
light after engine start. The vehicle should be serviced if the light stays on through several typical
driving styles. In most situations, the vehicle will drive normally and will not require towing.
When the engine is running, the MIL may flash to alert serious conditions that could lead to im-
mediate loss of power or severe catalytic converter damage. The vehicle should be serviced as
soon as possible if this occurs.
208 UNDERSTANDING YOUR INSTRUMENT PANEL
 will flash three
times. Then, the turn signal (right or left) will automatically")