Page 268 of 542
Setting NameSelectable Options
Rain Sensing Auto Wipers — If Equipped On
Off
NOTE:
When the “Rain Sensing Auto Wipers” feature is selected, the system will automatically activate the windshield wip-
ers if it senses moisture on the windshield. Hill Start Assist — If Equipped On
Off
Lights
After pressing the “Lights” button on the touchscreen, the following settings will be available:
Setting Name Selectable Options
Headlight Off Delay +–
NOTE:
When the “Headlight Off Delay” feature is selected, the driver can choose to have the headlights remain on for 0, 30,
60, or 90 seconds when exiting the vehicle. Headlight Illumination On Ap- proach +–
NOTE:
When the “Headlight Illumination On Approach” feature is selected, the headlights will activate and remain on for 0,
30, 60, or 90 seconds when the doors are unlocked with the key fob.
266 UNDERSTANDING YOUR INSTRUMENT PANEL
Page 269 of 542
Setting NameSelectable Options
Headlights With Wipers — If Equipped
NOTE:
When the “Headlights With Wipers” feature is selected, and the headlight switch is in the AUTO position, the head-
lights will turn on approximately ten seconds after the wipers are turned on. The headlights will also turn off when
the wipers are turned off if they were turned on by this feature.
Auto Dim High Beams — If Equipped
NOTE:
When the “Auto Dim High Beams” feature is selected, the high beam headlights will deactivate automatically under
certain conditions.
Flash Lights With Lock
NOTE:
When the “Flash Lights With Lock” feature is selected, the exterior lamps will flash when the doors are locked or un-
locked with the key fob. This feature may be selected with or without the sound horn on lock feature selected.
4
UNDERSTANDING YOUR INSTRUMENT PANEL 267
Page 270 of 542
Doors & Locks
After pressing the “Doors & Locks” button on the touchscreen, the following settings will be available:
Setting NameSelectable Options
Auto Door Locks
NOTE:
When the “Auto Door Locks” feature is selected, all doors will lock automatically when the vehicle reaches a speed of
15 mph (24 km/h). Auto Unlock On Exit
NOTE:
When the “Auto Unlock On Exit” feature is selected, all doors will unlock when the vehicle is stopped and the trans-
mission is in the PARK or NEUTRAL position and the driver’s door is opened.Flash Lights With Lock
NOTE:
When the “Flash Lights With Lock” feature is selected, the front and rear turn signals will flash when the doors are
locked or unlocked with the key fob. This feature may be selected with or without the “Sound Horn With Lock” fea-
ture selected.
268 UNDERSTANDING YOUR INSTRUMENT PANEL
Page 273 of 542

Setting NameSelectable Options
NOTE:
When the “Auto-On Driver Heated/Ventilated Seat & Steering Wheel With Vehicle Start” feature is selected the driv-
er’s heated seat and heated steering wheel will automatically turn on when temperatures are below 40° F (4.4° C).
When temperatures are above 80° F (26.7° C), the driver vented seat will turn on.
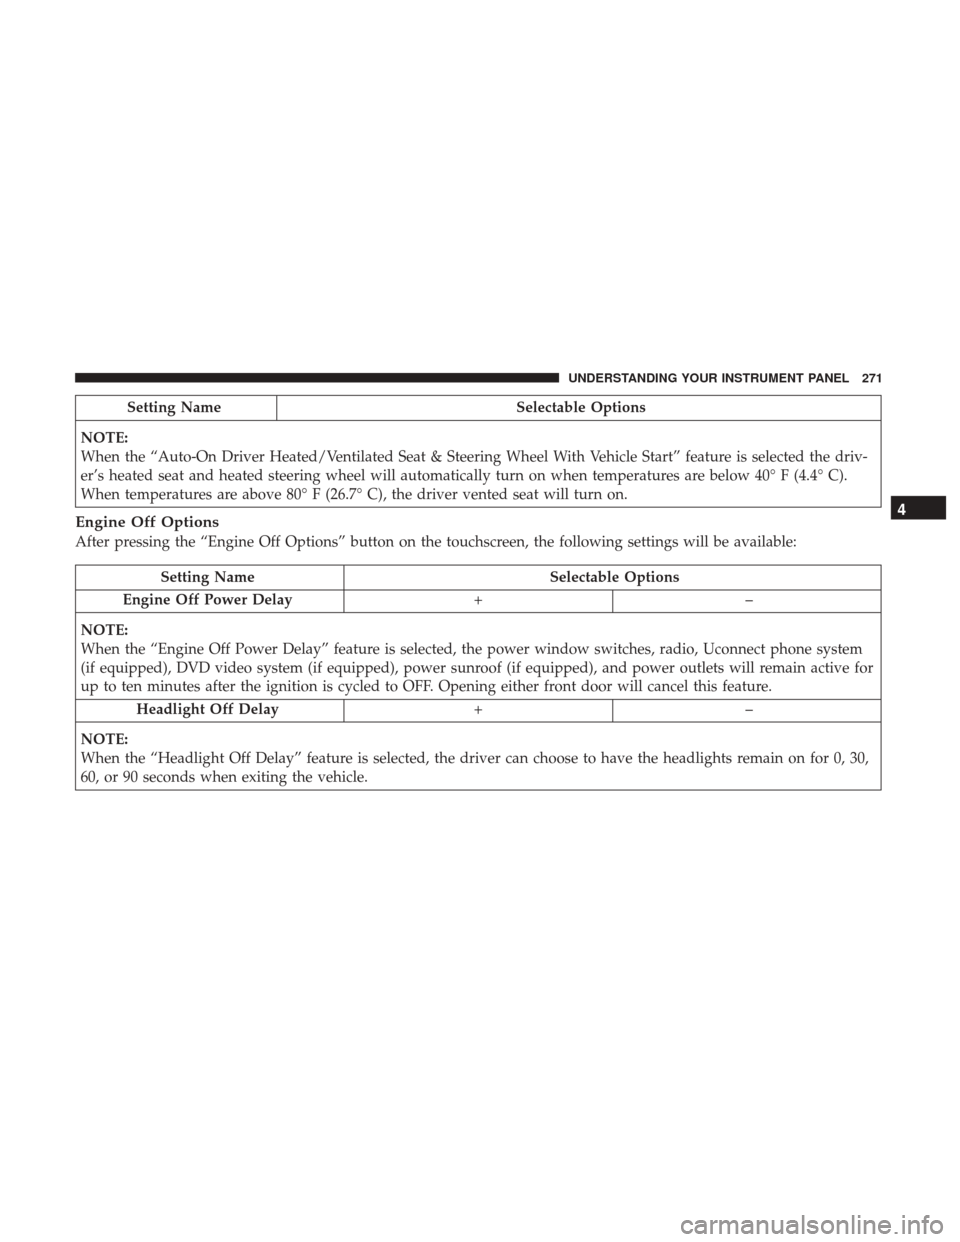
Engine Off Options
After pressing the “Engine Off Options” button on the touchscreen, the following settings will be available:
Setting Name Selectable Options
Engine Off Power Delay +–
NOTE:
When the “Engine Off Power Delay” feature is selected, the power window switches, radio, Uconnect phone system
(if equipped), DVD video system (if equipped), power sunroof (if equipped), and power outlets will remain active for
up to ten minutes after the ignition is cycled to OFF. Opening either front door will cancel this feature. Headlight Off Delay +–
NOTE:
When the “Headlight Off Delay” feature is selected, the driver can choose to have the headlights remain on for 0, 30,
60, or 90 seconds when exiting the vehicle.
4
UNDERSTANDING YOUR INSTRUMENT PANEL 271
Page 313 of 542

NOTE:Your vehicle may be transmitting data as autho-
rized by the subscriber.
An included trial and/or subscription is required to take
advantage of the Uconnect Access services in the next
section of this guide. To register with Uconnect Access,
press the Apps button on the 8.4-inch touchscreen to get
started. Detailed registration instructions can be found on
the next page.
NOTE: Uconnect Access is available only on equipped
vehicles purchased within the continental United States,
Alaska and Hawaii. Services can only be used where
coverage is available; see coverage map for details.
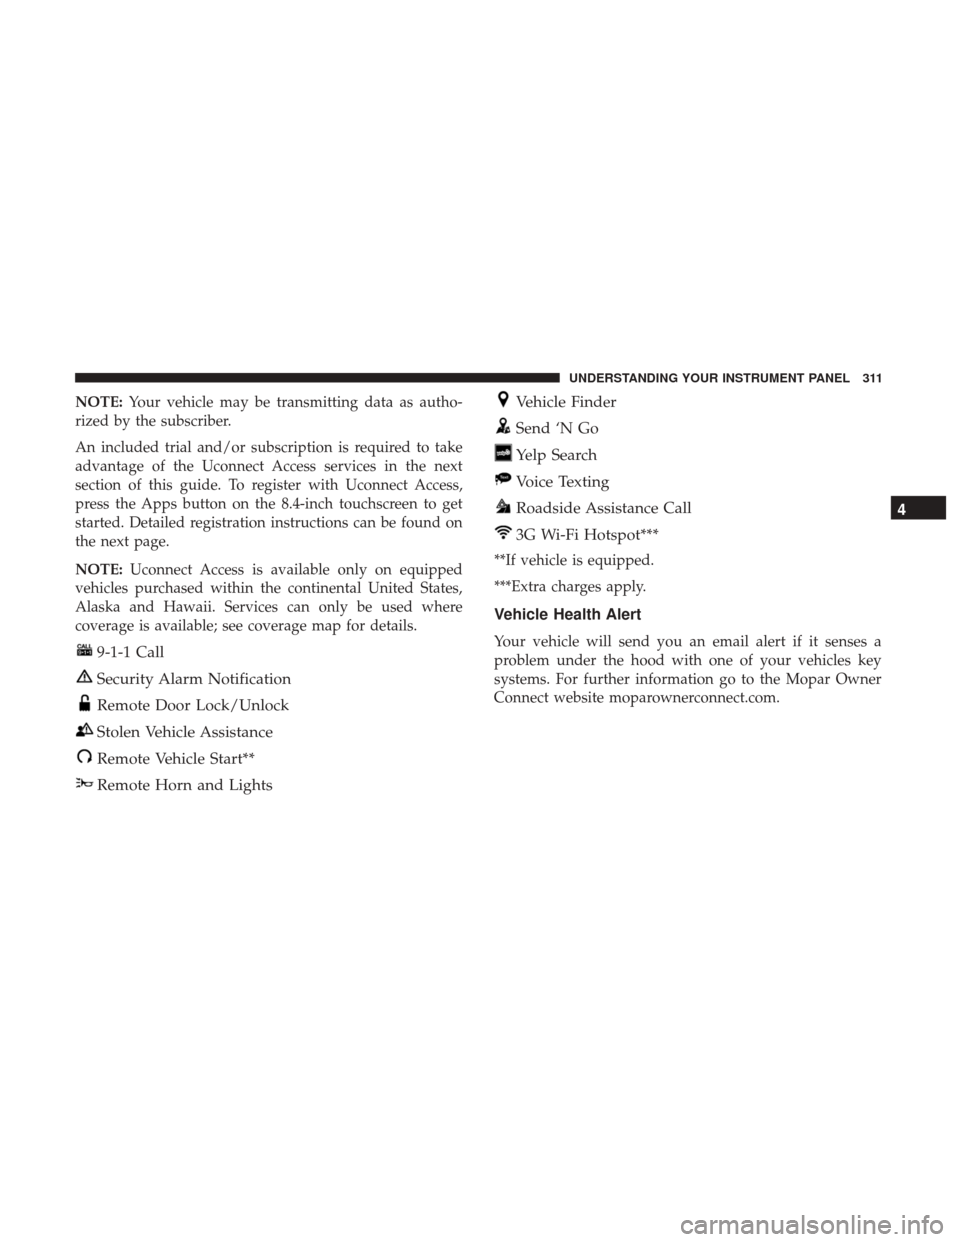
9-1-1 Call
Security Alarm Notification
Remote Door Lock/Unlock
Stolen Vehicle Assistance
Remote Vehicle Start**
Remote Horn and Lights
Vehicle Finder
Send ‘N Go
Yelp Search
Voice Texting
Roadside Assistance Call
3G Wi-Fi Hotspot***
**If vehicle is equipped.
***Extra charges apply.
Vehicle Health Alert
Your vehicle will send you an email alert if it senses a
problem under the hood with one of your vehicles key
systems. For further information go to the Mopar Owner
Connect website moparownerconnect.com.
4
UNDERSTANDING YOUR INSTRUMENT PANEL 311
Page 315 of 542

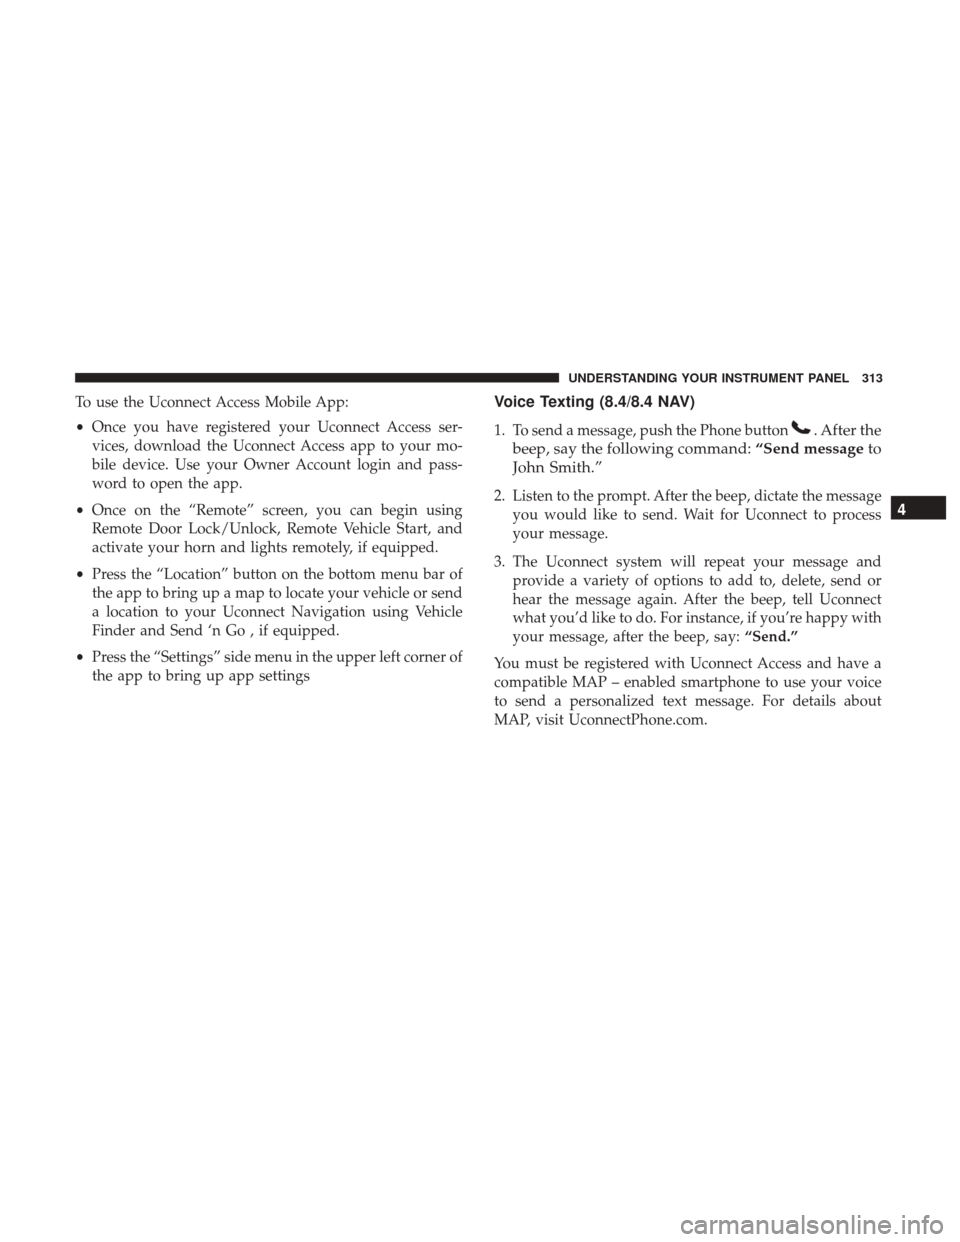
To use the Uconnect Access Mobile App:
•Once you have registered your Uconnect Access ser-
vices, download the Uconnect Access app to your mo-
bile device. Use your Owner Account login and pass-
word to open the app.
• Once on the “Remote” screen, you can begin using
Remote Door Lock/Unlock, Remote Vehicle Start, and
activate your horn and lights remotely, if equipped.
• Press the “Location” button on the bottom menu bar of
the app to bring up a map to locate your vehicle or send
a location to your Uconnect Navigation using Vehicle
Finder and Send ‘n Go , if equipped.
• Press the “Settings” side menu in the upper left corner of
the app to bring up app settingsVoice Texting (8.4/8.4 NAV)
1. To send a message, push the Phone button. After the
beep, say the following command: “Send messageto
John Smith.”
2. Listen to the prompt. After the beep, dictate the message you would like to send. Wait for Uconnect to process
your message.
3. The Uconnect system will repeat your message and provide a variety of options to add to, delete, send or
hear the message again. After the beep, tell Uconnect
what you’d like to do. For instance, if you’re happy with
your message, after the beep, say: “Send.”
You must be registered with Uconnect Access and have a
compatible MAP – enabled smartphone to use your voice
to send a personalized text message. For details about
MAP, visit UconnectPhone.com.4
UNDERSTANDING YOUR INSTRUMENT PANEL 313
Page 349 of 542

behind another vehicle. Refer to “Recreational Towing” in
“Starting And Operating” for further information.
This electronically shifted transfer case is designed to be
driven in the two-wheel drive position (2WD) for normal
street and highway conditions on dry, hard surfaced roads.
When additional traction is required, the transfer case 4WD
LOCK and 4WD LOW positions can be used to maximize
torque to the front driveshaft, forcing the front and rear
wheels to rotate at the same speed. This is accomplished by
rotating the 4WD Control Switch to the desired position.
Refer to “Shifting Procedure” in this section for specific
shifting instructions.
The 4WD LOCK and 4WD LOW positions are designed for
loose, slippery road surfaces only. Driving in the 4WD
LOCK and 4WD LOW positions on dry hard surfaced
roads may cause increased tire wear and damage to the
driveline components.
NOTE:The transfer case NEUTRAL button is located on
the lower left hand corner of the 4WD Control Switch. The
transfer case NEUTRAL position is to be used for recre-
ational towing only. Refer to “Recreational Towing” in
“Starting And Operating” for further information. Transfer Case Position Indicator Lights
The Transfer Case Position Indicator Lights (4WD and
4LOW) are located in the instrument cluster and indicate
the current and desired transfer case selection. When you
select a different transfer case position, the indicator lights
will do the following:
If All Of The Following Shift Conditions Are Met:
1. The current position indicator light will turn OFF.
2. The selected position indicator light will flash until the
transfer case completes the shift.
3. When the shift is complete, the indicator light for the selected position will stop flashing and remain ON.
If One Or More Of The Following Shift Conditions Are
Not Met:
1. The indicator light for the current position will remain ON.
2. The newly selected position indicator light will continue to flash.
3. The transfer case will notshift.
5
STARTING AND OPERATING 347
Page 352 of 542

2WD Or 4WD LOCK To 4WD LOW
NOTE:When shifting into or out of 4WD LOW some gear
noise may be heard. This noise is normal and is not
detrimental to the vehicle or occupants.
Shifting can be performed with the vehicle rolling 2 to
3 mph (3 to 5 km/h) or completely stopped. You can use
either of the following procedures:
Preferred Procedure
1. With the engine running, slow the vehicle to 2 to 3 mph (3 to 5 km/h).
2. Shift the transmission into NEUTRAL.
3. While still rolling, rotate the transfer case control switch to the desired position.
4. After the desired position indicator light is ON (not flashing), shift the transmission back into gear.
Alternate Procedure
1. Bring the vehicle to a complete stop.
2. With the ignition switch in the ON position and the engine running, shift the transmission into NEUTRAL. 3. Rotate the transfer case control switch to the desired
position.
4. After the desired position indicator light is ON (not flashing), shift the transmission back into gear.
NOTE:
• If Steps 1 or 2 of either the Preferred or Alternate
Procedure are not satisfied prior to attempting the shift,
then the desired position indicator light will flash con-
tinuously while the original position indicator light is
ON, until all requirements have been met.
• The ignition switch must be in the ON position for a
shift to take place and for the position indicator lights to
be operable. If the ignition switch is not in the ON
position, the shift will not take place and no position
indicator lights will be on or flashing.
LIMITED-SLIP DIFFERENTIAL
The limited-slip differential provides additional traction on
snow, ice, mud, sand and gravel, particularly when there is
a difference between the traction characteristics of the
surface under the right and left rear wheels. During normal
driving and cornering, the limited-slip unit performs simi-
larly to a conventional differential. On slippery surfaces,
350 STARTING AND OPERATING