Page 112 of 734
Automatic Dimming Mirror With Rear View Camera
Display — If Equipped
A single ball joint mirror is provided in the vehicle. It is a
twist on mirror that has a fixed position at the windshield.
The mirror installs on the windshield button with a coun-
terclockwise rotation and requires no tools for mounting.
The mirror head can be adjusted up, down, left, and right
for various drivers. The mirror should be adjusted to center
on the view through the rear window.
This mirror automatically adjusts for headlight glare from
vehicles behind you.
When the vehicle is placed into reverse gear, a video
display illuminates to display the image generated by the
rear view camera located on the tailgate handle. The auto
dimming feature is also disabled to improve rear view
viewing.
Automatic Dimming Mirror With Rear View Camera
110 UNDERSTANDING THE FEATURES OF YOUR VEHICLE
Page 141 of 734
Headlights
To turn on the headlights, rotate the headlight
switch clockwise to the headlight position. When
the headlight switch is on, the parking lights,
taillights, license plate light and instrument
panel lights are also turned on. To turn off the headlights,
rotate the headlight switch back to the O (Off) position.
Automatic Headlights — If Equipped
This system automatically turns the headlights on or off
according to ambient light levels. To turn the system on,
rotate the headlight switch to the AUTO position.
When the system is on, the Headlight Delay feature is also
on. This means the headlights will stay on for up to 90
seconds after you turn the ignition switch to the OFF
position. To turn the automatic headlights off, turn the
headlight switch out of the AUTO position.
NOTE:The engine must be running before the headlights
will turn on in the Automatic Mode.
Automatic Headlight Position
3
UNDERSTANDING THE FEATURES OF YOUR VEHICLE 139
Page 144 of 734

2. Turn the headlight switch to the AUTO headlight posi-tion.
3. Push the multifunction lever away from you (toward front of vehicle) to engage the high beam mode.
NOTE: This system will not activate until the vehicle is at
or above 20 mph (32 km/h).
To Deactivate
1. Pull the multifunction lever toward you (or rearward in vehicle) to manually deactivate the system (normal
operation of low beams).
2. Push back on the multifunction lever to reactivate the system.
Parking Lights And Panel Lights
To turn on the parking lights and instrument panel
lights, rotate the headlight switch clockwise. To turn
off the parking lights, rotate the headlight switch back to
the O (off) position.
Fog Lights — If Equipped
The fog lights are turned on by rotating the headlight
switch to the parking light or headlight position and
pushing in the headlight rotary control.
The fog lights will operate only when the parking lights are
on or when the vehicle headlights are on low beam. An
indicator light located in the instrument cluster display
will illuminate when the fog lights are on. The fog lights
will turn off when the switch is pushed a second time,
when the headlight switch is rotated to the off position, or
the high beam is selected.
Fog Light Switch
142 UNDERSTANDING THE FEATURES OF YOUR VEHICLE
Page 213 of 734

CAUTION!
Leaving the lid open for extended periods of time
could cause the vehicle battery to discharge. If the lid
is required to stay open for extended periods of time, it
is recommended that the bin lights be turned off
manually using the on/off switch.
Cargo bins feature two removable drain plugs (to allow
water to drain from bins). To remove plug, pull up on the
edge. To install push plug downward into drain hole.
NOTE: Provisions are provided in the bins for cargo
dividers and shelf supports. These accessories (in addition
to other RamBox accessories) are available from MOPAR.
Locking And Unlocking RamBox
Push and release the lock or unlock button on the key fob
to lock and unlock all doors, the tailgate and the RamBox
(if equipped). Refer to “Remote Keyless Entry” for further
details. The RamBox storage bins can be locked using the vehicle key. To lock and unlock the storage bin, insert the
key into the keyhole on the push button and turn clockwise
to lock or counterclockwise to unlock. Always return the
key to the upright (vertical) position before removing the
key from the push button.
CAUTION!
•
Ensure cargo bin lids are closed and latched before
moving or driving vehicle.
• Loads applied to the top of the bin lid should be
minimized to prevent damage to the lid and latching/
hinging mechanisms.
• Damage to the RamBox bin may occur due to heavy/
sharp objects placed in bin that shift due to vehicle
motion. In order to minimize potential for damage,
secure all cargo to prevent movement and protect
inside surfaces of bin from heavy/sharp objects with
appropriate padding.
3
UNDERSTANDING THE FEATURES OF YOUR VEHICLE 211
Page 221 of 734
Bed Rail Tie-Down System
CAUTION!
The maximum load per cleat should not exceed 250 lbs
(113 kg) and the angle of the load on each cleat should
not exceed 45 degrees above horizontal, or damage to
the cleat or cleat rail may occur.
There are two adjustable cleats on each side of the bed that
can be used to assist in securing cargo. Each cleat must be located and tightened down in one of
the detents, along either rail, in order to keep cargo
properly secure.
To move the cleat to any position on the rail, turn the nut
counterclockwise, approximately three turns. Then pull out
on the cleat and slide it to the detent nearest the desired
location. Make sure the cleat is seated in the detent and
tighten the nut.
Adjustable Cleats
Adjustable Cleat Assembly
1 — Utility Rail Detent
2 — Cleat Retainer Nut
3 — Utility Rail Cleat
3
UNDERSTANDING THE FEATURES OF YOUR VEHICLE 219
Page 290 of 734

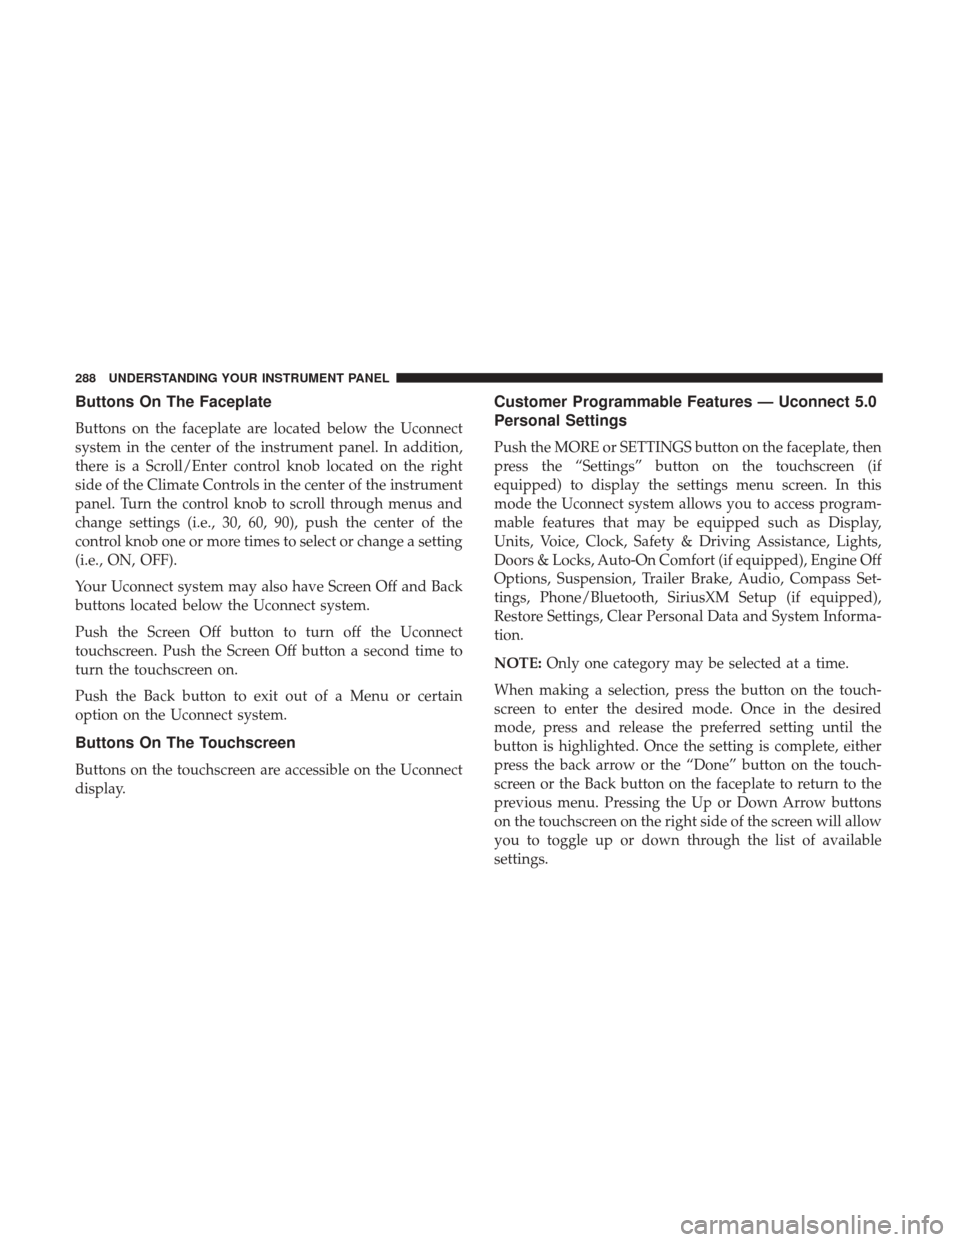
Buttons On The Faceplate
Buttons on the faceplate are located below the Uconnect
system in the center of the instrument panel. In addition,
there is a Scroll/Enter control knob located on the right
side of the Climate Controls in the center of the instrument
panel. Turn the control knob to scroll through menus and
change settings (i.e., 30, 60, 90), push the center of the
control knob one or more times to select or change a setting
(i.e., ON, OFF).
Your Uconnect system may also have Screen Off and Back
buttons located below the Uconnect system.
Push the Screen Off button to turn off the Uconnect
touchscreen. Push the Screen Off button a second time to
turn the touchscreen on.
Push the Back button to exit out of a Menu or certain
option on the Uconnect system.
Buttons On The Touchscreen
Buttons on the touchscreen are accessible on the Uconnect
display.
Customer Programmable Features — Uconnect 5.0
Personal Settings
Push the MORE or SETTINGS button on the faceplate, then
press the “Settings” button on the touchscreen (if
equipped) to display the settings menu screen. In this
mode the Uconnect system allows you to access program-
mable features that may be equipped such as Display,
Units, Voice, Clock, Safety & Driving Assistance, Lights,
Doors & Locks, Auto-On Comfort (if equipped), Engine Off
Options, Suspension, Trailer Brake, Audio, Compass Set-
tings, Phone/Bluetooth, SiriusXM Setup (if equipped),
Restore Settings, Clear Personal Data and System Informa-
tion.
NOTE:Only one category may be selected at a time.
When making a selection, press the button on the touch-
screen to enter the desired mode. Once in the desired
mode, press and release the preferred setting until the
button is highlighted. Once the setting is complete, either
press the back arrow or the “Done” button on the touch-
screen or the Back button on the faceplate to return to the
previous menu. Pressing the Up or Down Arrow buttons
on the touchscreen on the right side of the screen will allow
you to toggle up or down through the list of available
settings.
288 UNDERSTANDING YOUR INSTRUMENT PANEL
Page 293 of 734
Clock & Date
After pressing the “Clock & Date” button on the touch-
screen, the following settings will be available:
Setting NameSelectable Options
Set Time 12 hour24 hour
NOTE: Within the “Set Time” feature, press the corresponding arrow above and below the current time to adjust,
then select “AM” or “PM.”
Set Date Up ArrowDown Arrow
Safety/Assistance
After pressing the “Safety/Assistance” button on the
touchscreen, the following settings will be available:
Setting Name Selectable Options
ParkSense — If Equipped Sound Only Sounds and Display
NOTE: The ParkSense system will scan for objects behind the vehicle when the transmission gear selector is in RE-
VERSE and the vehicle speed is less than 7 mph (11 km/h). It will provide an alert (audible and/or visual) to indi-
cate the proximity to other objects.
4
UNDERSTANDING YOUR INSTRUMENT PANEL 291
Page 307 of 734

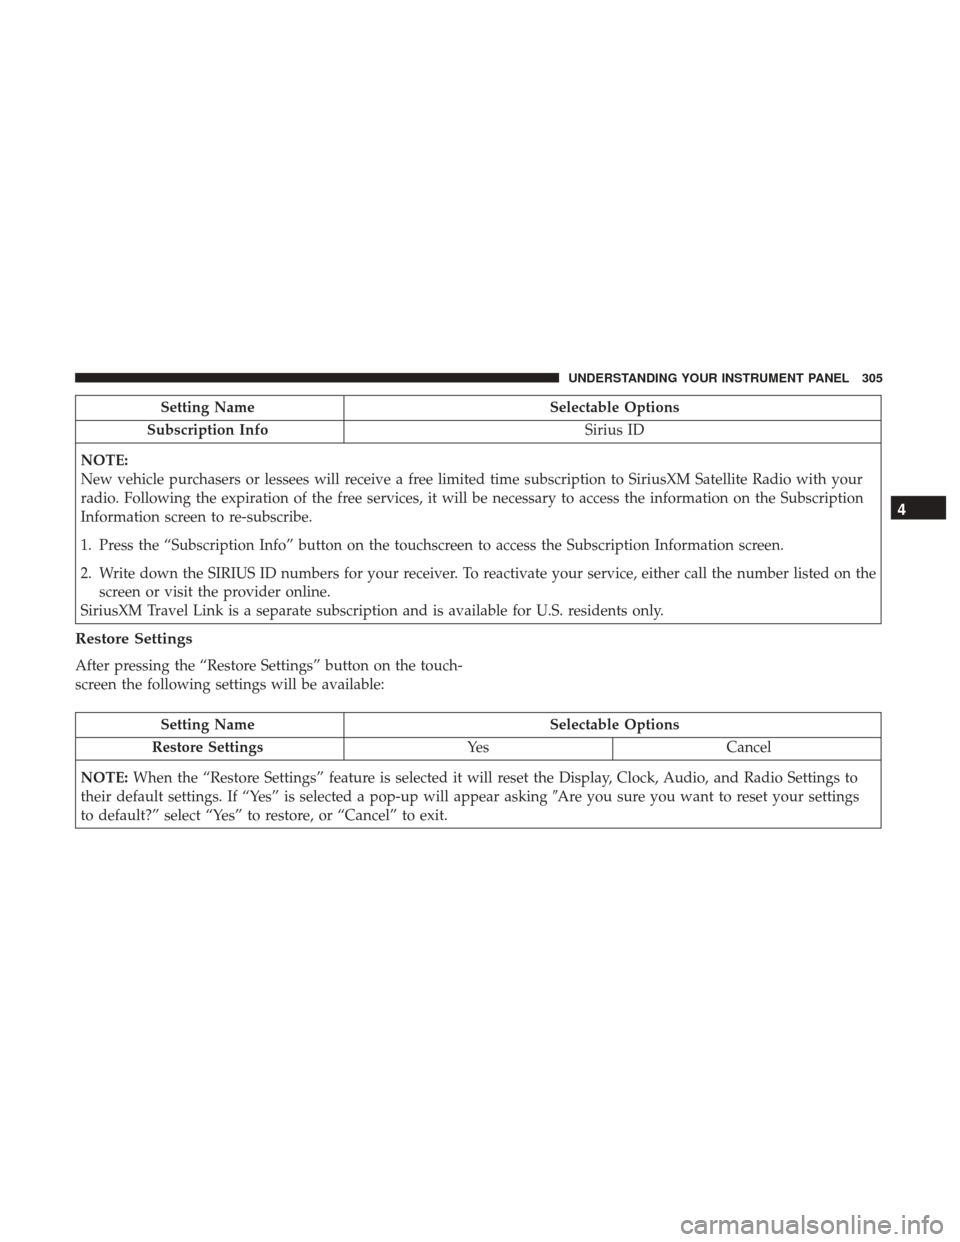
Setting NameSelectable Options
Subscription Info Sirius ID
NOTE:
New vehicle purchasers or lessees will receive a free limited time subscription to SiriusXM Satellite Radio with your
radio. Following the expiration of the free services, it will be necessary to access the information on the Subscription
Information screen to re-subscribe.
1. Press the “Subscription Info” button on the touchscreen to access the Subscription Information screen.
2. Write down the SIRIUS ID numbers for your receiver. To reactivate your service, either call the number listed on the screen or visit the provider online.
SiriusXM Travel Link is a separate subscription and is available for U.S. residents only.
Restore Settings
After pressing the “Restore Settings” button on the touch-
screen the following settings will be available:
Setting Name Selectable Options
Restore Settings YesCancel
NOTE: When the “Restore Settings” feature is selected it will reset the Display, Clock, Audio, and Radio Settings to
their default settings. If “Yes” is selected a pop-up will appear asking �Are you sure you want to reset your settings
to default?” select “Yes” to restore, or “Cancel” to exit.
4
UNDERSTANDING YOUR INSTRUMENT PANEL 305