Page 309 of 734

Customer Programmable Features — Uconnect
8.4/8.4 NAV Personal Settings
Press the “Apps” button on the touchscreen then press the
“Settings” button on the touchscreen to display the settings
menu screen. In this mode the Uconnect system allows you
to access programmable features that may be equipped
such as Display, Voice, Clock, Safety & Driving Assistance,
Lights, Doors & Locks, Auto-On Comfort (if equipped),
Engine Off Options, Suspension, Trailer Brake, Audio,
Phone/Bluetooth, SiriusXM Setup (if equipped), Restore
Settings, Clear Personal Data and System Information.
NOTE:Only one category may be selected at a time. When making a selection, press the button on the touch-
screen to enter the desired mode. Once in the desired
mode, press and release the preferred setting until a
check-mark appears next to the setting, showing that
setting has been selected. Once the setting is complete,
either press the back arrow button on the touchscreen or
the Back button on the faceplate to return to the previous
menu or press the “X” button on the touchscreen to close
out of the settings screen. Pressing the Up or Down Arrow
buttons on the touchscreen on the right side of the screen
will allow you to toggle up or down through the list of
available settings.
NOTE:
All settings should be changed with the ignition in
the RUN position.
4
UNDERSTANDING YOUR INSTRUMENT PANEL 307
Page 312 of 734
Clock
After pressing the “Clock” button on the touchscreen, the
following settings will be available:
Setting NameSelectable Options
Sync Time With GPS — If Equipped
Set Time Hours +–
Set Time Minutes +–
Time Format 12hrs24hrs
Show Time In Status Bar — If Equipped
NOTE: The “Show Time In Status Bar” feature will allow you to turn on or shut off the digital clock in the status bar.
310 UNDERSTANDING YOUR INSTRUMENT PANEL
Page 333 of 734

Manual Climate Control Descriptions
IconDescription
MAX A/C Setting
Rotate the Temperature Control Knob counterclockwise until it is set to MAX A/C. This is the
coldest setting and will put the A/C to its maximum power.
A/C Button
Push the A/C button to engage the Air Conditioning (A/C). A LED will illuminate when the
A/C system is engaged.
Recirculation Button
Push and release this button to change the system between recirculation mode and outside air
mode. Recirculation can be used when outside conditions such as smoke, odors, dust, or high
humidity are present.
NOTE:
•Continuous use of the Recirculation mode may make the inside air stuffy and window fog-
ging may occur. Extended use of this mode is not recommended.
•The use of the Recirculation mode in cold or damp weather could cause windows to fog on
the inside, because of moisture buildup inside the vehicle. Select the outside air position for
maximum defogging.
•Recirculation can be used in all modes except for Defrost.
•The A/C can be deselected manually without disturbing the mode control selection.
4
UNDERSTANDING YOUR INSTRUMENT PANEL 331
Page 334 of 734

IconDescription
Front Defrost Setting
Turn the Mode Control knob to the Defrost mode. Air comes from the windshield and side win-
dow demist outlets. When the defrost setting is selected, the blower level will increase. Use De-
frost mode with maximum temperature settings for best windshield and side window defrosting
and defogging.
Rear Defrost Button
Push and release the Rear Defrost Control button to turn on the rear window defroster and the
heated outside mirrors (if equipped). An indicator will illuminate when the rear window de-
froster is on. The rear window defroster automatically turns off after 10 minutes.
Temperature Control
Use this control knob to regulate the temperature of the air inside the passenger compartment.
Rotating the knob counterclockwise, from top center into the blue area of the scale, indicates
cooler temperatures. Rotating the knob clockwise, into the red area, indicates warmer tempera-
tures.
Blower Control
There are seven blower speeds. Use this control knob to regulate the amount of air forced
through the system in any mode you select. The blower speed increases as you move the con-
trol clockwise from the off position.
NOTE:Depending on the configuration, your vehicle may be equipped with four blower
speeds.
332 UNDERSTANDING YOUR INSTRUMENT PANEL
Page 344 of 734

IconDescription
Faceplate Knob
Touchscreen Buttons
Blower Control
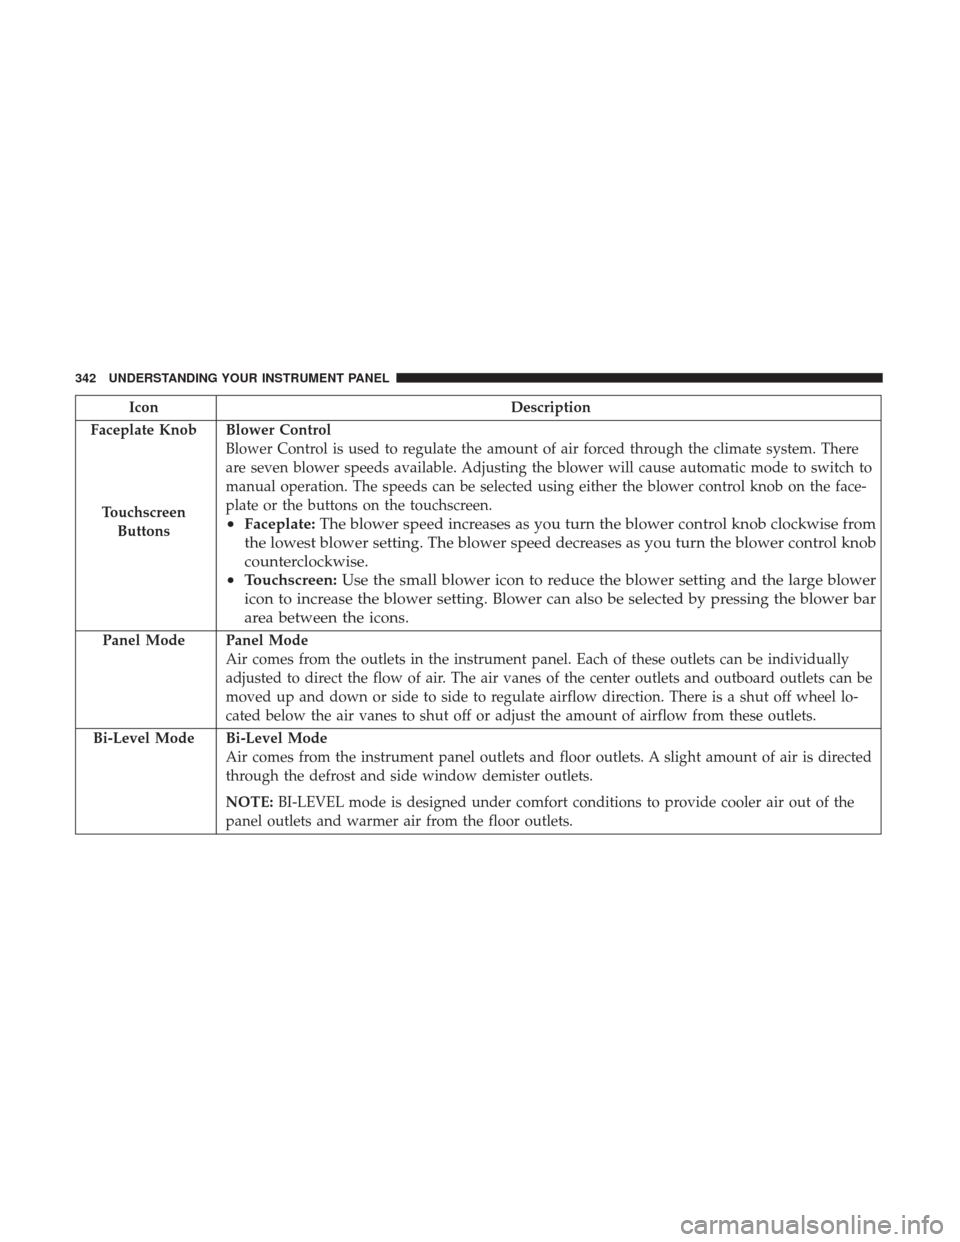
Blower Control is used to regulate the amount of air forced through the climate system. There
are seven blower speeds available. Adjusting the blower will cause automatic mode to switch to
manual operation. The speeds can be selected using either the blower control knob on the face-
plate or the buttons on the touchscreen.
• Faceplate: The blower speed increases as you turn the blower control knob clockwise from
the lowest blower setting. The blower speed decreases as you turn the blower control knob
counterclockwise.
• Touchscreen: Use the small blower icon to reduce the blower setting and the large blower
icon to increase the blower setting. Blower can also be selected by pressing the blower bar
area between the icons.
Panel ModePanel Mode
Air comes from the outlets in the instrument panel. Each of these outlets can be individually
adjusted to direct the flow of air. The air vanes of the center outlets and outboard outlets can be
moved up and down or side to side to regulate airflow direction. There is a shut off wheel lo-
cated below the air vanes to shut off or adjust the amount of airflow from these outlets.
Bi-Level Mode
Bi-Level Mode
Air comes from the instrument panel outlets and floor outlets. A slight amount of air is directed
through the defrost and side window demister outlets.
NOTE: BI-LEVEL mode is designed under comfort conditions to provide cooler air out of the
panel outlets and warmer air from the floor outlets.
342 UNDERSTANDING YOUR INSTRUMENT PANEL
Page 400 of 734

CAUTION!
•Before moving the transmission gear selector out of
PARK, you must turn the ignition to the ON/RUN
mode, and also press the brake pedal. Otherwise,
damage to the gear selector could result.
• DO NOT race the engine when shifting from PARK
or NEUTRAL into another gear range, as this can
damage the drivetrain.
The following indicators should be used to ensure that you
have engaged the transmission into the PARK position:
• When shifting into PARK, pull the column-mounted
gear selector toward you and move it all the way
counterclockwise until it stops. For console-mounted
shifter, firmly move the gear selector all the way forward
and to the left until it stops.
• Release the gear selector and make sure it is fully seated
in the PARK gate.
• Look at the transmission gear position display and
verify that it indicates the PARK position (P).
• With brake pedal released, verify that the gear selector
will not move out of PARK. REVERSE (R)
This range is for moving the vehicle backward. Shift into
REVERSE only after the vehicle has come to a complete
stop.
NEUTRAL (N)
Use this range when the vehicle is standing for prolonged
periods with the engine running. The engine may be
started in this range. Apply the parking brake and shift the
transmission into PARK if you must leave the vehicle.
WARNING!
Do not coast in NEUTRAL and never turn off the
ignition to coast down a hill. These are unsafe practices
that limit your response to changing traffic or road
conditions. You might lose control of the vehicle and
have a collision.
398 STARTING AND OPERATING
Page 409 of 734

WARNING!(Continued)
turn the engine OFF, and remove the key fob. When
the ignition is in the LOCK/OFF (key removal)
position (or, with Keyless Enter-N-Go, when the
ignition is in the OFF mode), the transmission is
locked in PARK, securing the vehicle against un-
wanted movement.
• When leaving the vehicle, always make sure the
ignition is in the OFF mode, remove the key fob from
the vehicle, and lock the vehicle.
• Never leave children alone in a vehicle, or with
access to an unlocked vehicle. Allowing children to
be in a vehicle unattended is dangerous for a number
of reasons. A child or others could be seriously or
fatally injured. Children should be warned not to
touch the parking brake, brake pedal or the trans-
mission gear selector.
• Do not leave the key fob in or near the vehicle (or in
a location accessible to children), and do not leave
the ignition (in a vehicle equipped with Keyless
Enter-N-Go) in the ACC or ON/RUN mode. A child
could operate power windows, other controls, or
move the vehicle.
CAUTION!
• Before moving the transmission gear selector out of
PARK, you must turn the ignition to the ON/RUN
mode, and also press the brake pedal. Otherwise,
damage to the gear selector could result.
• DO NOT race the engine when shifting from PARK
or NEUTRAL into another gear range, as this can
damage the drivetrain.
The following indicators should be used to ensure that you
have engaged the transmission into the PARK position:
• When shifting into PARK, pull the gear selector toward
you and move it all the way counterclockwise until it
stops.
• Release the gear selector and make sure it is fully seated
in the PARK gate.
• Look at the transmission gear position display and
verify that it indicates the PARK position (P).
• With brake pedal released, verify that the gear selector
will not move out of PARK.
5
STARTING AND OPERATING 407
Page 550 of 734

ADDING FUEL
The fuel filler cap (gas cap) is located behind the fuel filler
door, on the left side of the vehicle. Open the fuel door and
remove the fuel cap by turning it counter-clockwise.
NOTE:When removing the fuel filler cap, lay the cap
tether in the hook, located on the fuel filler door.
CAUTION!
• Damage to the fuel system or emissions control
system could result from using an improper fuel
tank filler tube cap.
• A poorly fitting fuel filler cap could let impurities
into the fuel system.
• A poorly fitting fuel filler cap may cause the “Mal-
function Indicator Light (MIL)” to turn on.
• To avoid fuel spillage and overfilling, do not “top
off” the fuel tank after filling. When the fuel nozzle
“clicks” or shuts off, the fuel tank is full.
WARNING!
• Never have any smoking materials lit in or near the
vehicle when the gas cap is removed or the tank is
being filled.
• Never add fuel to the vehicle when the engine is
running.
• A fire may result if gasoline is pumped into a
portable container that is inside of a vehicle. You
could be burned. Always place gas containers on the
ground while filling.
Fuel Filler Cap
548 STARTING AND OPERATING