2017 PEUGEOT PARTNER TEPEE ELECTRIC ignition
[x] Cancel search: ignitionPage 65 of 252
27
Lost keys, remote control
Go to a PEUGEOT dealer, taking with you the
vehicle's registration certificate, your personal
identification documents and if possible, the
label bearing the key code.
The PEUGEOT dealer will be able to retrieve
the key code and the transponder code
required to order a new key.
F
I
nsert the key into the ignition switch with
the remote control buttons (padlocks) facing
you.
F
S
witch on the ignition.
F
W
ithin ten seconds, press the locking
padlock for at least five seconds.
F
S
witch off the ignition.
F
W
ait at least one minute before using the
remote control.
The remote control is now working again. Anti-theft protection
Do not make any modifications to the
electronic engine immobiliser system; this
could cause malfunctions.
For vehicles with an ignition switch, do not
forget to remove the key and turn the steering
wheel to engage the steering lock.
Remote control
The high frequency remote control is a
sensitive system; do not operate it while it is
in your pocket as there is a possibility that
it may unlock the vehicle, without you being
aware of it.
Do not repeatedly press the buttons of your
remote control out of range and out of sight
of your vehicle. You may stop it from working
and the remote control would have to be
reinitialised.
The remote control does not operate when
the key is in the ignition, even when the
ignition is switched off.
Locking the vehicle
Driving with the doors locked may make
access to the passenger compartment by
the emergency ser vices more difficult in an
emergency.
As a safety precaution (with children on
board), remove the key from the ignition or
take the electronic key when you leave the
vehicle, even for a short time. When purchasing a second-hand vehicle
Have the key codes memorised by a
PEUGEOT dealer, to ensure that the keys in
your possession are the only ones which can
start the vehicle.
2
Access
Page 71 of 252
33
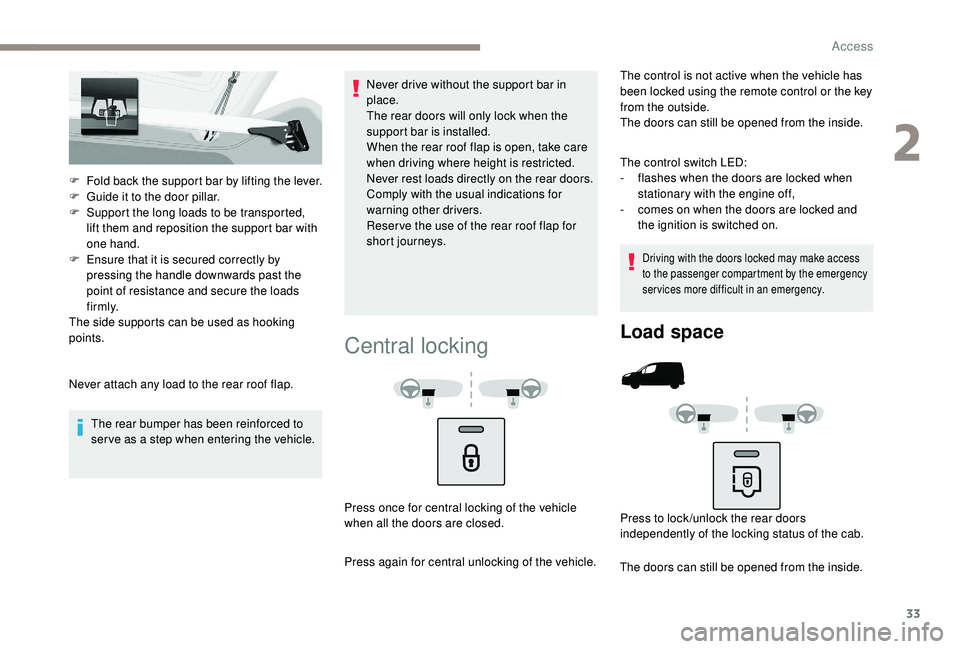
F Fold back the support bar by lifting the lever.
F G uide it to the door pillar.
F
S
upport the long loads to be transported,
lift them and reposition the support bar with
one hand.
F
E
nsure that it is secured correctly by
pressing the handle downwards past the
point of resistance and secure the loads
f i r m l y.
The side supports can be used as hooking
points.
Never attach any load to the rear roof flap.
The rear bumper has been reinforced to
serve as a step when entering the vehicle. Never drive without the support bar in
place.
The rear doors will only lock when the
support bar is installed.
When the rear roof flap is open, take care
when driving where height is restricted.
Never rest loads directly on the rear doors.
Comply with the usual indications for
warning other drivers.
Reser ve the use of the rear roof flap for
short journeys.
Central locking
The control is not active when the vehicle has
been locked using the remote control or the key
from the outside.
The doors can still be opened from the inside.
The control switch LED:
-
f
lashes when the doors are locked when
stationary with the engine off,
-
c
omes on when the doors are locked and
the ignition is switched on.
Driving with the doors locked may make access
to the passenger compartment by the emergency
services more difficult in an emergency.
Press once for central locking of the vehicle
when all the doors are closed.
Press again for central unlocking of the vehicle.
Load space
Press to lock /unlock the rear doors
independently of the locking status of the cab.
The doors can still be opened from the inside.
2
Access
Page 72 of 252
34
When the vehicle moves off, as soon as you
reach approximately 6 mph (10 km/h), the
system locks the doors. The characteristic
central locking noise is heard. The LED in the
control switch on the dashboard central switch
panel comes on.
During the journey, opening a door results in
complete unlocking of the vehicle.
Activation/deactivation of the
system
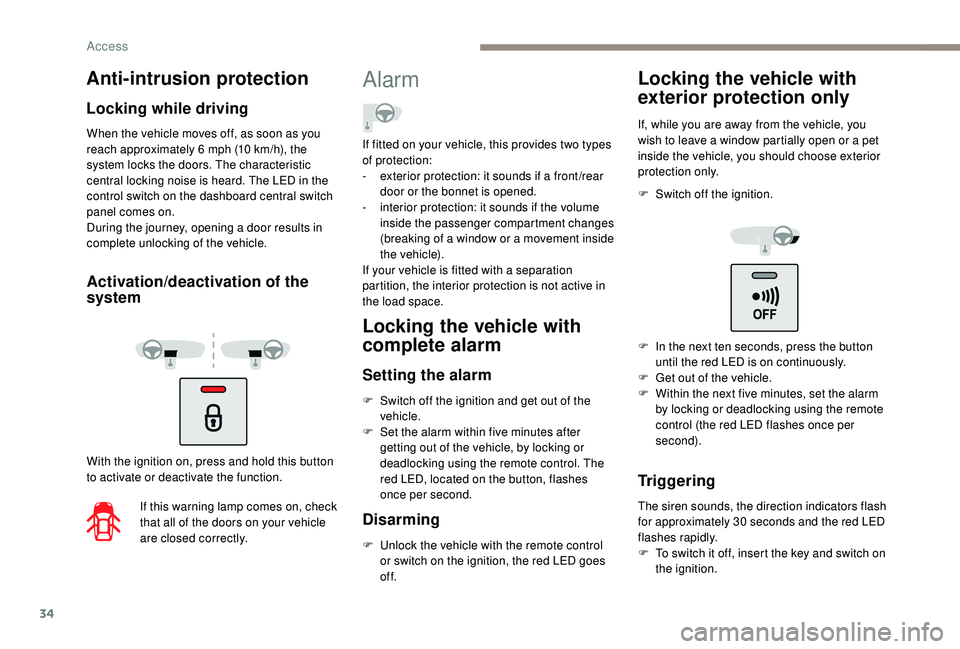
With the ignition on, press and hold this button
to activate or deactivate the function.
If this warning lamp comes on, check
that all of the doors on your vehicle
are closed correctly.
Alarm
Locking the vehicle with
complete alarm
Setting the alarm
F Switch off the ignition and get out of the vehicle.
F
S
et the alarm within five minutes after
getting out of the vehicle, by locking or
deadlocking using the remote control. The
red LED, located on the button, flashes
once per second.
Disarming
F Unlock the vehicle with the remote control or switch on the ignition, the red LED goes
of f.
Locking the vehicle with
exterior protection only
If, while you are away from the vehicle, you
wish to leave a window partially open or a pet
inside the vehicle, you should choose exterior
protection only.
F
S
witch off the ignition.
Triggering
The siren sounds, the direction indicators flash
for approximately 30 seconds and the red LED
flashes rapidly.
F
T
o switch it off, insert the key and switch on
the ignition.
Anti-intrusion protection
Locking while driving
If fitted on your vehicle, this provides two types
of protection:
-
e
xterior protection: it sounds if a front /rear
door or the bonnet is opened.
-
i
nterior protection: it sounds if the volume
inside the passenger compartment changes
(breaking of a window or a movement inside
the vehicle).
If your vehicle is fitted with a separation
partition, the interior protection is not active in
the load space.
F
I
n the next ten seconds, press the button
until the red LED is on continuously.
F
G
et out of the vehicle.
F
W
ithin the next five minutes, set the alarm
by locking or deadlocking using the remote
control (the red LED flashes once per
second).
Access
Page 73 of 252
35
Locking the vehicle without
alarm
F Insert the key in the driver's door lock and lock it.
Do not set the alarm when washing your
vehicle.
Failure of the remote control
If the alarm is set but the remote control is not
working:
F
U
nlock the doors with the key and open the
door. The alarm is triggered.
F
S
witch on the ignition within ten seconds.
The alarm is disarmed.
Malfunction
When the ignition is switched on, if the red LED
remains on for ten seconds there is a fault in
the siren connection.
Contact a PEUGEOT dealer to have the system
checked.
Automatic setting of the alarm
Depending on the country in which the vehicle is
sold, the alarm is set automatically approximately
2
minutes after the last door is closed.
Do not make any modifications to the
alarm system as this could cause faults.
When the alarm has been triggered ten times
in succession (when triggered for the eleventh
time) it is deactivated. Repeat the procedure for
setting the alarm.
To prevent triggering of the alarm when a door
is opened, you must press the unlocking button
on the remote control again.
Rear windows
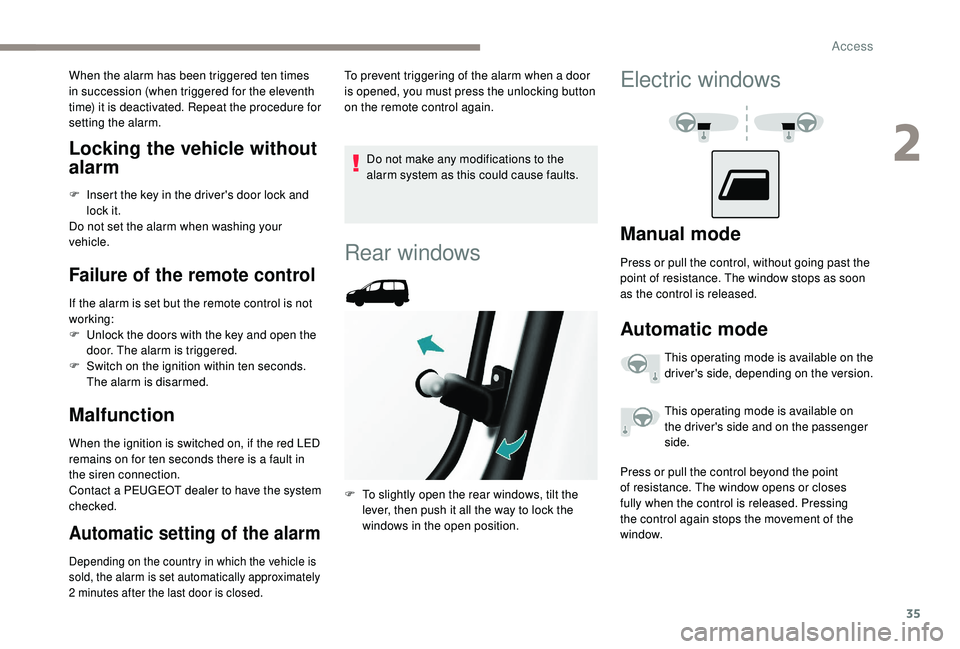
F To slightly open the rear windows, tilt the
lever, then push it all the way to lock the
windows in the open position.
Electric windows
Manual mode
Press or pull the control, without going past the
point of resistance. The window stops as soon
as the control is released.
Automatic mode
This operating mode is available on the
driver's side, depending on the version.
This operating mode is available on
the driver's side and on the passenger
side.
Press or pull the control beyond the point
of resistance. The window opens or closes
fully when the control is released. Pressing
the control again stops the movement of the
window.
2
Access
Page 74 of 252
36
The electrical functions of the electric windows
are deactivated:
-
a
pproximately 45 seconds after the ignition
is switched off,
-
a
fter one of the front doors is opened, if the
ignition is off.
Safety anti-pinch
When the window rises and meets an obstacle,
it stops and partially lowers again.
Reinitialisation
Following reconnection of the battery, or in the
event of a malfunction, the anti-pinch function
must be reinitialised.
F
B
ring the window down completely, then
bring it back up. It will go up by a few
centimetres with each press. Repeat the
operation until the window is fully closed.
F
H
old the switch pressed for at least one
second after reaching the window closed
position.
The safety anti-pinch does not operate during
these operations. In the event of contact (pinching) during
operation of the windows, you must
reverse the movement of the window. To
do this, press the switch concerned.
When operating the passenger electric
window switches, the driver must ensure
that no one is preventing correct closing of
the windows.
The driver must ensure that the
passengers use the electric windows
c o r r e c t l y.
Be aware of children when operating the
windows.
After several consecutive attempts to
close/open the windows using the electric
windows control, a protection system
engages, which only allows for the
windows to be closed. After closing, wait
approximately 40
minutes. After this time,
the control will be operational again.
Access
Page 75 of 252
37
Steering wheel adjustment
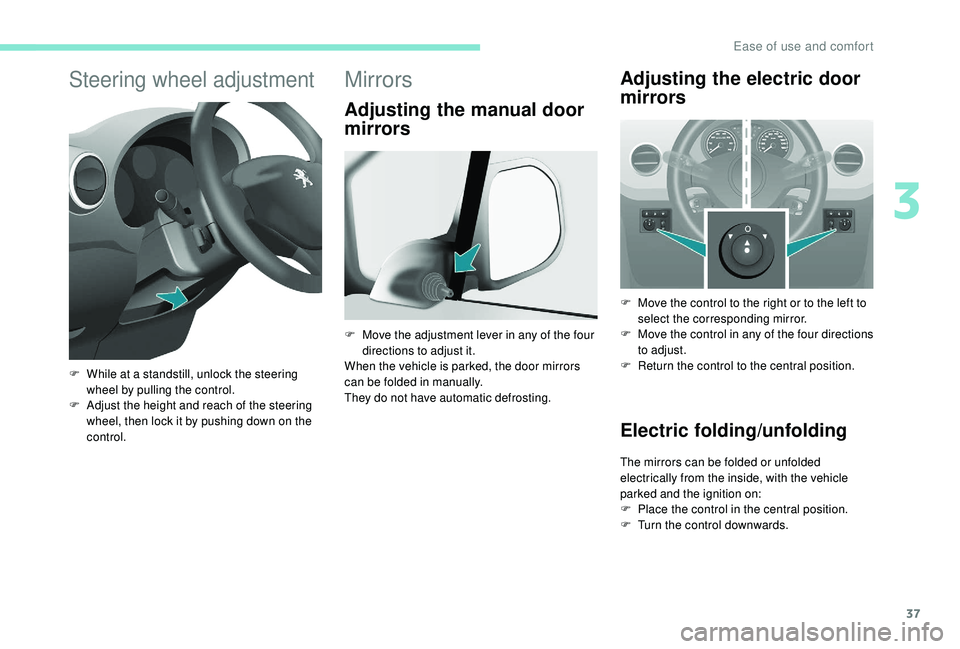
F While at a standstill, unlock the steering wheel by pulling the control.
F
A
djust the height and reach of the steering
wheel, then lock it by pushing down on the
control.
Mirrors
Adjusting the manual door
mirrors Adjusting the electric door
mirrors
F Move the control to the right or to the left to
select the corresponding mirror.
F
M
ove the control in any of the four directions
to adjust.
F
R
eturn the control to the central position.
Electric folding/unfolding
The mirrors can be folded or unfolded
electrically from the inside, with the vehicle
parked and the ignition on:
F
P
lace the control in the central position.
F
T
urn the control downwards.
F
M
ove the adjustment lever in any of the four
directions to adjust it.
When the vehicle is parked, the door mirrors
can be folded in manually.
They do not have automatic defrosting.
3
Ease of use and comfort
Page 97 of 252
59
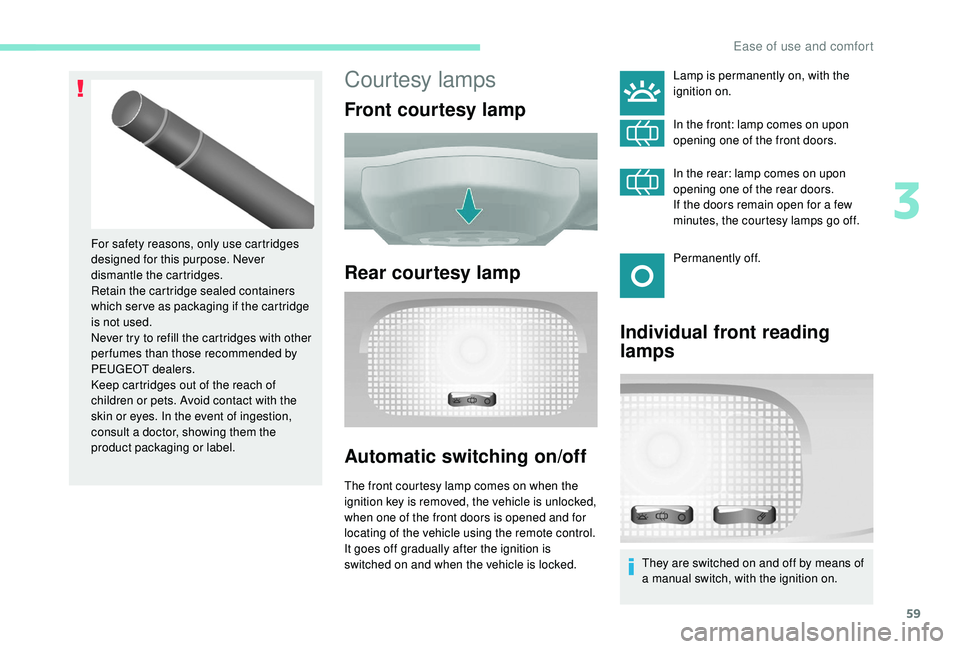
Courtesy lamps
Front courtesy lamp
Rear courtesy lamp
Automatic switching on/off
The front courtesy lamp comes on when the
ignition key is removed, the vehicle is unlocked,
when one of the front doors is opened and for
locating of the vehicle using the remote control.
It goes off gradually after the ignition is
switched on and when the vehicle is locked.
For safety reasons, only use cartridges
designed for this purpose. Never
dismantle the cartridges.
Retain the cartridge sealed containers
which ser ve as packaging if the cartridge
is not used.
Never try to refill the cartridges with other
per fumes than those recommended by
PEUGEOT dealers.
Keep cartridges out of the reach of
children or pets. Avoid contact with the
skin or eyes. In the event of ingestion,
consult a doctor, showing them the
product packaging or label.
Individual front reading
lamps
Lamp is permanently on, with the
ignition on.
In the front: lamp comes on upon
opening one of the front doors.
In the rear: lamp comes on upon
opening one of the rear doors.
If the doors remain open for a few
minutes, the courtesy lamps go off.
Permanently off.
They are switched on and off by means of
a manual switch, with the ignition on.
3
Ease of use and comfort
Page 109 of 252
71
Lighting control stalk
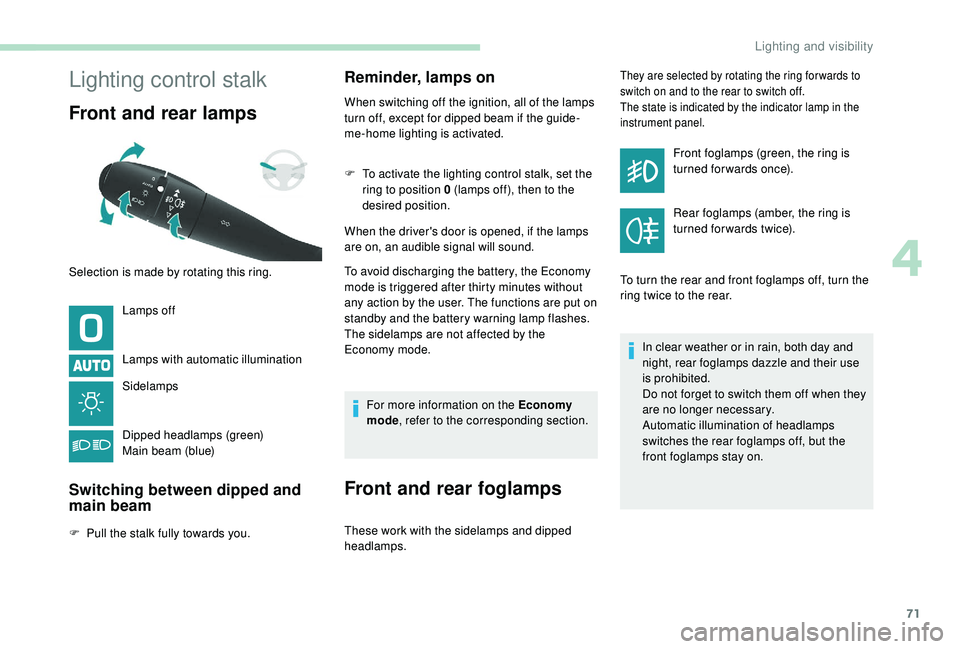
Front and rear lamps
Lamps off
Lamps with automatic illumination
Sidelamps
Dipped headlamps (green)
Main beam (blue)
Switching between dipped and
main beam
F Pull the stalk fully towards you.
Reminder, lamps on
When switching off the ignition, all of the lamps
turn off, except for dipped beam if the guide-
me-home lighting is activated.
F
T
o activate the lighting control stalk, set the
ring to position 0 (lamps off), then to the
desired position.
When the driver's door is opened, if the lamps
are on, an audible signal will sound.
To avoid discharging the battery, the Economy
mode is triggered after thirty minutes without
any action by the user. The functions are put on
standby and the battery warning lamp flashes.
The sidelamps are not affected by the
Economy mode.
For more information on the Economy
mode , refer to the corresponding section.
Front and rear foglamps
These work with the sidelamps and dipped
headlamps.
They are selected by rotating the ring for wards to
switch on and to the rear to switch off.
The state is indicated by the indicator lamp in the
instrument panel.
Front foglamps (green, the ring is
turned forwards once).
Rear foglamps (amber, the ring is
turned for wards twice).
To turn the rear and front foglamps off, turn the
ring twice to the rear.
In clear weather or in rain, both day and
night, rear foglamps dazzle and their use
is prohibited.
Do not forget to switch them off when they
are no longer necessary.
Automatic illumination of headlamps
switches the rear foglamps off, but the
front foglamps stay on.
Selection is made by rotating this ring.
4
Lighting and visibility