Page 192 of 566
190
3008-2_en_Chap05_securite_ed01-2016
Locations for i-Size child seats
The i-Size child seats have two latches that engage on the two rings A.
The i-Size child seats also have:
-
e
ither an upper strap which is attached to the ring B
-
o
r a support leg which sits on the vehicle's floor, compatible with the seat approved for i-Size
the role of which is to prevent the child seat from tipping for ward in the event of a collision.
For more information on ISOFIX mountings , refer to the corresponding section.
In accordance with the new European regulations, this table indicates the options for installing i-Size child seats on seats in the vehicle fitted with
ISOFIX mountings approved for i-Size.
Seating position Passenger's front airbagi- Size restraint system
Row 1 (a) Passenger seat Deactivated, "OFF"
i-U
Activated, "ON" i-UF
Row 2 Seat behind the driver's seat
i-U
Seat behind the front passenger's seat i-U
Centre rear seat Not i-Size
Safety
Page 193 of 566
191
3008-2_en_Chap05_securite_ed01-2016
i- U: suitable for i-Size restraints of the "universal" category, forward facing or
rearward facing.
i - UF:
o
nly suitable for i-Size restraint systems
in the "Universal" category, forward
facing.
X:
s
eating position not suitable for i-Size
restraint systems in the "Universal"
category. Remove and stow the head restraint
before installing a child seat on a
passenger seat.
Refit the head restraint once the child
seat has been removed.
(a)
R efer to the current legislation in your
country before installing a child at this
seating position.
5
Safety
Page 194 of 566

192
3008-2_en_Chap05_securite_ed01-2016
For optimum installation of the forward facing
child seat, ensure that the back of the child
seat is as close as possible to the backrest
of the vehicle's seat, in contact if possible.
You must remove the head restraint before
installing a child seat with backrest to a
passenger seat.
Ensure that the head restraint is stored or
attached securely to prevent it from being
thrown around the vehicle in the event of
sharp braking. Refit the head restraint when
the child seat is removed.
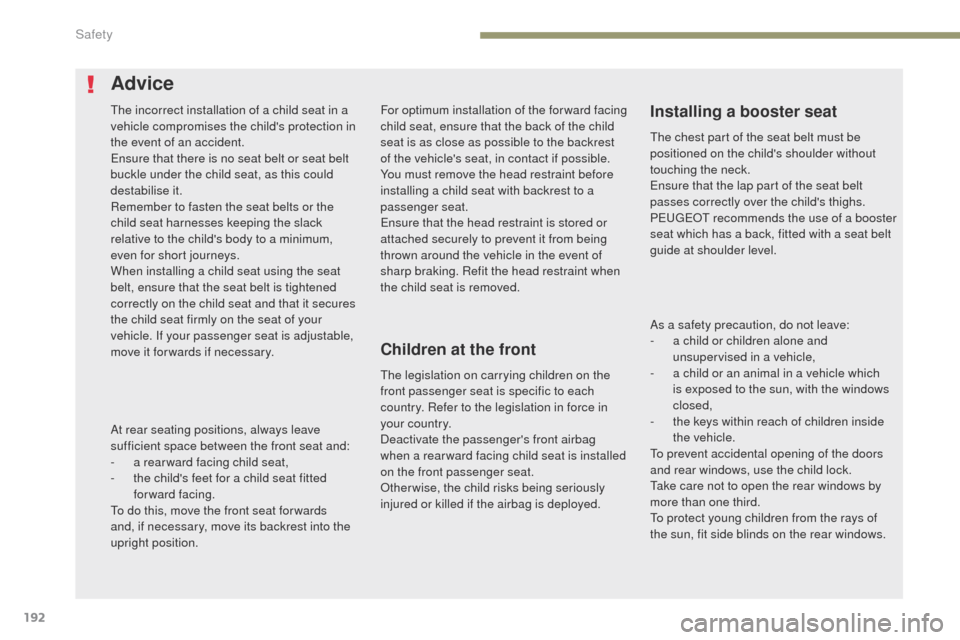
Advice
Installing a booster seat
Children at the frontThe incorrect installation of a child seat in a
vehicle compromises the child's protection in
the event of an accident.
Ensure that there is no seat belt or seat belt
buckle under the child seat, as this could
destabilise it.
Remember to fasten the seat belts or the
child seat harnesses keeping the slack
relative to the child's body to a minimum,
even for short journeys.
When installing a child seat using the seat
belt, ensure that the seat belt is tightened
correctly on the child seat and that it secures
the child seat firmly on the seat of your
vehicle. If your passenger seat is adjustable,
move it for wards if necessary. The legislation on carrying children on the
front passenger seat is specific to each
country. Refer to the legislation in force in
your country.
Deactivate the passenger's front airbag
when a rear ward facing child seat is installed
on the front passenger seat.
Otherwise, the child risks being seriously
injured or killed if the airbag is deployed.The chest part of the seat belt must be
positioned on the child's shoulder without
touching the neck.
Ensure that the lap part of the seat belt
passes correctly over the child's thighs.
PEUGEOT recommends the use of a booster
seat which has a back, fitted with a seat belt
guide at shoulder level.
At rear seating positions, always leave
sufficient space between the front seat and:
-
a r
ear ward facing child seat,
-
t
he child's feet for a child seat fitted
forward facing.
To do this, move the front seat for wards
and, if necessary, move its backrest into the
upright position. As a safety precaution, do not leave:
-
a c
hild or children alone and
unsupervised in a vehicle,
-
a c
hild or an animal in a vehicle which
is exposed to the sun, with the windows
closed,
-
t
he keys within reach of children inside
the vehicle.
To prevent accidental opening of the doors
and rear windows, use the child lock.
Take care not to open the rear windows by
more than one third.
To protect young children from the rays of
the sun, fit side blinds on the rear windows.
Safety
Page 195 of 566
193
3008-2_en_Chap05_securite_ed01-2016
Manual child lock
Turning the child lock on
F Using the ignition key or the integral key, depending on version, turn the red control
as far as it will go:
-
t
o the right on the left-hand rear door,
-
t
o the left on the right-hand rear door.
Turning the child lock off
F Using the ignition key or the integral key, depending on version, turn the red control
as far as it will go:
-
t
o the left on the left-hand rear door,
-
t
o the right on the right-hand rear door. Do not confuse the child lock control,
which is red, with the back-up locking
control, which is black.
Mechanical system to prevent opening of a rear door using its interior control.
The control, red in colour, is located on the edge of each rear door.
It is identified by a symbol marked on the bodywork.
5
Safety
Page 196 of 566

194
3008-2_en_Chap05_securite_ed01-2016
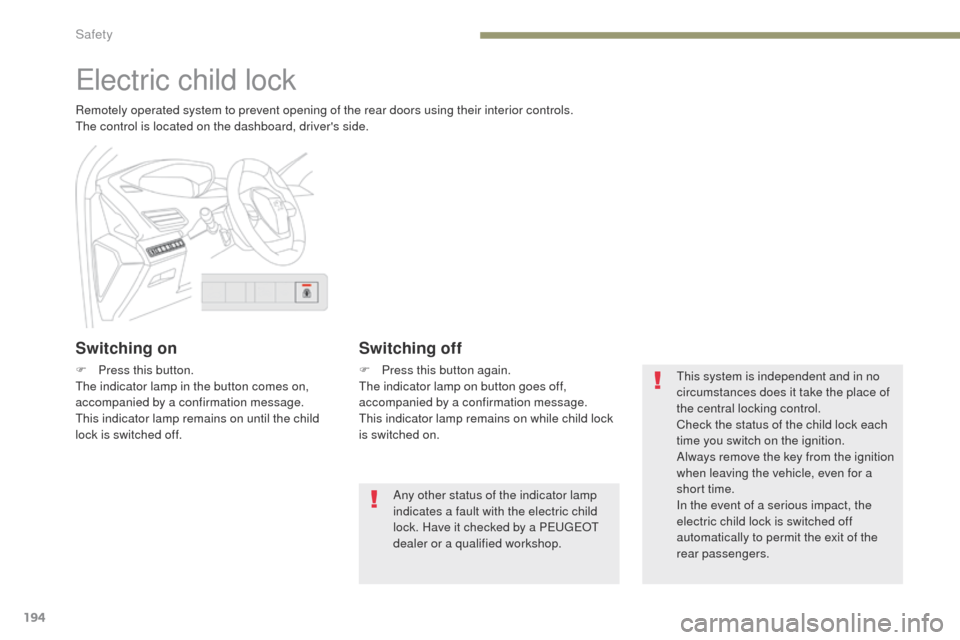
Electric child lock
Remotely operated system to prevent opening of the rear doors using their interior controls.
The control is located on the dashboard, driver's side.
Switching on
F Press this button.
The indicator lamp in the button comes on,
accompanied by a confirmation message.
This indicator lamp remains on until the child
lock is switched off.
Switching off
F Press this button again.
The indicator lamp on button goes off,
accompanied by a confirmation message.
This indicator lamp remains on while child lock
is switched on.Any other status of the indicator lamp
indicates a fault with the electric child
lock. Have it checked by a PEUGEOT
dealer or a qualified workshop. This system is independent and in no
circumstances does it take the place of
the central locking control.
Check the status of the child lock each
time you switch on the ignition.
Always remove the key from the ignition
when leaving the vehicle, even for a
short time.
In the event of a serious impact, the
electric child lock is switched off
automatically to permit the exit of the
rear passengers.
Safety
Page 211 of 566

209
3008-2_en_Chap06_conduite_ed01-2016
SituationsConsequences
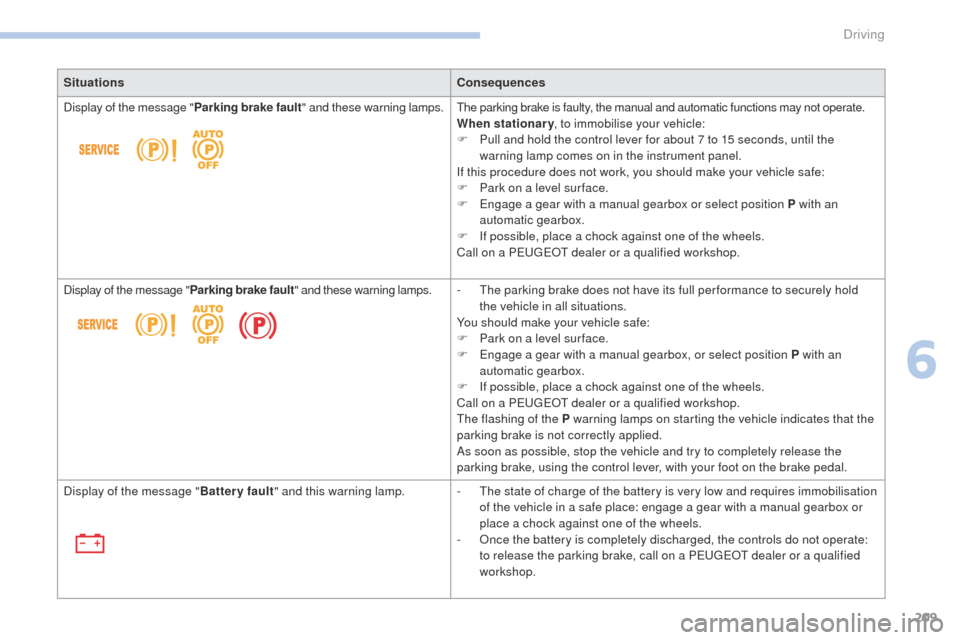
Display of the message " Parking brake fault" and these warning lamps. The parking brake is faulty, the manual and automatic functions may not operate.
When stationary, to immobilise your vehicle:
F
P
ull and hold the control lever for about 7 to 15 seconds, until the
warning lamp comes on in the instrument panel.
If this procedure does not work, you should make your vehicle safe:
F
P
ark on a level sur face.
F
E
ngage a gear with a manual gearbox or select position P with an
automatic gearbox.
F
I
f possible, place a chock against one of the wheels.
Call on a PEUGEOT dealer or a qualified workshop.
Display of the message " Parking brake fault" and these warning lamps. -
T
he parking brake does not have its full per formance to securely hold
the vehicle in all situations.
You should make your vehicle safe:
F
P
ark on a level sur face.
F
E
ngage a gear with a manual gearbox, or select position P with an
automatic gearbox.
F
I
f possible, place a chock against one of the wheels.
Call on a PEUGEOT dealer or a qualified workshop.
The flashing of the P warning lamps on starting the vehicle indicates that the
parking brake is not correctly applied.
As soon as possible, stop the vehicle and try to completely release the
parking brake, using the control lever, with your foot on the brake pedal.
Display of the message " Battery fault" and this warning lamp. -
T
he state of charge of the battery is very low and requires immobilisation
of the vehicle in a safe place: engage a gear with a manual gearbox or
place a chock against one of the wheels.
-
O
nce the battery is completely discharged, the controls do not operate:
to release the parking brake, call on a PEUGEOT dealer or a qualified
workshop.
6
Driving
Page 248 of 566

246
3008-2_en_Chap06_conduite_ed01-2016
Operating fault
Have the system checked by a PEUGEOT
dealer or a qualified workshop.In the event of a fault with the cruise
control, you are alerted by the
illumination of this warning lamp
and the display of a message in the
instrument panel, accompanied by an
audible signal.
The cruise control operates by day and at
night, in fog or moderate rainfall.
However, it is strongly recommended that
you always keep a safe distance from
vehicles ahead, according to the driving
conditions, the weather and the road
sur face.
Use the cruise control only where the
driving conditions allow running at a
constant speed and at an adequate safe
distance.
Do not use the cruise control in urban
areas, heavy traffic, on winding or steep
roads or on slippery or flooded sur faces.
In certain circumstances, it may not
be possible for the speed setting to be
maintained or even attained: loaded
vehicle, ascending a steep hill, ... The system is not intended for driving in the
following situations:
-
t
he front end of the vehicle has been
modified (addition of driving lamps),
-
d
riving on a racing circuit,
-
r
unning on a rolling road,
-
u
se of snow chains or non-slip covers.
As a safety measure, do not use the
system if the brake lamps are faulty.
Do not use the system if the front
bumper is damaged.
The operation of the radar, located in the
front bumper, may be disturbed in certain
weather conditions, for example: with
accumulations of snow, ice, mud, ...
Clean the front bumper, removing the snow,
mud, ... The use of mats not approved by
PEUGEOT may inter fere with the operation
of the cruise control.
To avoid any risk of jamming the pedals:
-
e
nsure that mats are secured correctly,
-
n
ever fit one mat on top of another.
Driving
Page 289 of 566
287
3008-2_en_Chap07_infos-pratiques_ed01-2016
Fitting the towball
F Below the rear bumper, unclip and remove the protective plug from the carrier. F
O n the towball, push the latch to the left
and hold it in this position.
F
A
t the same time press the trigger for ward
to release the mechanism (position B ).
F
I
nsert the end of the towball into the carrier,
pushing it in as far as it will go. F
E
nsure that the two pins are in contact with
the cut-outs in the carrier, that the trigger
has returned to rear and the latch to the
right to secure the mechanism (position A ).
F
I
nsert the key in the lock and turn it to the
right.
F
R
emove the key from the lock.
F
I
nstall and clip in place the protective cap
by rotating it to the left.
7
Practical information