2017 NISSAN TITAN brake light
[x] Cancel search: brake lightPage 130 of 671
●Since the spare tire is not equipped with
TPMS, when a spare tire is mounted or a
wheel is replaced the TPMS will not
function and the low tire pressure warn-
ing light will flash for approximately
1 minute. The light will remain on after
1 minute. Have your tires replaced
and/or TPMS system reset as soon as
possible. It is recommended that you
visit a NISSAN dealer for these services.
● Replacing tires with those not originally
specified by NISSAN could affect the
proper operation of the TPMS.
CAUTION
● The TPMS is not a substitute for the
regular tire pressure check. Be sure to
check the tire pressure regularly.
● If the vehicle is being driven at speeds
of less than 16 mph (25 km/h), the
TPMS may not operate correctly.
● Be sure to install the specified size of
tires to the four wheels correctly.
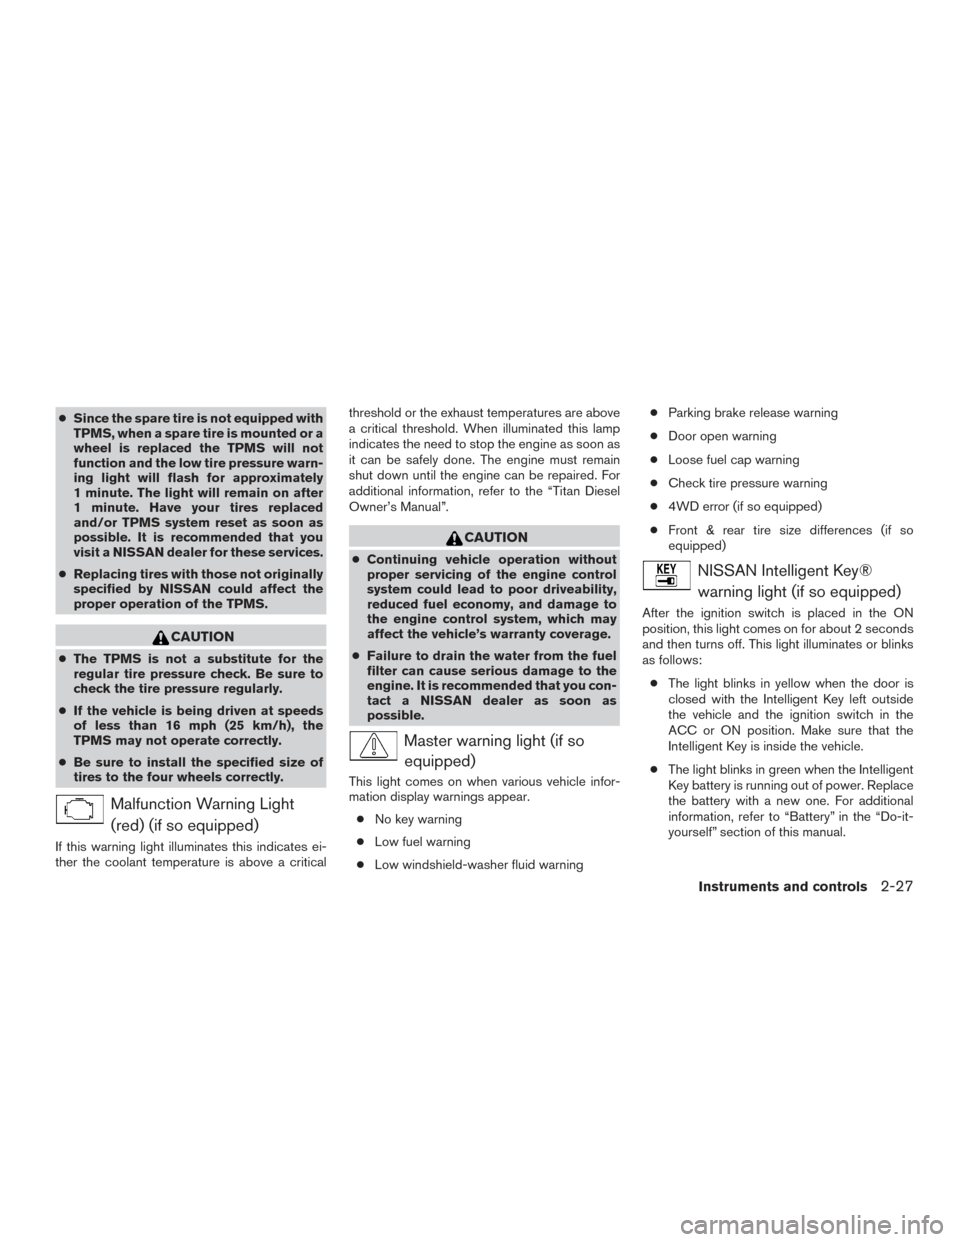
Malfunction Warning Light
(red) (if so equipped)
If this warning light illuminates this indicates ei-
ther the coolant temperature is above a critical threshold or the exhaust temperatures are above
a critical threshold. When illuminated this lamp
indicates the need to stop the engine as soon as
it can be safely done. The engine must remain
shut down until the engine can be repaired. For
additional information, refer to the “Titan Diesel
Owner’s Manual”.
CAUTION
●
Continuing vehicle operation without
proper servicing of the engine control
system could lead to poor driveability,
reduced fuel economy, and damage to
the engine control system, which may
affect the vehicle’s warranty coverage.
● Failure to drain the water from the fuel
filter can cause serious damage to the
engine. It is recommended that you con-
tact a NISSAN dealer as soon as
possible.
Master warning light (if so
equipped)
This light comes on when various vehicle infor-
mation display warnings appear.
● No key warning
● Low fuel warning
● Low windshield-washer fluid warning ●
Parking brake release warning
● Door open warning
● Loose fuel cap warning
● Check tire pressure warning
● 4WD error (if so equipped)
● Front & rear tire size differences (if so
equipped)
NISSAN Intelligent Key®
warning light (if so equipped)
After the ignition switch is placed in the ON
position, this light comes on for about 2 seconds
and then turns off. This light illuminates or blinks
as follows:
● The light blinks in yellow when the door is
closed with the Intelligent Key left outside
the vehicle and the ignition switch in the
ACC or ON position. Make sure that the
Intelligent Key is inside the vehicle.
● The light blinks in green when the Intelligent
Key battery is running out of power. Replace
the battery with a new one. For additional
information, refer to “Battery” in the “Do-it-
yourself” section of this manual.
Instruments and controls2-27
Page 132 of 671
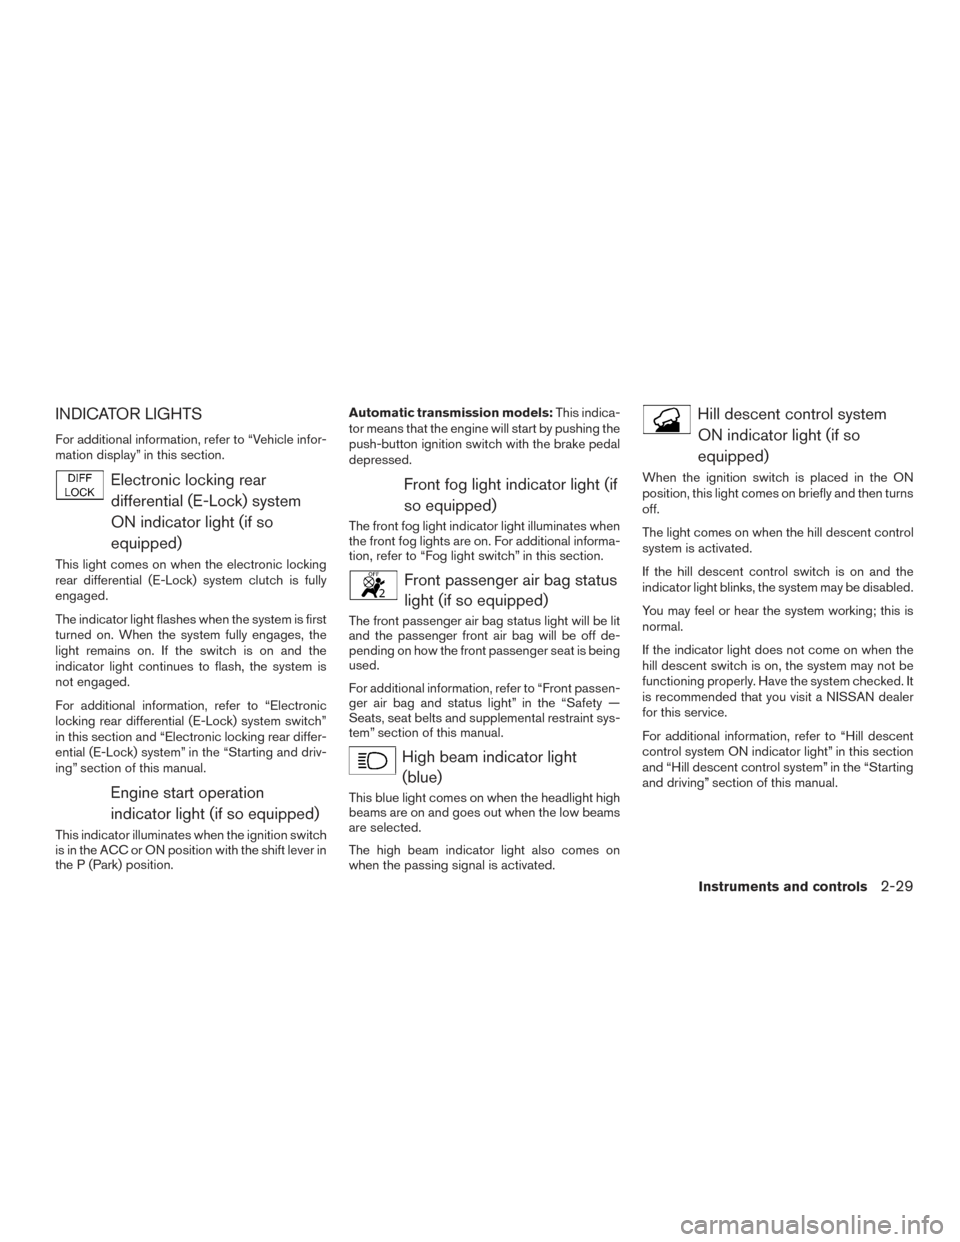
INDICATOR LIGHTS
For additional information, refer to “Vehicle infor-
mation display” in this section.
Electronic locking reardifferential (E-Lock) system
ON indicator light (if so
equipped)
This light comes on when the electronic locking
rear differential (E-Lock) system clutch is fully
engaged.
The indicator light flashes when the system is first
turned on. When the system fully engages, the
light remains on. If the switch is on and the
indicator light continues to flash, the system is
not engaged.
For additional information, refer to “Electronic
locking rear differential (E-Lock) system switch”
in this section and “Electronic locking rear differ-
ential (E-Lock) system” in the “Starting and driv-
ing” section of this manual.
Engine start operationindicator light (if so equipped)
This indicator illuminates when the ignition switch
is in the ACC or ON position with the shift lever in
the P (Park) position. Automatic transmission models:
This indica-
tor means that the engine will start by pushing the
push-button ignition switch with the brake pedal
depressed.
Front fog light indicator light (if
so equipped)
The front fog light indicator light illuminates when
the front fog lights are on. For additional informa-
tion, refer to “Fog light switch” in this section.
Front passenger air bag statuslight (if so equipped)
The front passenger air bag status light will be lit
and the passenger front air bag will be off de-
pending on how the front passenger seat is being
used.
For additional information, refer to “Front passen-
ger air bag and status light” in the “Safety —
Seats, seat belts and supplemental restraint sys-
tem” section of this manual.
High beam indicator light(blue)
This blue light comes on when the headlight high
beams are on and goes out when the low beams
are selected.
The high beam indicator light also comes on
when the passing signal is activated.
Hill descent control system
ON indicator light (if so
equipped)
When the ignition switch is placed in the ON
position, this light comes on briefly and then turns
off.
The light comes on when the hill descent control
system is activated.
If the hill descent control switch is on and the
indicator light blinks, the system may be disabled.
You may feel or hear the system working; this is
normal.
If the indicator light does not come on when the
hill descent switch is on, the system may not be
functioning properly. Have the system checked. It
is recommended that you visit a NISSAN dealer
for this service.
For additional information, refer to “Hill descent
control system ON indicator light” in this section
and “Hill descent control system” in the “Starting
and driving” section of this manual.
Instruments and controls2-29
Page 134 of 671
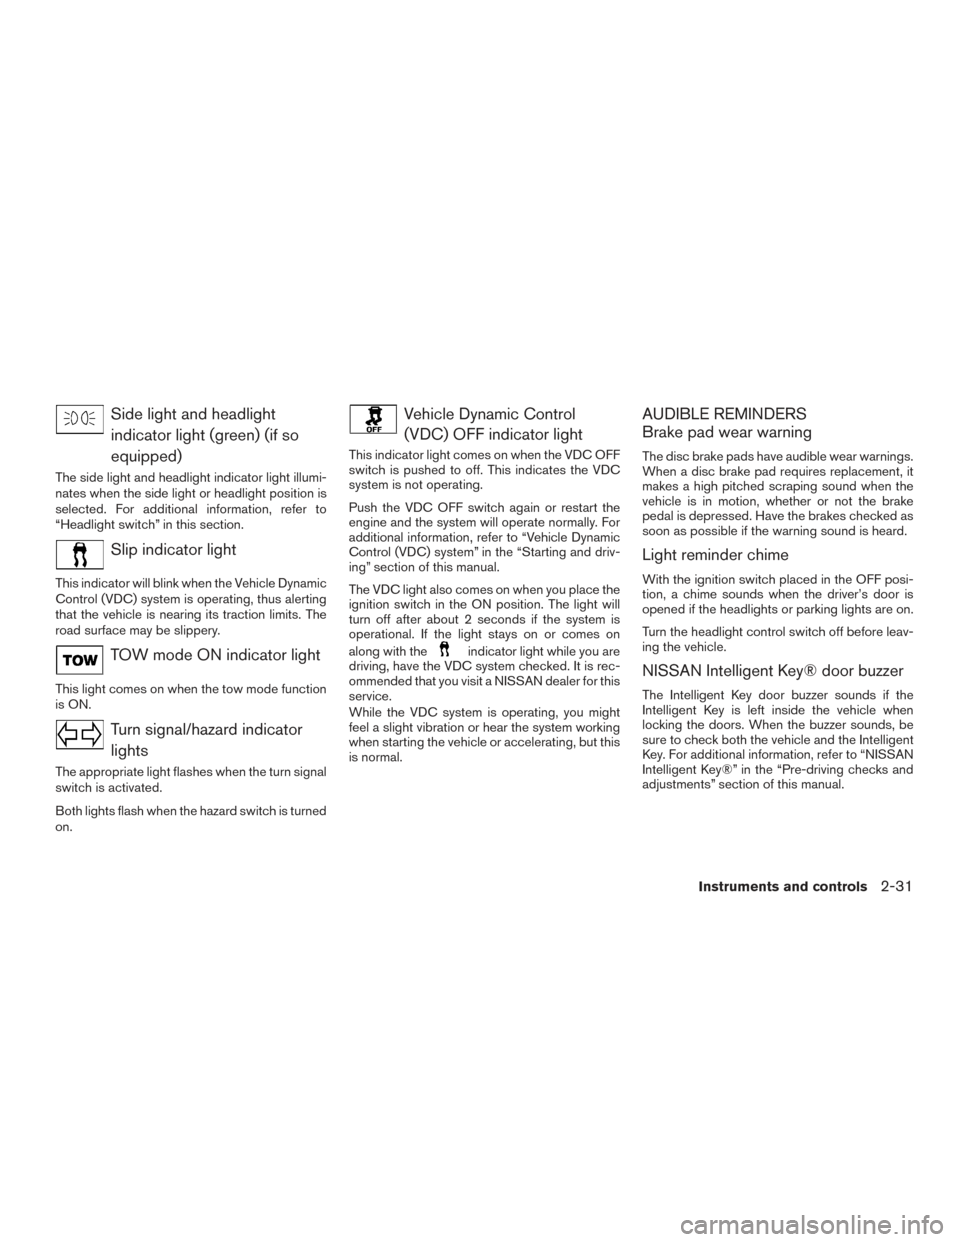
Side light and headlightindicator light (green) (if so
equipped)
The side light and headlight indicator light illumi-
nates when the side light or headlight position is
selected. For additional information, refer to
“Headlight switch” in this section.
Slip indicator light
This indicator will blink when the Vehicle Dynamic
Control (VDC) system is operating, thus alerting
that the vehicle is nearing its traction limits. The
road surface may be slippery.
TOW mode ON indicator light
This light comes on when the tow mode function
is ON.
Turn signal/hazard indicatorlights
The appropriate light flashes when the turn signal
switch is activated.
Both lights flash when the hazard switch is turned
on.
Vehicle Dynamic Control(VDC) OFF indicator light
This indicator light comes on when the VDC OFF
switch is pushed to off. This indicates the VDC
system is not operating.
Push the VDC OFF switch again or restart the
engine and the system will operate normally. For
additional information, refer to “Vehicle Dynamic
Control (VDC) system” in the “Starting and driv-
ing” section of this manual.
The VDC light also comes on when you place the
ignition switch in the ON position. The light will
turn off after about 2 seconds if the system is
operational. If the light stays on or comes on
along with the
indicator light while you are
driving, have the VDC system checked. It is rec-
ommended that you visit a NISSAN dealer for this
service.
While the VDC system is operating, you might
feel a slight vibration or hear the system working
when starting the vehicle or accelerating, but this
is normal.
AUDIBLE REMINDERS
Brake pad wear warning
The disc brake pads have audible wear warnings.
When a disc brake pad requires replacement, it
makes a high pitched scraping sound when the
vehicle is in motion, whether or not the brake
pedal is depressed. Have the brakes checked as
soon as possible if the warning sound is heard.
Light reminder chime
With the ignition switch placed in the OFF posi-
tion, a chime sounds when the driver’s door is
opened if the headlights or parking lights are on.
Turn the headlight control switch off before leav-
ing the vehicle.
NISSAN Intelligent Key® door buzzer
The Intelligent Key door buzzer sounds if the
Intelligent Key is left inside the vehicle when
locking the doors. When the buzzer sounds, be
sure to check both the vehicle and the Intelligent
Key. For additional information, refer to “NISSAN
Intelligent Key®” in the “Pre-driving checks and
adjustments” section of this manual.
Instruments and controls2-31
Page 144 of 671
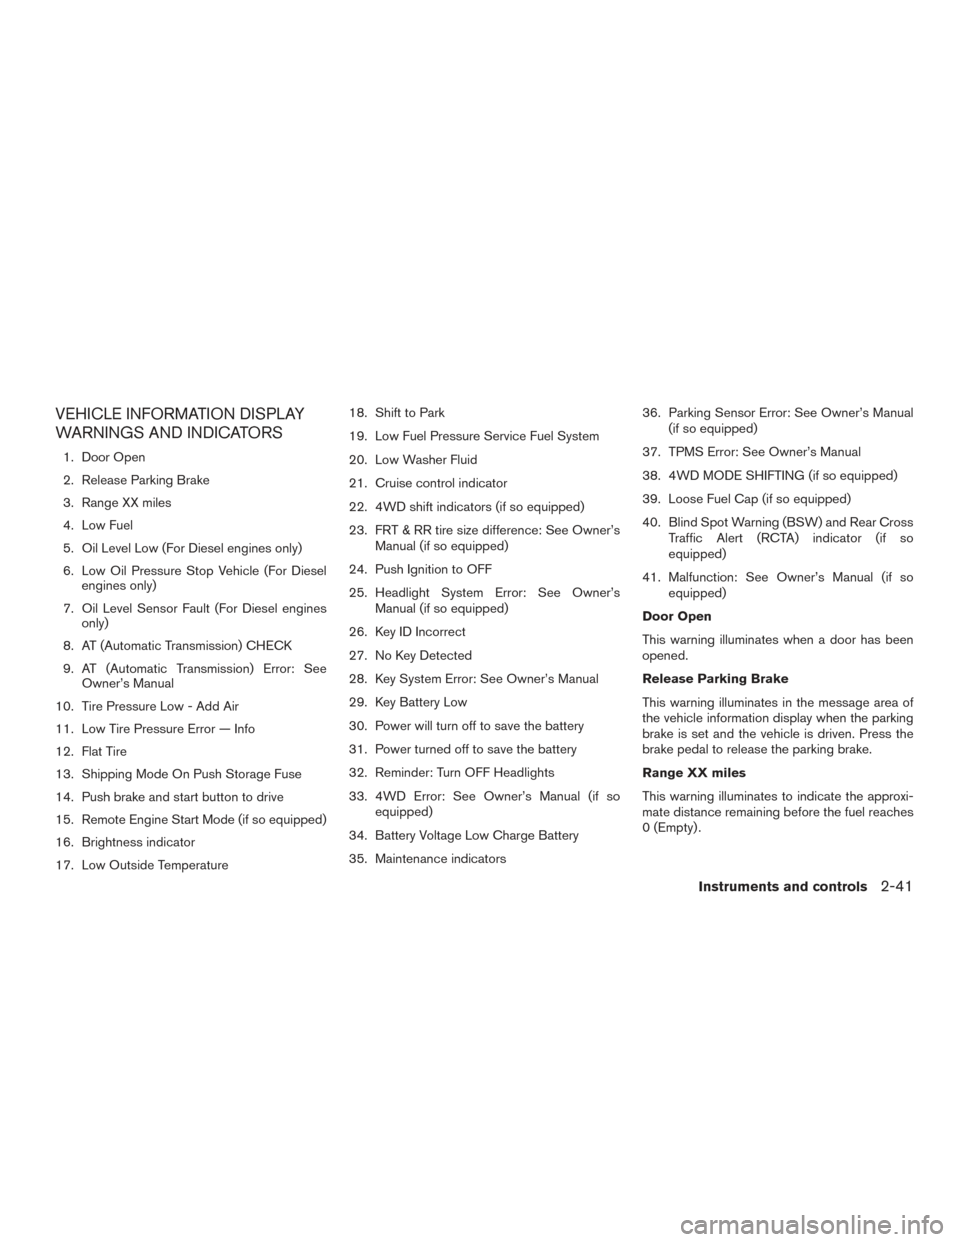
VEHICLE INFORMATION DISPLAY
WARNINGS AND INDICATORS
1. Door Open
2. Release Parking Brake
3. Range XX miles
4. Low Fuel
5. Oil Level Low (For Diesel engines only)
6. Low Oil Pressure Stop Vehicle (For Dieselengines only)
7. Oil Level Sensor Fault (For Diesel engines only)
8. AT (Automatic Transmission) CHECK
9. AT (Automatic Transmission) Error: See Owner’s Manual
10. Tire Pressure Low - Add Air
11. Low Tire Pressure Error — Info
12. Flat Tire
13. Shipping Mode On Push Storage Fuse
14. Push brake and start button to drive
15. Remote Engine Start Mode (if so equipped)
16. Brightness indicator
17. Low Outside Temperature 18. Shift to Park
19. Low Fuel Pressure Service Fuel System
20. Low Washer Fluid
21. Cruise control indicator
22. 4WD shift indicators (if so equipped)
23. FRT & RR tire size difference: See Owner’s
Manual (if so equipped)
24. Push Ignition to OFF
25. Headlight System Error: See Owner’s Manual (if so equipped)
26. Key ID Incorrect
27. No Key Detected
28. Key System Error: See Owner’s Manual
29. Key Battery Low
30. Power will turn off to save the battery
31. Power turned off to save the battery
32. Reminder: Turn OFF Headlights
33. 4WD Error: See Owner’s Manual (if so equipped)
34. Battery Voltage Low Charge Battery
35. Maintenance indicators 36. Parking Sensor Error: See Owner’s Manual
(if so equipped)
37. TPMS Error: See Owner’s Manual
38. 4WD MODE SHIFTING (if so equipped)
39. Loose Fuel Cap (if so equipped)
40. Blind Spot Warning (BSW) and Rear Cross Traffic Alert (RCTA) indicator (if so
equipped)
41. Malfunction: See Owner’s Manual (if so equipped)
Door Open
This warning illuminates when a door has been
opened.
Release Parking Brake
This warning illuminates in the message area of
the vehicle information display when the parking
brake is set and the vehicle is driven. Press the
brake pedal to release the parking brake.
Range XX miles
This warning illuminates to indicate the approxi-
mate distance remaining before the fuel reaches
0 (Empty) .
Instruments and controls2-41
Page 159 of 671
Select the switch position by referring to the
following sample.
Vehicle LoadSwitch
Position
Driver only or Driver/front pas- senger 0
Driver/front seat passenger/rear seat passengers 1
Driver/front seat passenger/rear
seat passengers/cargo or driver/ cargo/no trailer 2
Fully loaded/no trailer 3
DAYTIME RUNNING LIGHT SYSTEM
(if so equipped)
The LED portion of the headlights (if so
equipped) , or the lights in the fog light area,
automatically illuminate at 100% intensity when
the engine is started and the parking brake re-
leased. The daytime running lights operate with
the headlight switch in the OFF position. When
you turn the headlight switch to the
posi-
tion for full illumination the LED lights (if so
equipped) switch from daytime running lights to
the park function. If the parking brake is applied before the engine is
started, the daytime running lights do not illumi-
nate. The daytime running lights illuminate when
the parking brake is released. The daytime run-
ning lights remain on while the engine is running.
It is necessary at dusk to turn the headlight switch
ON for interior controls and switches to illumi-
nate, as those remain off while the switch is in the
OFF position.
WARNING
When the daytime running light system is
active, tail lights on your vehicle are not
on. It is necessary at dusk to turn on your
headlights. Failure to do so could cause
an accident injuring yourself and others.
INSTRUMENT BRIGHTNESS
CONTROL
Press the “+” button to increase the brightness of
instrument panel lights.
Press the “-” button to decrease the brightness of
instrument panel lights.
LIC3176
2-56Instruments and controls
Page 167 of 671
Push the VDC OFF switch again or restart the
engine to turn on the system. For additional infor-
mation, refer to “Vehicle Dynamic Control (VDC)
system” in the “Starting and driving” section of
this manual.
WARNING
●Never rely solely on the hill descent
control system to control vehicle speed
when driving on steep downhill grades.
Always drive carefully when using the
hill descent control system and deceler-
ate the vehicle speed by depressing the
brake pedal if necessary. Be especially
careful when driving on frozen, muddy
or extremely steep downhill roads. Fail-
ure to control vehicle speed may result
in a loss of control of the vehicle and
possible serious injury or death. ●
The hill descent control may not control
the vehicle speed on a hill under all load
or road conditions. Always be prepared
to depress the brake pedal to control
vehicle speed. Failure to do so may re-
sult in a collision or serious personal
injury.
CAUTION
When the hill descent control system op-
erates continuously for a long time, the
temperature of the brake pads may in-
crease and the hill descent control system
may be temporarily disabled (the indicator
light will blink) . If the indicator light does
not come on continuously after blinking,
stop using the system.
The hill descent control system is designed to
reduce driver workload when going down steep
hills. The hill descent control system helps to
control vehicle speed so the driver can concen-
trate on steering the vehicle.
LIC3447
HILL DESCENT CONTROL SWITCH (if
so equipped)
2-64Instruments and controls
Page 168 of 671
To activate the hill descent control system:● activate the 4H or 4LO switch,
● the transmission shift lever must be in for-
ward or reverse gear,
● the hill descent control system switch must
be ON.
The vehicle speed must be kept below 15 mph
(25 km/h).
The hill descent control indicator light will come
on when the system is activated. Also, the
stop/tail lights illuminate while the hill descent
control system applies the brakes to control ve-
hicle speed.
You may hear a noise from under the hood or feel
a vibration from the actuator when it is operating.
This is normal and indicates the HDC system is
working properly.
If the accelerator or brake pedal is depressed
while the hill descent control system is on, the
system will stop operating temporarily. As soon
as the accelerator or brake pedal is released, the
hill descent control system begins to function
again if the hill descent control operating condi-
tions are fulfilled. The hill descent control indicator light blinks if the
switch is on and all conditions for system activa-
tion are not met or if the system becomes disen-
gaged for any reason.
To turn off the hill descent control system, push
the switch to the OFF position.
For additional information, refer to “Hill descent
control system ON indicator light” in this section
and “Hill descent control system” in the “Starting
and driving” section of this manual.
The E-Lock system can help provide added trac-
tion if the vehicle is stuck or becoming stuck.
To activate the E-Lock system:● the 4WD switch must be in the 4LO position
(4-wheel drive vehicles) ,
● the vehicle must be stopped or moving at
4 mph (7 km/h) or less, and
● the E-Lock system switch must be turned
ON.
LIC3157
ELECTRONIC LOCKING REAR
DIFFERENTIAL (E-Lock) SYSTEM
SWITCH (if so equipped)
Instruments and controls2-65
Page 169 of 671
When the E-Lock system switch is turned ON,
the indicator light will flash until the system en-
gages. However, if all operation conditions listed
above are not met or the system becomes disen-
gaged, the indicator light will continue to flash.
The Anti-Lock Brake (ABS) system is disabled
and the ABS light illuminates when the E-Lock
system is ON. Also, the Vehicle Dynamic Control
(VDC) system is disabled and the VDC light
illuminates when the E-Lock system is ON.
For additional information, refer to “Electronic
locking rear differential (E-Lock) system” in the
“Starting and driving” section of this manual for
further explanation and system limitations.
WARNING
●Never leave the E-Lock system ON when
driving on paved or hard-surfaced
roads. Turning the vehicle may result in
the rear wheels slipping and result in an
accident and personal injury. After us-
ing the E-Lock system to free the ve-
hicle, turn the system OFF. ●
Use the E-lock system only in an emer-
gency when it is not possible to free a
stuck vehicle even using 4LO. Never use
the E-Lock system on a slippery road
surface such as snow or ice surface.
Using the E-Lock system when driving
in these road conditions may cause un-
expected movement of the vehicle dur-
ing engine braking, accelerating or
turning, which may result in an accident
and serious personal injury.
● Observe the above warnings. Other-
wise, loss of normal steering control
may result. This may result in an acci-
dent and serious personal injury.
CAUTION
● After using the E-Lock system, or during
normal driving, turn the switch OFF to
prevent possible damage to drivetrain
components from extended use.
● When the E-Lock system is in operation,
turning the vehicle becomes difficult.
This can be dangerous, especially at
high speeds. Doing so could damage
drivetrain components. ●
Do not operate the E-Lock system when
the vehicle is turning or when one side
wheel is rotating. Otherwise, the drive-
train components could be damaged.
● The E-Lock system operates only when
the engine is running.
● In 4H mode, the E-Lock system does not
operate when the E-Lock system switch
is turned to the ON position. (The
E-Lock system indicator light will flash.)
● Avoid quick starts while the E-Lock sys-
tem is in operation. Otherwise the drive-
train components could be damaged.
● Observe the above cautions. Otherwise,
loss of normal steering may result.
2-66Instruments and controls