2017 NISSAN TITAN check engine
[x] Cancel search: check enginePage 10 of 671
0 Illustrated table of contents
Air bags, seat belts and child restraints..............0-2
Exterior front ......................................0-3
Exterior rear .......................................0-4
Passenger compartment ...........................0-5 Instrument panel
...................................0-6
Engine compartment check locations . . ..............0-8
Warning and indicator lights .......................0-11
Page 17 of 671
Cummins 5.0 L engine
1. Windshield-washer fluid reservoir(P. 8-13)
2. Fuse box (P. 8-21)
3. Fuse/Fusible link box (P. 8-21)
4. Engine coolant reservoir*
5. Fuel filter (Stage 2)*
6. Engine oil filler cap*
7. Brake fluid reservoir (P. 8-13)
8. Air cleaner*
9. Battery (P. 8-14)
10. Power steering fluid reservoir (P. 8-12)
11. Radiator cap*
12. Engine oil dipstick*
13. Drive belt location*
14. Fuse/Fusible link box (P. 8-21)
15. Battery (P. 8-14)
*: Refer to the separate Titan Diesel Owner’s
Manual.
Refer to the page number indicated in pa-
rentheses for operating details.
LDI2870
ENGINE COMPARTMENT CHECK
LOCATIONS
0-8Illustrated table of contents
Page 20 of 671
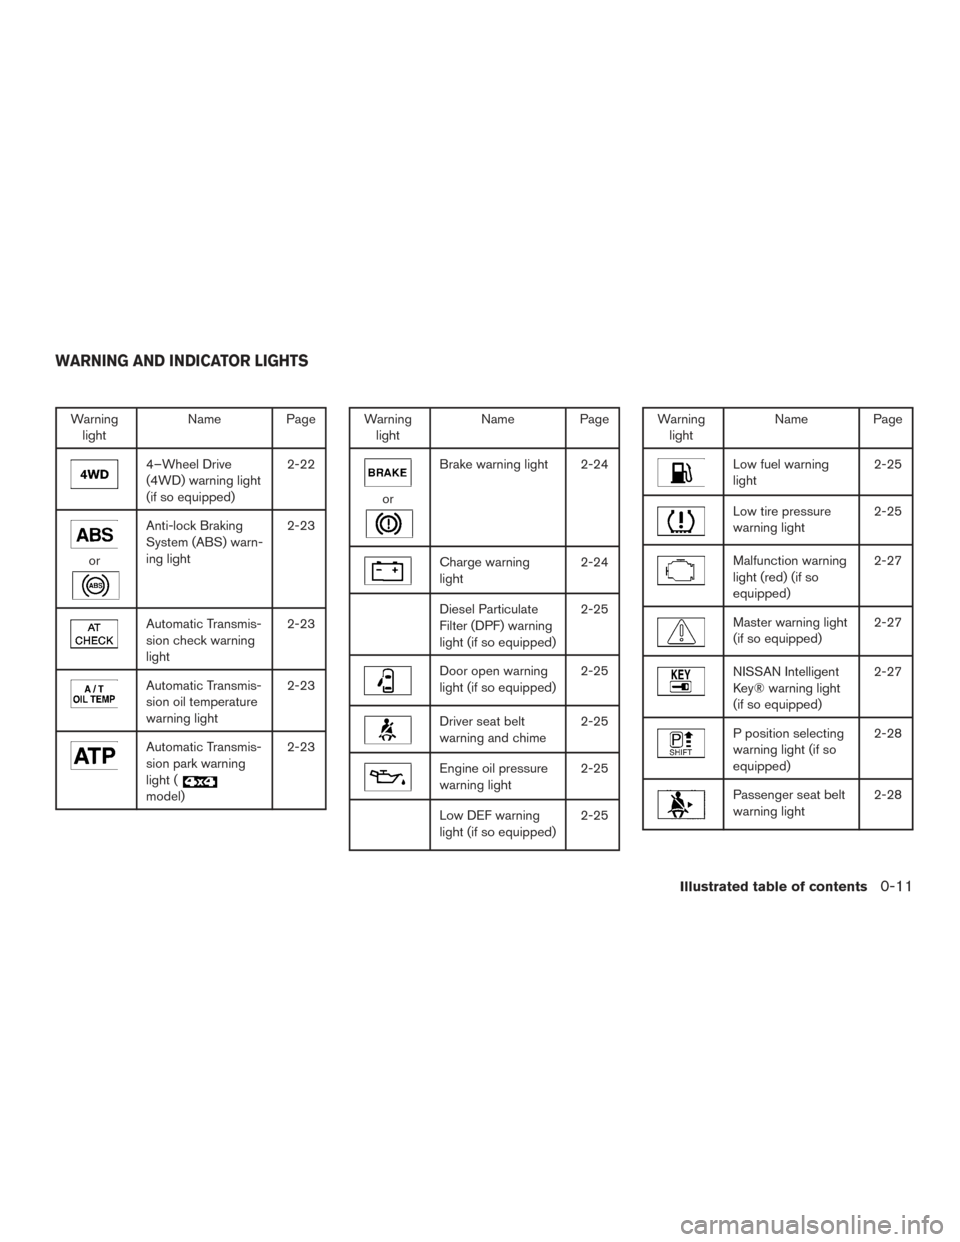
Warninglight Name Page
4–Wheel Drive
(4WD) warning light
(if so equipped) 2-22
or
Anti-lock Braking
System (ABS) warn-
ing light2-23
Automatic Transmis-
sion check warning
light2-23
Automatic Transmis-
sion oil temperature
warning light2-23
Automatic Transmis-
sion park warning
light (
model)2-23
Warning
light Name Page
or
Brake warning light 2-24
Charge warning
light 2-24
Diesel Particulate
Filter (DPF) warning
light (if so equipped)2-25
Door open warning
light (if so equipped)
2-25
Driver seat belt
warning and chime2-25
Engine oil pressure
warning light2-25
Low DEF warning
light (if so equipped)2-25
Warning
light Name Page
Low fuel warning
light 2-25
Low tire pressure
warning light2-25
Malfunction warning
light (red) (if so
equipped)2-27
Master warning light
(if so equipped)
2-27
NISSAN Intelligent
Key® warning light
(if so equipped)2-27
P position selecting
warning light (if so
equipped)2-28
Passenger seat belt
warning light
2-28
WARNING AND INDICATOR LIGHTS
Illustrated table of contents0-11
Page 28 of 671
FRONT POWER SEAT ADJUSTMENT
(if so equipped)
Operating tips
●The power seat motor has an auto-reset
overload protection circuit. If the motor
stops during operation, wait 30 seconds
then reactivate the switch.
● Do not operate the power seat switch for a
long period of time when the engine is off.
This will discharge the battery.
For additional information, refer to “Automatic
drive positioner” in the “Pre-driving checks and
adjustments” section of this manual.
Forward and backward
Moving the switch forward or backward will slide
the seat forward or backward to the desired
position.
Reclining
Move the recline switch backward until the de-
sired angle is obtained. To bring the seatback
forward again, move the switch forward and
move your body forward. The seatback will move
forward. The reclining feature allows adjustment of the
seatback for occupants of different sizes for
added comfort and to help obtain proper seat
belt fit. For additional information, refer to “Pre-
cautions on seat belt usage” in this section. Also,
the seatback can be reclined to allow occupants
to rest when the vehicle is stopped and the shift
lever is in P (Park) .
LRS2743
Safety—Seats, seat belts and supplemental restraint system1-5
Page 104 of 671
2 Instruments and controls
Instrument panel...................................2-4
Meters and gauges ................................2-6
Speedometer and odometer .....................2-7
Tachometer ....................................2-9
Engine coolant temperature gauge ...............2-9
Fuel gauge ................................... 2-10
Auxiliary gauges (if so equipped) ................2-11
Diesel Exhaust Fluid (DEF) Level
(if so equipped) ............................... 2-12
Off-road monitor (if so equipped) ................2-13
Trip computer (if so equipped) ..................2-13
Compass (if so equipped) ......................... 2-18
Warning lights, indicator lights and audible
reminders ........................................ 2-21
Checking lights ............................... 2-22
Warning lights ................................ 2-22
Indicator lights ................................ 2-29
Audible reminders ............................. 2-31
Vehicle information display (if so equipped) ..........2-32
How to use the vehicle information display .......2-32
Startup display ................................ 2-33
Settings ...................................... 2-33
Vehicle information display warnings and
indicators ..................................... 2-41Diesel warnings and indicators
(if so equipped)
............................... 2-46
Security systems ................................. 2-47
Vehicle security system ......................... 2-47
NISSAN vehicle immobilizer system .............2-48
Wiper and washer switch ......................... 2-49
Switch operation .............................. 2-49
Rain-sensing auto wiper system
(if so equipped) ............................... 2-51
Rear window and/or outside mirror defroster switch
(if so equipped) .................................. 2-52
Headlight switch ................................. 2-53
Headlight control switch ........................ 2-53
Daytime running light system
(if so equipped) ............................... 2-56
Instrument brightness control ...................2-56
Turn signal switch ................................ 2-57
T
urn signal .................................... 2-57
Lane change signal ............................ 2-57
Fog light switch (if so equipped) ...................2-57
Horn ............................................ 2-58
Cargo lamp switch ................................ 2-58
Climate controlled seat switches (if so equipped) ....2-58
Heated seat switches (if so equipped) ..............2-60
Page 114 of 671
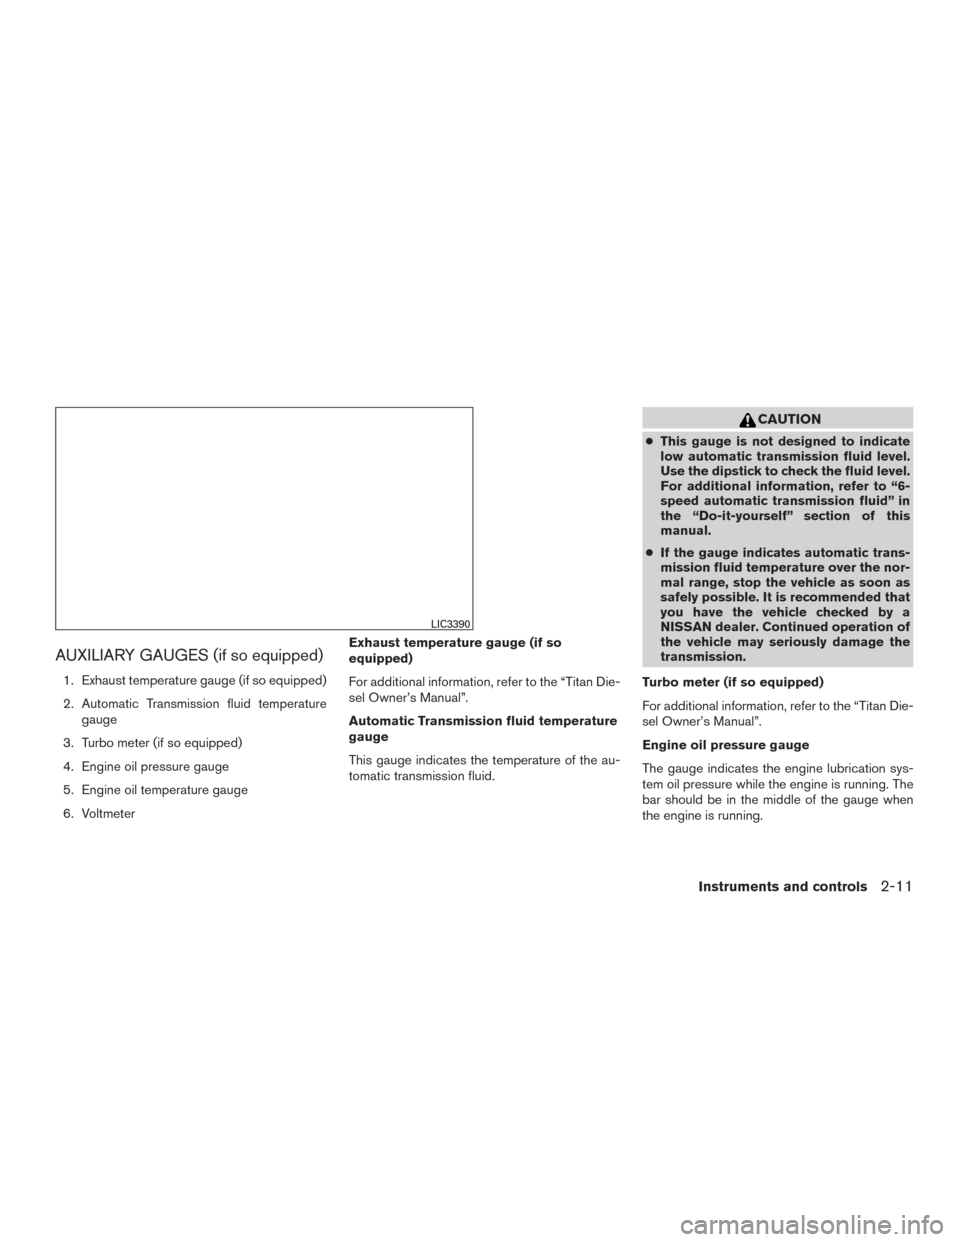
AUXILIARY GAUGES (if so equipped)
1. Exhaust temperature gauge (if so equipped)
2. Automatic Transmission fluid temperaturegauge
3. Turbo meter (if so equipped)
4. Engine oil pressure gauge
5. Engine oil temperature gauge
6. Voltmeter Exhaust temperature gauge (if so
equipped)
For additional information, refer to the “Titan Die-
sel Owner’s Manual”.
Automatic Transmission fluid temperature
gauge
This gauge indicates the temperature of the au-
tomatic transmission fluid.
CAUTION
●
This gauge is not designed to indicate
low automatic transmission fluid level.
Use the dipstick to check the fluid level.
For additional information, refer to “6-
speed automatic transmission fluid” in
the “Do-it-yourself” section of this
manual.
● If the gauge indicates automatic trans-
mission fluid temperature over the nor-
mal range, stop the vehicle as soon as
safely possible. It is recommended that
you have the vehicle checked by a
NISSAN dealer. Continued operation of
the vehicle may seriously damage the
transmission.
Turbo meter (if so equipped)
For additional information, refer to the “Titan Die-
sel Owner’s Manual”.
Engine oil pressure gauge
The gauge indicates the engine lubrication sys-
tem oil pressure while the engine is running. The
bar should be in the middle of the gauge when
the engine is running.
LIC3390
Instruments and controls2-11
Page 115 of 671
CAUTION
●This gauge is not designed to indicate
low engine oil level. Use the dipstick to
check the oil level. For additional infor-
mation, refer to “Engine oil” in the “Do-
it-yourself” section of this manual.
● If the gauge needle does not move with
the proper amount of engine oil, it is
recommended that you have the vehicle
checked by a NISSAN dealer. Continued
vehicle operation in such a condition
could cause serious damage to the
engine.
Engine oil temperature gauge
This gauge measures the temperature of the en-
gine oil.
Voltmeter
When the ignition switch is placed in the ON
position, the voltmeter indicates the battery volt-
age. When the engine is running, it indicates the
generator voltage. While cranking the engine, the volts drop below
the normal range. If the range is not within the
normal range (11 – 15 volts) while the engine is
running, it may indicate that the charging system
is not functioning properly. Have the system
checked. It is recommended that you visit a
NISSAN dealer for this service.
DIESEL EXHAUST FLUID (DEF)
LEVEL (if so equipped)
This gauge measures the DEF level remaining in
the vehicle. For additional information, refer to
“Fuel and refueling” in the “Titan Diesel Owner’s
Supplement”.
LIC3479
2-12Instruments and controls
Page 119 of 671
To return to the main menu selections, scroll to
“EXIT” and press ENTER.
Engine oil
The engine oil menu item allows the user to set a
maintenance reminder at a specific interval. To
set the reminder, press the ENTER button when
“ENGINE OIL” is shown. Using the
but-
tons, set the desired interval to receive a mainte-
nance reminder.
To reset the mileage, press and hold the ENTER
button for approximately 1 second.
To return to the main menu selections, scroll to
“EXIT” and press ENTER.
For additional information, refer to “Maintenance
schedules” in the “Maintenance and schedules”
section of this manual.
Oil filter
The oil filter menu item allows the user to set a
maintenance reminder at a specific interval. To
set the reminder, press the ENTER button when
“OIL FILTER” is shown. Using the
but-
tons, set the desired interval to receive a mainte-
nance reminder.
To reset the mileage, press and hold the ENTER
button for approximately 1 second.
To return to the main menu selections, scroll to
“EXIT” and press ENTER. For additional information, refer to “Maintenance
schedules” in the “Maintenance and schedules”
section of this manual.
Rotation
The rotation menu item allows the user to set a
maintenance reminder at a specific interval. To
set the reminder, press the ENTER button when
“ROTATION” is shown. Using the
but-
tons, set the desired interval to receive a mainte-
nance reminder.
To reset the mileage, press and hold the ENTER
button for approximately 1 second.
To return to the main menu selections, scroll to
“EXIT” and press ENTER.
For additional information, refer to “Maintenance
schedules” in the “Maintenance and schedules”
section of this manual.
WARNING
The tire replacement indicator is not a
substitute for regular tire checks, includ-
ing tire pressure checks. For additional
information, refer to “Changing wheels
and tires” in the “Do-it-yourself” section of
this manual. Many factors including tire
inflation, alignment, driving habits and
road conditions affect tire wear and when
tires should be replaced. Setting the tire
replacement indicator for a certain driving
distance does not mean your tires will last
that long. Use the tire replacement indica-
tor as a guide only and always perform
regular tire checks. Failure to perform
regular tire checks, including tire pressure
checks could result in tire failure. Serious
vehicle damage could occur and may lead
to a collision, which could result in serious
personal injury or death.
Other
The other menu item allows the user to set a
maintenance reminder at a specific interval to
check various other maintenance items (ie. air
filter, brakes, coolant) . To set the reminder, press
the ENTER button when “OTHER” is shown.
Using the
buttons, set the desired inter-
val to receive a maintenance reminder.
2-16Instruments and controls